
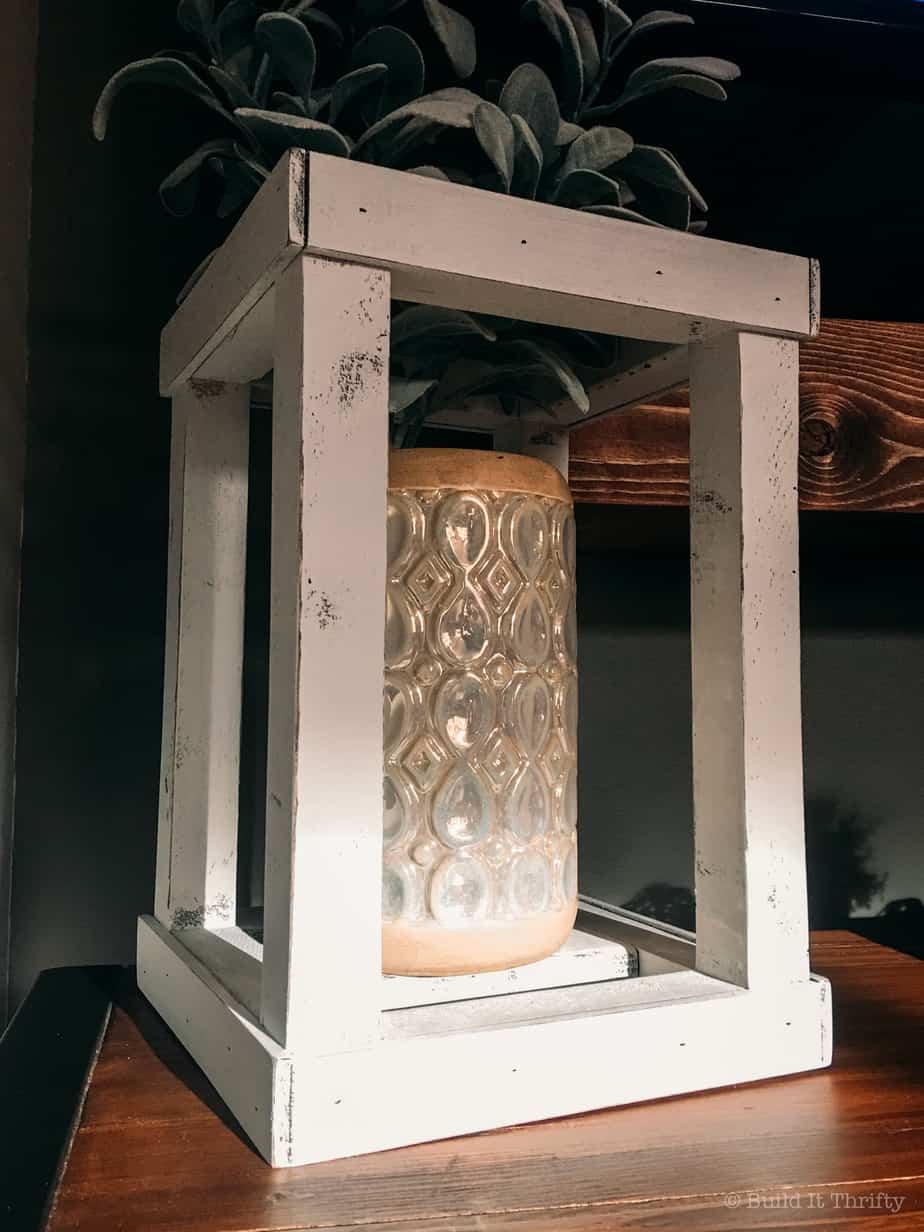
I was at a friend’s house the other day and I spied the cutest wood lanterns sitting on her coffee table. They were painted white, perfectly distressed, and looked like something straight out of a Pottery Barn catalog, very impressive. I asked her where she bought them, because they legit looked like they came from a store, and she told me her grandmother had actually built them for her! Grandmas really can do it all, people. I thought it could be a fairly quick and easy build once I figured out the dimensions, so I snapped a pic with hopes of attempting to make my very own rustic wood lantern. Here’s how it went!
Materials:
- 2-2×2@8′ (I used furring strips)
- 2×4 (scrap piece will do)
- 2-1/4″x1 1/2″@4′ poplar strip
- 2 1/2″ pocket-hole screws
- 1″ 18-gauge brad nails
- Wood glue
- Spray paint
- Chalk paint
Tools:
- Miter saw
- Kreg Jig
- Drill
- Brad nailer
- Sander
Cut List:
- 4-2×2@15″
- 8-2×2@7″
- 1-2×4@7″
- 4-1/4″x1 1/2″@10″
- 4- 1/4″x1 1/2″@10.5″
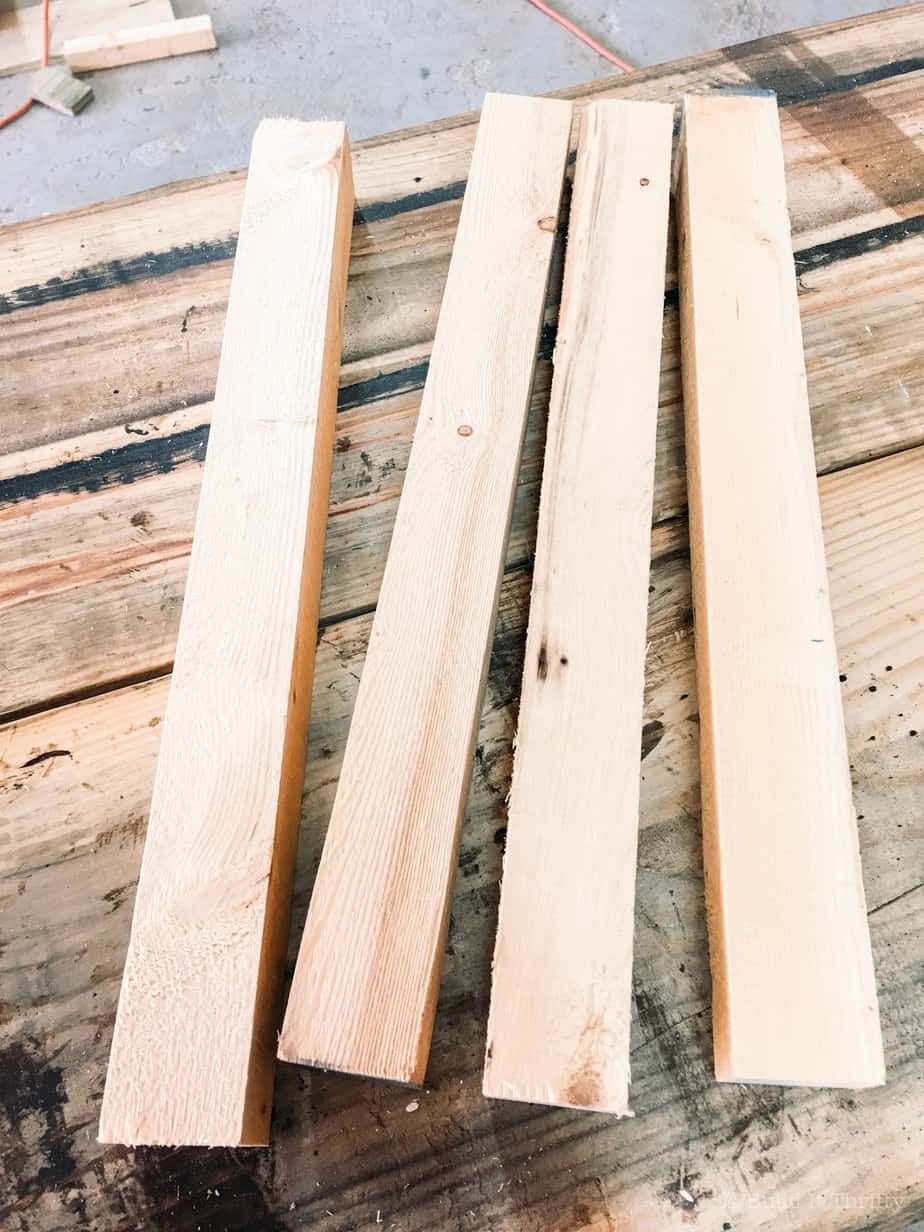
Step One: Make Cuts and Drill Pocket Holes
Start by cutting all your 2x2s, four long and eight short. I used 2×2 furring strips because they are cheap, around $2 each. If you don’t have any scrap pieces and have to buy some, you will probably have to weed through the pile at the store to find a decent one. The straighter the the better here, which is tough because they are notorious for being super wonky. I just happened to have a few straight ones leftover from another project.
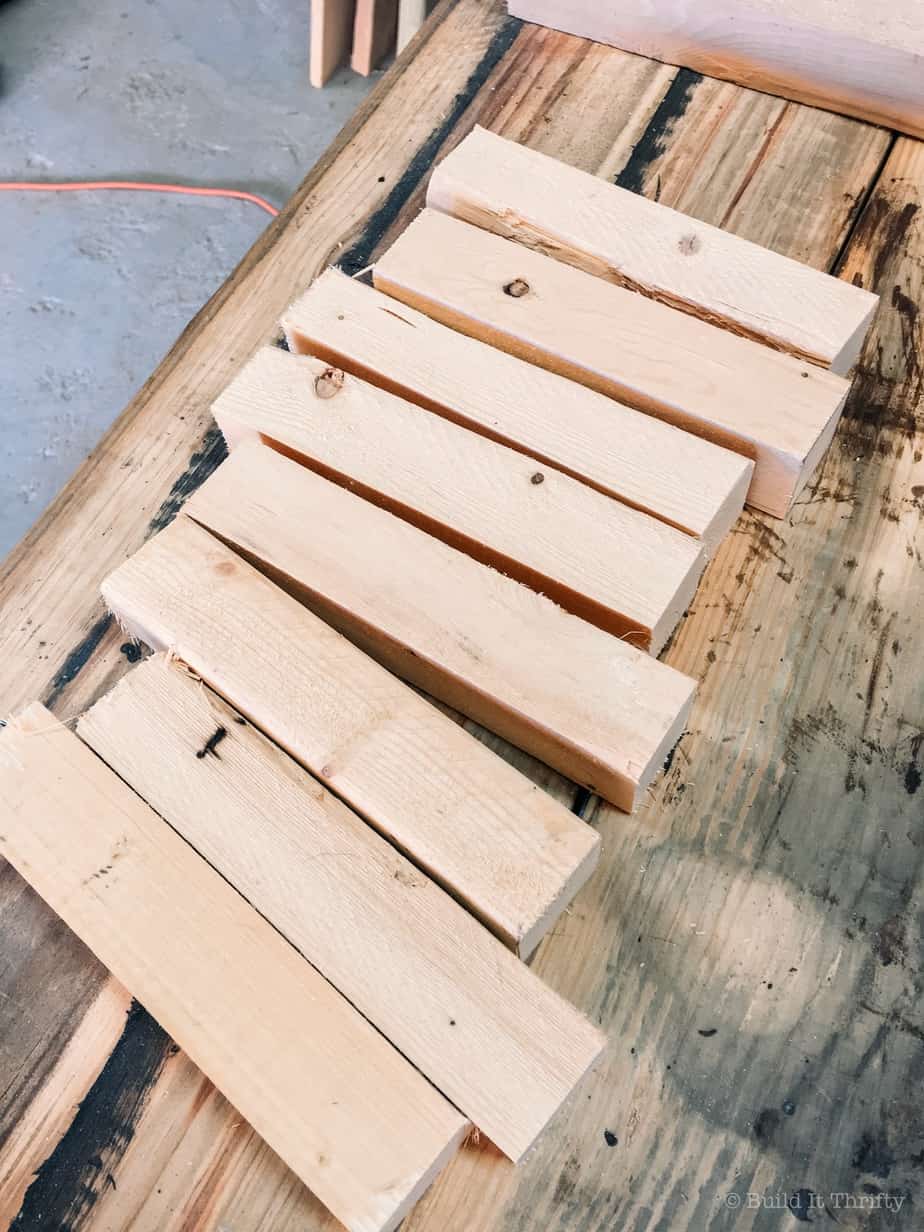
After you have all your 2x2s cut, it’s time to drill the pocket holes. Set your Kreg Jig and bit to 1 1/2″ depth and drill pocket holes on each end of the eight short 2x2s.

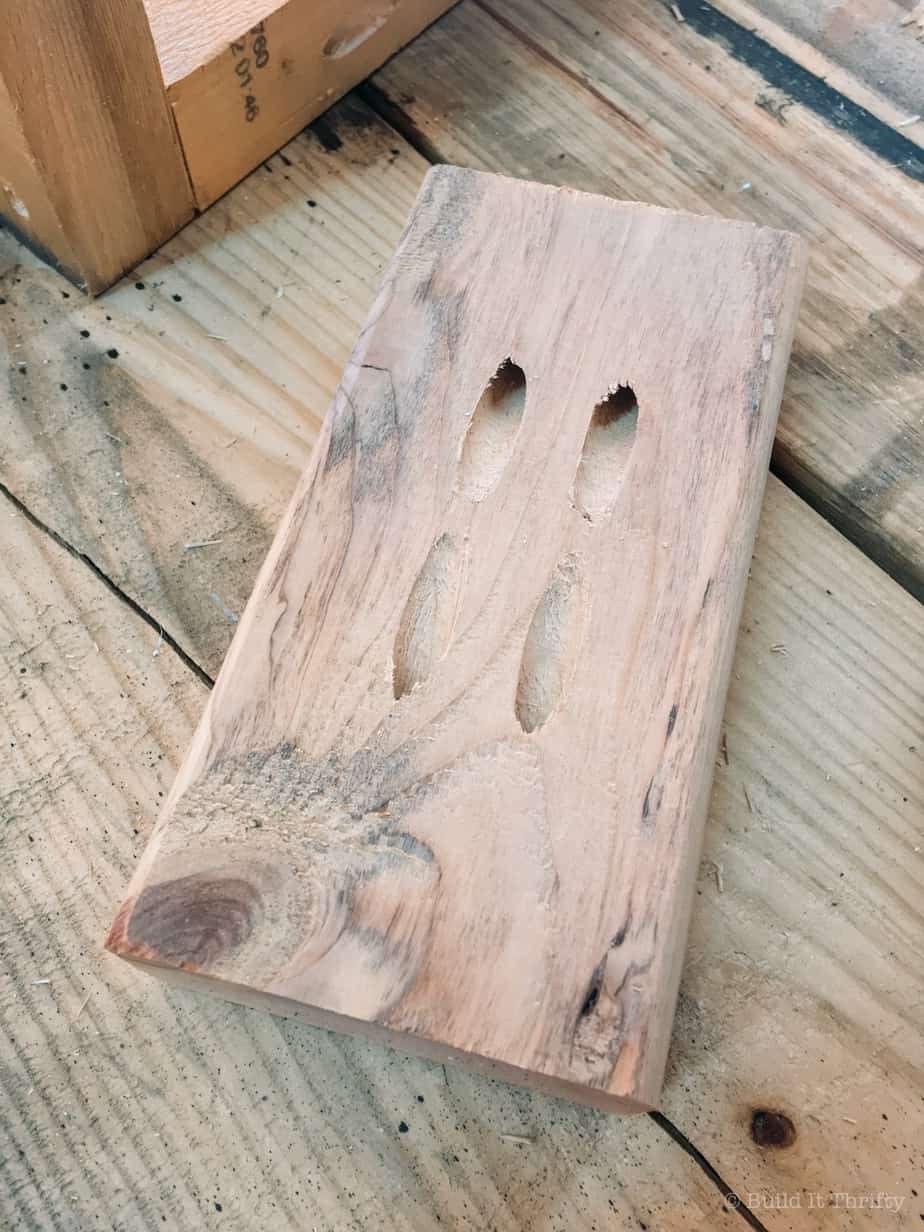
Cut your little 2×4 piece and drill two pocket holes in each end.
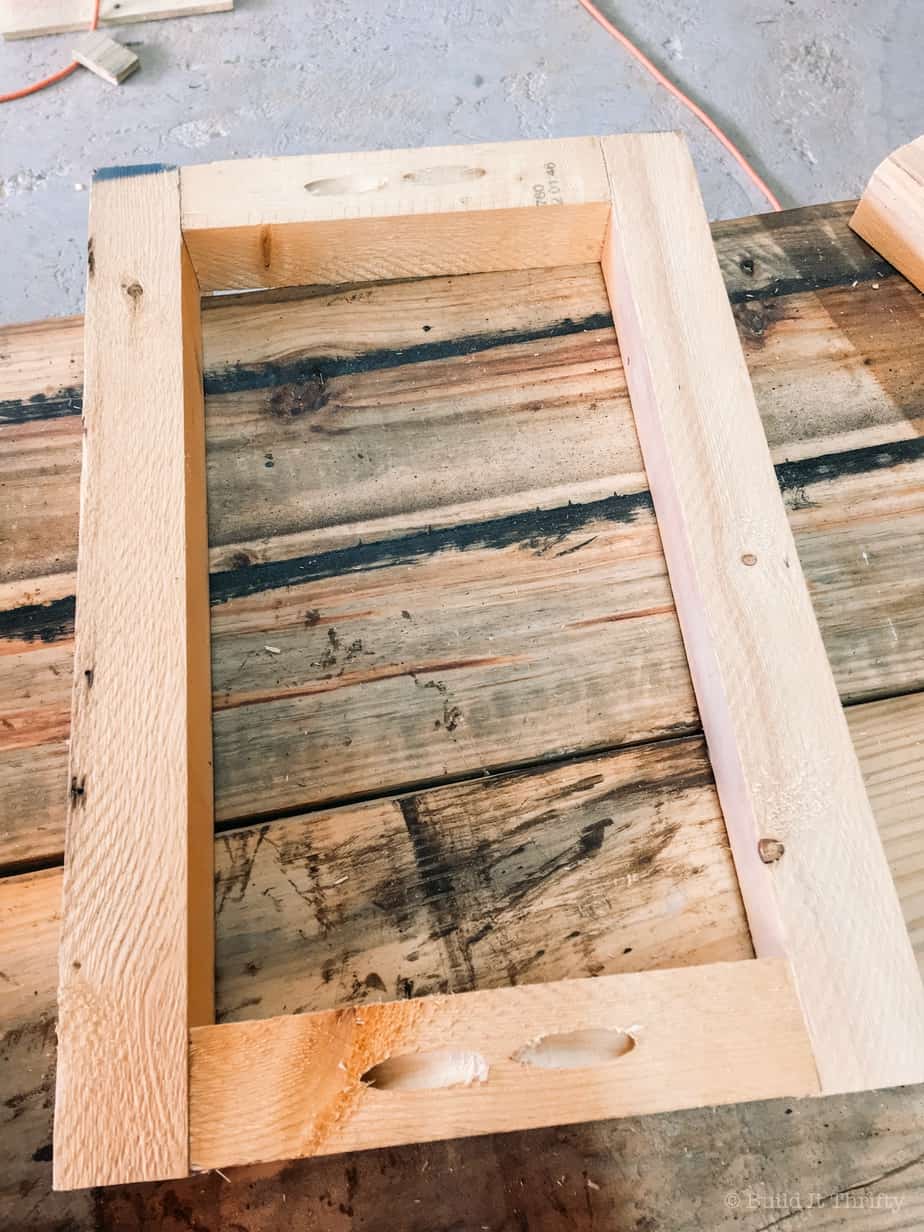
Step Two: Assemble the Lantern
Take two of the short pieces and attach them to two of the long pieces using wood glue and 2 1/2″ pocket-hole screws. Repeat to create two rectangular frames.
Now that you have your two frames, use the remaining short 2x2s to connect both of the frames to form a box.
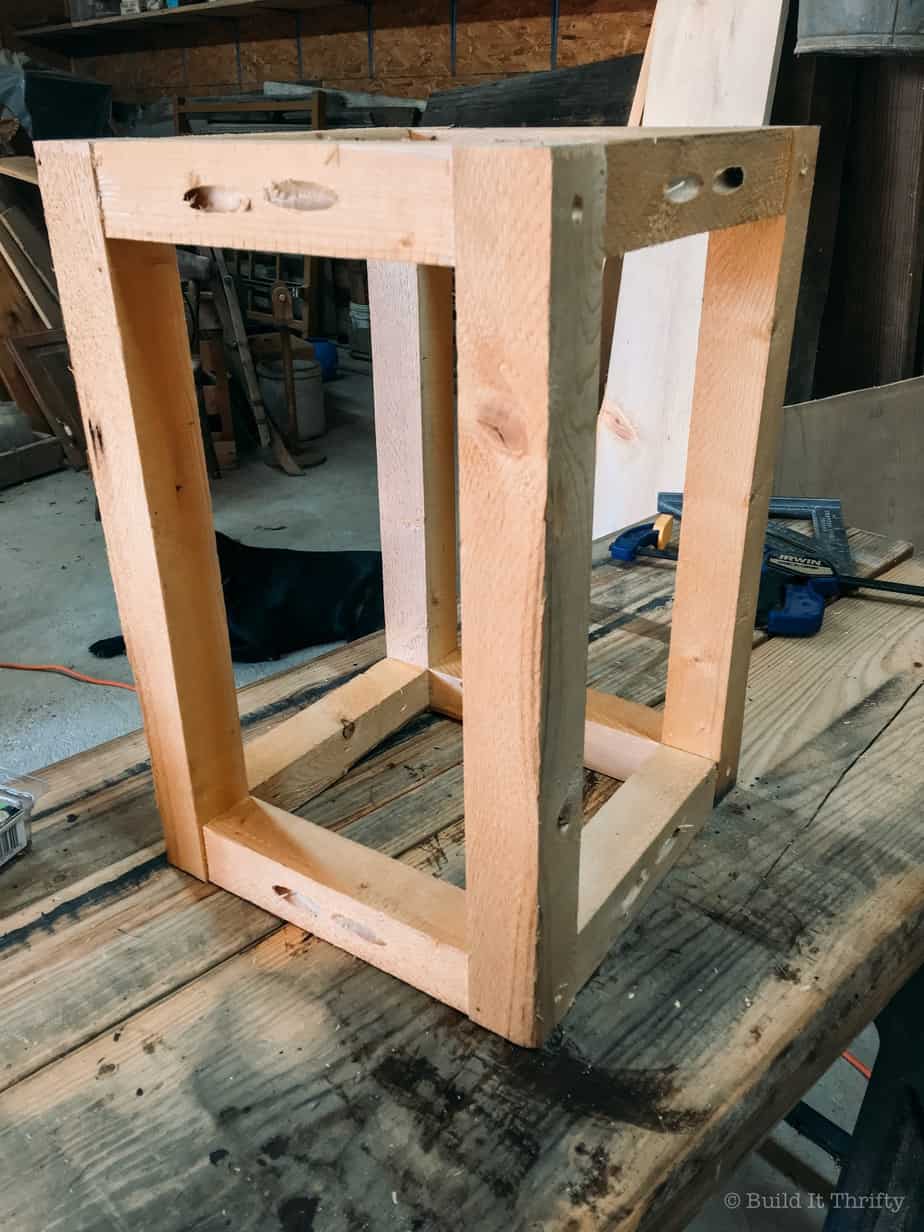
Take your 2×4 piece and attach in the center of the base with pocket -hole screws and wood glue. Make sure it is flush with the base of the box.

Step Three: Nailing the Trim Pieces
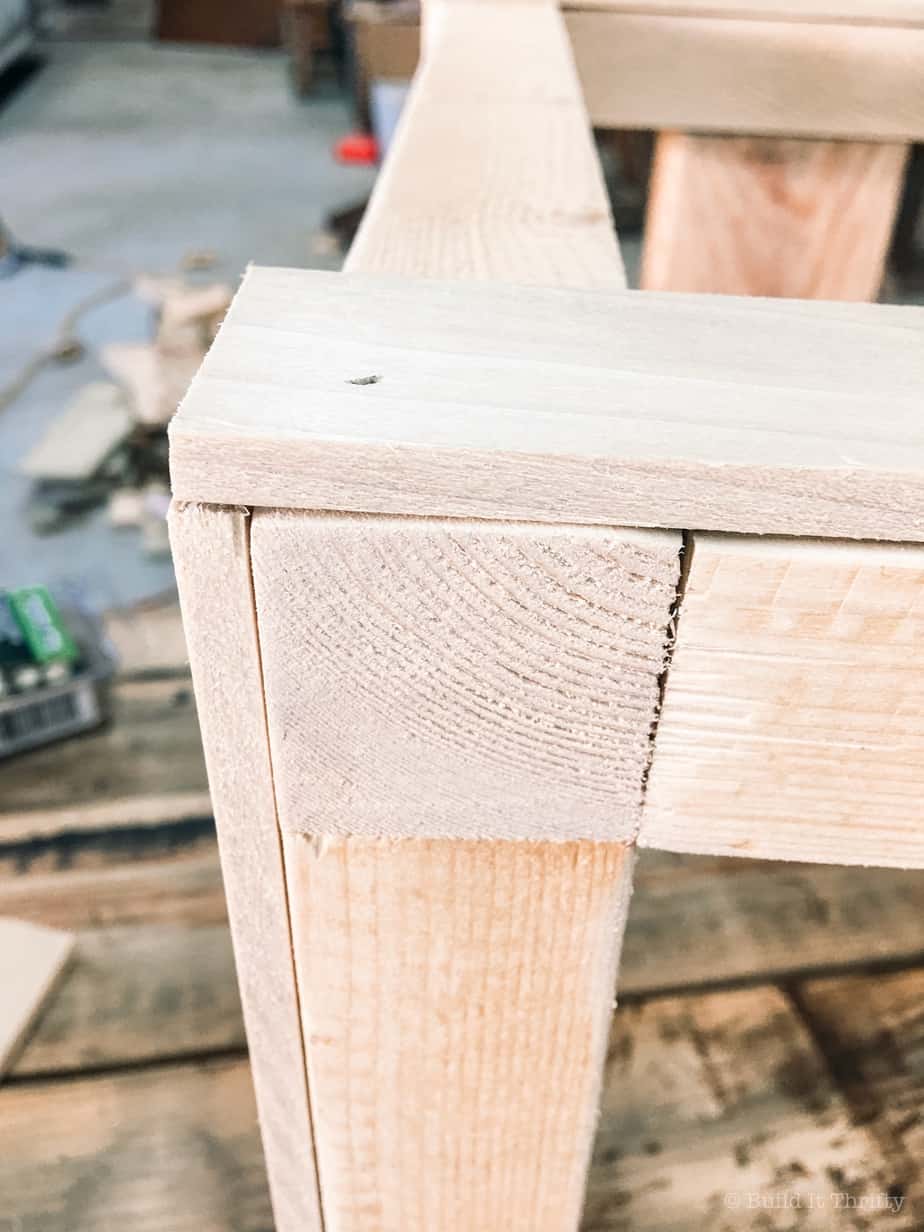
Pretty excited about getting to this step. I bought a new 18-gauge brad nailer to replace my old nail gun that I thought was lost. I ended up finding the old one the very same day under a pile of junk. This is how my life goes. Take your thin poplar strips that you cut in step one and start attaching around the top and the base of the lantern using wood glue and 1″ brad nails. Make the strips flush with each end of the lantern when attaching.

Here is a close up pic of one of the corners.
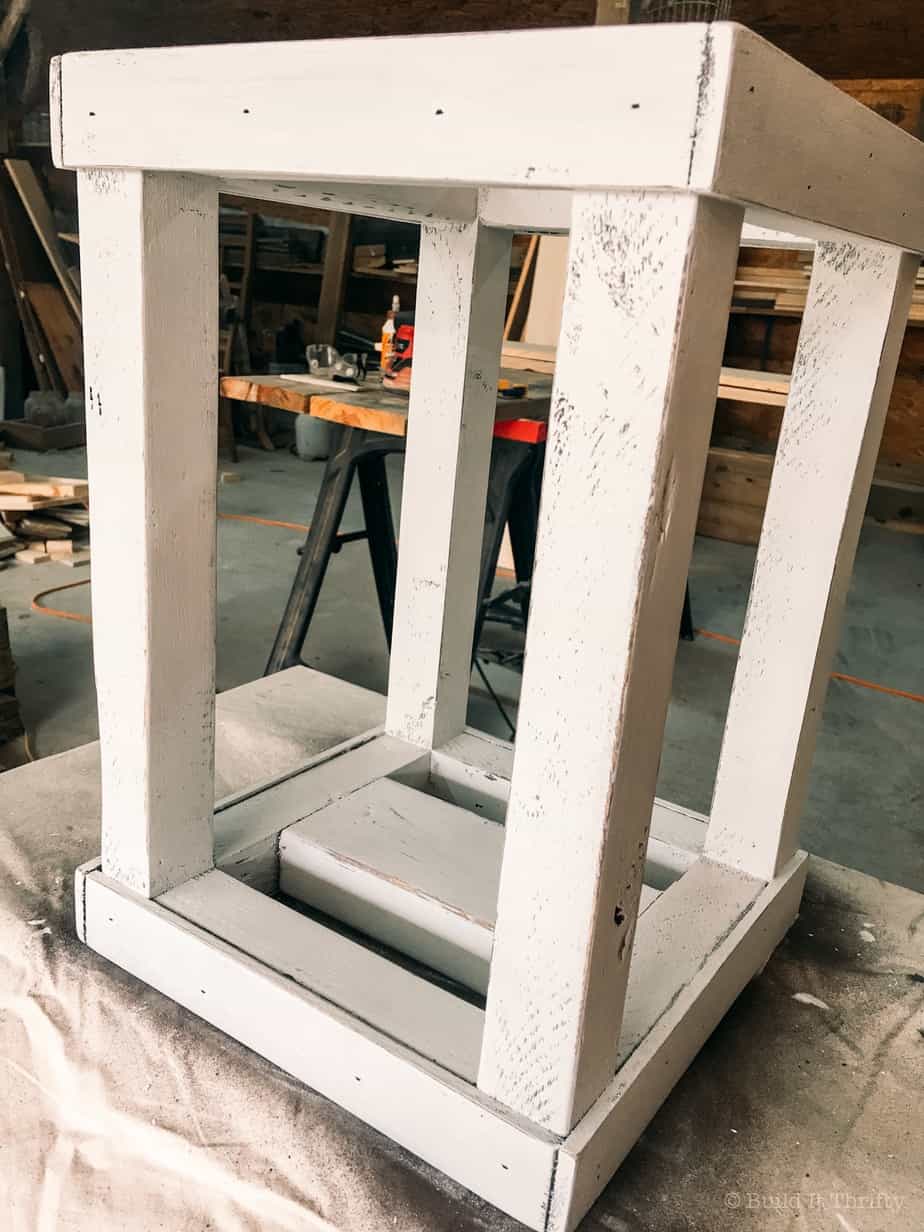
Step Three: Paint and Distress
Now that your rustic wood lantern is assembled, it’s time for painting! Sand everything with an orbital sander first with 120-grit sandpaper and smooth all edges. Lightly spray the lantern with dark brown spray paint, matte finish. I used my go-to, Espresso by Rust-Oleum.
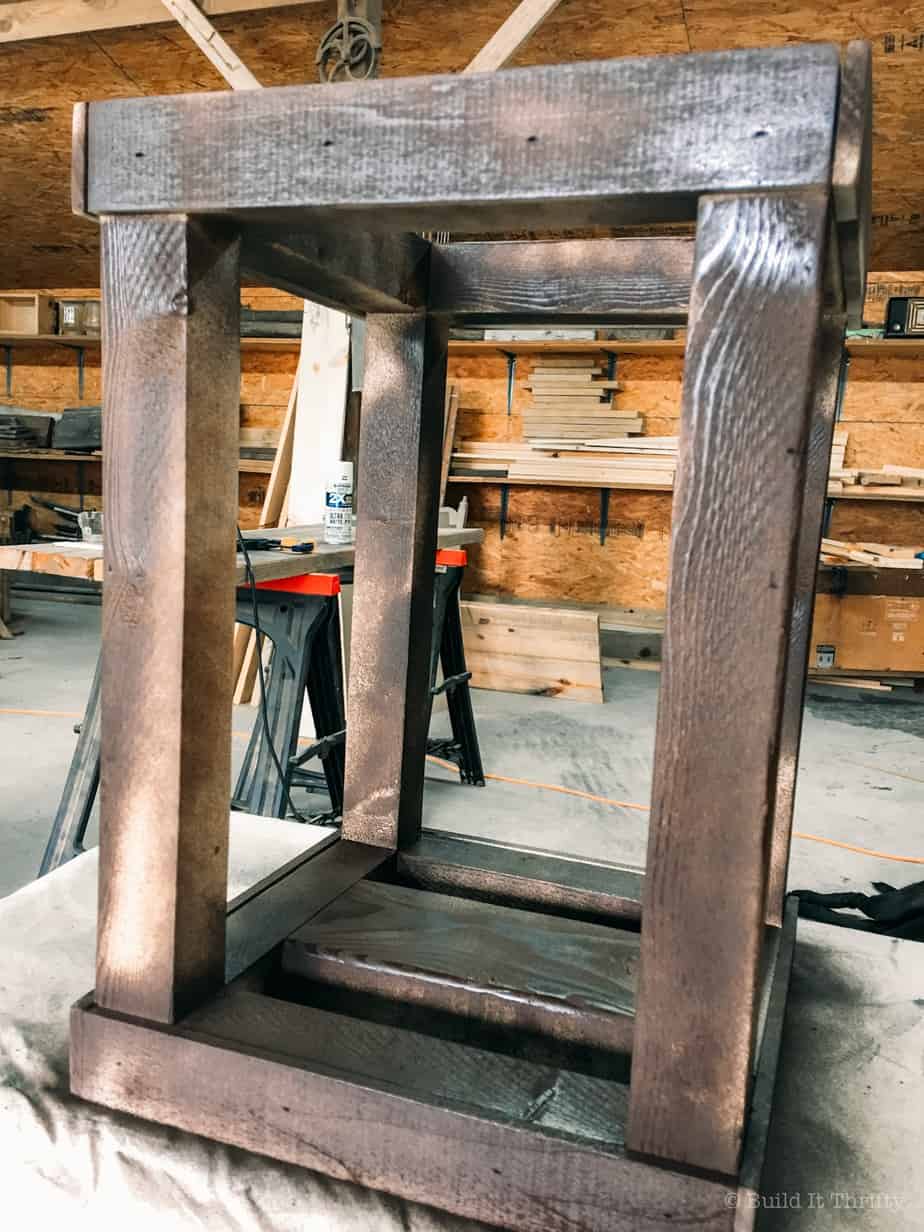
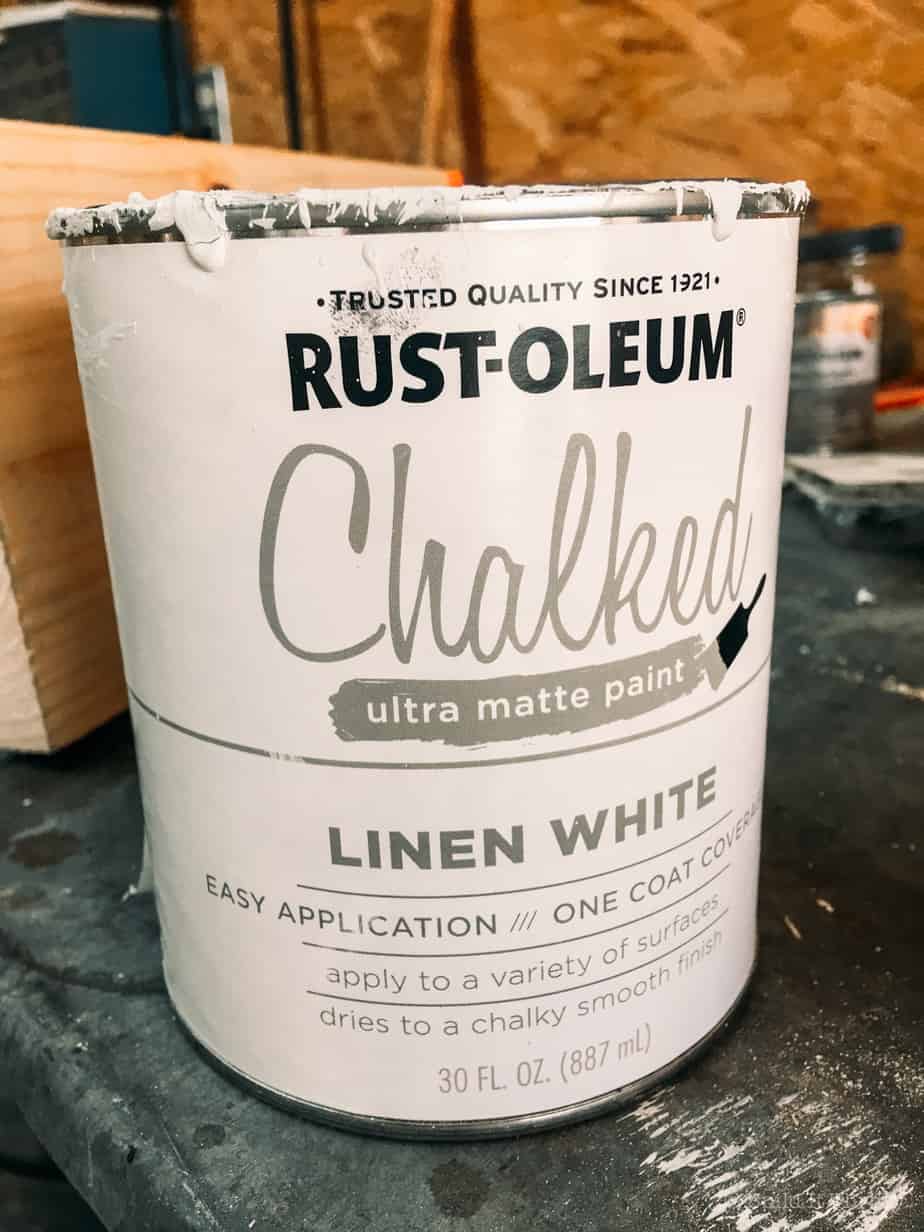
After your spray paint is dry, begin dry brushing chalk paint until you get the coverage you want. I did three coats of this Rust-Oleum chalk paint in Linen White.
Once the chalk paint is dry, lightly sand the corners and edges by hand with 120-grit sandpaper to distress.
All finished! A quick and easy project made almost entirely of scrap wood! I must say I think this little lantern could be very versatile from a decorating standpoint. It’s not as perfect as the original but I think Grandma would be proud. 🙂


No Comments