
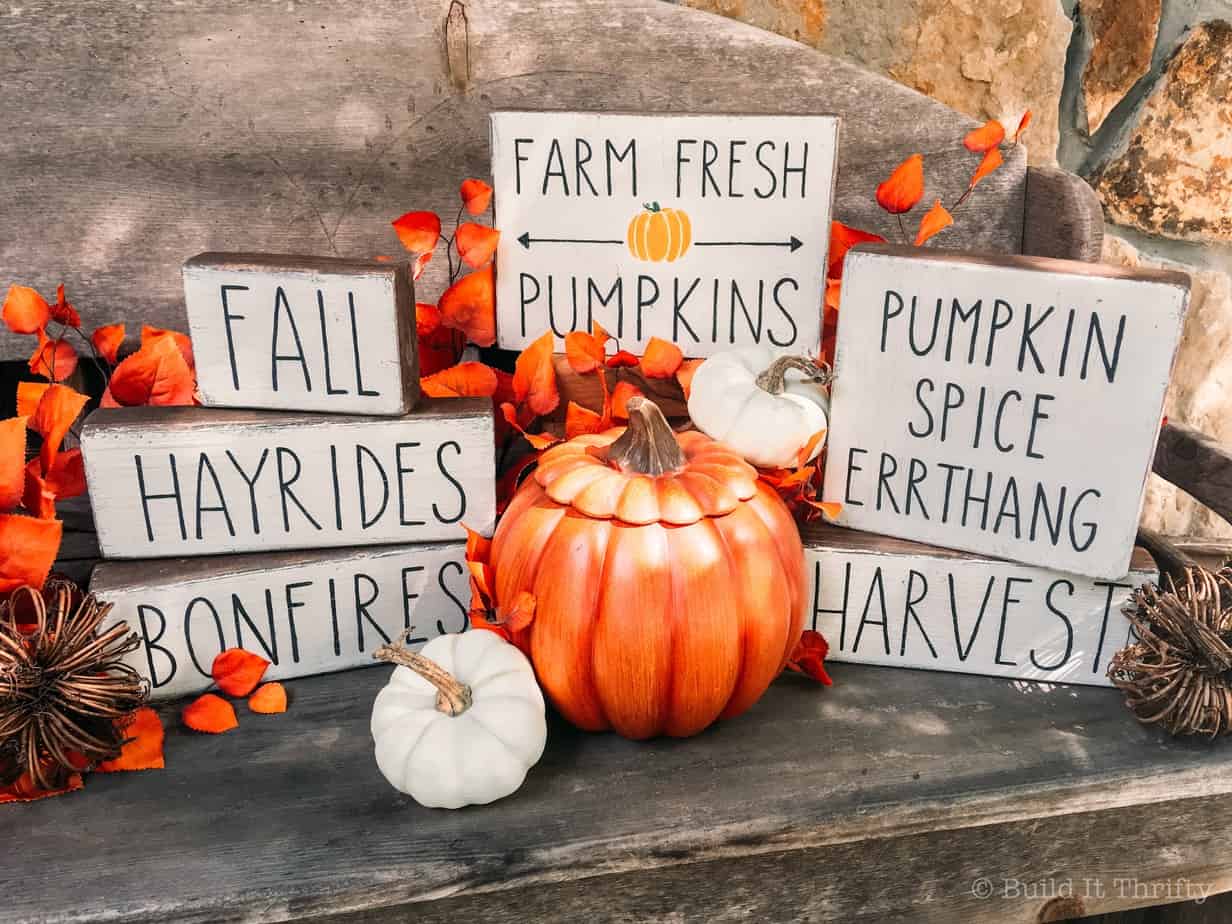
Even though we’re well into September, here in the South it still feels like summer with temps close to 90 degrees on some days. I’m ready to break out my grandma sweaters and Mother Nature is like, “slow your roll, girlfriend.” That doesn’t mean I can’t start switching into fall mode and my fall-scented candles are already on standby. These farmhouse fall blocks would be a great addition to any fall décor. So fire up a pumpkin-spice candle and let’s get to work!
Materials:
- 2×4, 2×8, and 2×10 (scrap pieces)
- Stain
- Chalk paint
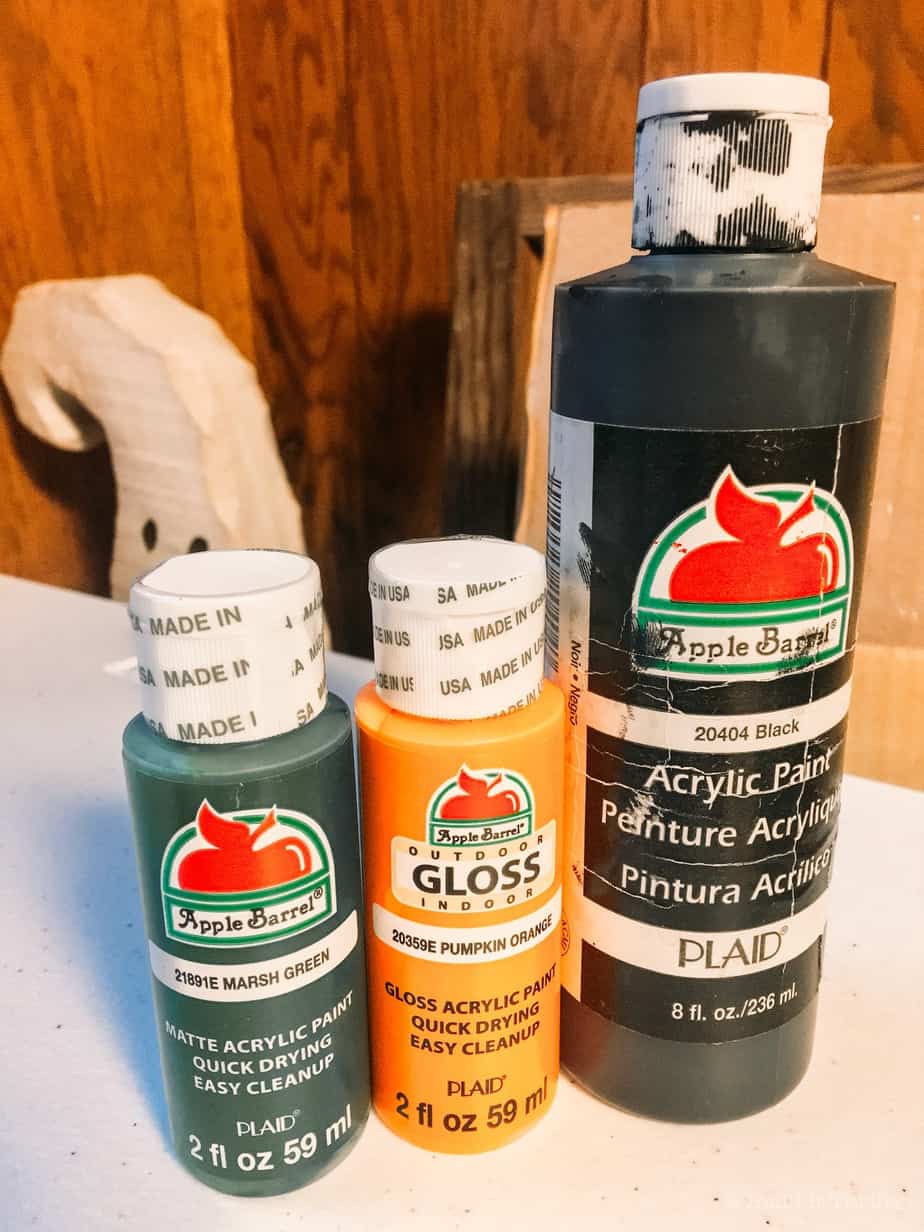
- Craft paint
Tools:
- Miter saw
- Sander
Cut List:
You can use whatever sizes you have on hand. These are the dimensions I used.
- 1-2×4@5
- 1-2×4@9
- 2-2×4@9.5
- 1-2×8@7
- 1-2×10@6.5
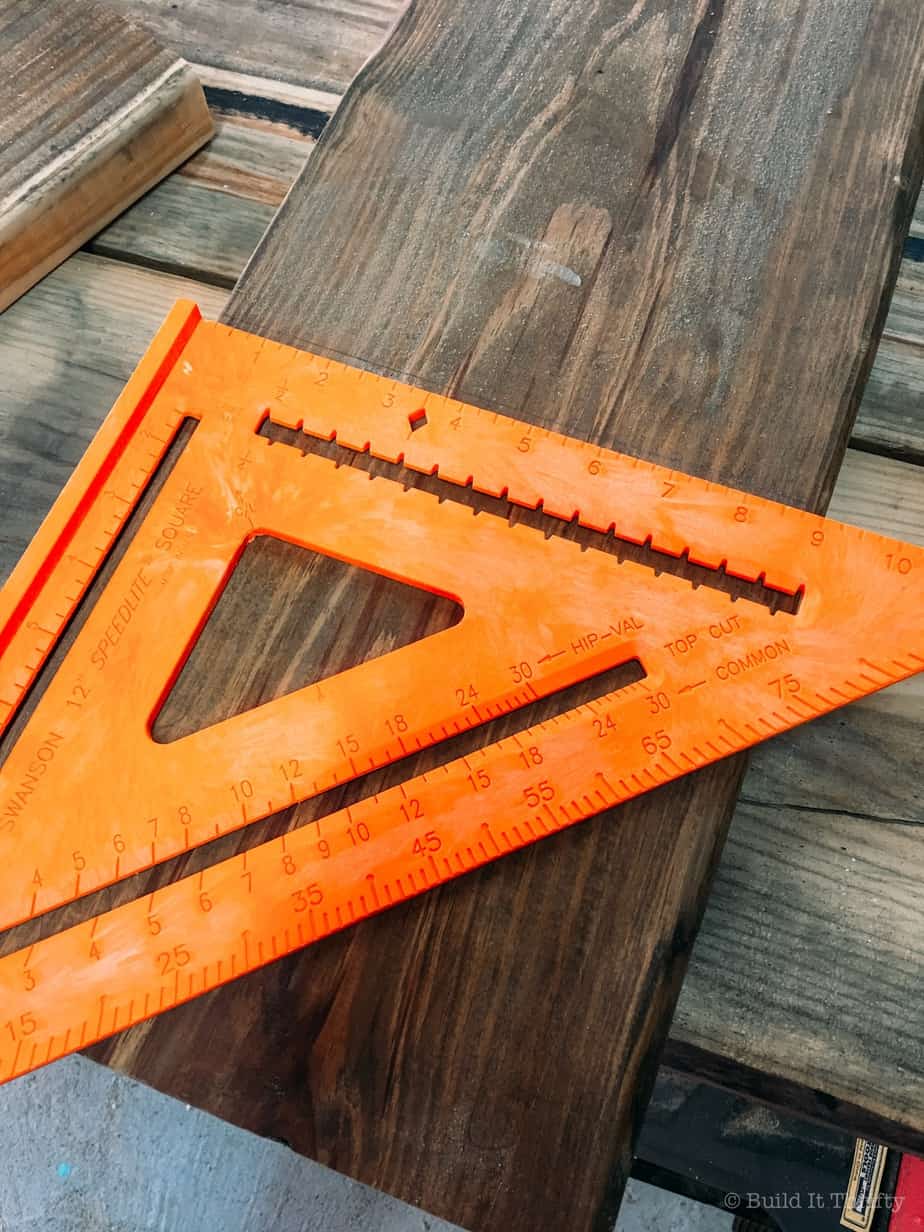
Step One: Make Cuts and Sand
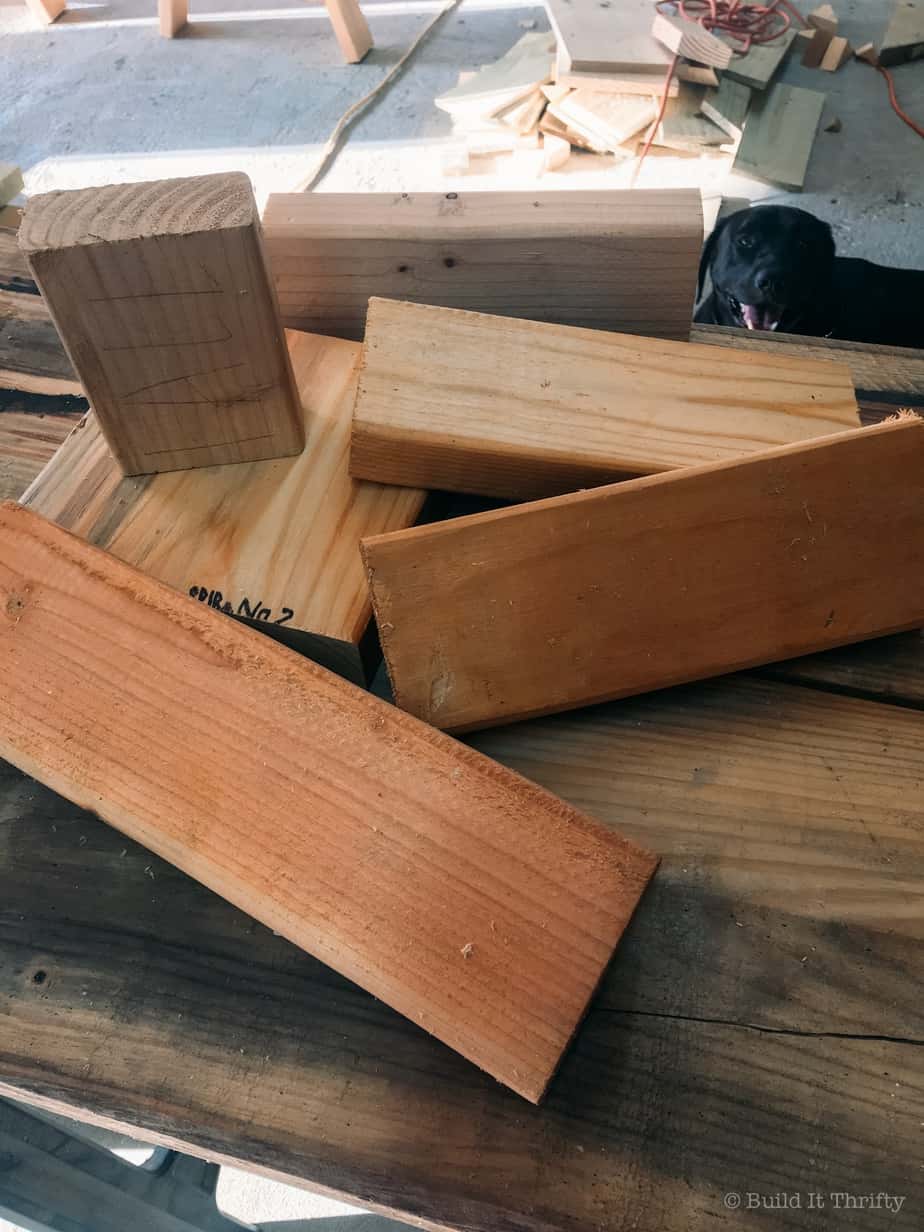
Choose the board sizes you want to use. They need to be 2x thickness. Determine how big you want your blocks and make your cuts.
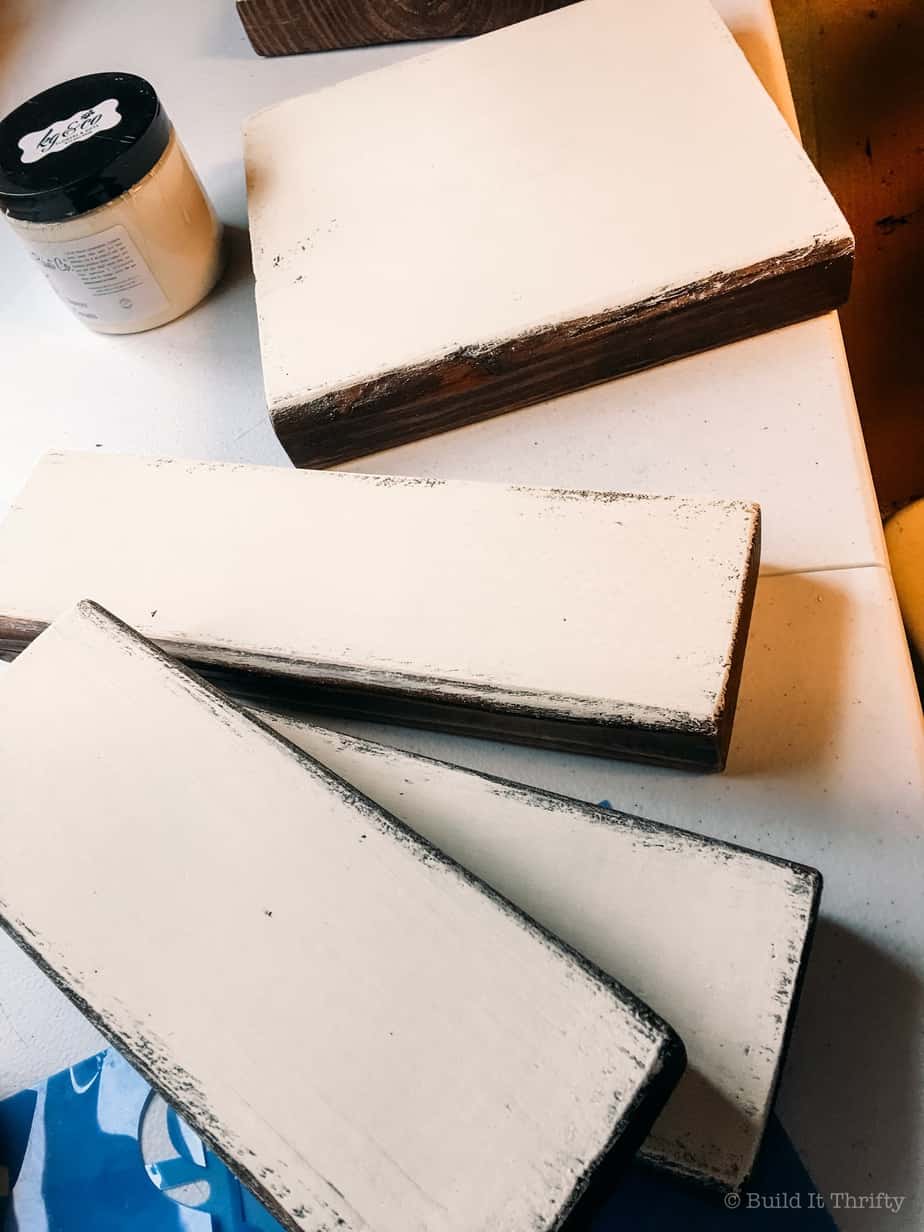
Here are all the various 2×4 blocks that were used. The sizes really just depend on what words you want to paint on them. I didn’t have to cut any of these, they were from the scrap pile. Now that you have all your blocks picked out or cut, sand everything with 120-grit sandpaper to smooth all the sharp edges.
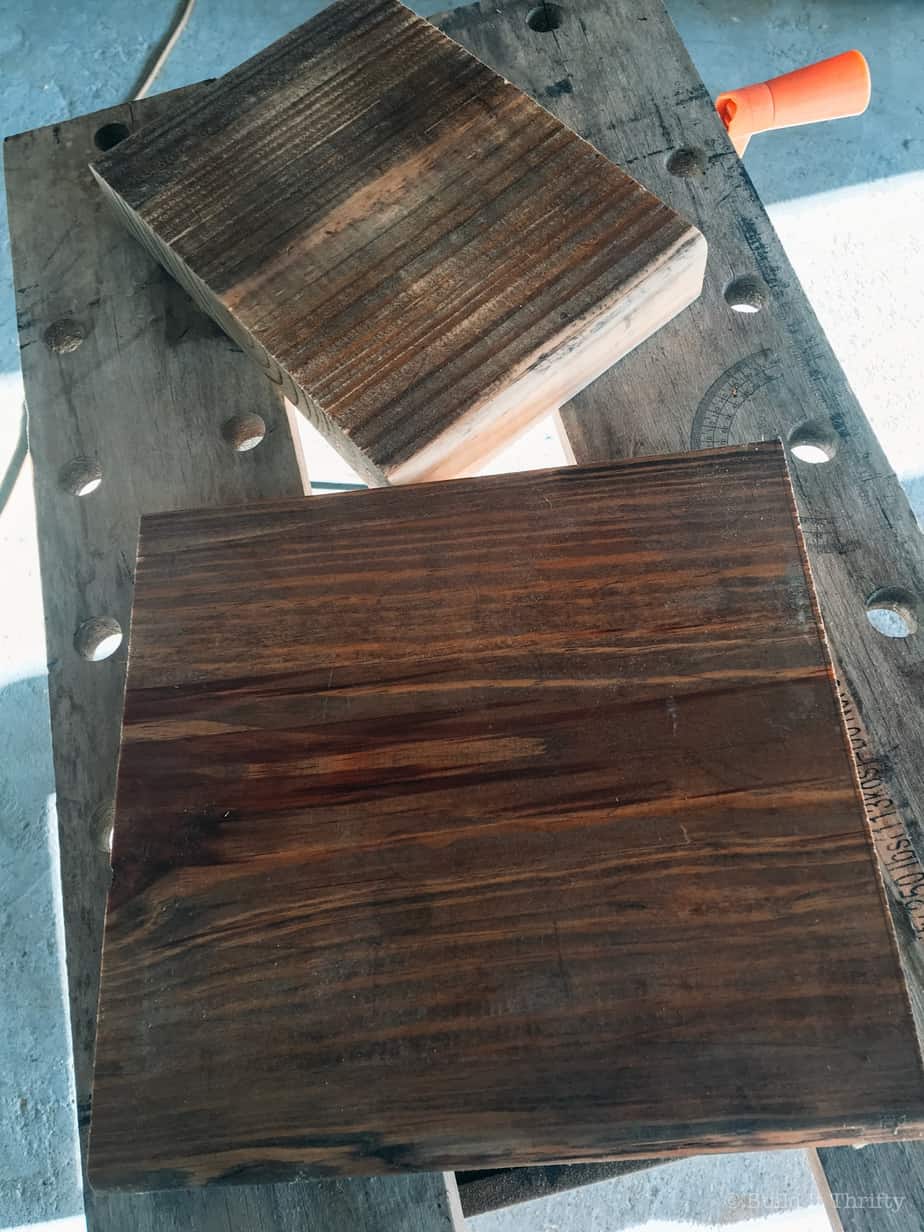
Step Two: Stain and Paint
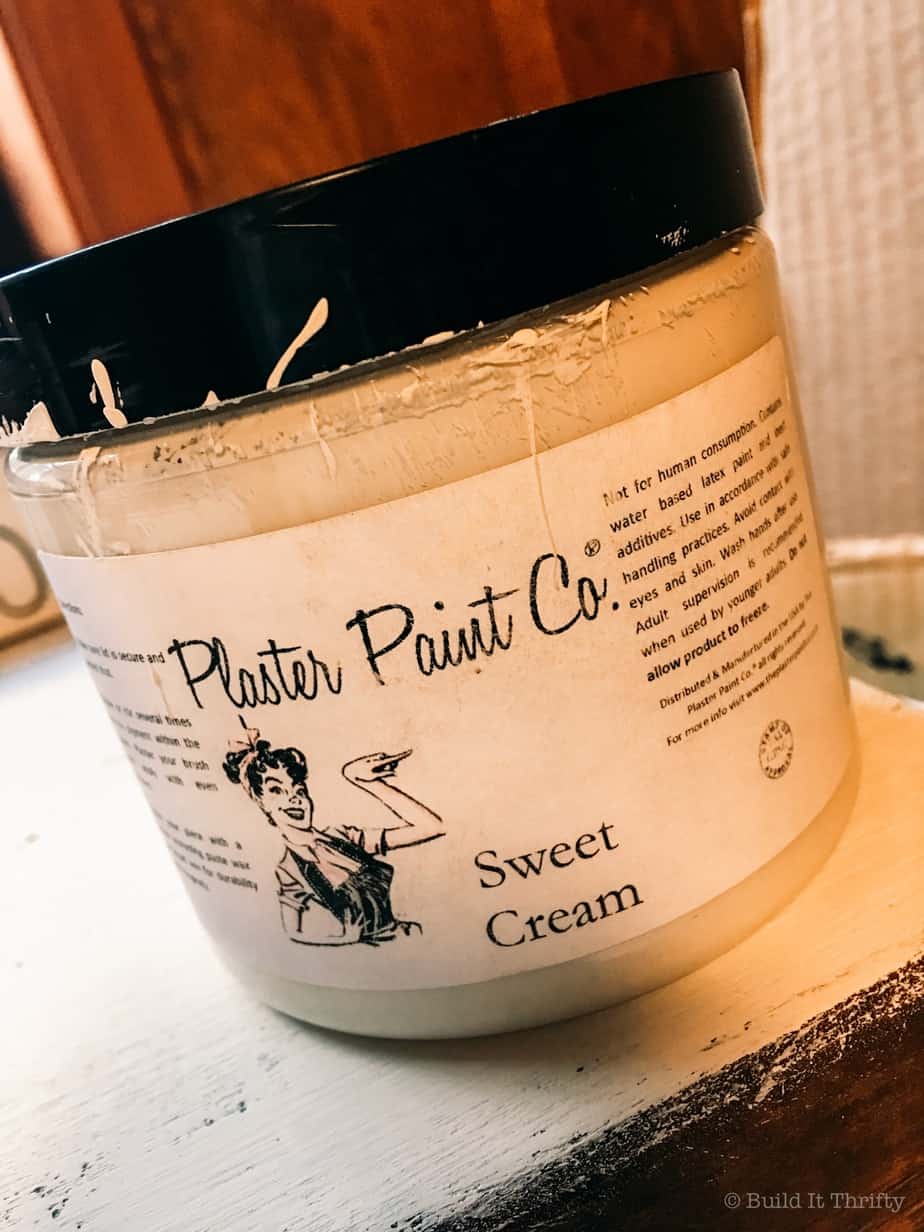
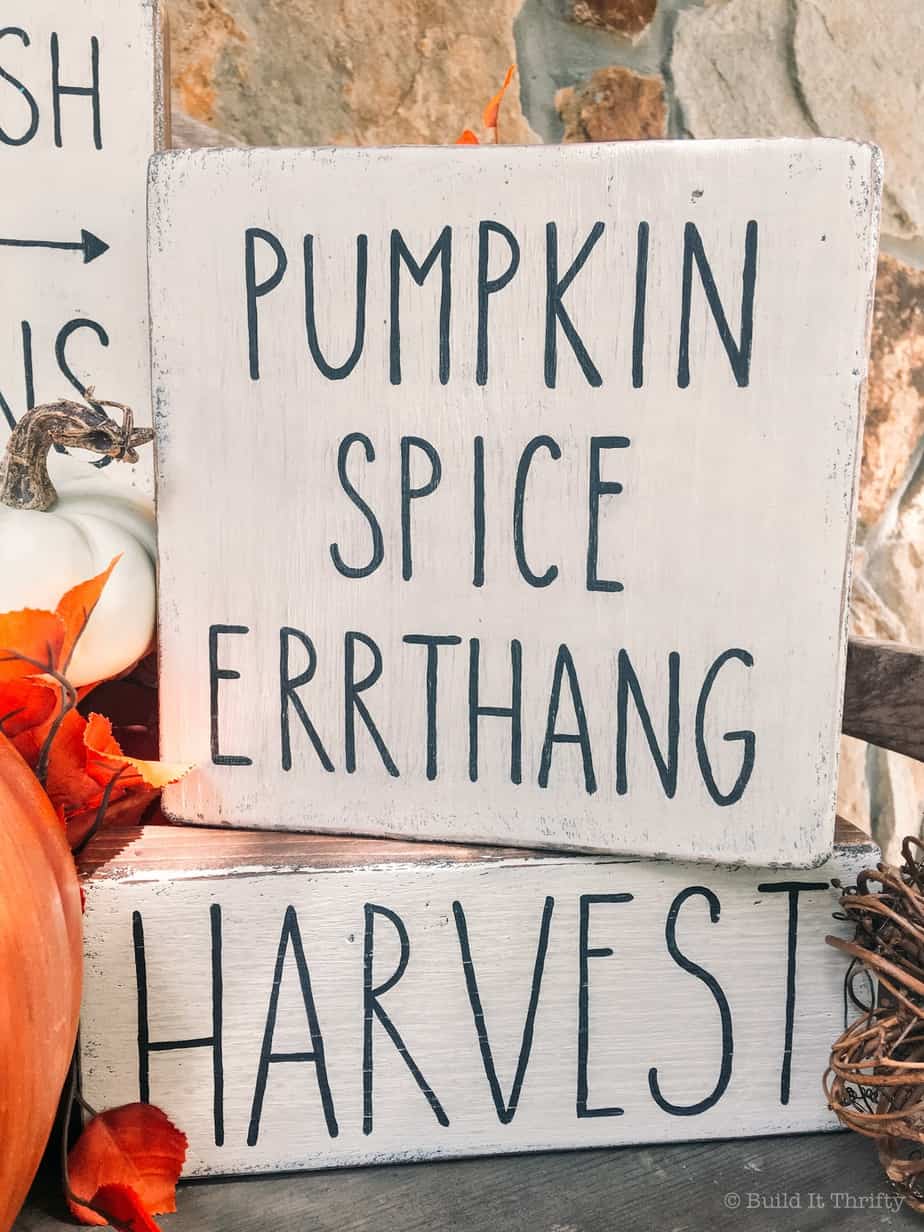
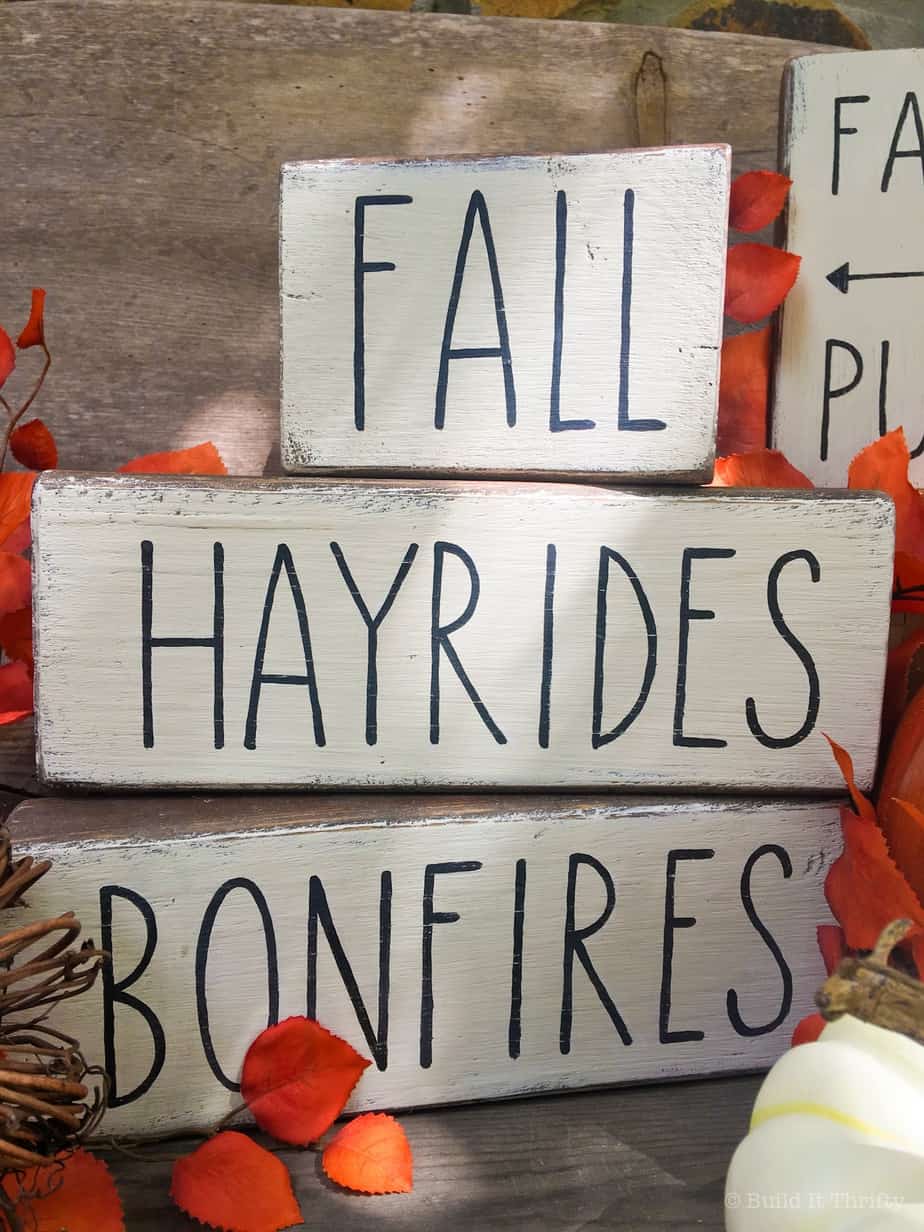
Stain all of your blocks. I used Dark Walnut by Rust-Oleum. After your stain is dry, paint the face of each block using chalk paint or craft paint. There is a pic below of the chalk paint I used. I think I bought it from a local flower shop several years ago but any cream color will do. I dry brushed three coats of the paint so it would have a distressed look.
Step Three: Detail Painting
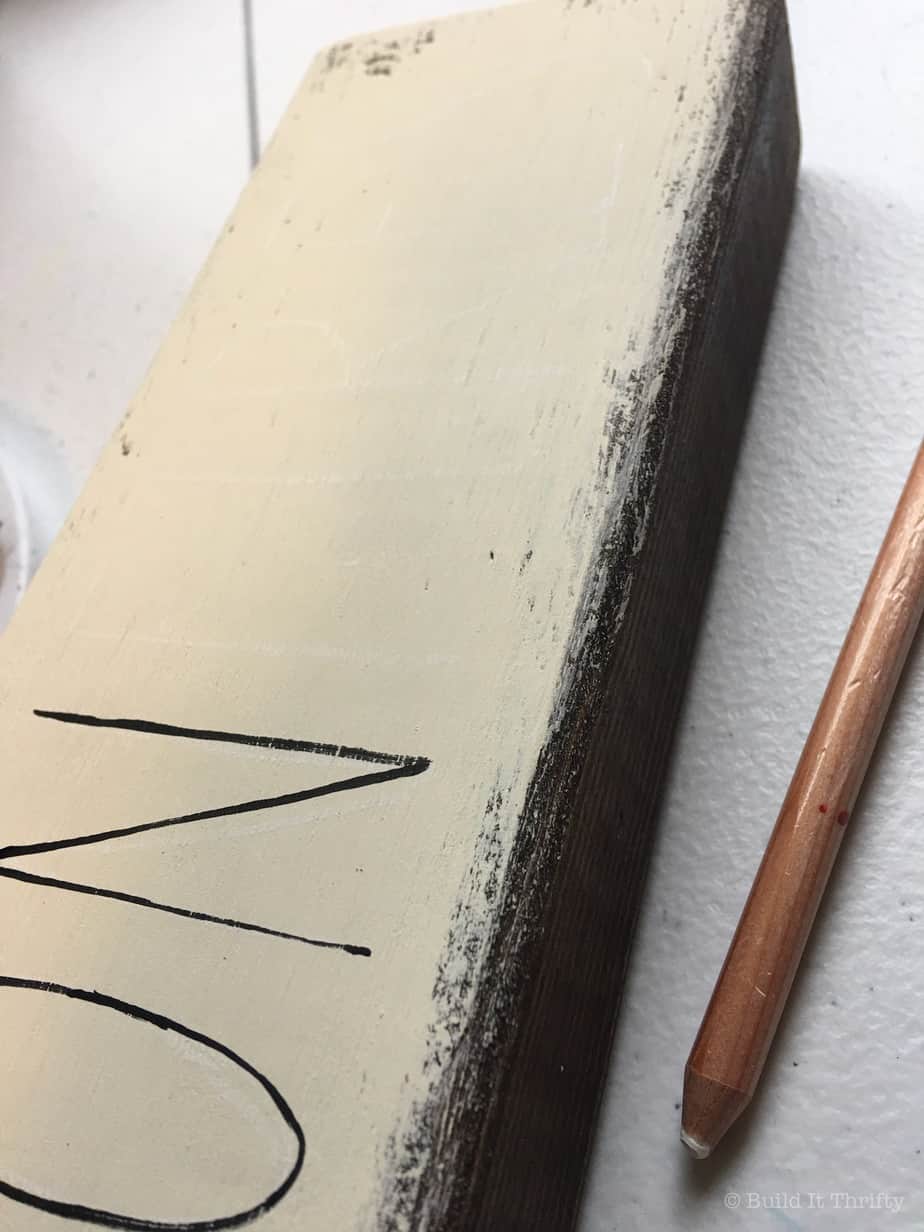
I typed up all the words in a document so I could reference it as a guide for the lettering and I used The Skinny font. This is a free font that you can download. It is similar to Rae Dunn font which is really popular right now.
I free-handed the lettering on the blocks which took several attempts. Thank goodness for erasable chalk pencils! It’s a little hard to see on the cream paint but it’s just enough to guide you for the letter placement. If you don’t want to do it this way, you could use graphite transfer paper.
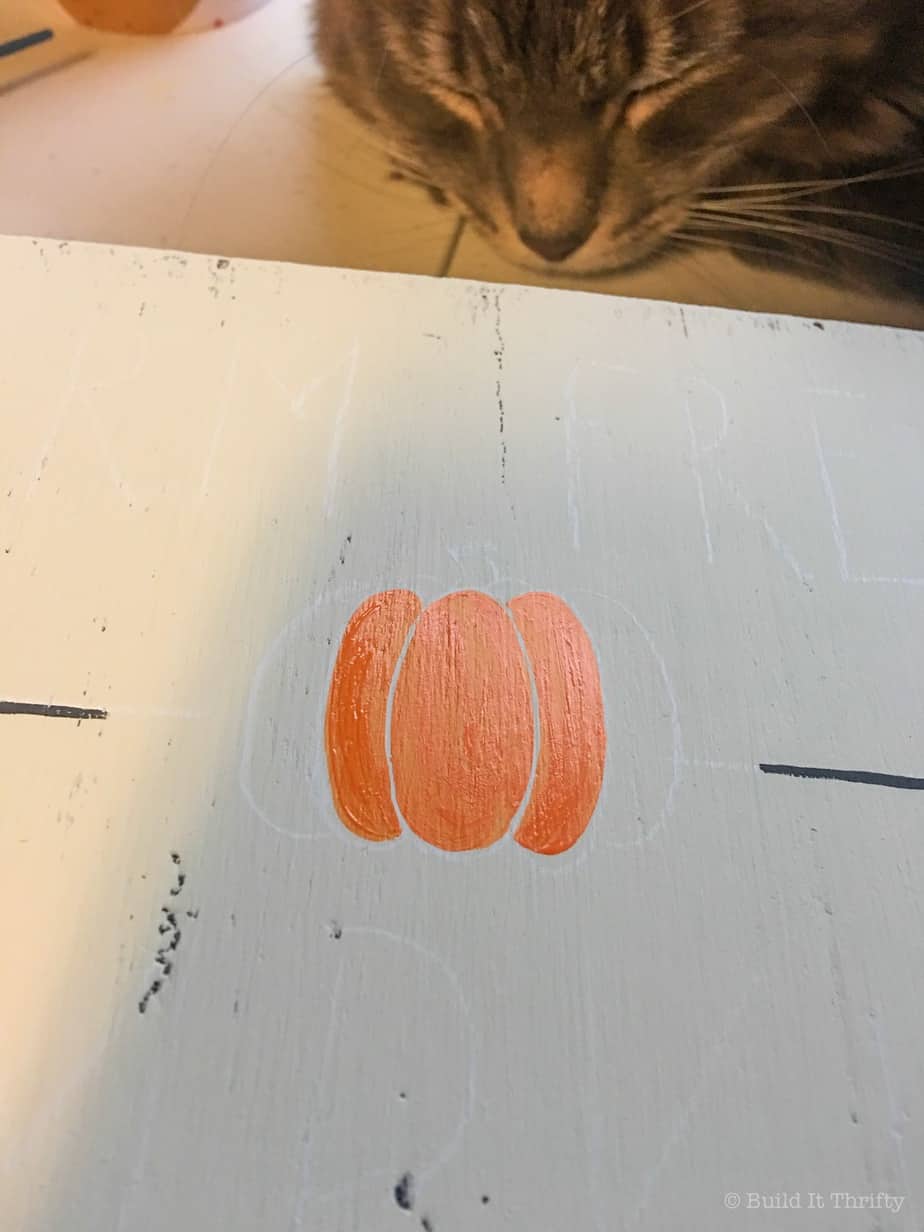
I wanted to add a little color to one of the blocks so I went with this pumpkin. Drawing a pumpkin is pretty simple. If you can draw an oval then you got this. Draw your center oval then draw half ovals coming out each side. Then, just draw a stem and a little curly vine. Again, if you don’t want to do it this way you could use transfer paper or a pumpkin stencil.
After all the detail painting is finished, go back and sand everything by hand to give it a worn look. Here are the farmhouse fall blocks completed! I’m happy with how they turned out!

Mom asked what “errthang” meant so I had to break out the urban dictionary on her….
err-thang: pronounced /ur-thĀng/
pronoun
1. all the things
Spooky season is just around the corner now so ya’ll know I’m getting fired up. I’m ready to bust out some Halloween crafts on you guys next month. Stay tuned! In the meantime, I’ve got some more building projects on the to-do list so be on the lookout for those as well!


No Comments