
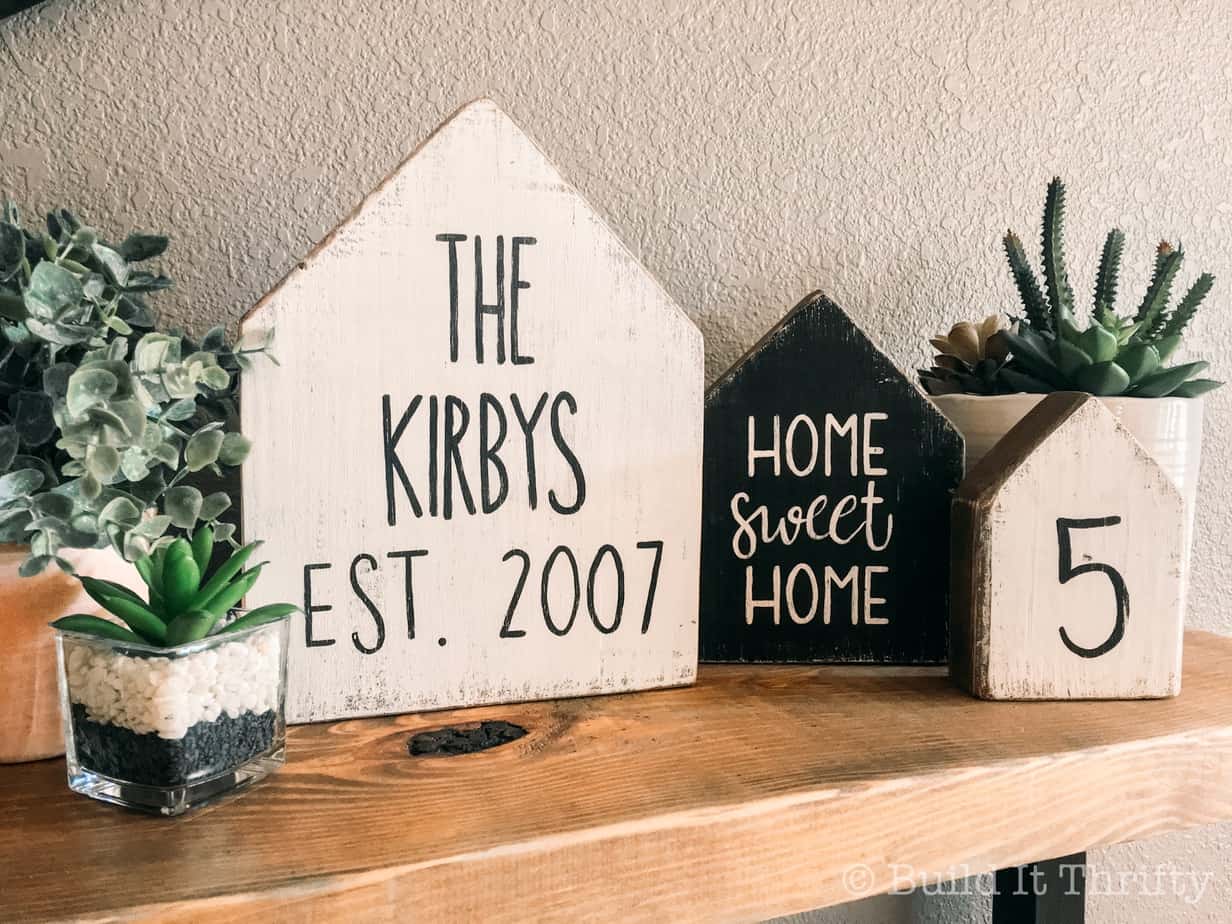
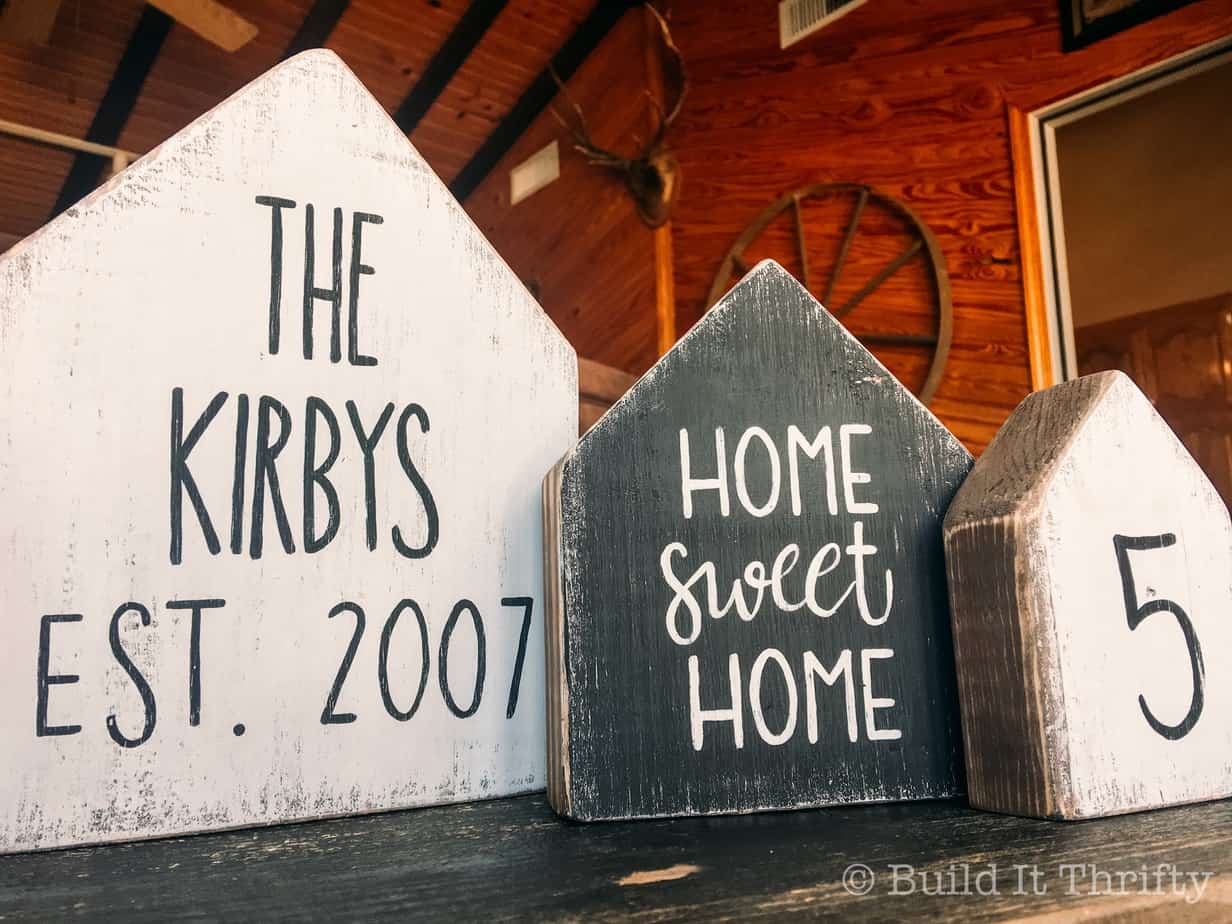
These little rustic wood houses are a great way to re-purpose all those unused ends of assorted 2x material that gets tossed to the side during a project. You can use whatever width boards you have on hand as long as they’re 2x thickness. They can be made as tall or as short as you want, stand on their own, and can be customized however you wish. These particular houses were made for a friend with their wedding year and a “5” for the five members of their family. I was super happy with how they turned out and you can make your own in just a matter of hours!
Material List:
- 2×8, 2×6, and 2×4 (scrap pieces)
- Stain
- Paint
Tools:
- Miter saw
- Sander
- Speed square
Cut List:
- 1-2×4@5″
- 1-2×6@6 3/4″
- 1-2×8@9 1/4″
Step One: Make Cuts and Sand
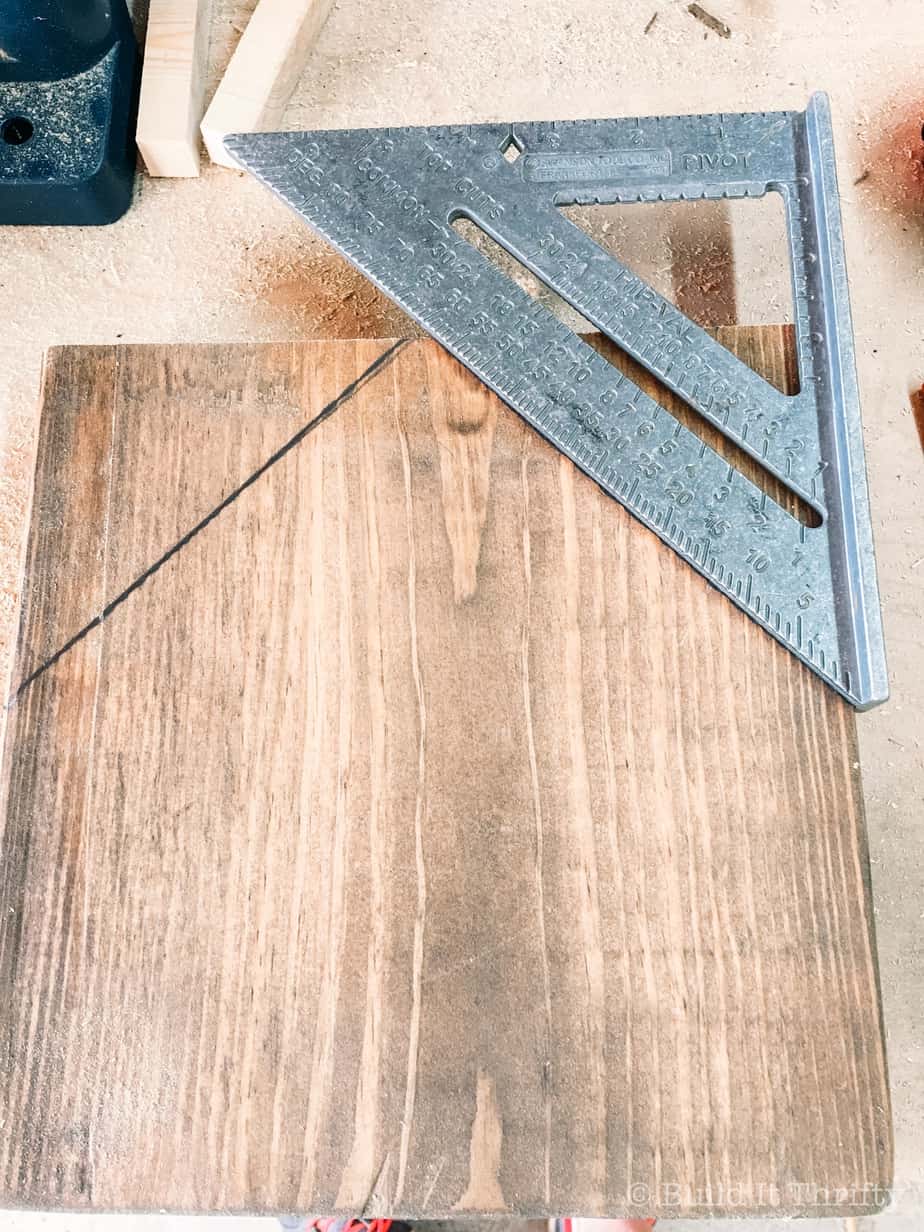
Determine how tall you want your houses then measure and mark on both sides of the board.
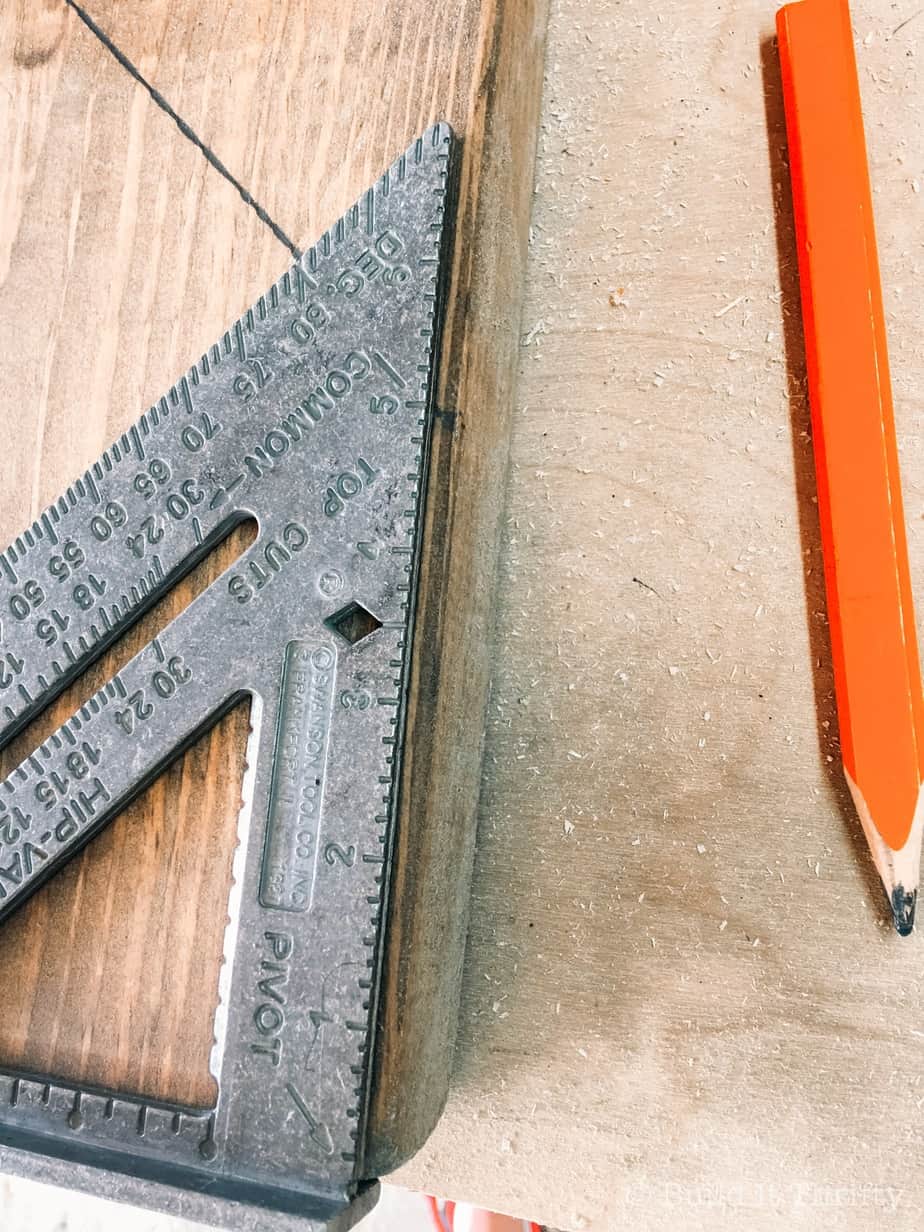
Use your speed square to draw your roof angles. Set your miter saw for 45-degrees and make your angled cuts. Repeat same steps for all three boards then sand all sharp edges using 120-grit sandpaper.
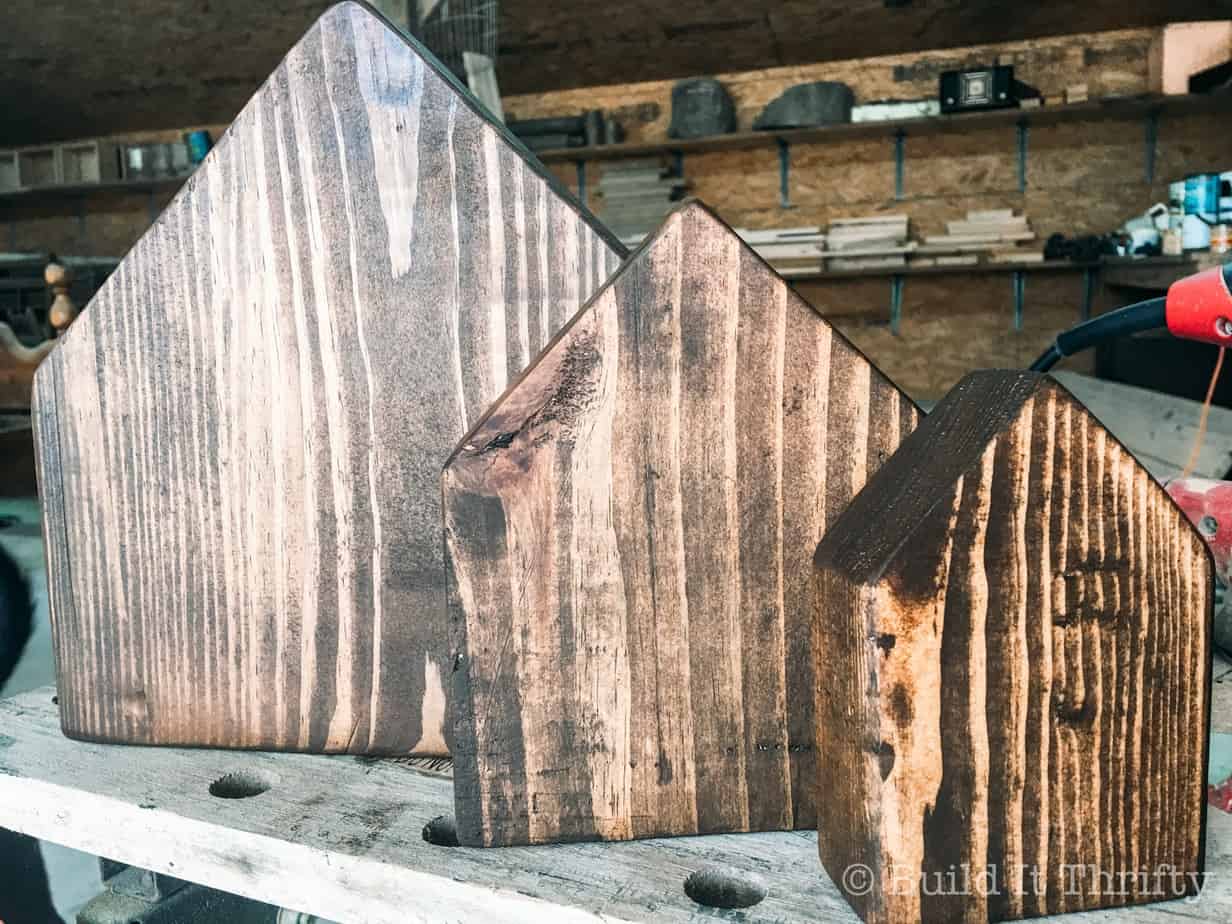
Step Two: Stain and Paint
Now we have three little houses. Next, stain each house. I used Dark Walnut by Rust-Oleum. After the stain is dry, paint only the fronts of each house using chalk paint or craft paint in the colors of your choosing.
Step Three: Detail Painting and Distressing
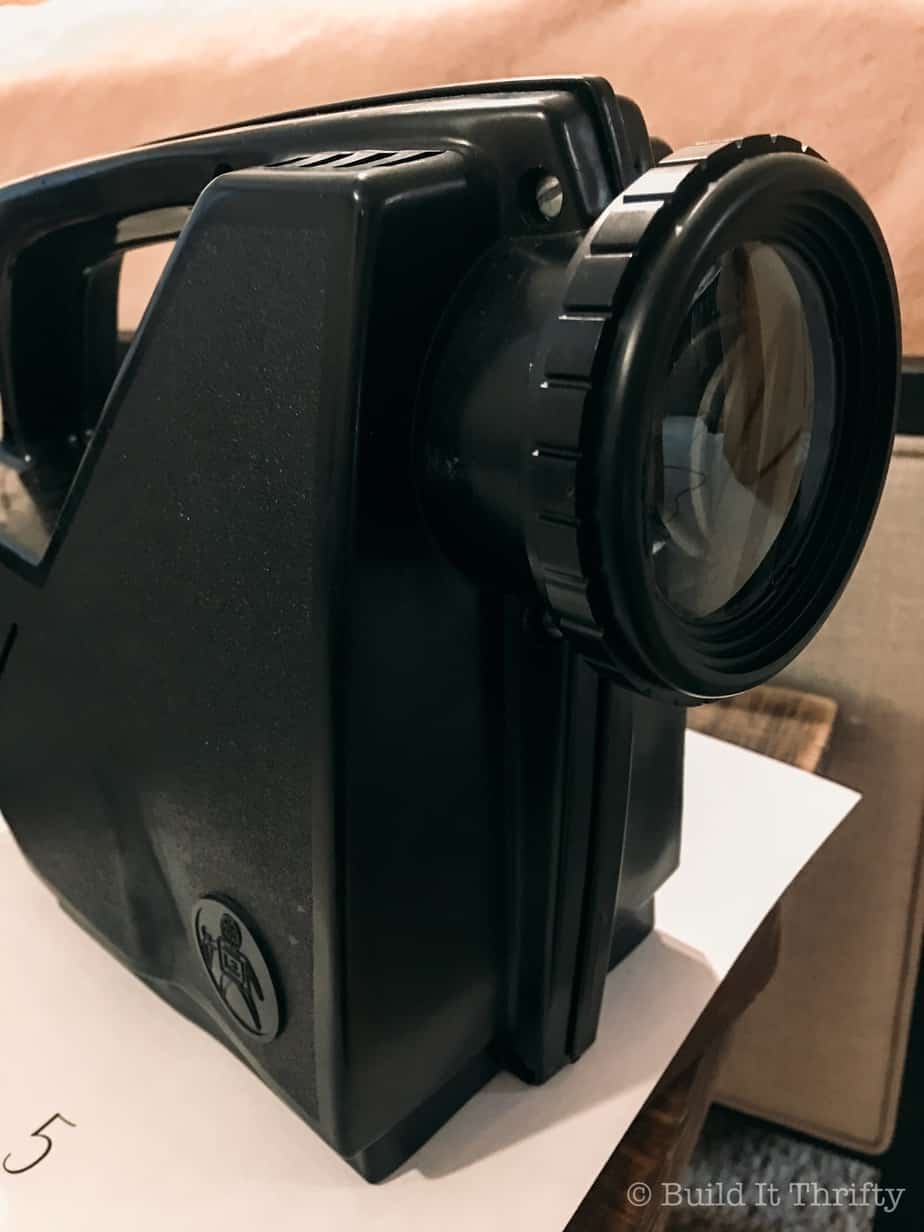
Now, it’s time for the detail painting. I really wanted the letter spacing and placement to be perfect on the larger house so I decided to break out my old projector for this project. I use it from time-to-time depending on the level of difficulty of what I’m painting or if I just want something to look more precise. Yes, I realize this thing looks like it came out of your grandma’s old schoolhouse. Mom gave it to me years ago and it refuses to die!
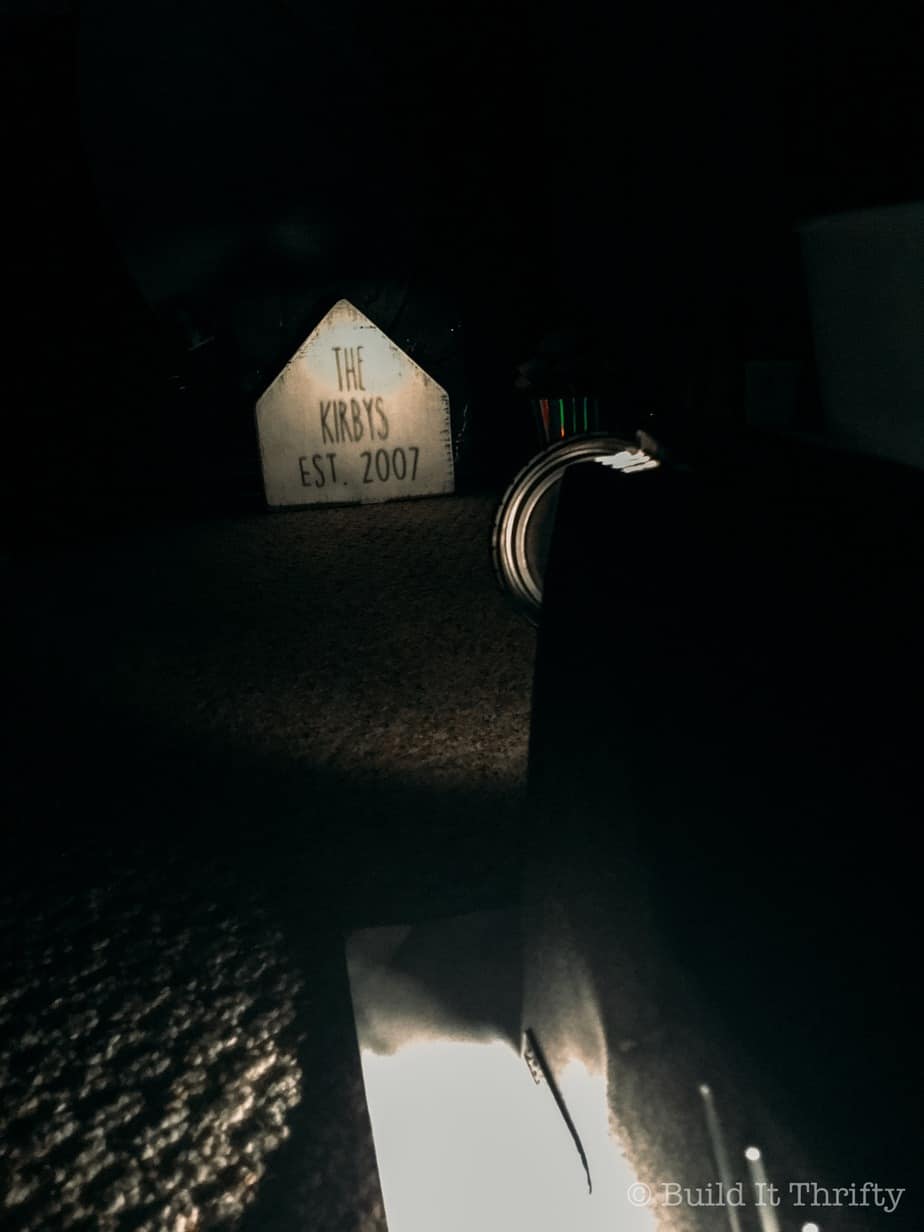
I lightly traced the projector image with a pencil then painted over the drawn pattern. Full disclosure, I had to Google if I needed an apostrophe in the last name or not because that’s how much I remember from school. 😀 Turns out I didn’t so we’re good. After you are finished with the lettering and it is dry, sand over everything by hand to give it more of a worn look.
Aren’t they super cute? Honestly, I may have to make some rustic wood houses for myself now.
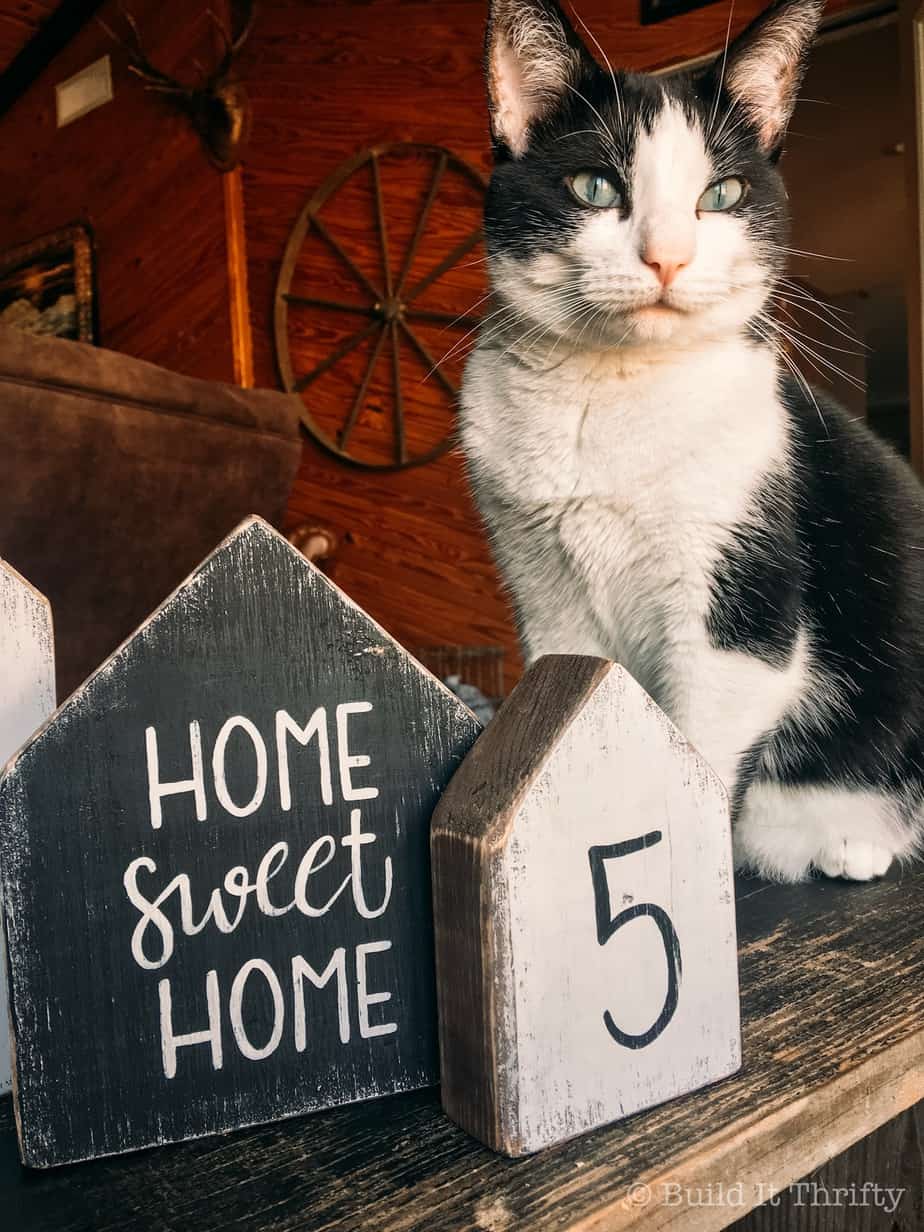
During the photo shoot, one of my fat fur babies decided he wanted to model. He coordinated so well that I had to snap a pic. I also may need to find him an agent, just look at that face! Swoon. 😉


No Comments