
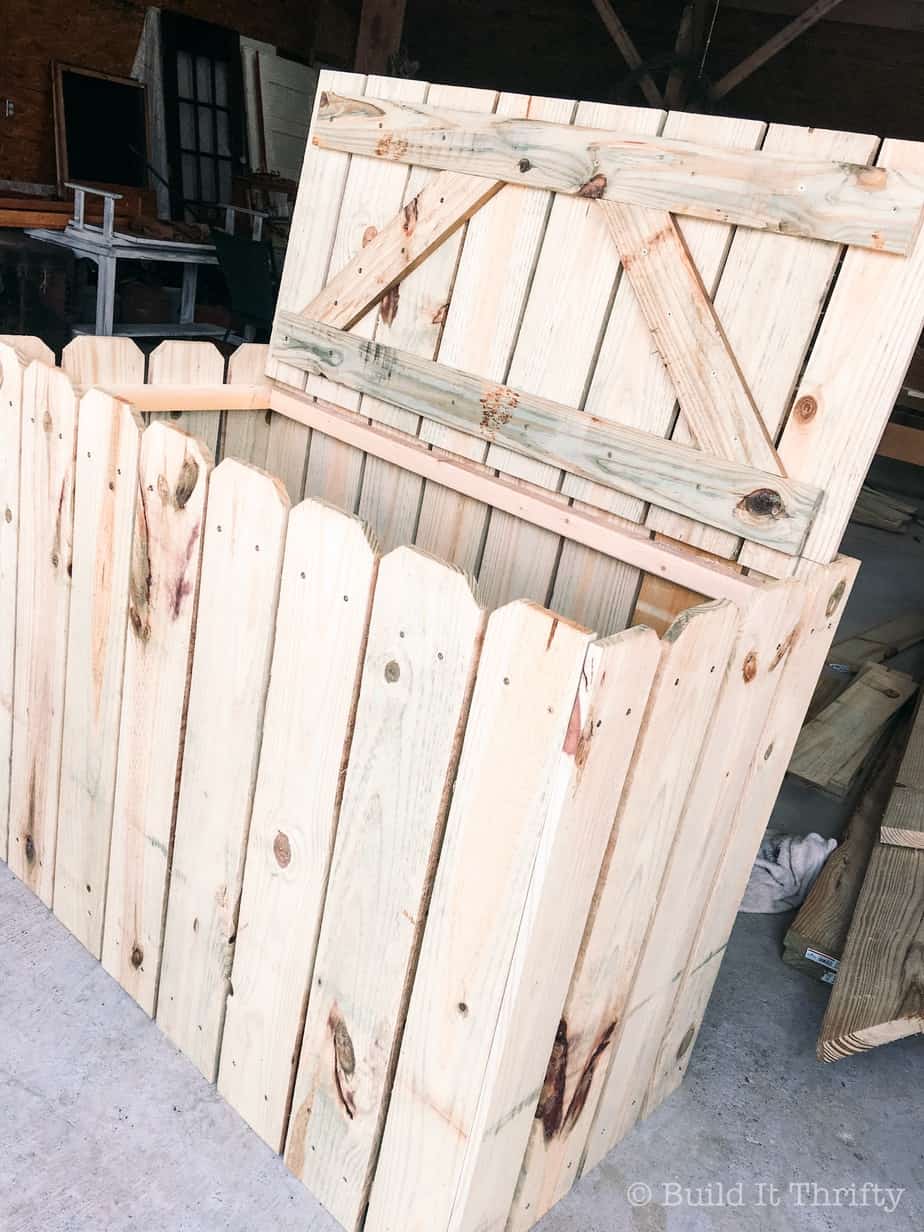
We live in the country where animals roam freely and are more than happy to scatter your trash down the highway. I’m sure many of you can relate. Also, who wants to roll trashcans to the end of the road every week? Not me, friend. My driveway is long and ain’t nobody got time for that. This outdoor garbage bin only costs around $50 in lumber (not including other materials), which is a small price to pay for the peace of mind you will have that dogs and trash pandas aren’t ripping your bags to shreds. This is an easy and inexpensive build that will keep your trash bags safe and let your local animals know that the party is over. Here’s what you need!
Materials:
This post contains affiliate links. For more information see the policies page.
- 24-1x6x6′ treated cedar fence boards (there were several cedar options, I went with the cheapest one)
- 4-2x2s (treated)
- 2-1x4x8′ (treated)
- 2 1/2″ pocket hole screws
- 1 1/2″ wood screws
- 1 1/4″ wood screws
- Two hinges
- Handle
Tools:
- Miter saw
- Kreg Jig
- Drill
- Clamps
Cut List:
- 4-2×2@46 1/2″
- 4-2×2@18 3/4″
- 2-1×4@43 1/4″
- 2-1×4@15 7/8″ (see step 3)
Step One: Make Cuts and Build Frames
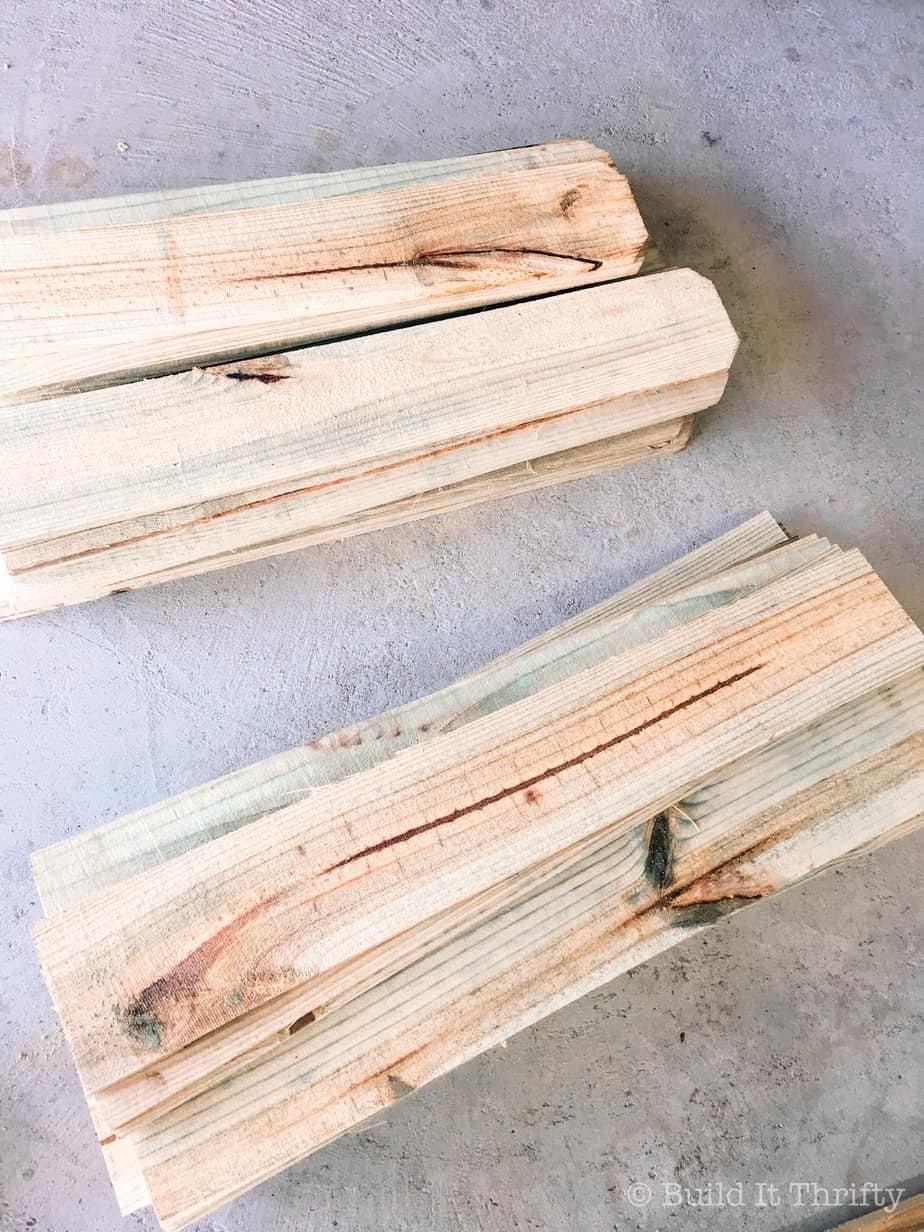
Start out by cutting each piece of fencing in half and separating into two piles. The bottom halves will be saved to use later for the floor and the lid of the bin.
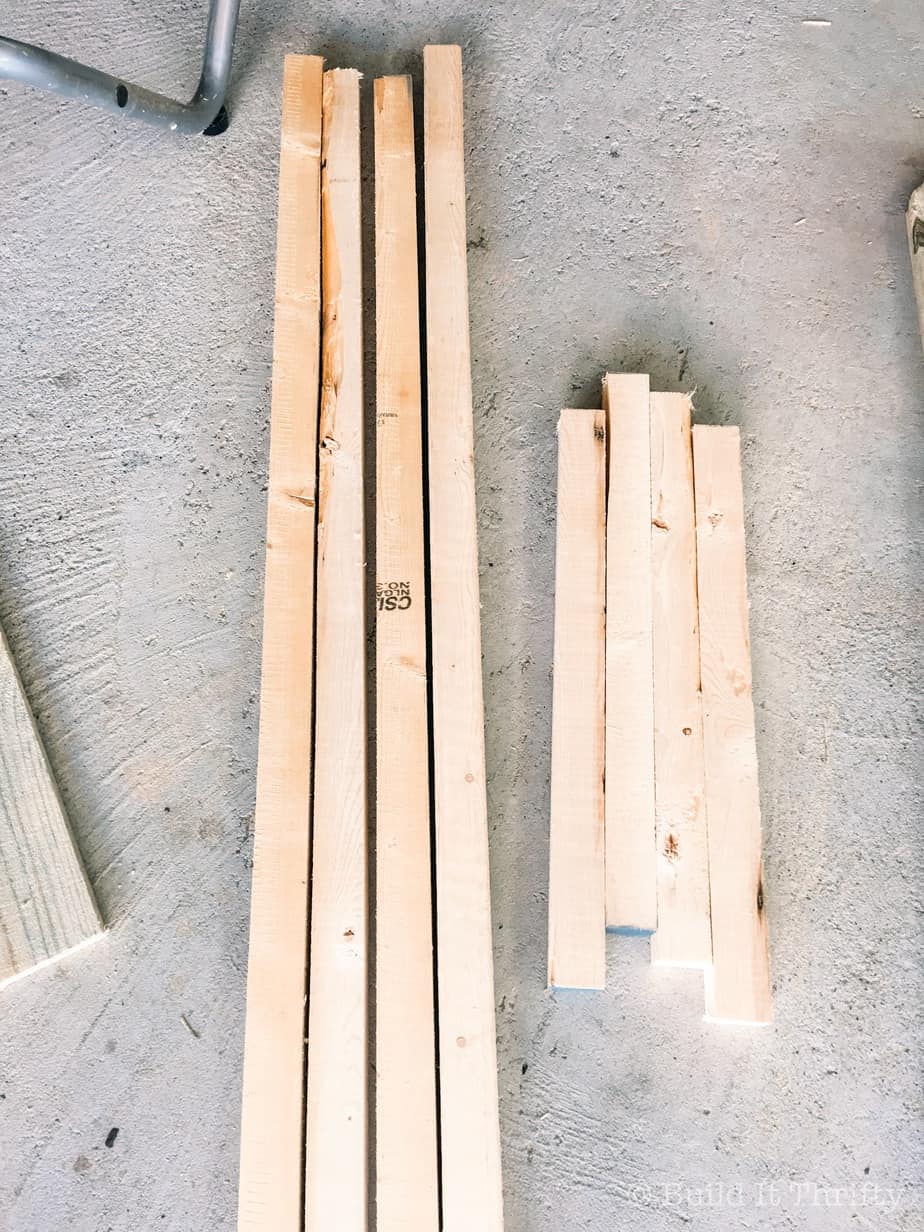
Next, cut all the 2x2s for the two frames. I modified my original plan after I purchased the lumber so I only had untreated 2x2s on hand. You could use 2×2 pressure-treated balusters instead and they only cost about $2.00 each. Also go ahead and cut your 1×4 boards for step 3.
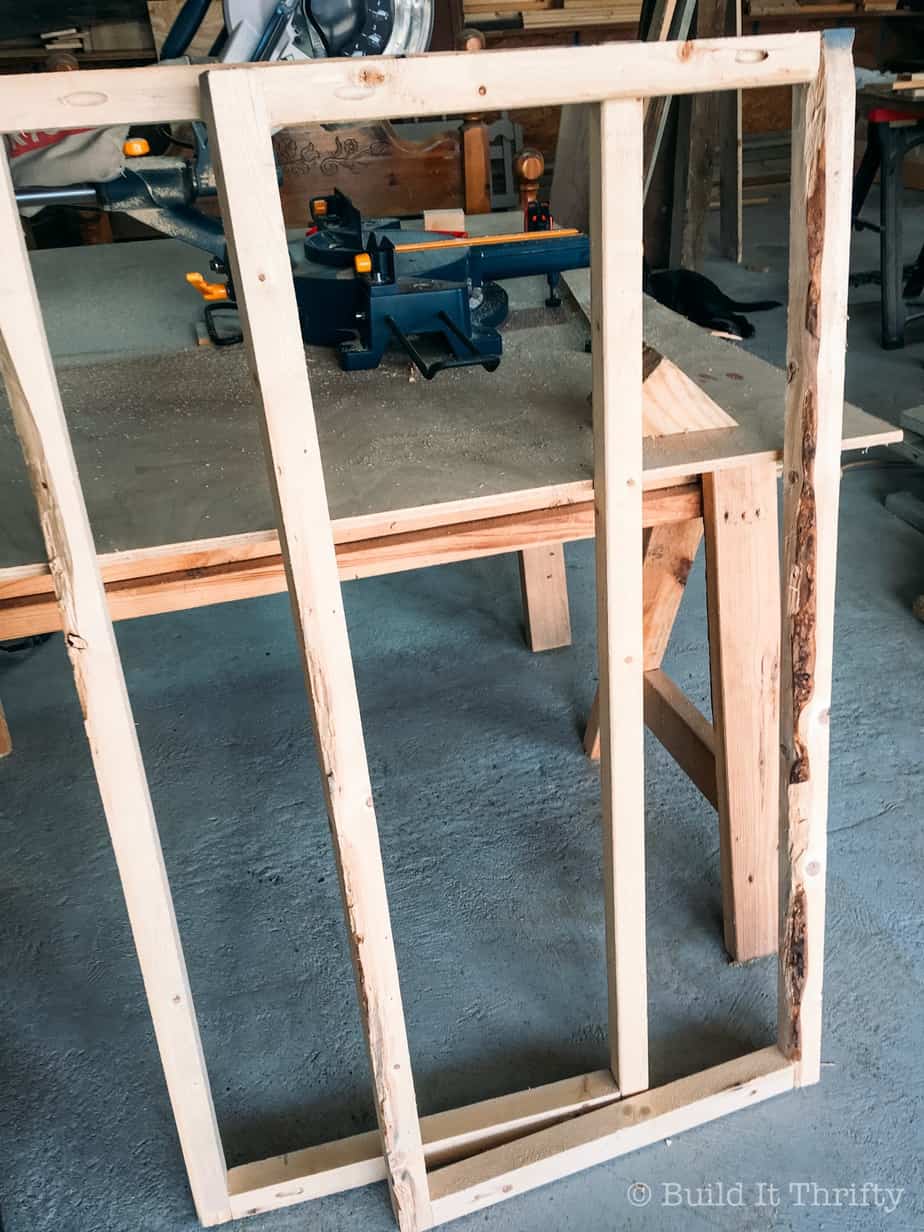
Drill one pocket hole on each end of the shorter 2x2s (see picture below) and attach to the longer 2x2s to build two frames.
Step Two: Attach Fencing to Frames
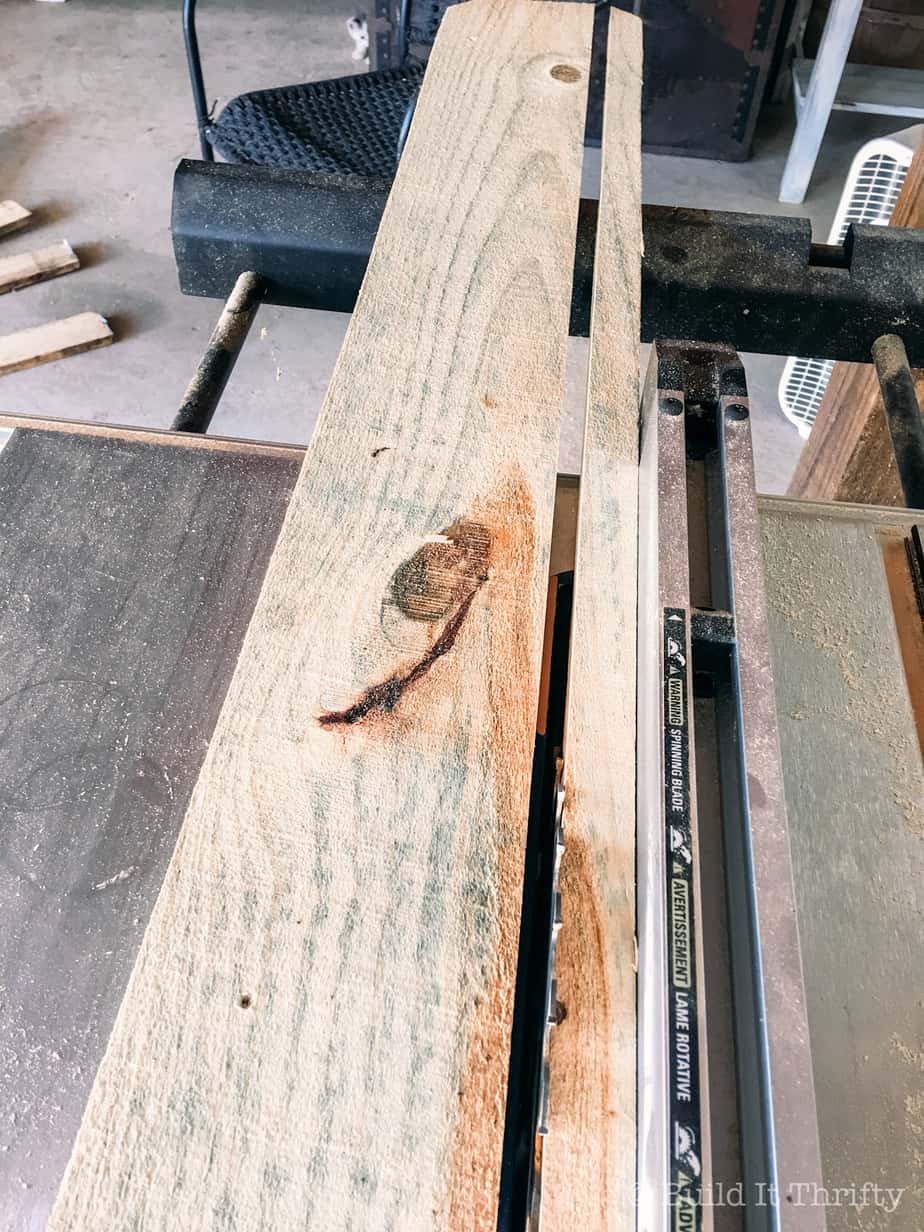
Take eight of the top halves of the fence boards and run through a table saw or use a circular saw to remove 1″ from the width. You are essentially just cutting off the angled side so now you will have eight boards that have one straight side. These will be the corner pieces for the bin.
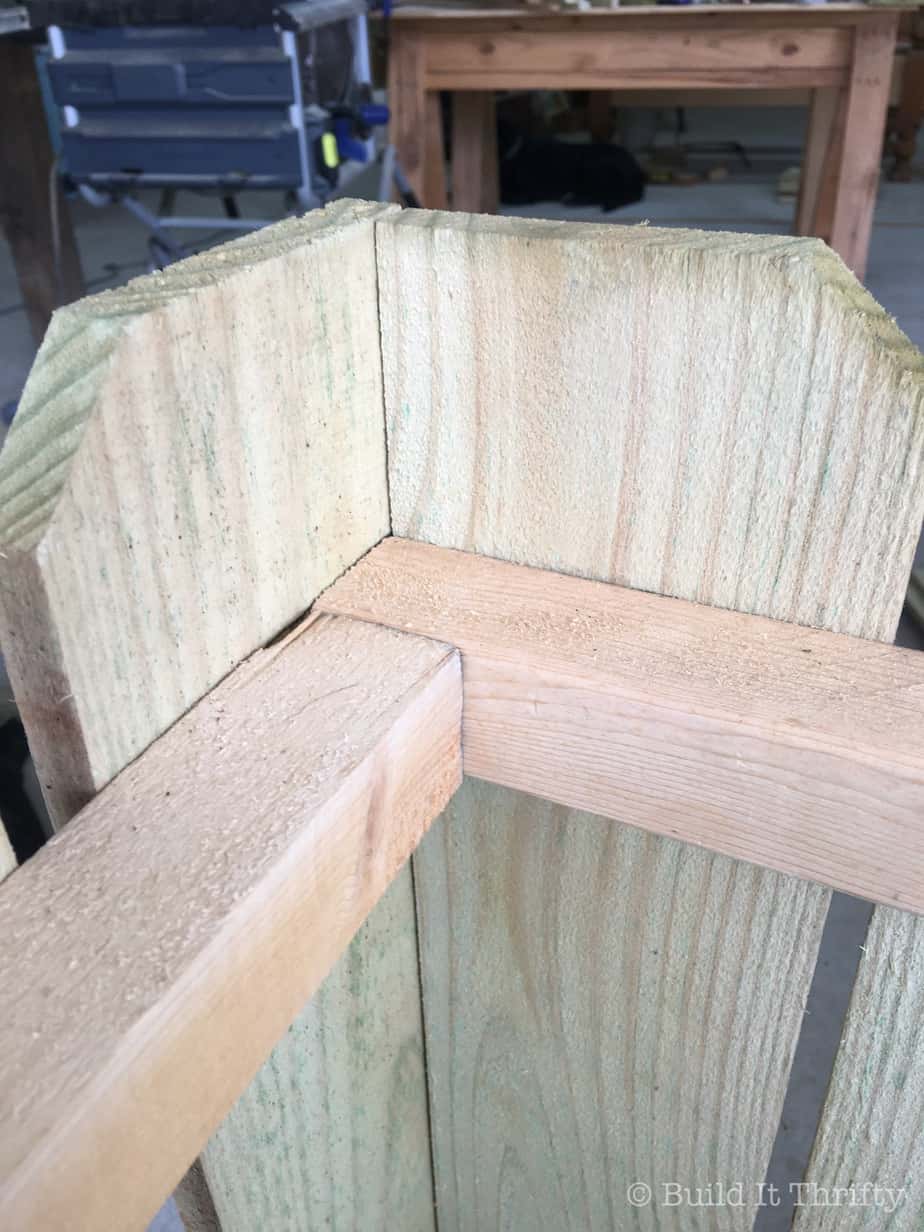
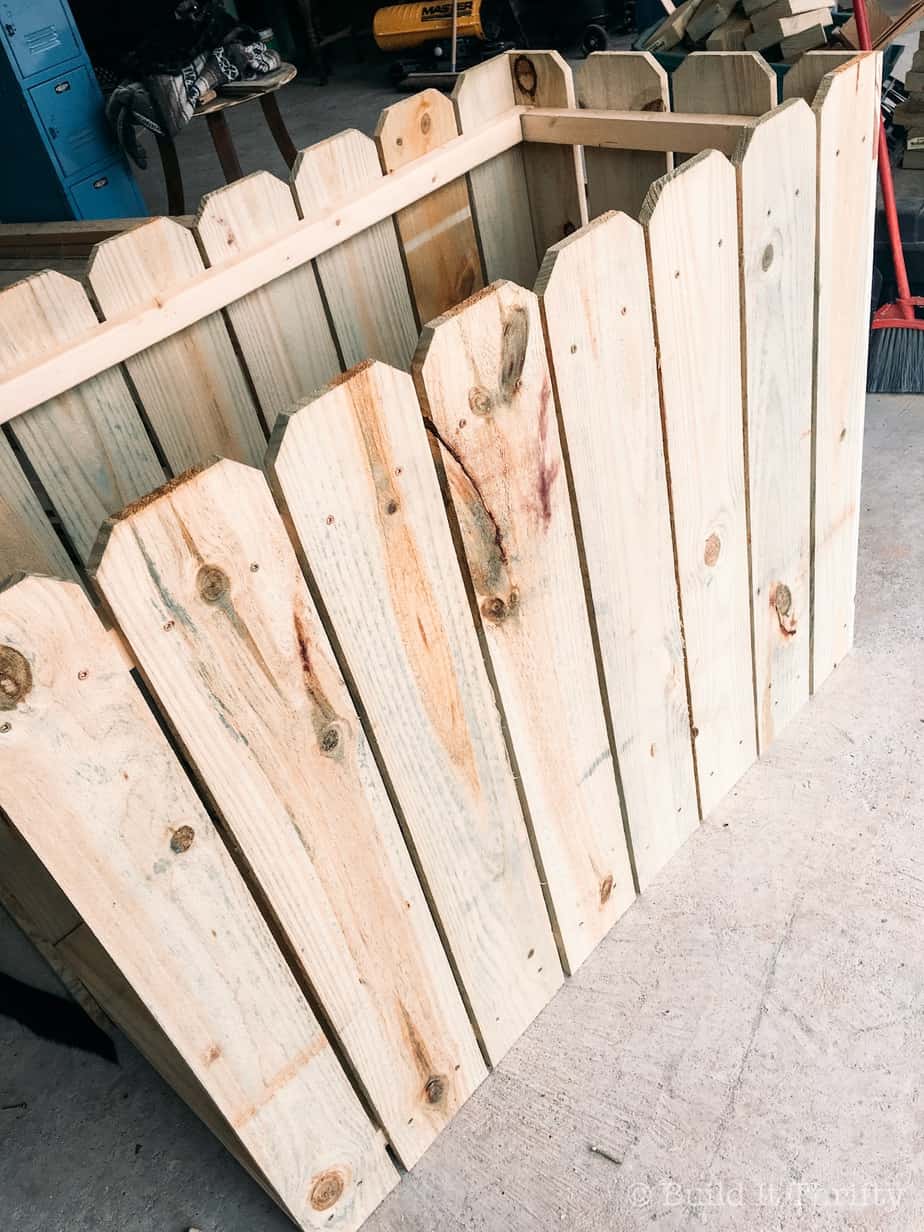
Attach the corner pieces to the frame. The upper frame is positioned 3″ from the top of the boards and the lower frame is positioned 2″ up from the bottom. Below is a close up to see how the corner pieces are positioned.
The board on the left is on the longer side of the bin and the board on the right is on the shorter side. The corner piece for the short side needs to go all the way to the edge of the frame as pictured.
Attach the board to the frame with two 1 1/2″ wood screws. Bring the other corner piece all the way flush to the edge of the other board and attach to the frame. If the corners aren’t done this way, it will affect the spacing of the rest of your boards! Repeat for all four corners.
While the inside is easily accessible, go ahead and screw the floor boards to the bottom frame leaving a 1/4″ space in between each board. I just used one 1 1/2″ wood screw on each end of the board.
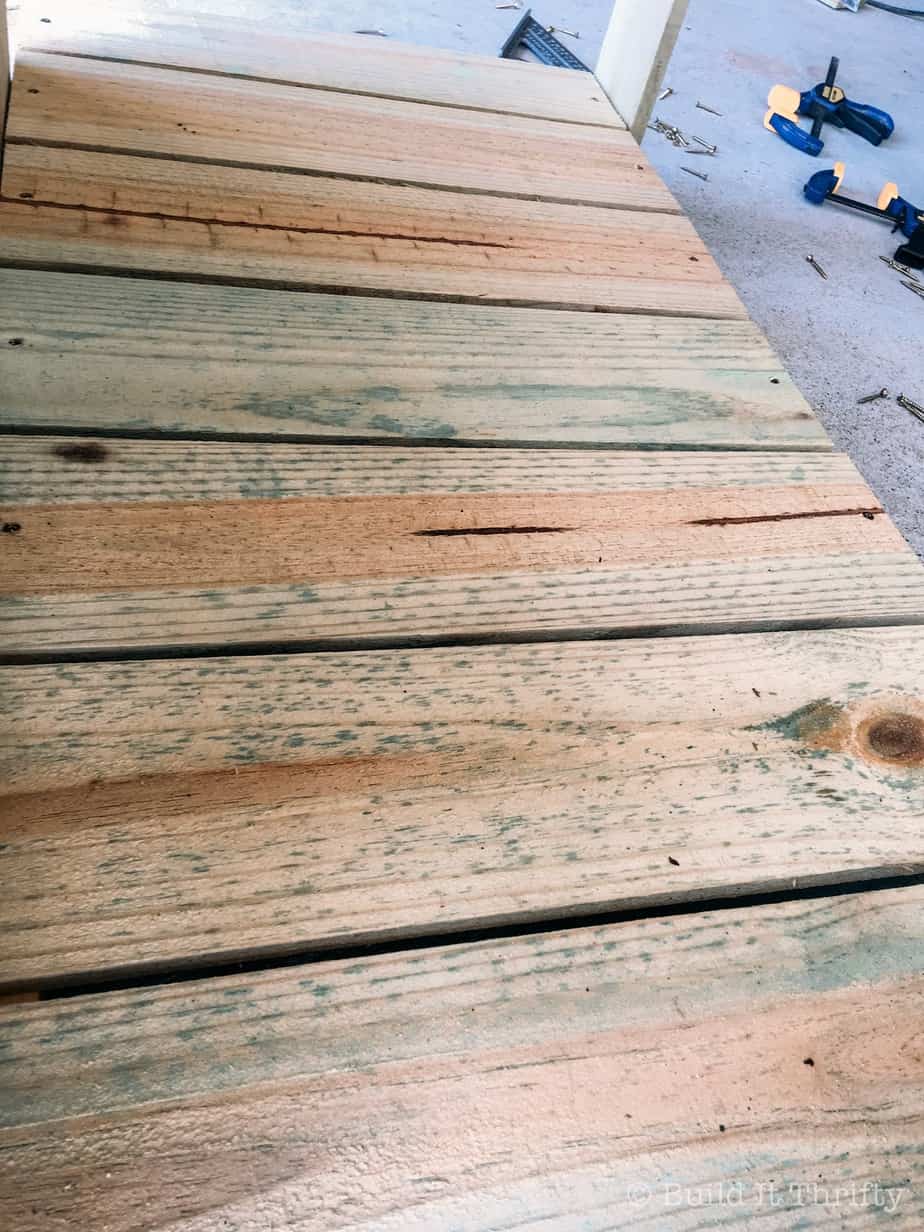
Now work your way around the bin attaching the rest of the boards to the upper and lower frame leaving 1/4″ spacing in between. Use the floor boards as a spacing guide.
Side Note–If you don’t want a lid, hey, no problem! You make your own rules. You could throw a couple of large trash cans in there if you want to go that route. If you do want a lid, then let’s move onto step 3.
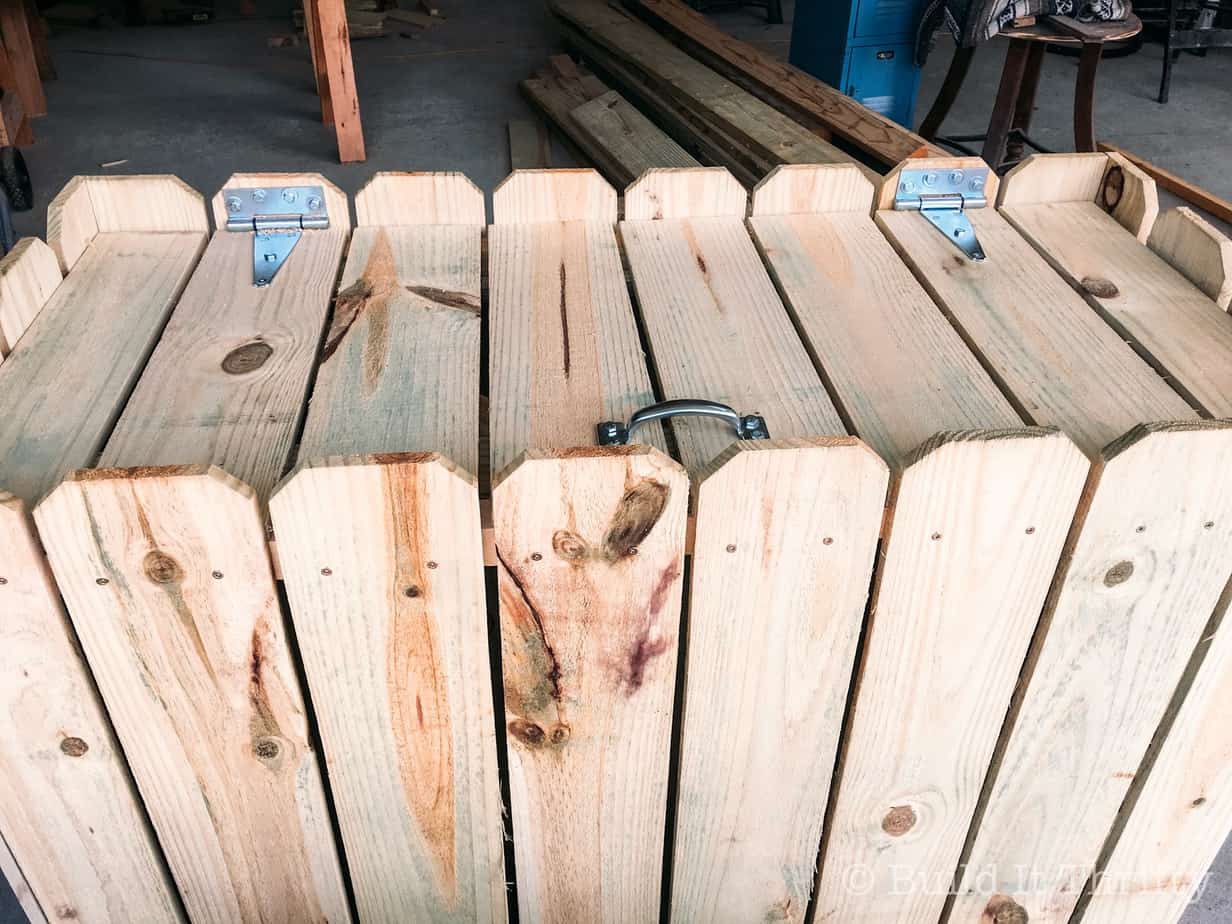
Step Three: Build and Attach the Lid
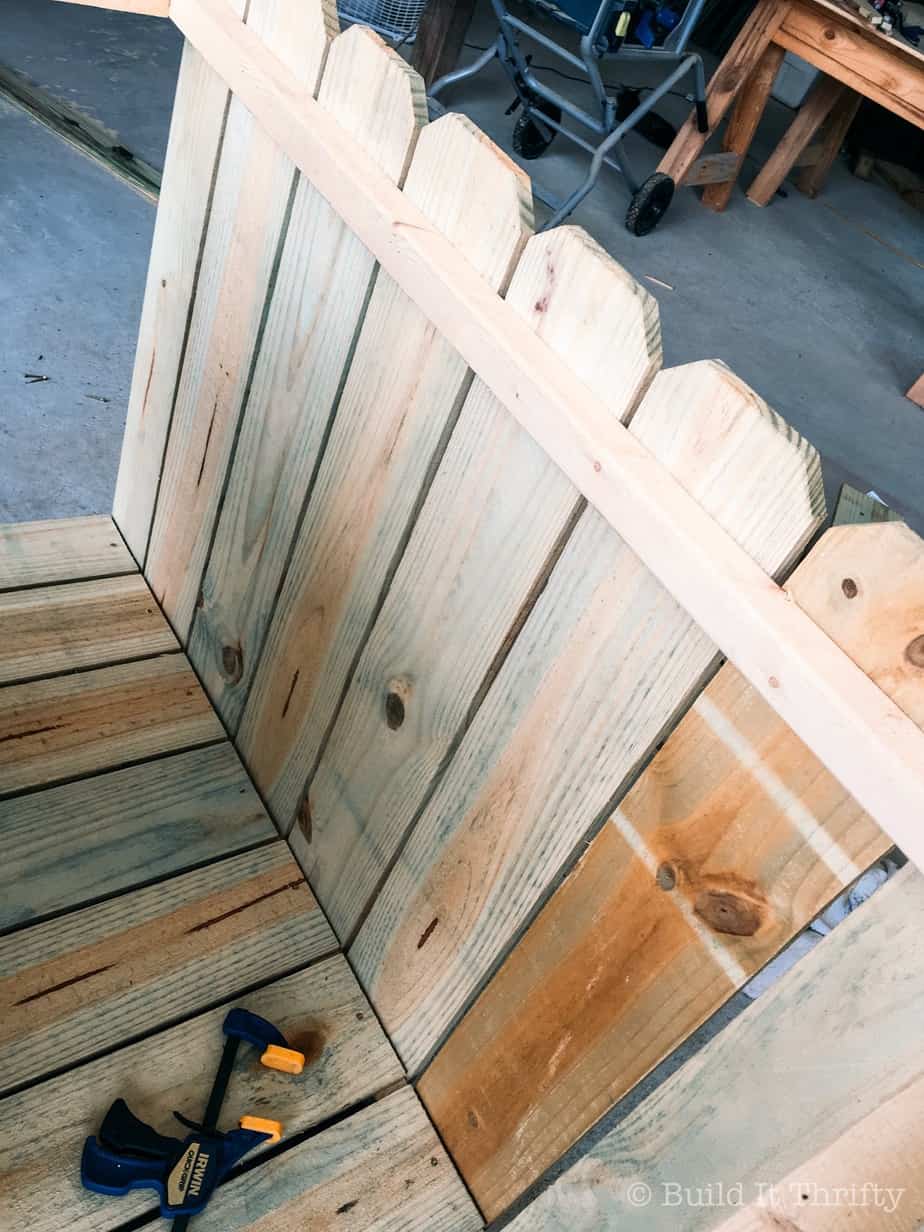
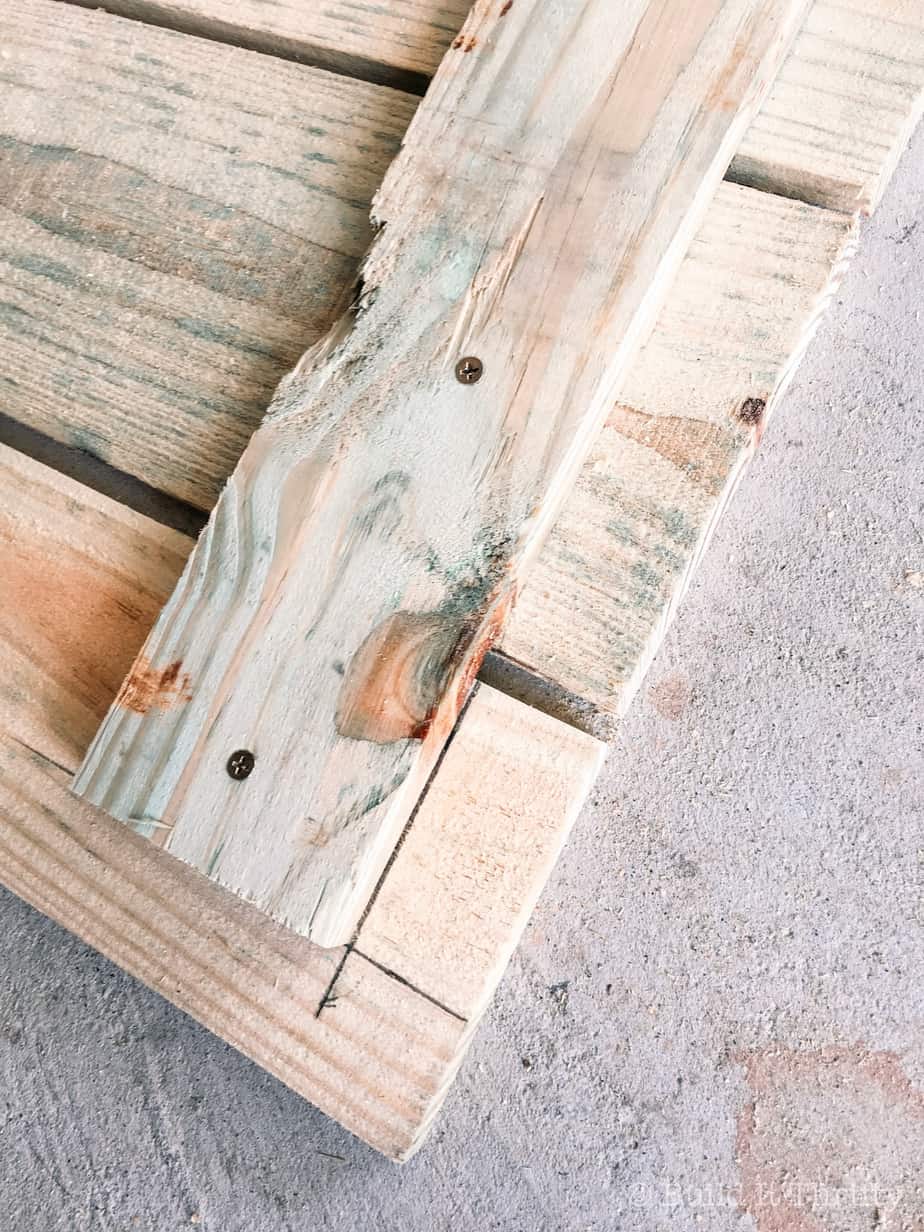
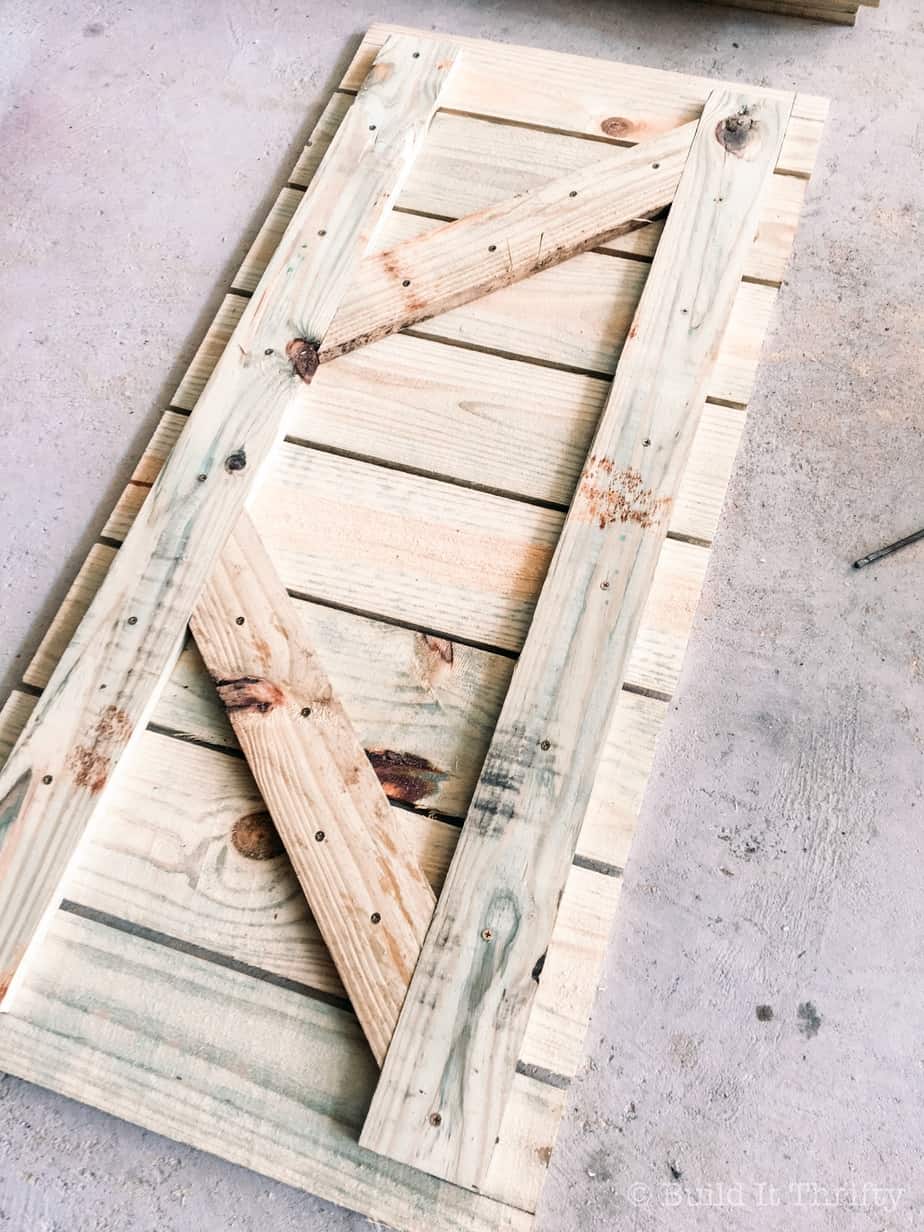
Lay out eight of the bottom halves of the fence boards on the ground. Measure 1 1/2″ down from the edges of each corner and mark (see picture) This will allow room for the 2×2 frame when you close the lid. Line up the 1×4 with your marks then start attaching the 1×4 to the fence boards using 1 1/4″ wood screws and check for 1/4″ spacing between the boards as you go.
If you haven’t already, cut two 1x4s at parallel 45-degree angles and attach with the 1 1/4″ wood screws. Each angled side of the 1×4 should measure 15 7/8″.
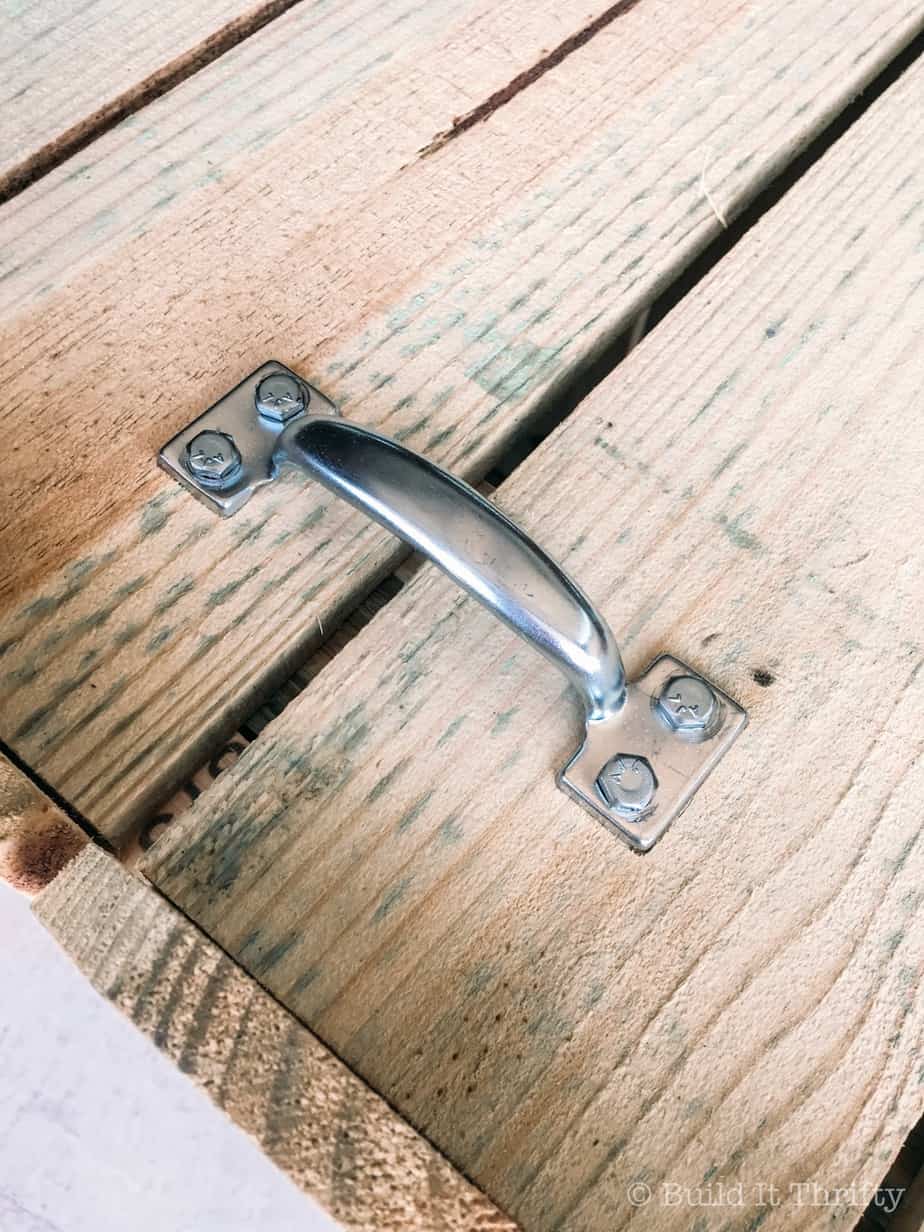
I got the hinges and the handle at Home Depot. The hinges were $4.97 each and the handle was $3.67. You don’t have to use a hinge this big and there were lots to choose from. I wanted heavy duty ones. I realize the hodgepodge of fasteners I used to attach the hinges are a bit much. Again, you don’t have to do it this way and screws would be just fine. I wanted to make sure that sucker wasn’t going to budge for a long time after repetitive opening and closing. I was originally going to use bolts for everything, but I couldn’t use anything too long where the lid rested on the 2×2 beneath or it would keep the lid from closing. Instead, I opted for 3/4″ wood screws there with a 1/4×1″ lag screw in the center. The four bolts at the top are 1 1/4″ hex bolts with 1/4″ washers and nuts.
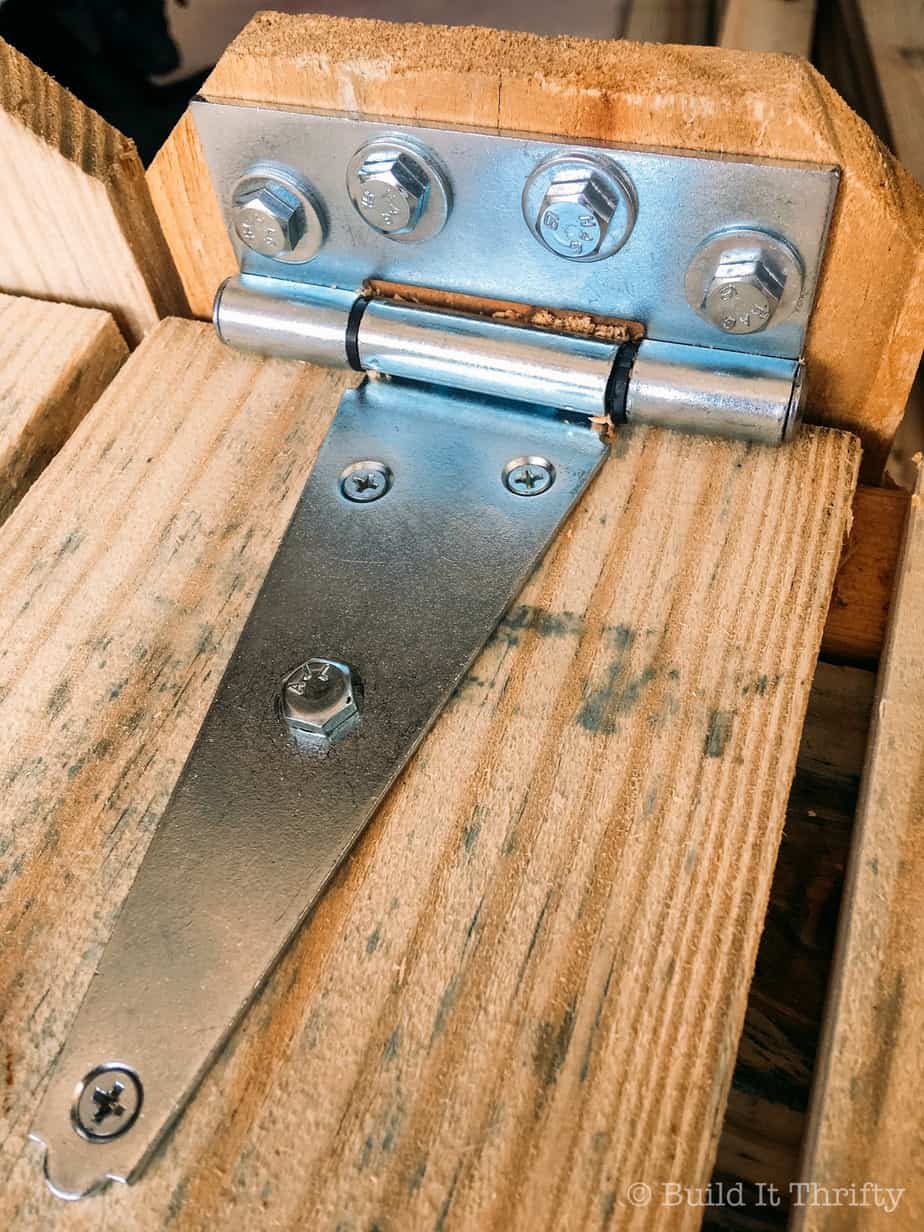
Also used the 1/4×1″ lag screws to attach the handle. It isn’t going anywhere.
There you have it, folks! No sanding or painting on this project, your outdoor garbage bin is finished! Your trash has it’s very own house now. The trash guys and your neighbors will probably thank you. I can’t say the same for the critters. 😉


No Comments