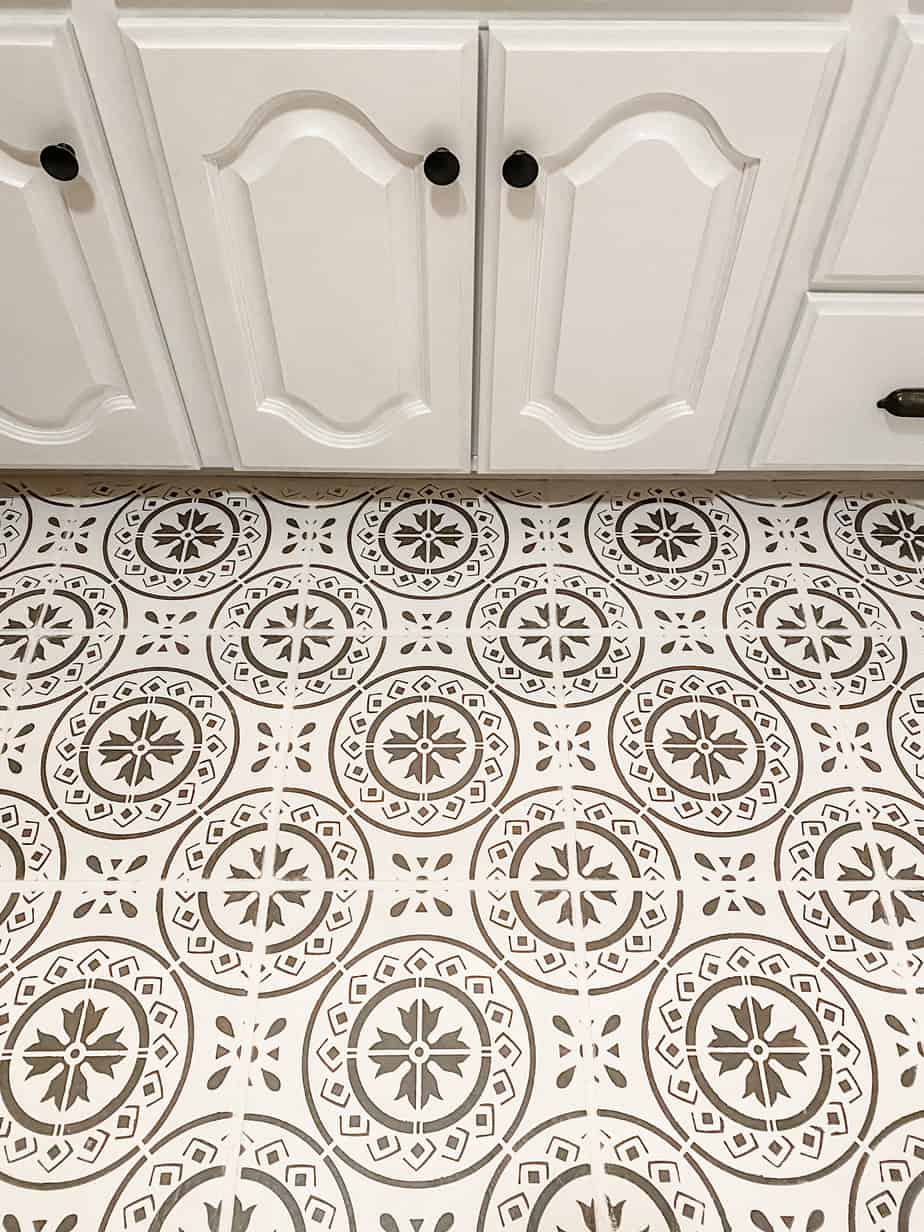
It’s week seven of the One Room Challenge and this has been my favorite week so far. This was my first attempt at a stenciled floor and it went way better than I expected. Here’s a quick rundown of how I completed this project.
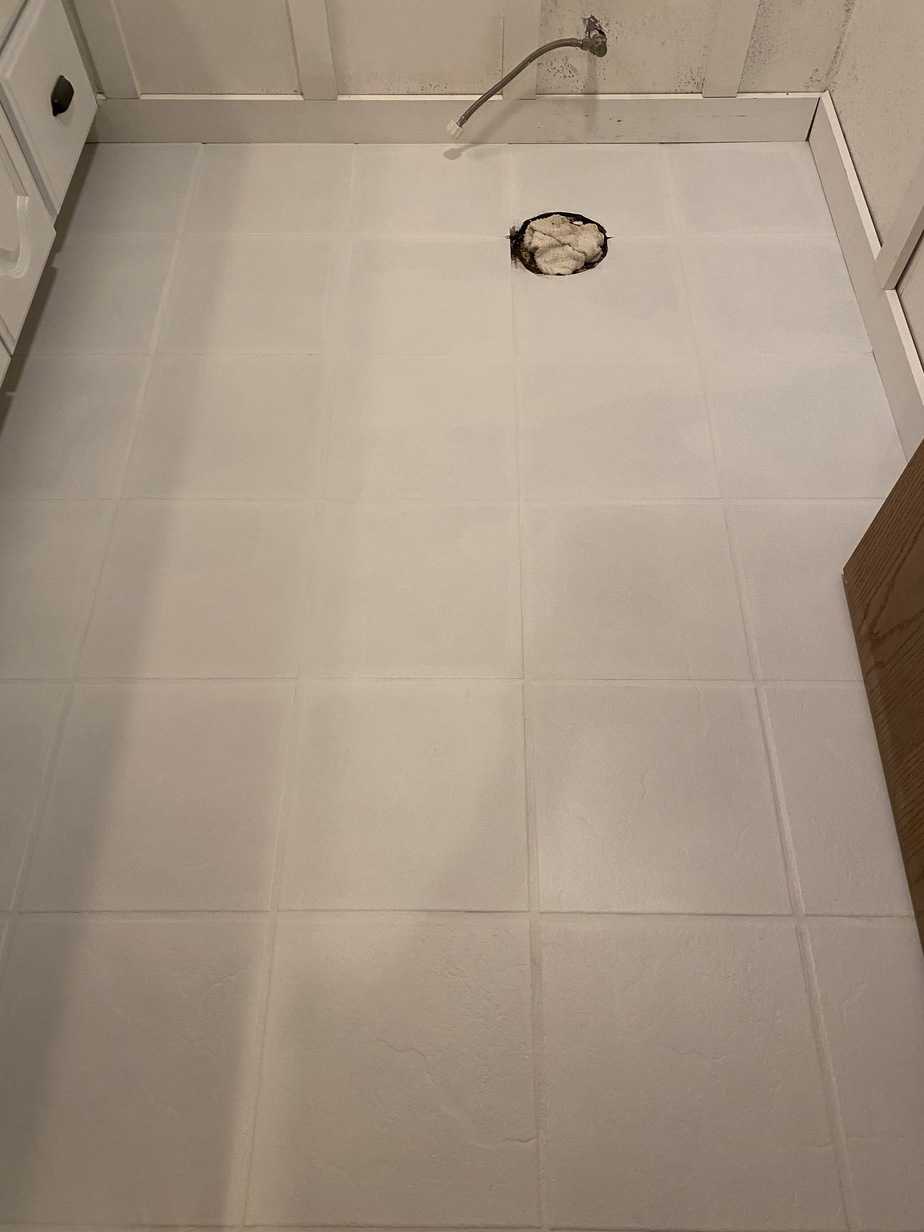
First, I thoroughly cleaned the tile using an abrasive powder and a brush for the grout and Krud Kutter over the entire floor.
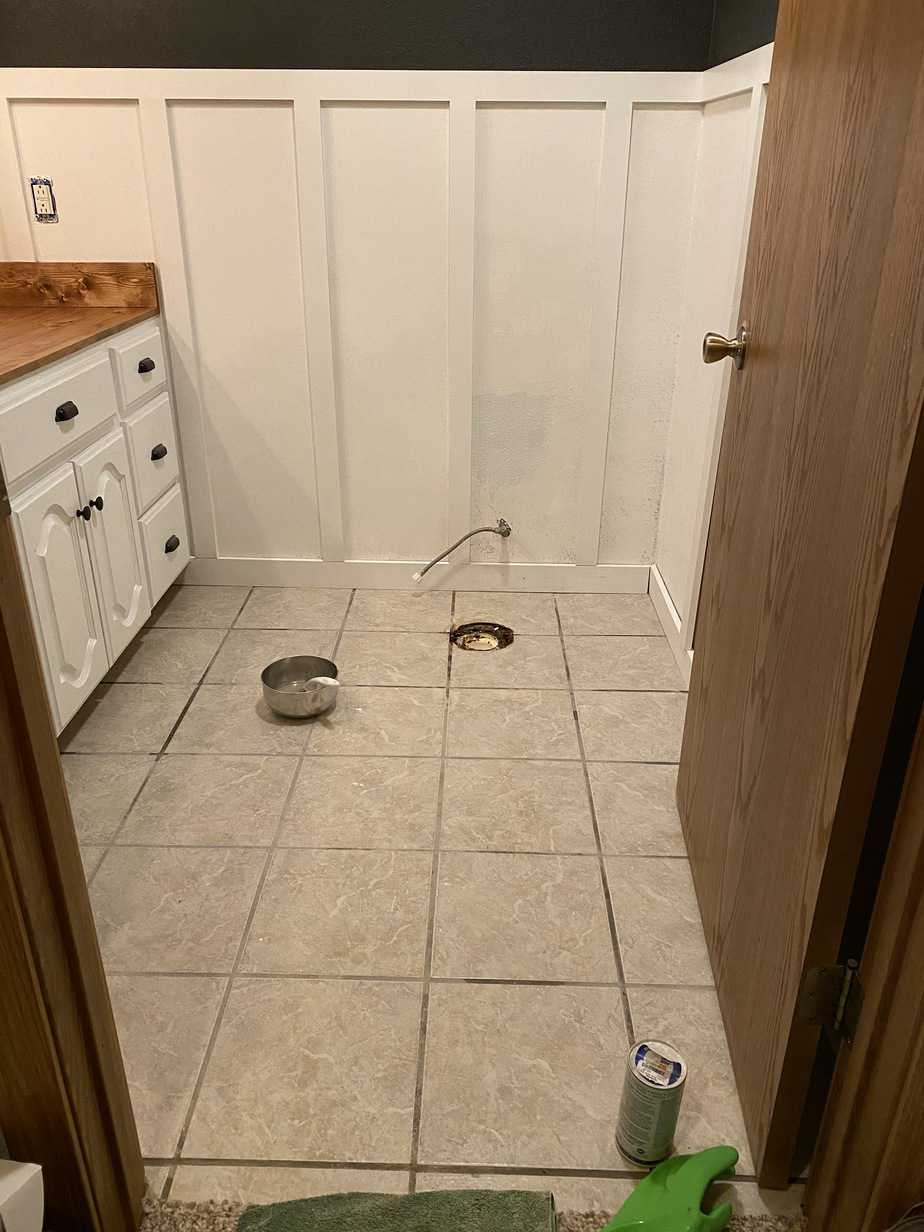
I primed the floors first to help the paint stick better to the tiles. The paint I used was Valspar Porch, Floor & Patio paint tinted to Sherwin Williams Pure White and it took two coats.
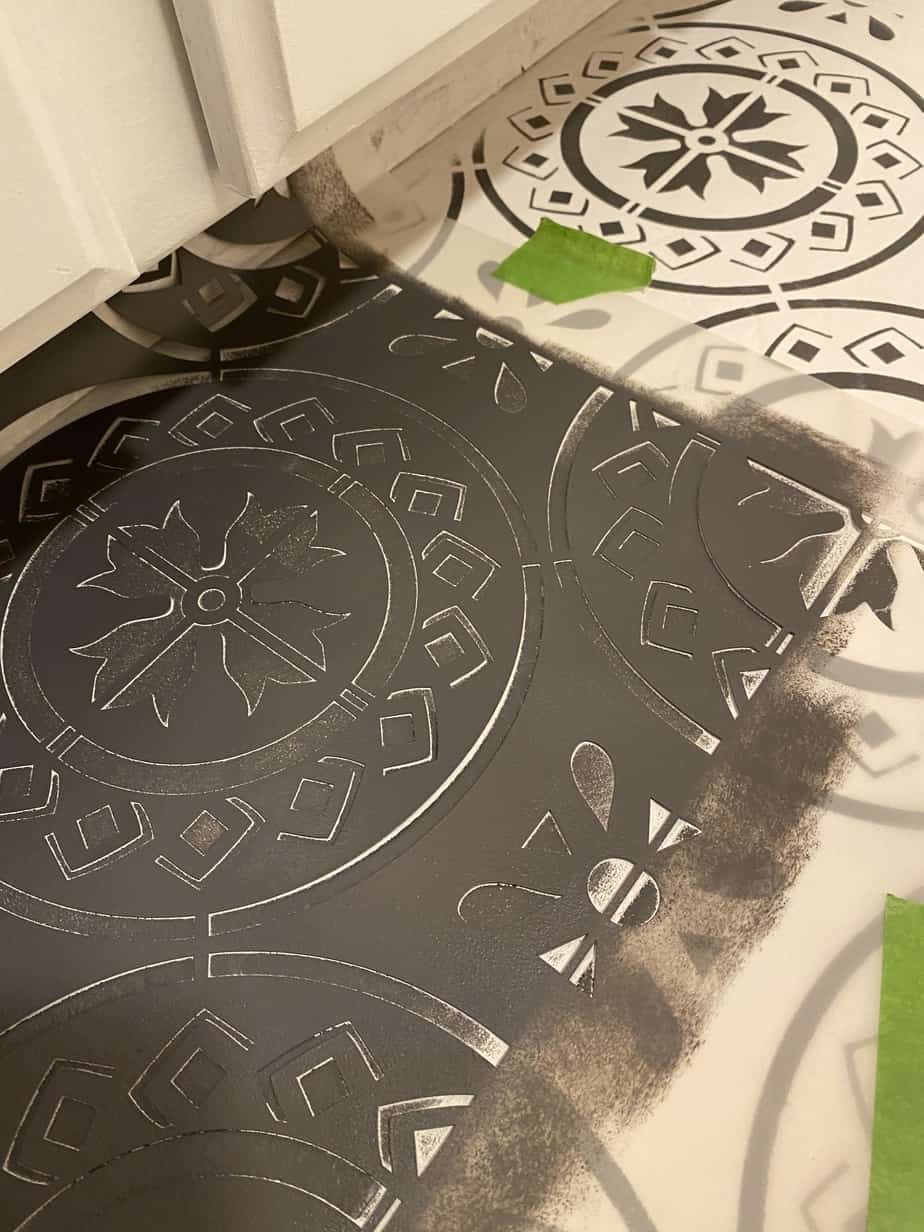
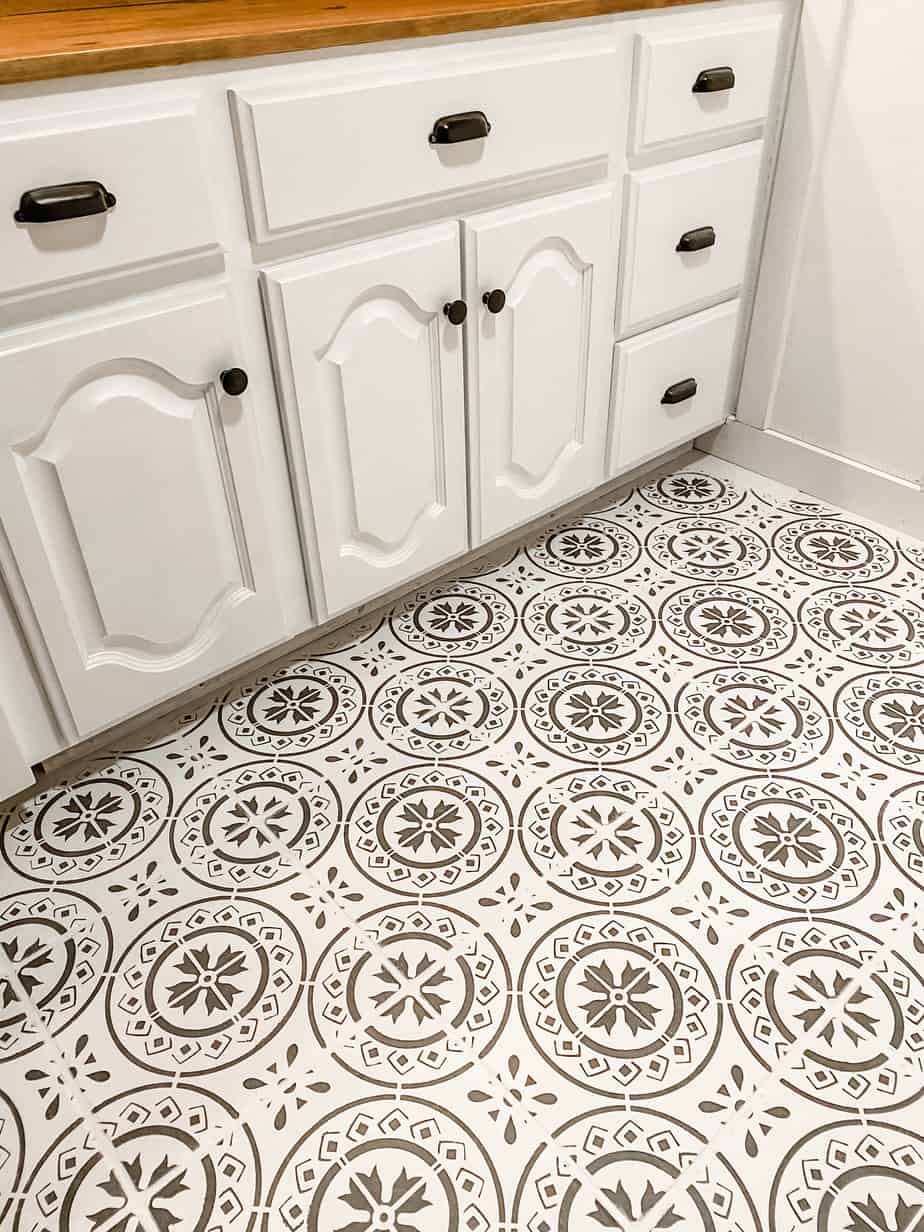
The paint for the stenciling is the same brand but tinted to Sherwin Williams Peppercorn. You can find the stencil I used by clicking here. A foam roller was used to apply the stencil. The most important tip for this process is to not overload your roller! I loaded the roller with paint then dabbed most of it off before stenciling.
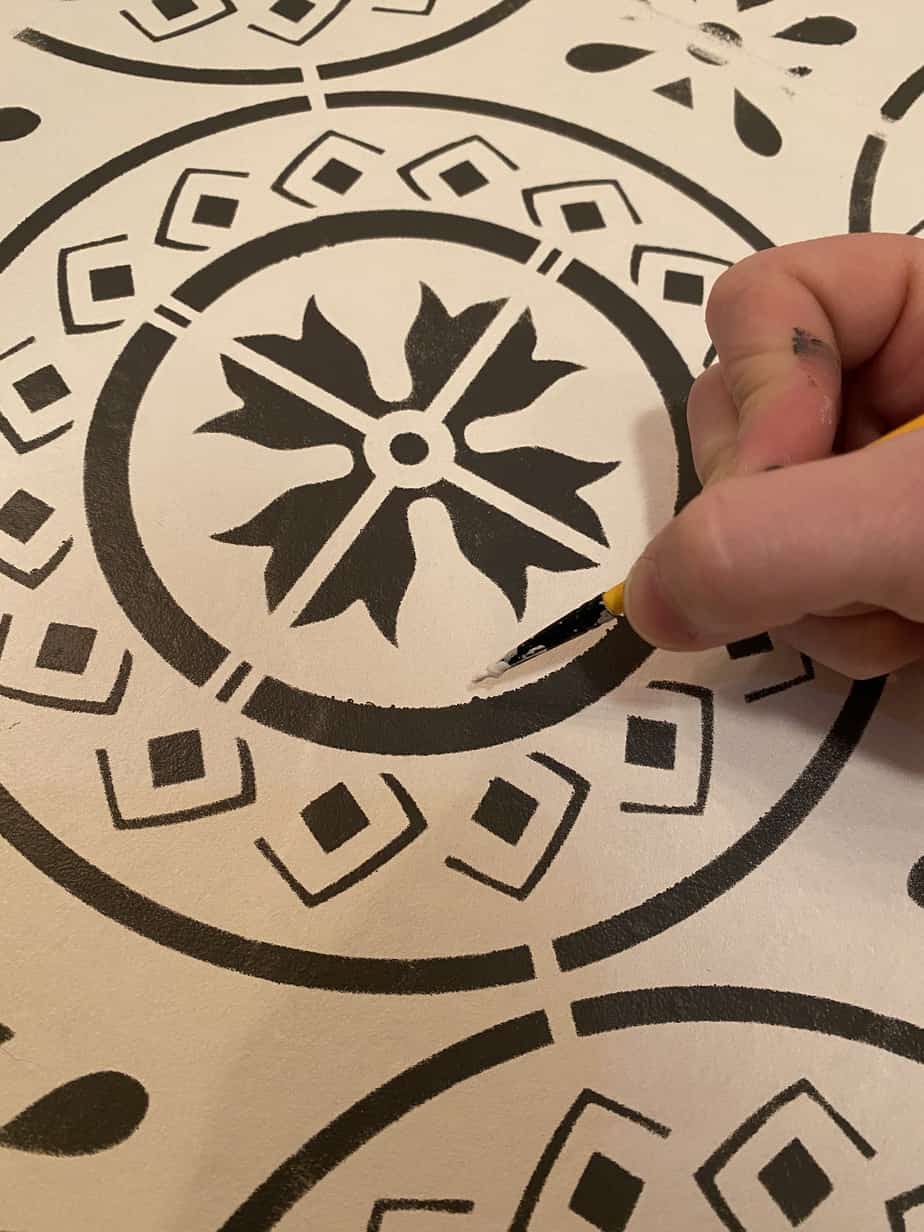
If you do have any bleed through, just take a tiny brush and make touch ups with your base color.
This paint is supposed to be extremely durable and doesn’t require a top coat. I still have some edging to fix around the baseboards and some more touch ups but I’m so happy with how these stenciled floors turned out! The power of paint is truly remarkable.
We’re almost at the end! Next week is the big reveal…time to decorate this space!