
Anyone who knows me well knows that I’m obsessed with Halloween. It has been my favorite holiday as long as I can remember. Now that it’s officially spooky season, I’ve been digging out all my bins of Halloween decorations and giving my house the spooky treatment. If you’re looking to add something to your own Halloween decor that can be used year after year, then look no further. Today, I’m sharing a tutorial on how to make these two-board jack-o’-lanterns and tombstones. Both of these projects are made from scrap lumber and each piece is made with only two boards. Seriously, these are so easy to build it’s scary! 😉 Here’s what you need.
Materials:
- 1 1/4″ wood screws
- 2″ wood screws
- Wood glue
- Stain
- Spray paint
- Chalk paint
For the jack-o’-lanterns:
- 2×10
- 2×8
- 1×4
- One 5/8″ wood dowel
For the tombstones:
- 2×10
- 2×4
Tools:
- Miter saw
- Drill
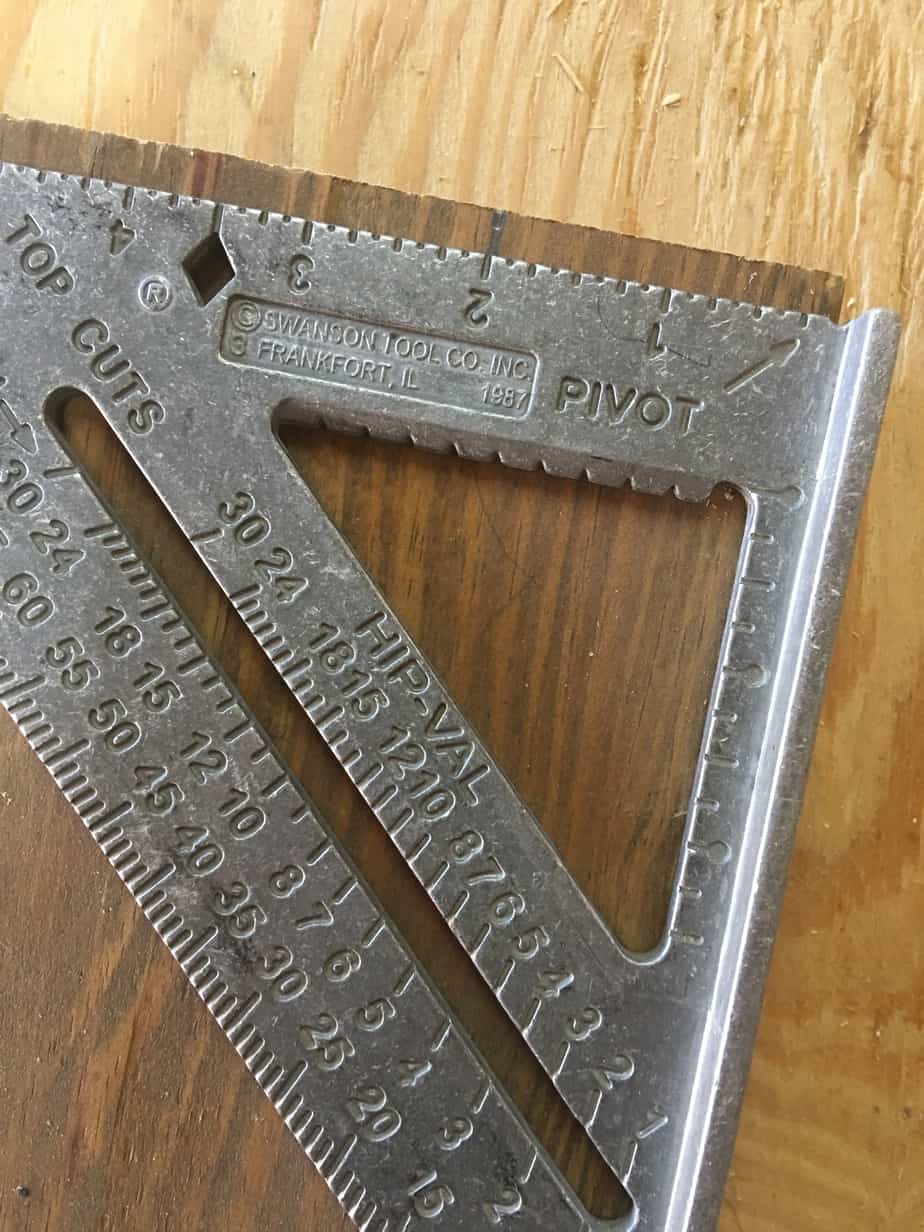
- Speed square
- Sander
Cut List:
For the jack-o’-lanterns:
- 2×10@8″
- 2×8@6 1/2″
- 1×4@8″
- 1×4@6″
- 2-pieces of 5/8 wood dowel@2″
For the tombstones:
- 2×10@10″
- 2×10@15″
- 2-2×4@11 1/4″
Jack-O’-Lanterns
Step One: Make Cuts and Drill Wood Dowel Holes
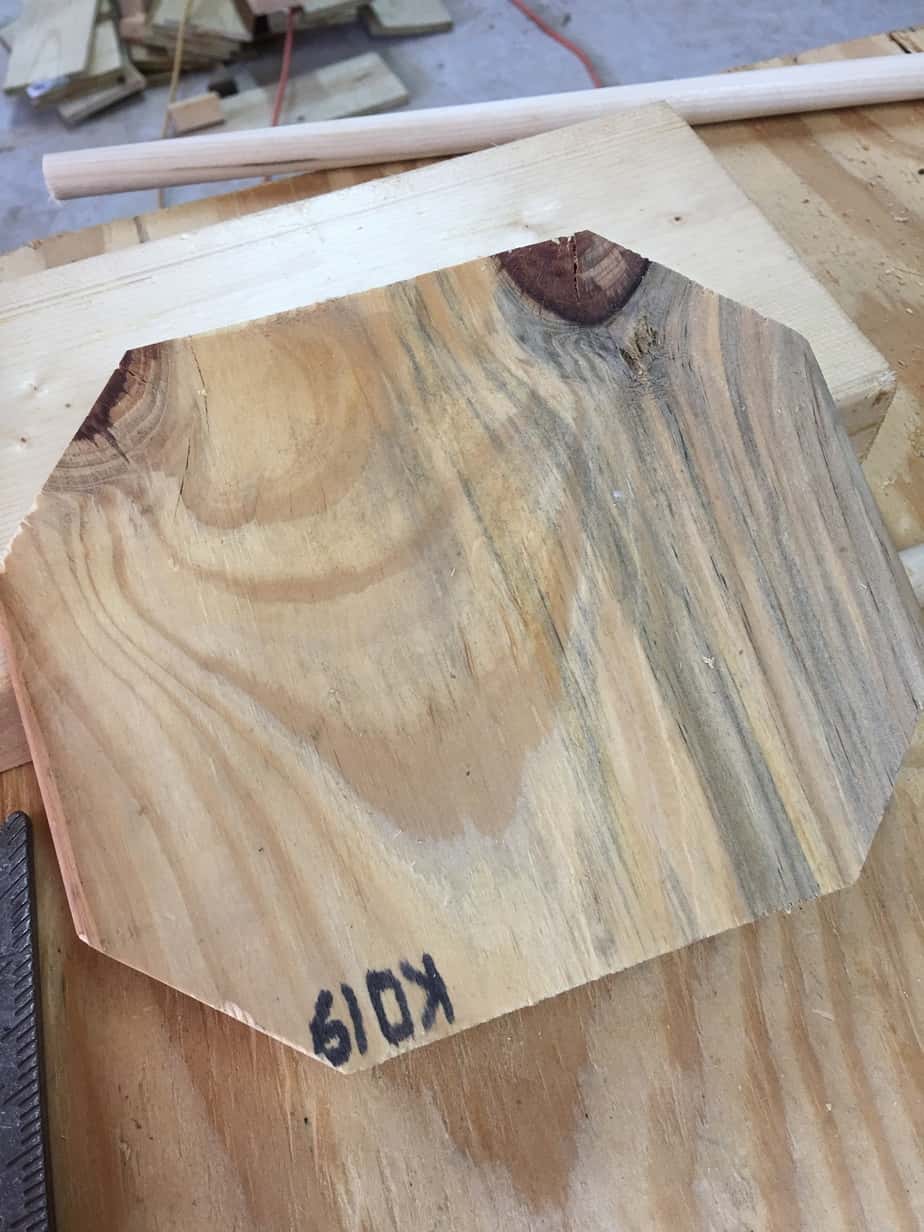
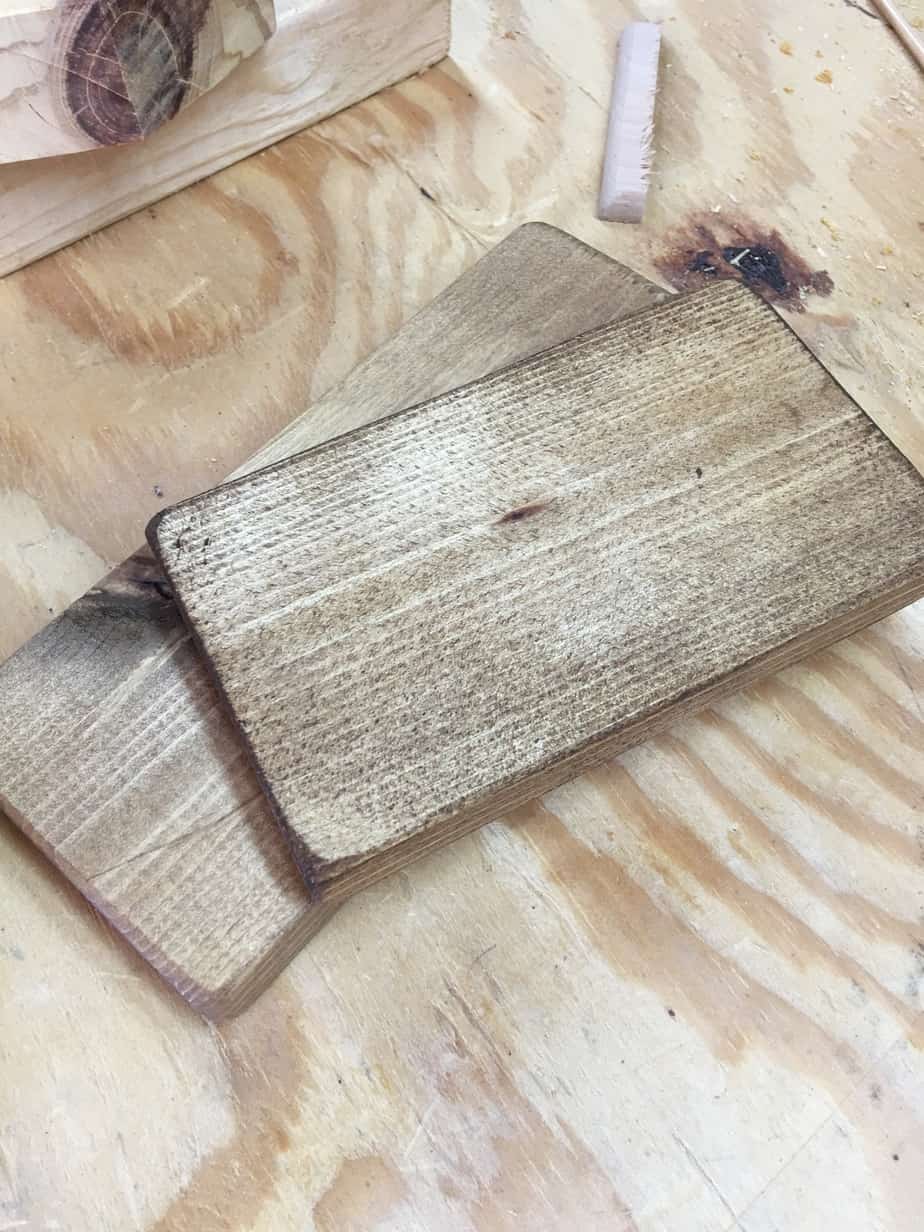
Start by cutting your 2×8 and 2×10 boards to the lengths specified in the cut list. Also, cut your 1×4 boards for the pumpkin bases. Take your 2×10 board and measure 2″ in from all four edges. Then take a speed square and measure from the 2″ mark out to the edge as pictured below. You’re essentially trying to make what looks like a oddly-shaped stop sign. For the 2×8 board, repeat the same steps but measure 1 1/2″ in from the outside instead of 2″. Adjust your miter saw to 45 degrees and make all of the angled cuts.

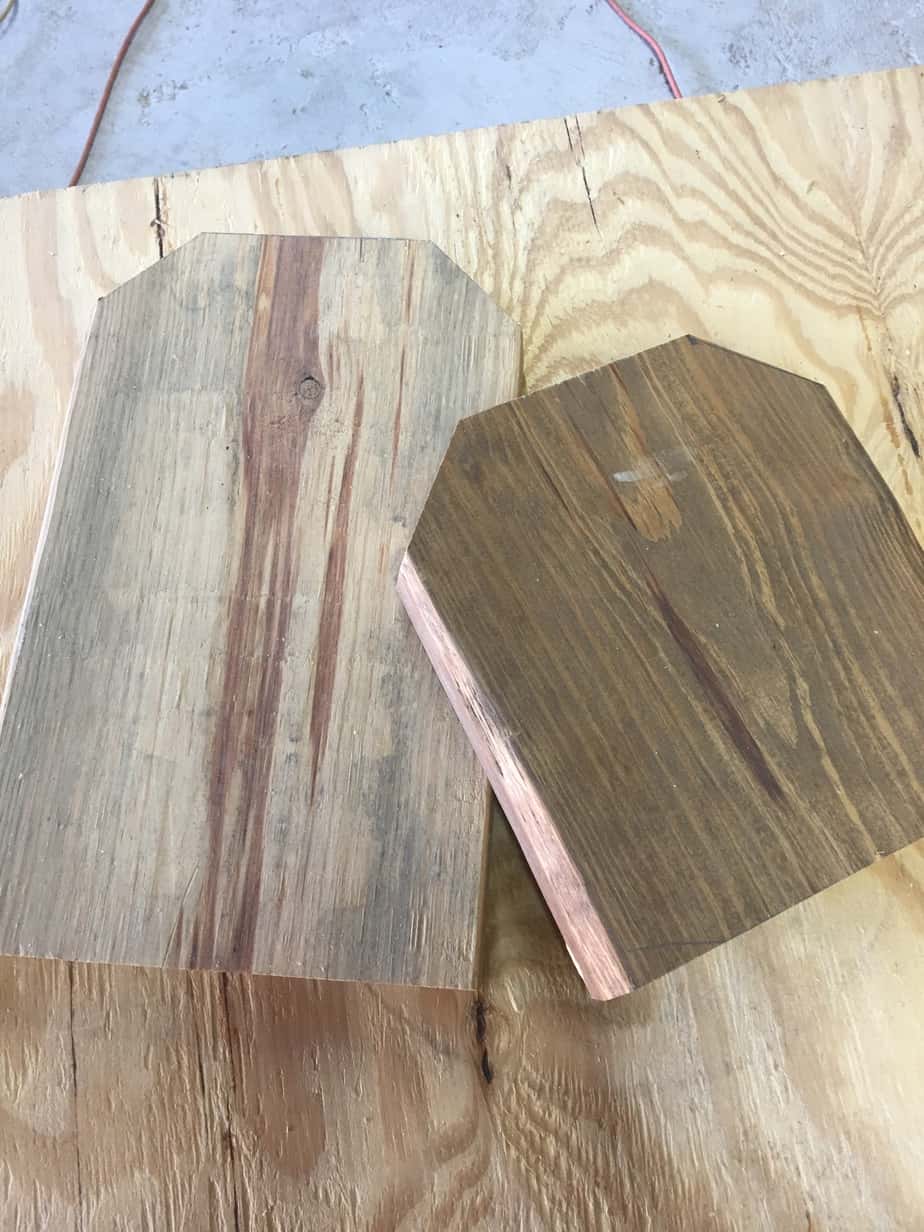
Here is what your board should look like after the angled cuts, a squatty lil’ octagon. 😀
I guess I should’ve said these are made from two boards and a wood dowel but I’m not really counting the dowel, it’s just a supporting character. You can find these for about 98 cents at most local Walmart stores in the craft section. Cut two 2″ pieces to use later.
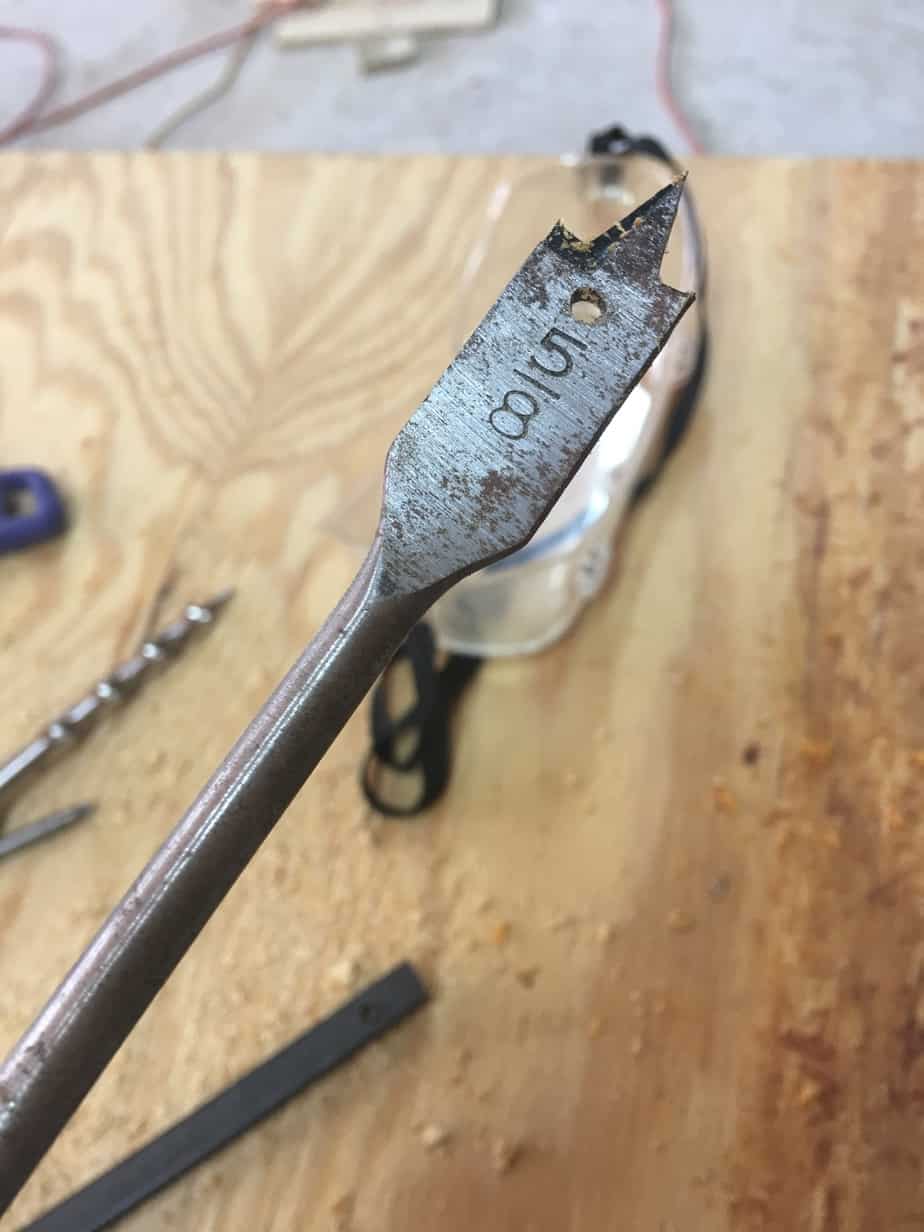
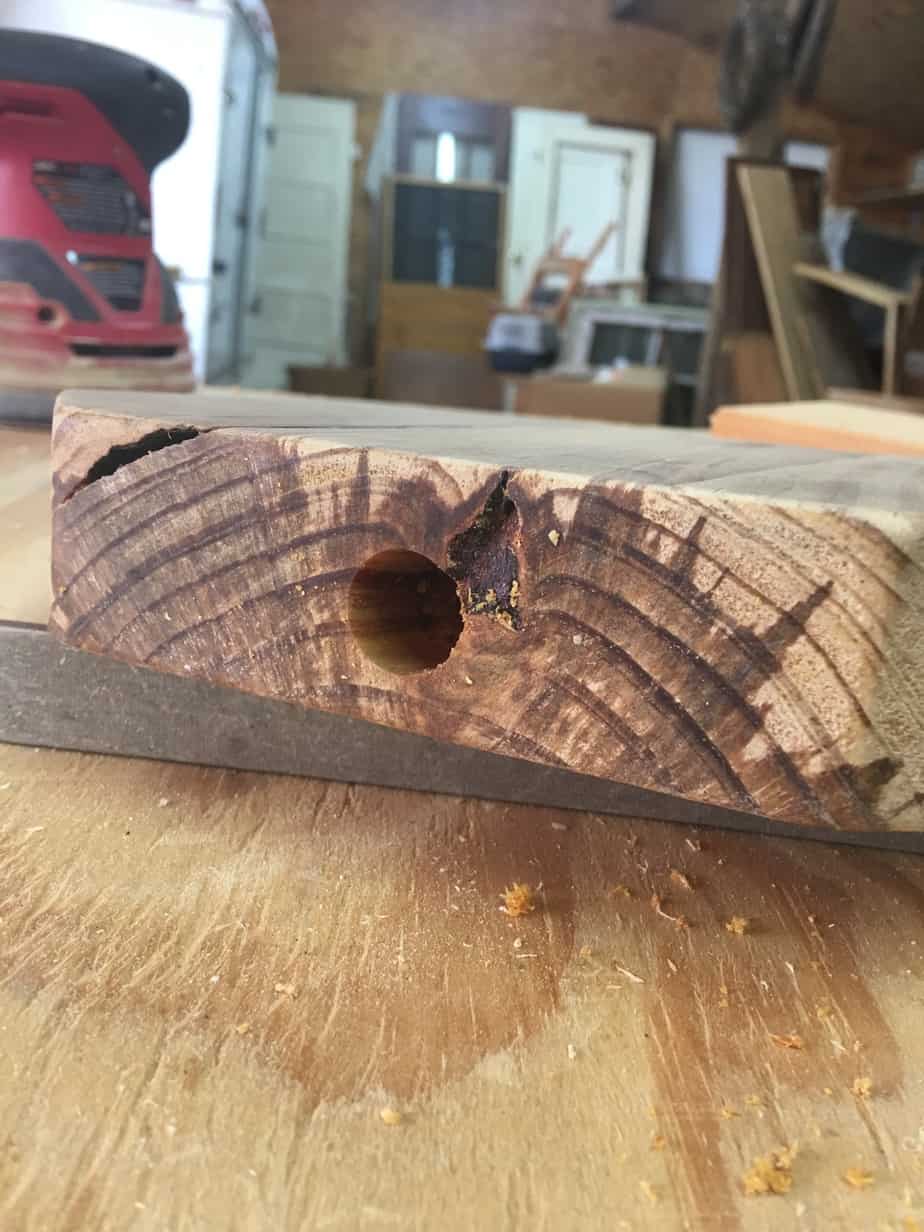
Next, use a 5/8 boring bit to drill holes in the top of each pumpkin. Drill until you get down to about the fraction line between the 5 and the 8. If you drill any deeper than this, you won’t have much of a pumpkin stem.
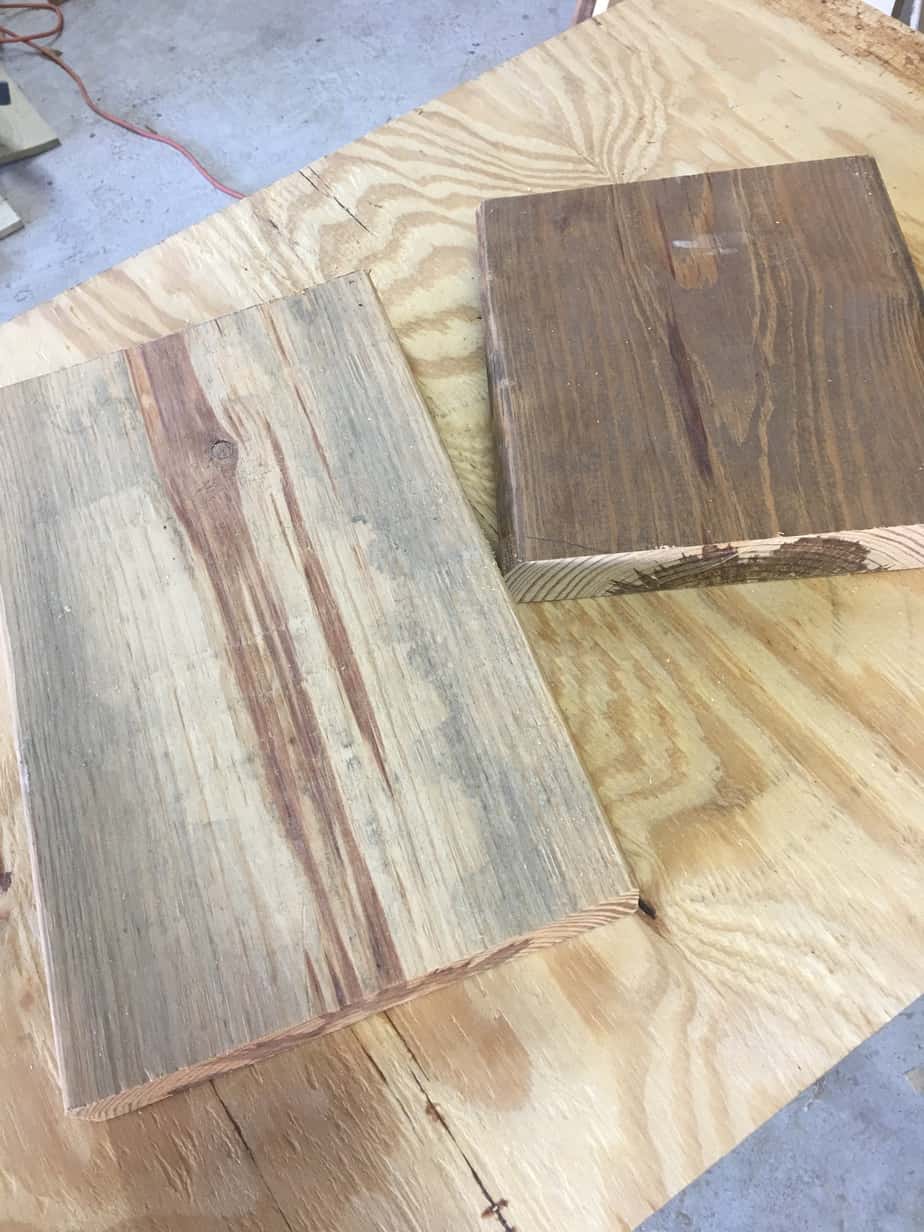
Step Two: Prep, Stain, and Paint
Using an orbital sander, prep all your boards to be stained/painted. I used 60-grit sandpaper on all the pumpkin edges because I needed to make them look more round. Sand the 1x4s with a sander using 120-grit sandpaper. Stain the two 1×4 bases and the two pieces of wood dowel. I used Early American by Minwax.
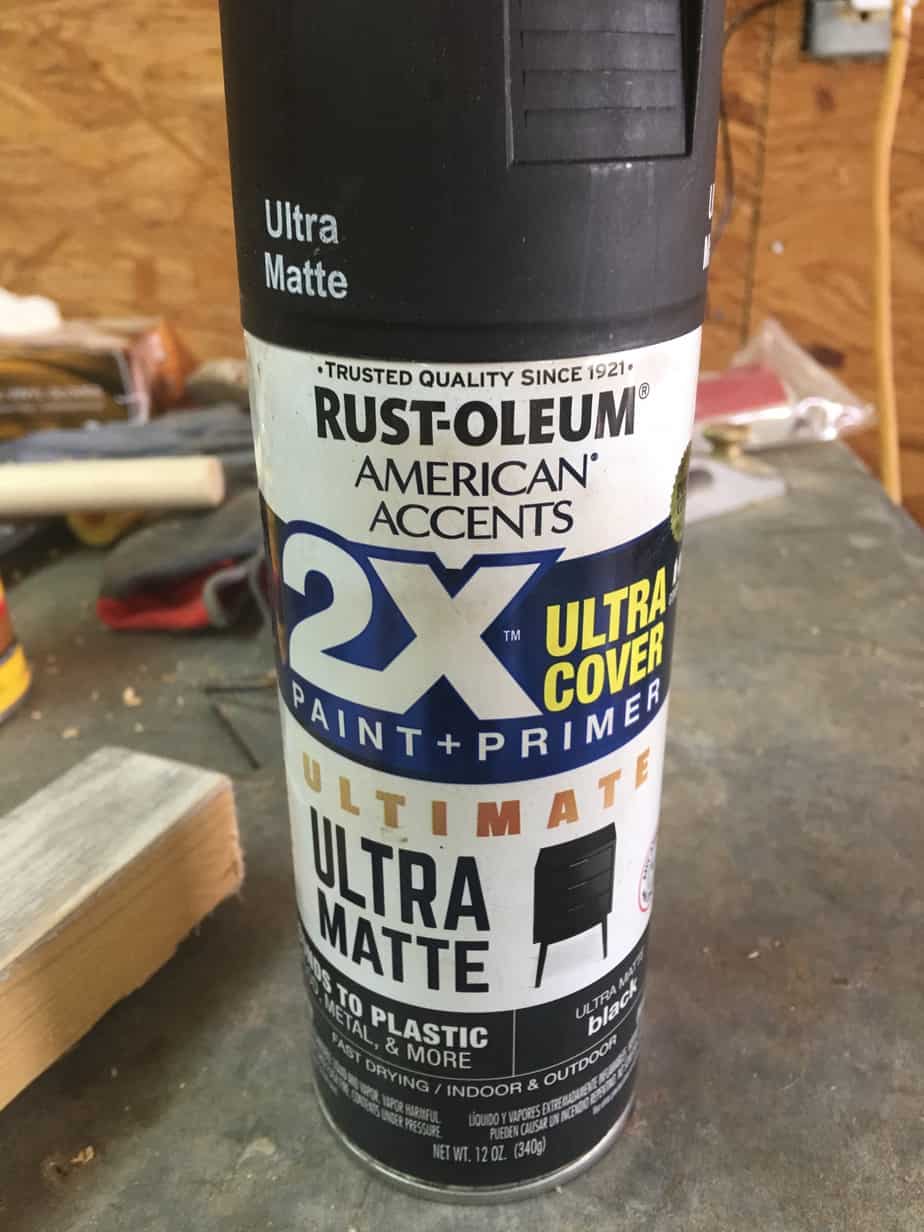
Lightly spray paint both of the pumpkins black. Here is the spray paint I used. You can use any kind really as long as it has a matte finish.
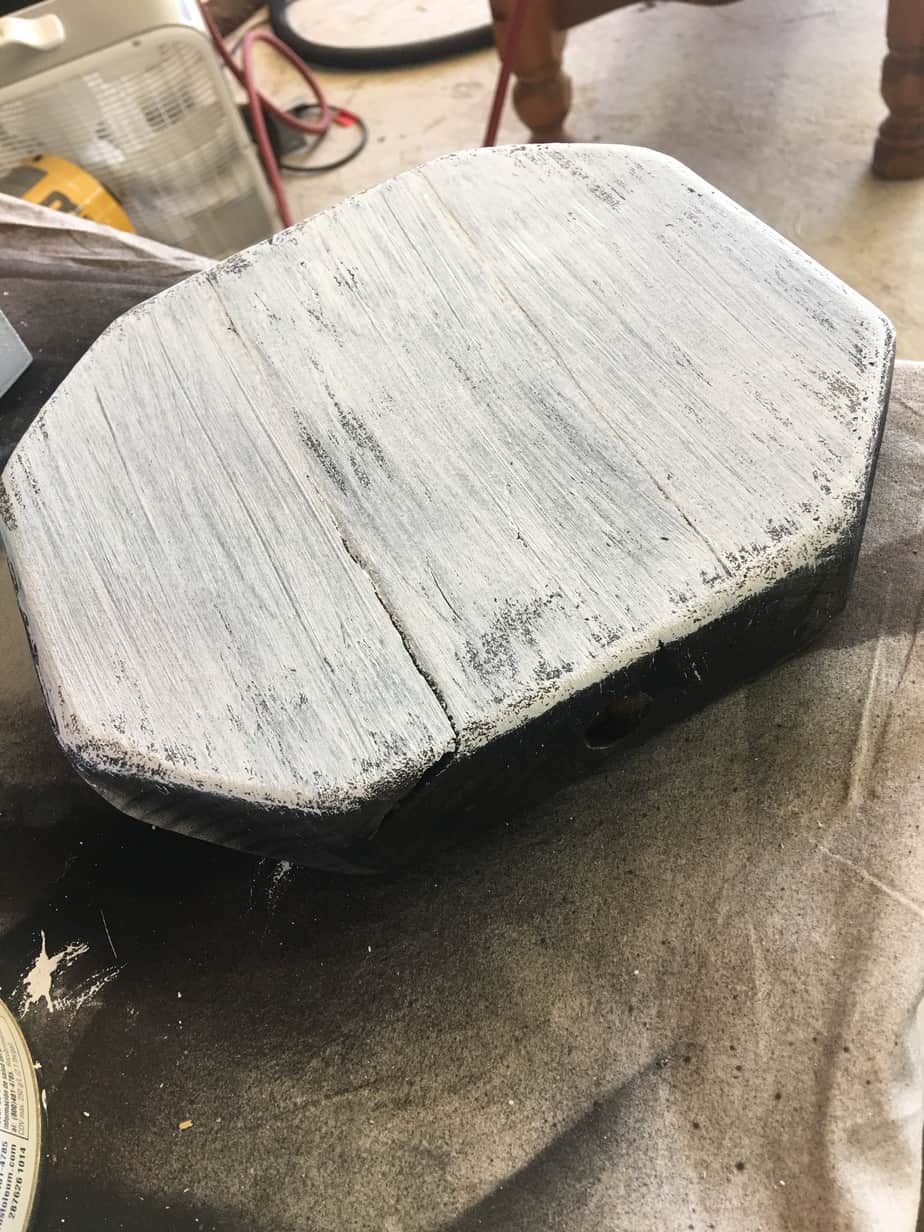
After the spray paint is dry, paint only the front of the pumpkin with chalk paint. I used my fav chalk paint for this, Linen White by Rust-Oleum. I dry brushed two coats allowing it to dry between each coat.
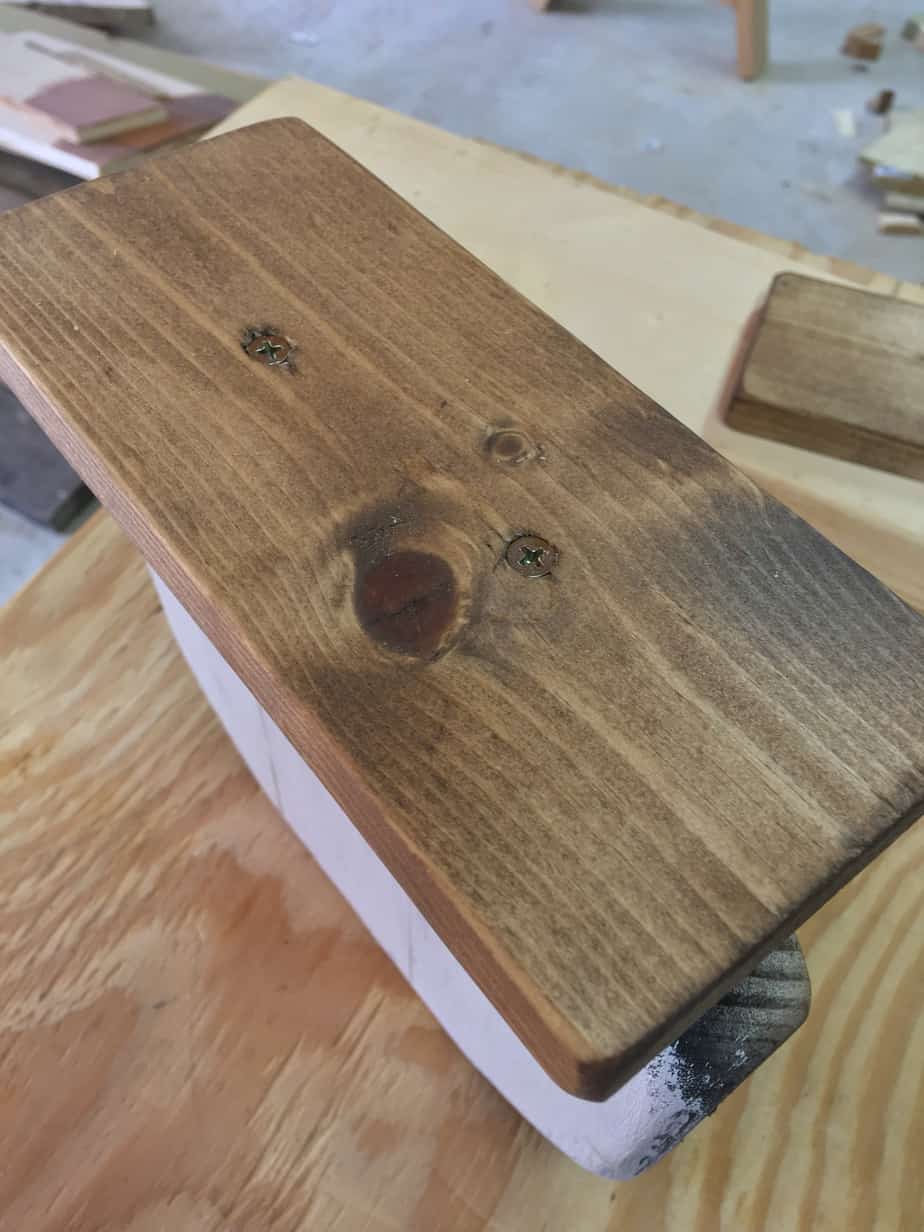
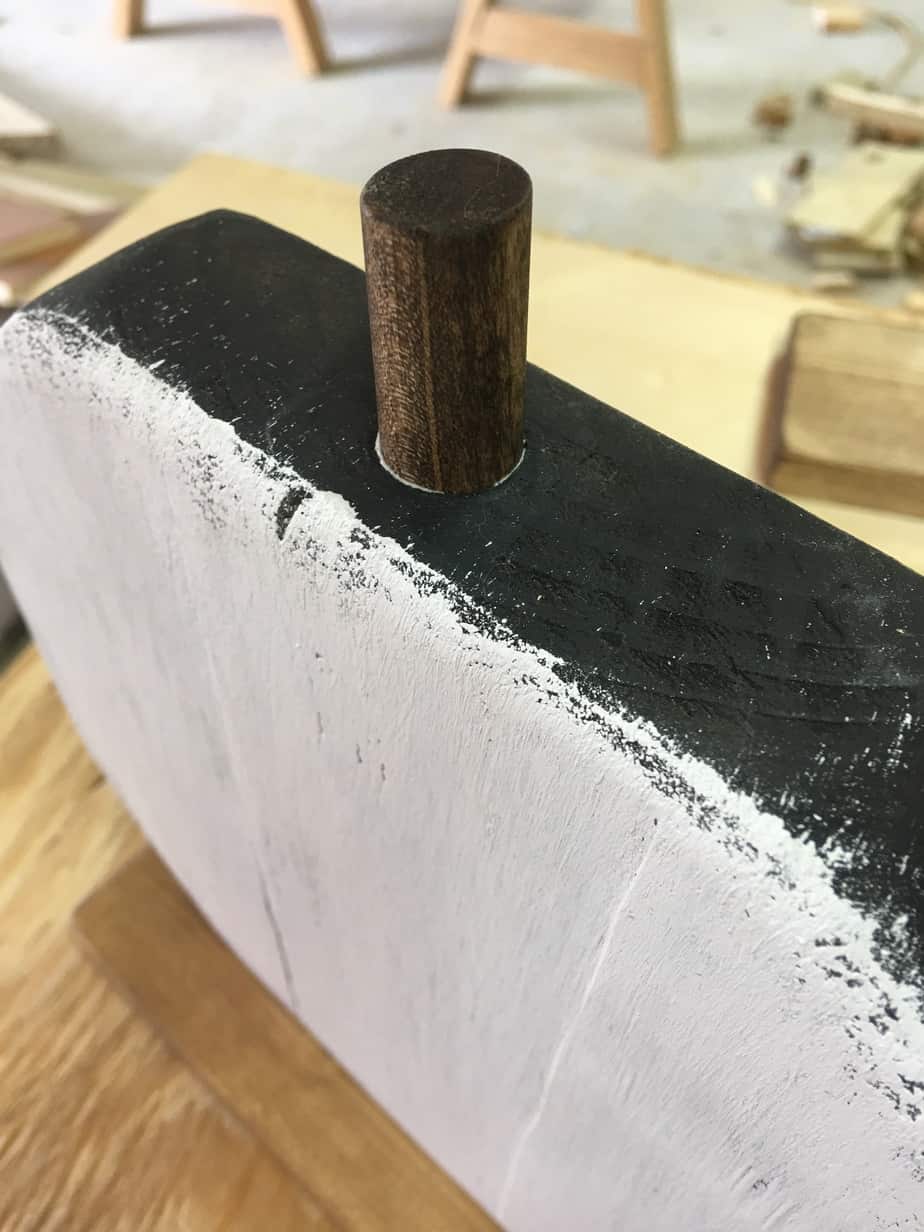
Step Three: Attach Bases and Wood Dowels
Get your two previously cut 1×4 boards. Attach the 8″ base to the 2×10 pumpkin using 1 1/4″ wood screws through the bottom of the 1×4. Repeat this step attaching the 6″ base to the 2×8 pumpkin. Handy tip-I used my Kreg Jig to clamp the pumpkin in place while I attached the base.
Apply wood glue to the end of each dowel and inside the drilled holes then attach your dowels to the tops of each pumpkin. Wipe of any excess glue around the dowels and let dry.
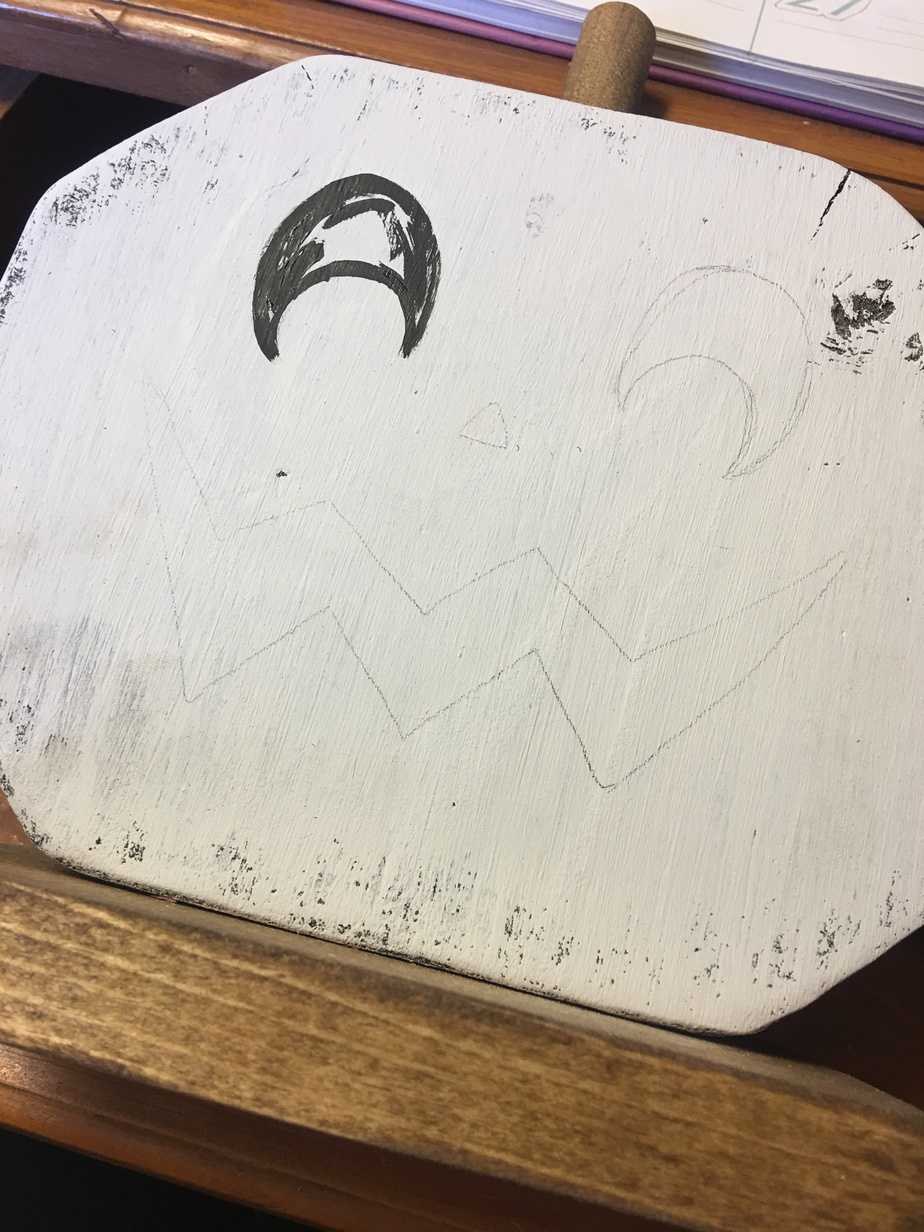
Step : Detail Painting and Distressing
Now it’s time to bring these pumpkins to life with some jack-o’-lantern faces! I just sketched out some faces in pencil before painting with black craft paint. These don’t have to be perfect. The great thing about jack-o’-lanterns faces is that they are perfectly imperfect. Go nuts here and customize yours however you like…creepy, happy, or scary! I decided to do two happy pumpkin faces.
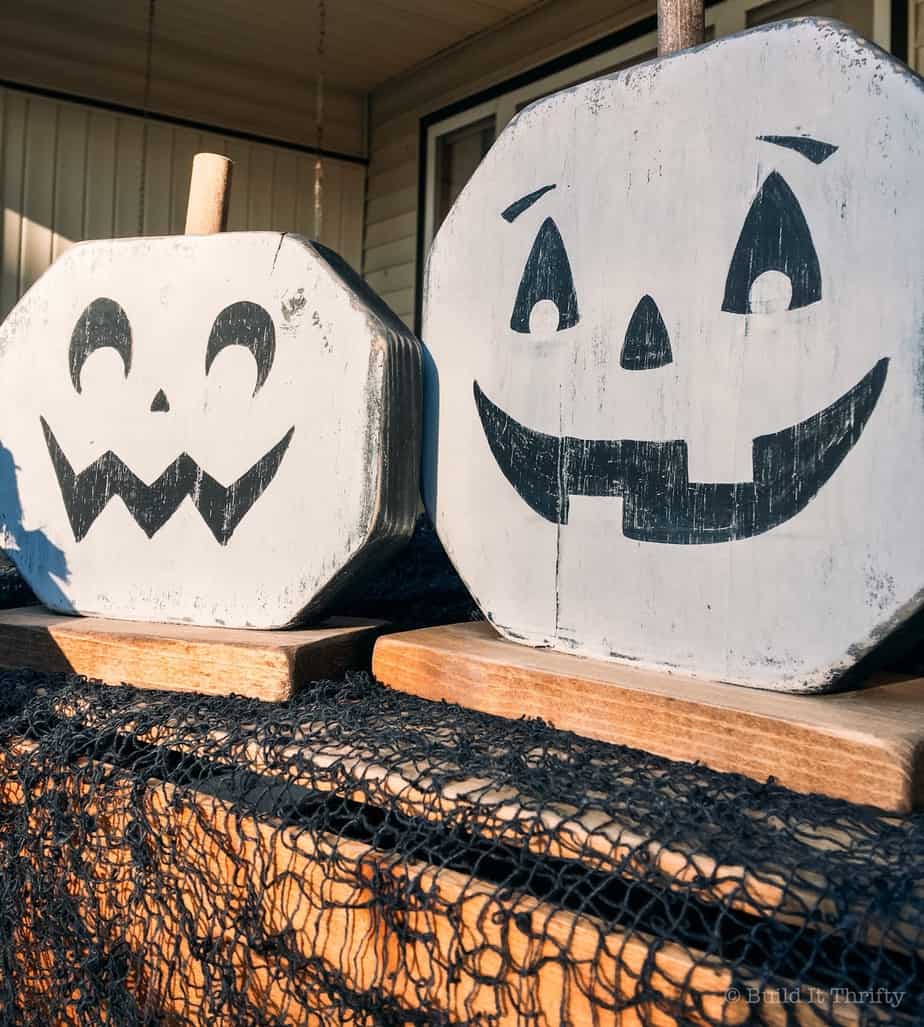
After your paint is dry, distress all the edges and the faces by hand using 120-grit sandpaper. Jack-o’-lanterns are finished! I’m so happy with how these little guys turned out. I think the distressed faces make them look even more spooky. Okay, let’s move on to tombstones…
Tombstones
Step One: Make Cuts
Cut your 2×10 boards as specified in the cut list.
This step is a repeat from the pumpkins. Measure in 2″ from the outsides of the board then use the speed square to mark your two angled cuts. Adjust your miter saw to 45 degrees again and make your cuts. Repeat for the other board.
Here is what you will have, two boards that are starting to resemble tombstones!
Cut your two 2×4 boards. These will be used as the bases for each of the tombstones.

Step Two: Assemble, Prep, and Stain
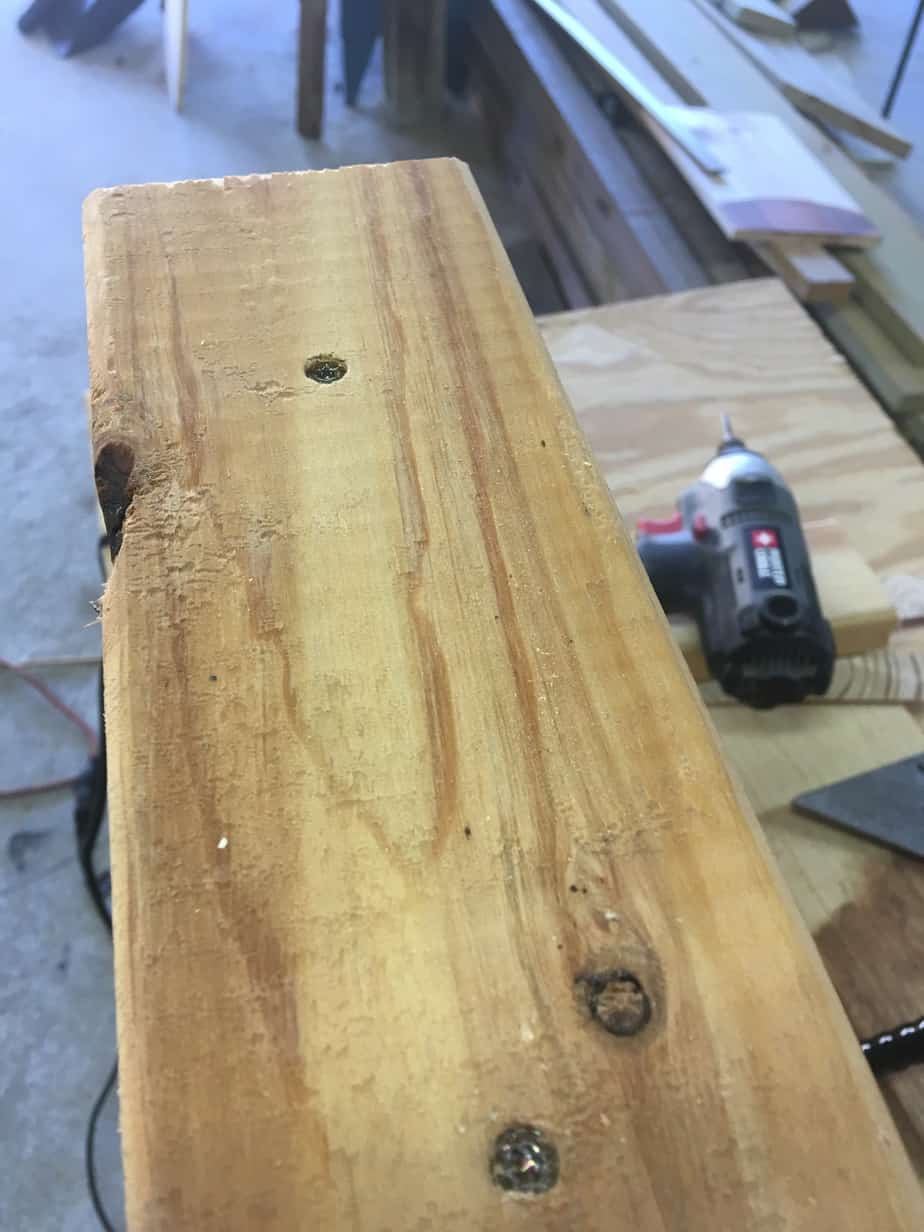
Line up the 2×10 in the center of the 2×4 base. I marked with a pencil where it lined up so I could keep in the correct place while attaching the screws. Drill two 2″ wood screws through the bottom of the 2×4 as picture below. Repeat for the other tombstone.
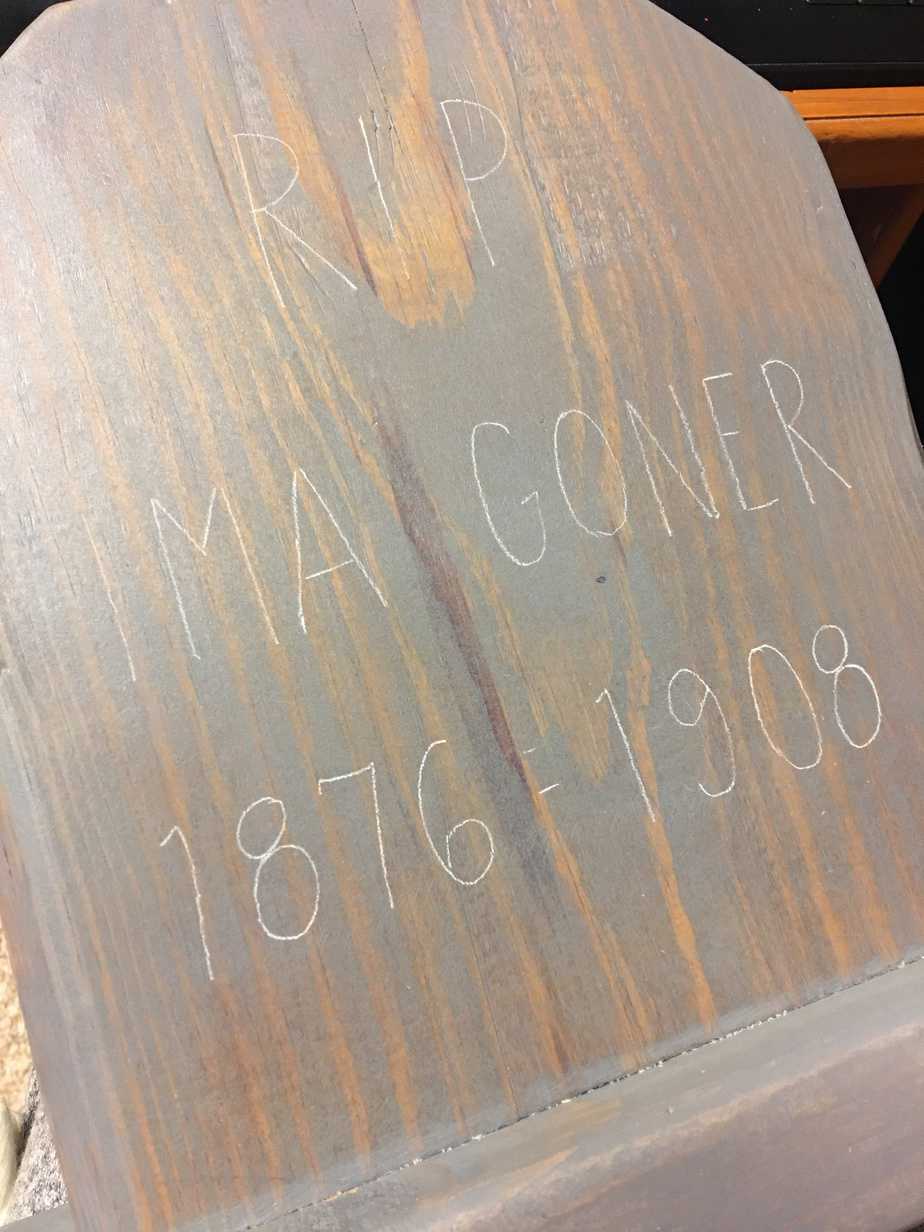
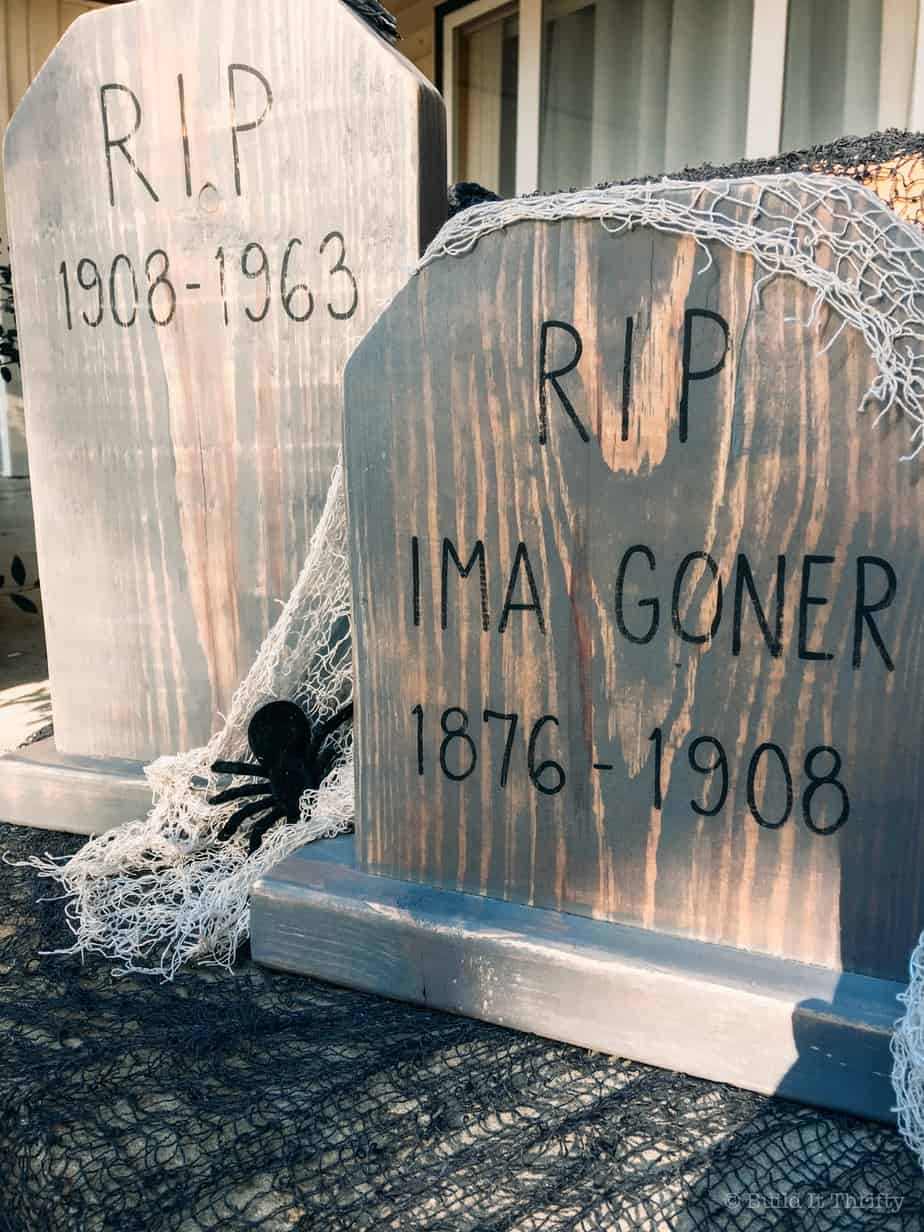
Sand all sharp edges with an orbital sander using 120-grit sandpaper. Stain both of the tombstones using a gray stain. I used Weathered Gray by Rust-Oleum. Looks like a tombstone to me! Now for the fun part.

Step : Detail Painting and Distressing
I remembered seeing online that someone had painted this on a Halloween tombstone. It made me laugh so I decided to use it. You can paint anything you want on these though. I used my chalk pencil to position everything first then just painted over it using black craft paint. After your paint is dry, distress everything by hand with sandpaper to make it look worn.
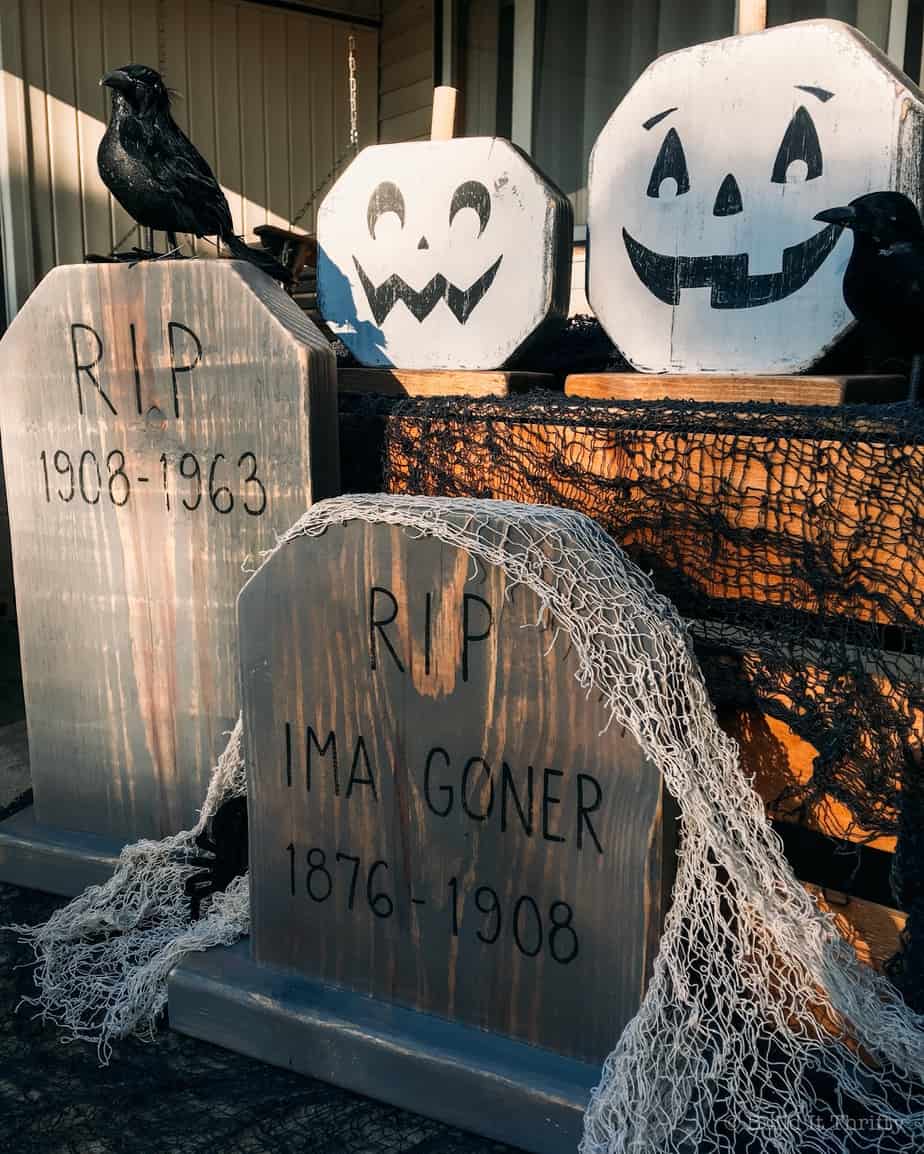
Here they are completed! Maybe the easiest Halloween project ever. I just love these. Both of these projects were a lot of fun to build and will last for many Halloweens to come. I hope you enjoyed them as much as I did!


No Comments