
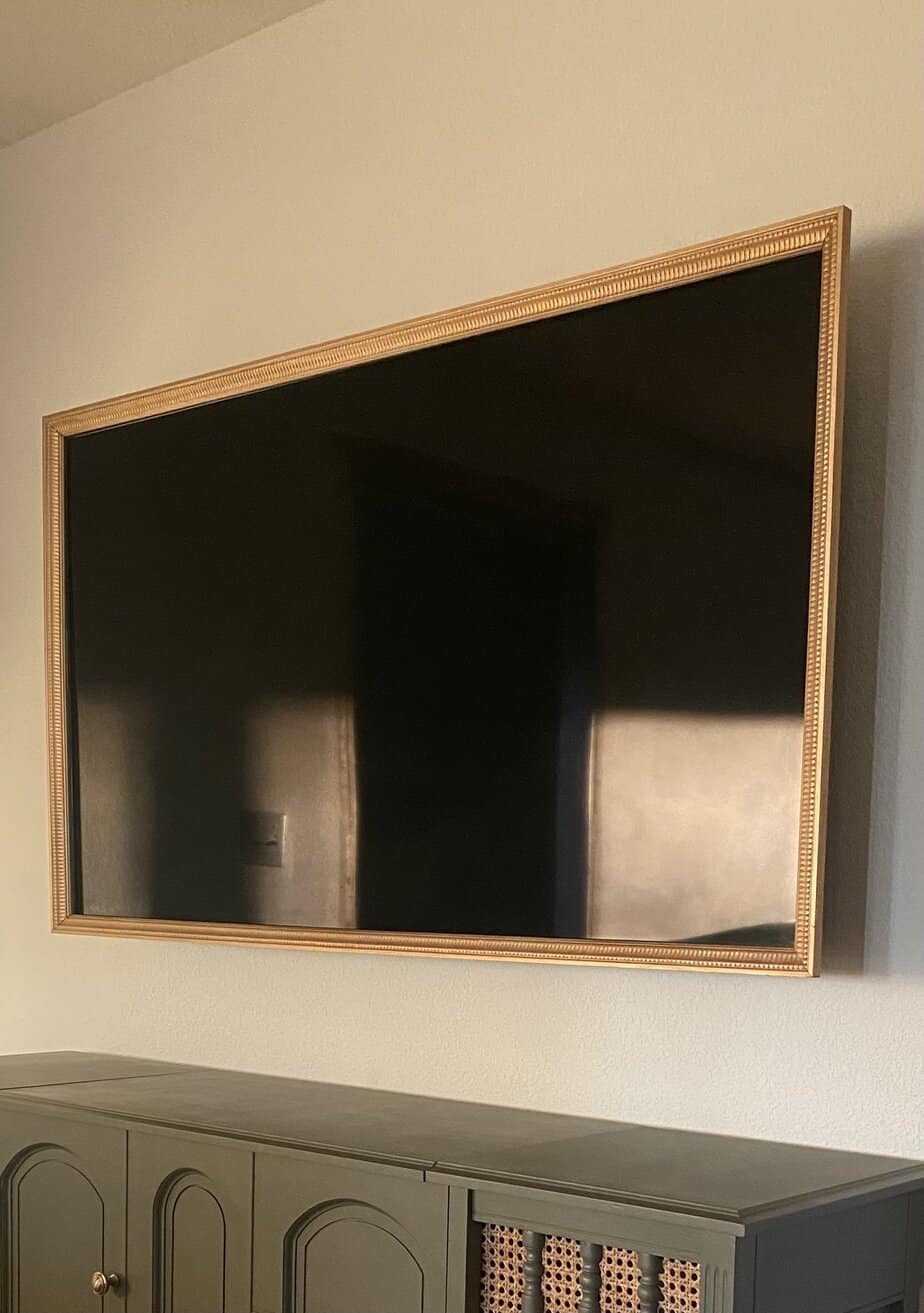
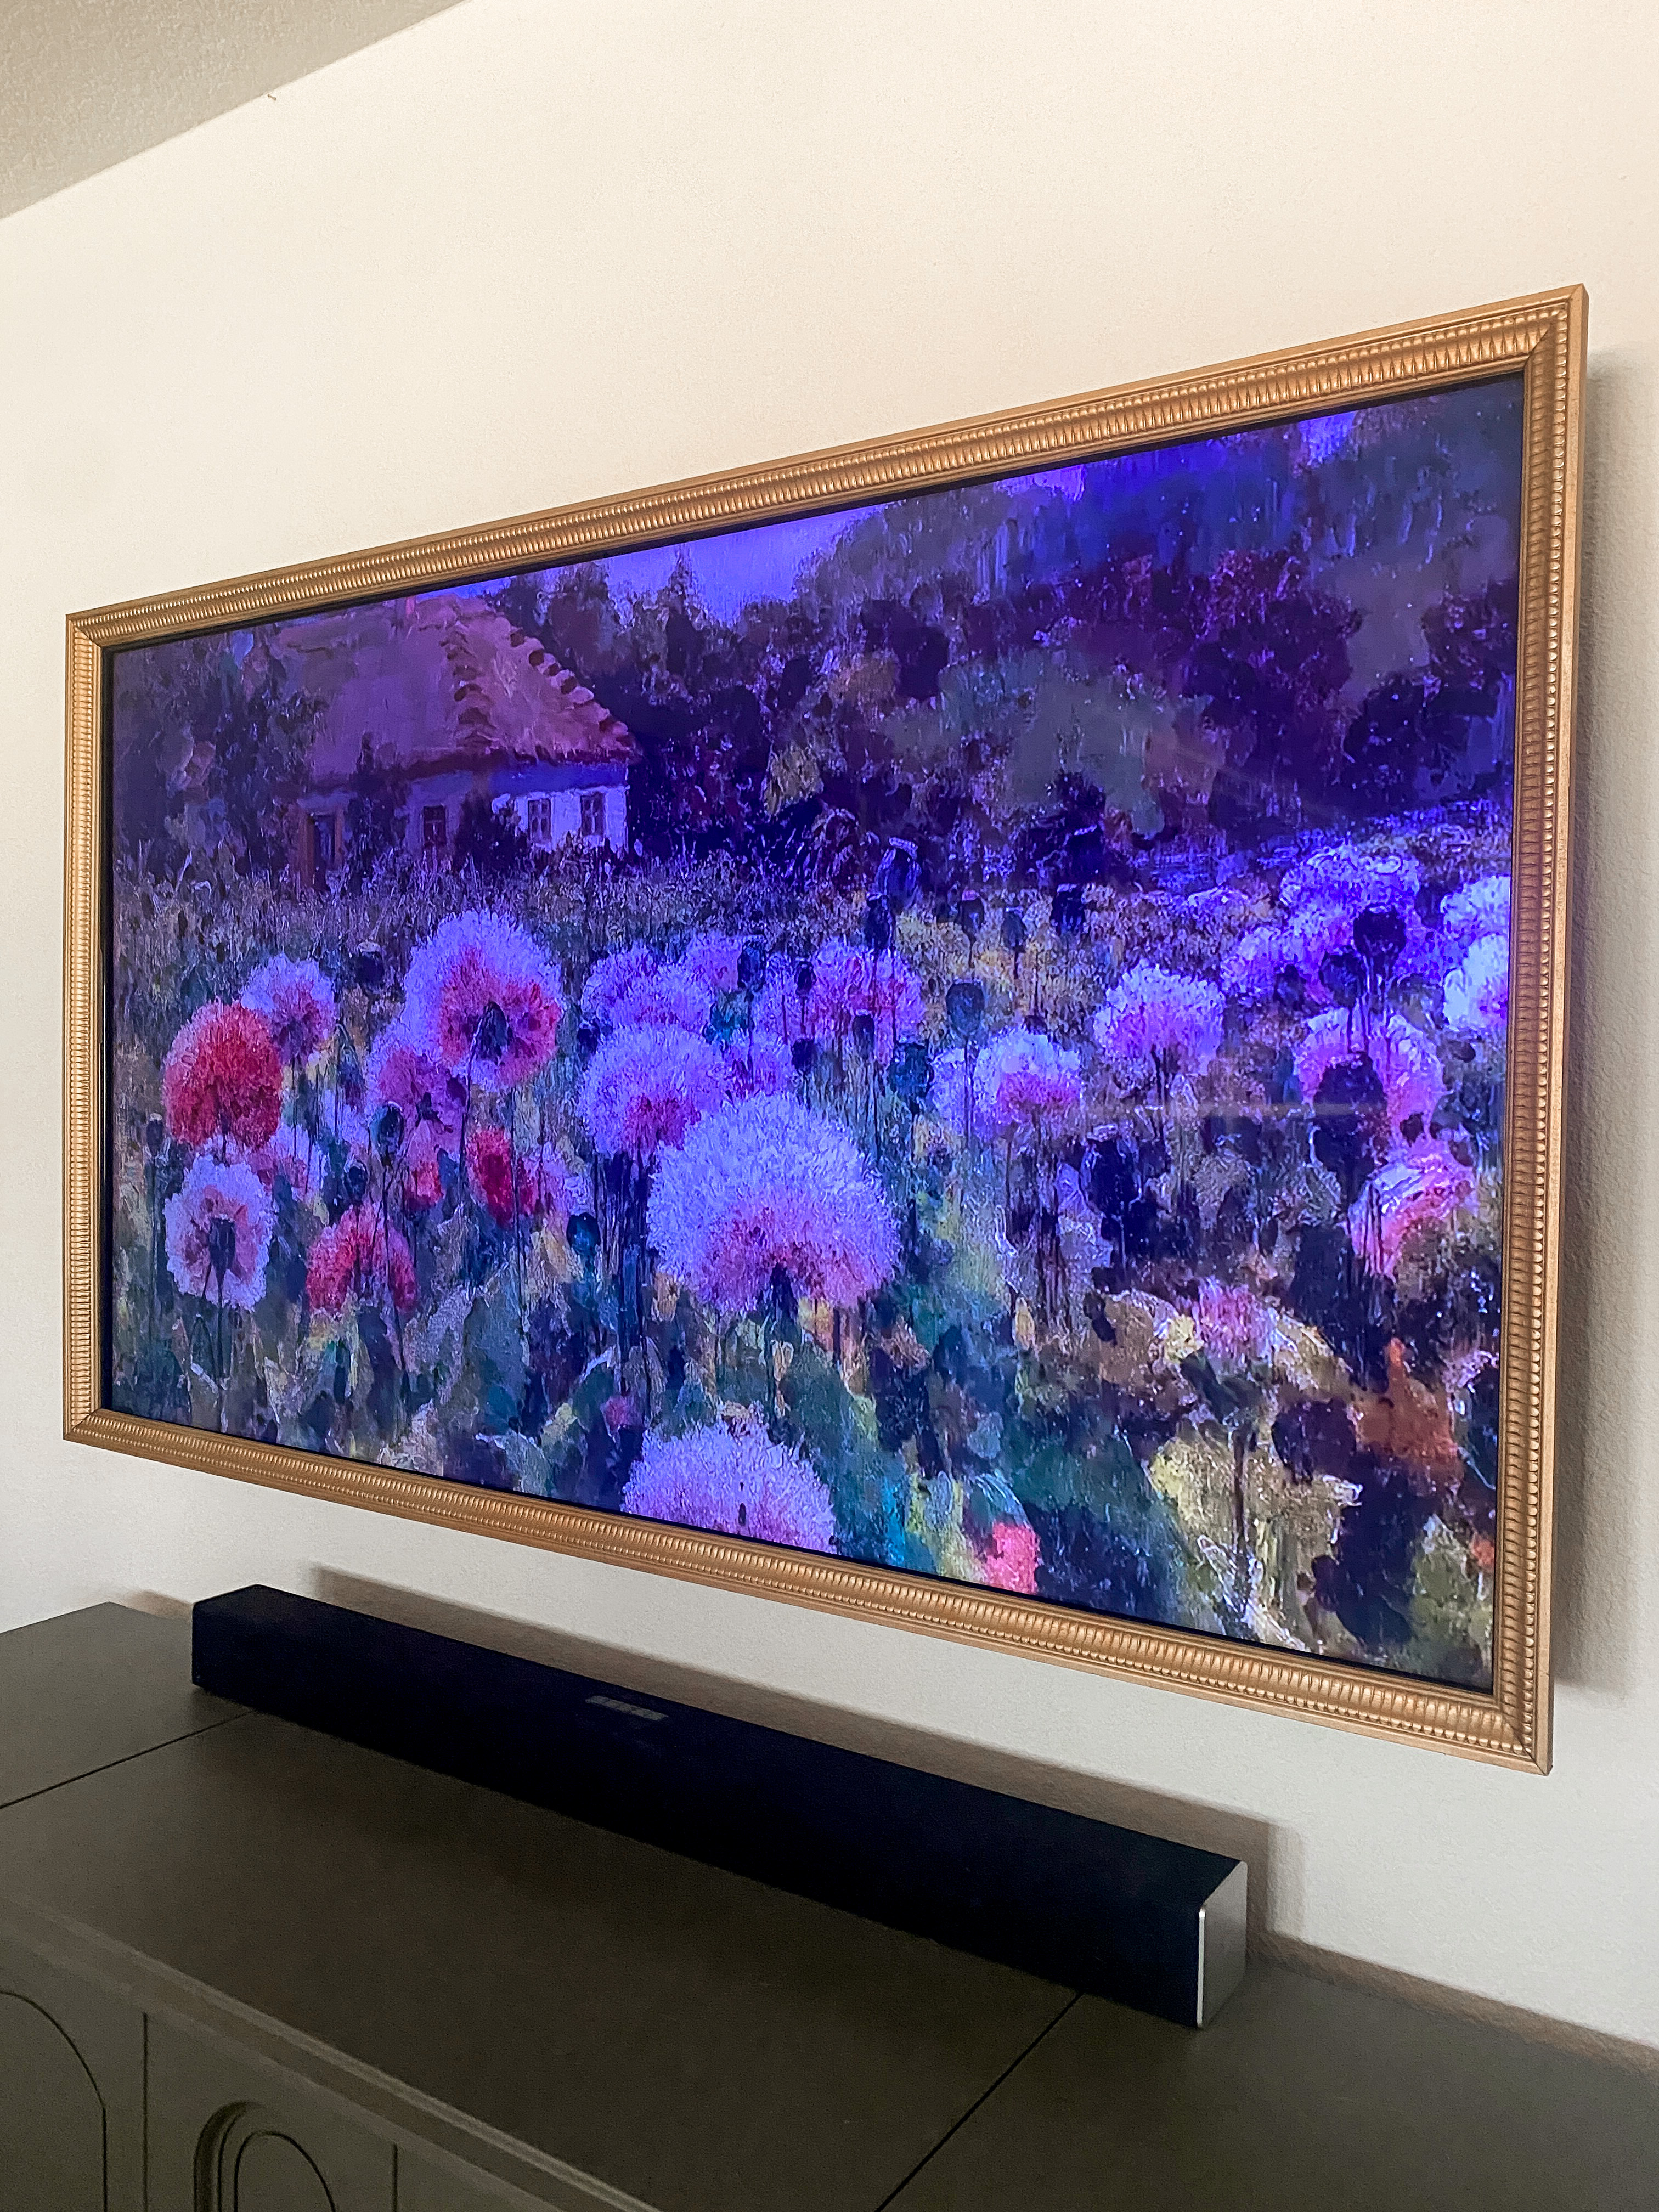
Today, I’ll be showing you how to build a TV frame with just a few simple steps. After adding the new media console, I thought the TV needed a little sprucing up. I love those super chic frame TVs that look like wall art. However, they’re expensive and we really don’t need another TV, and the frames alone cost almost $500! Nope. I ended up building a custom frame for our existing TV for less than $50. This project is so cheap and easy that you’ll want to frame all your TVs.
(This post contains affiliate links)
Materials:
- Decorative trim moulding
- Wood glue
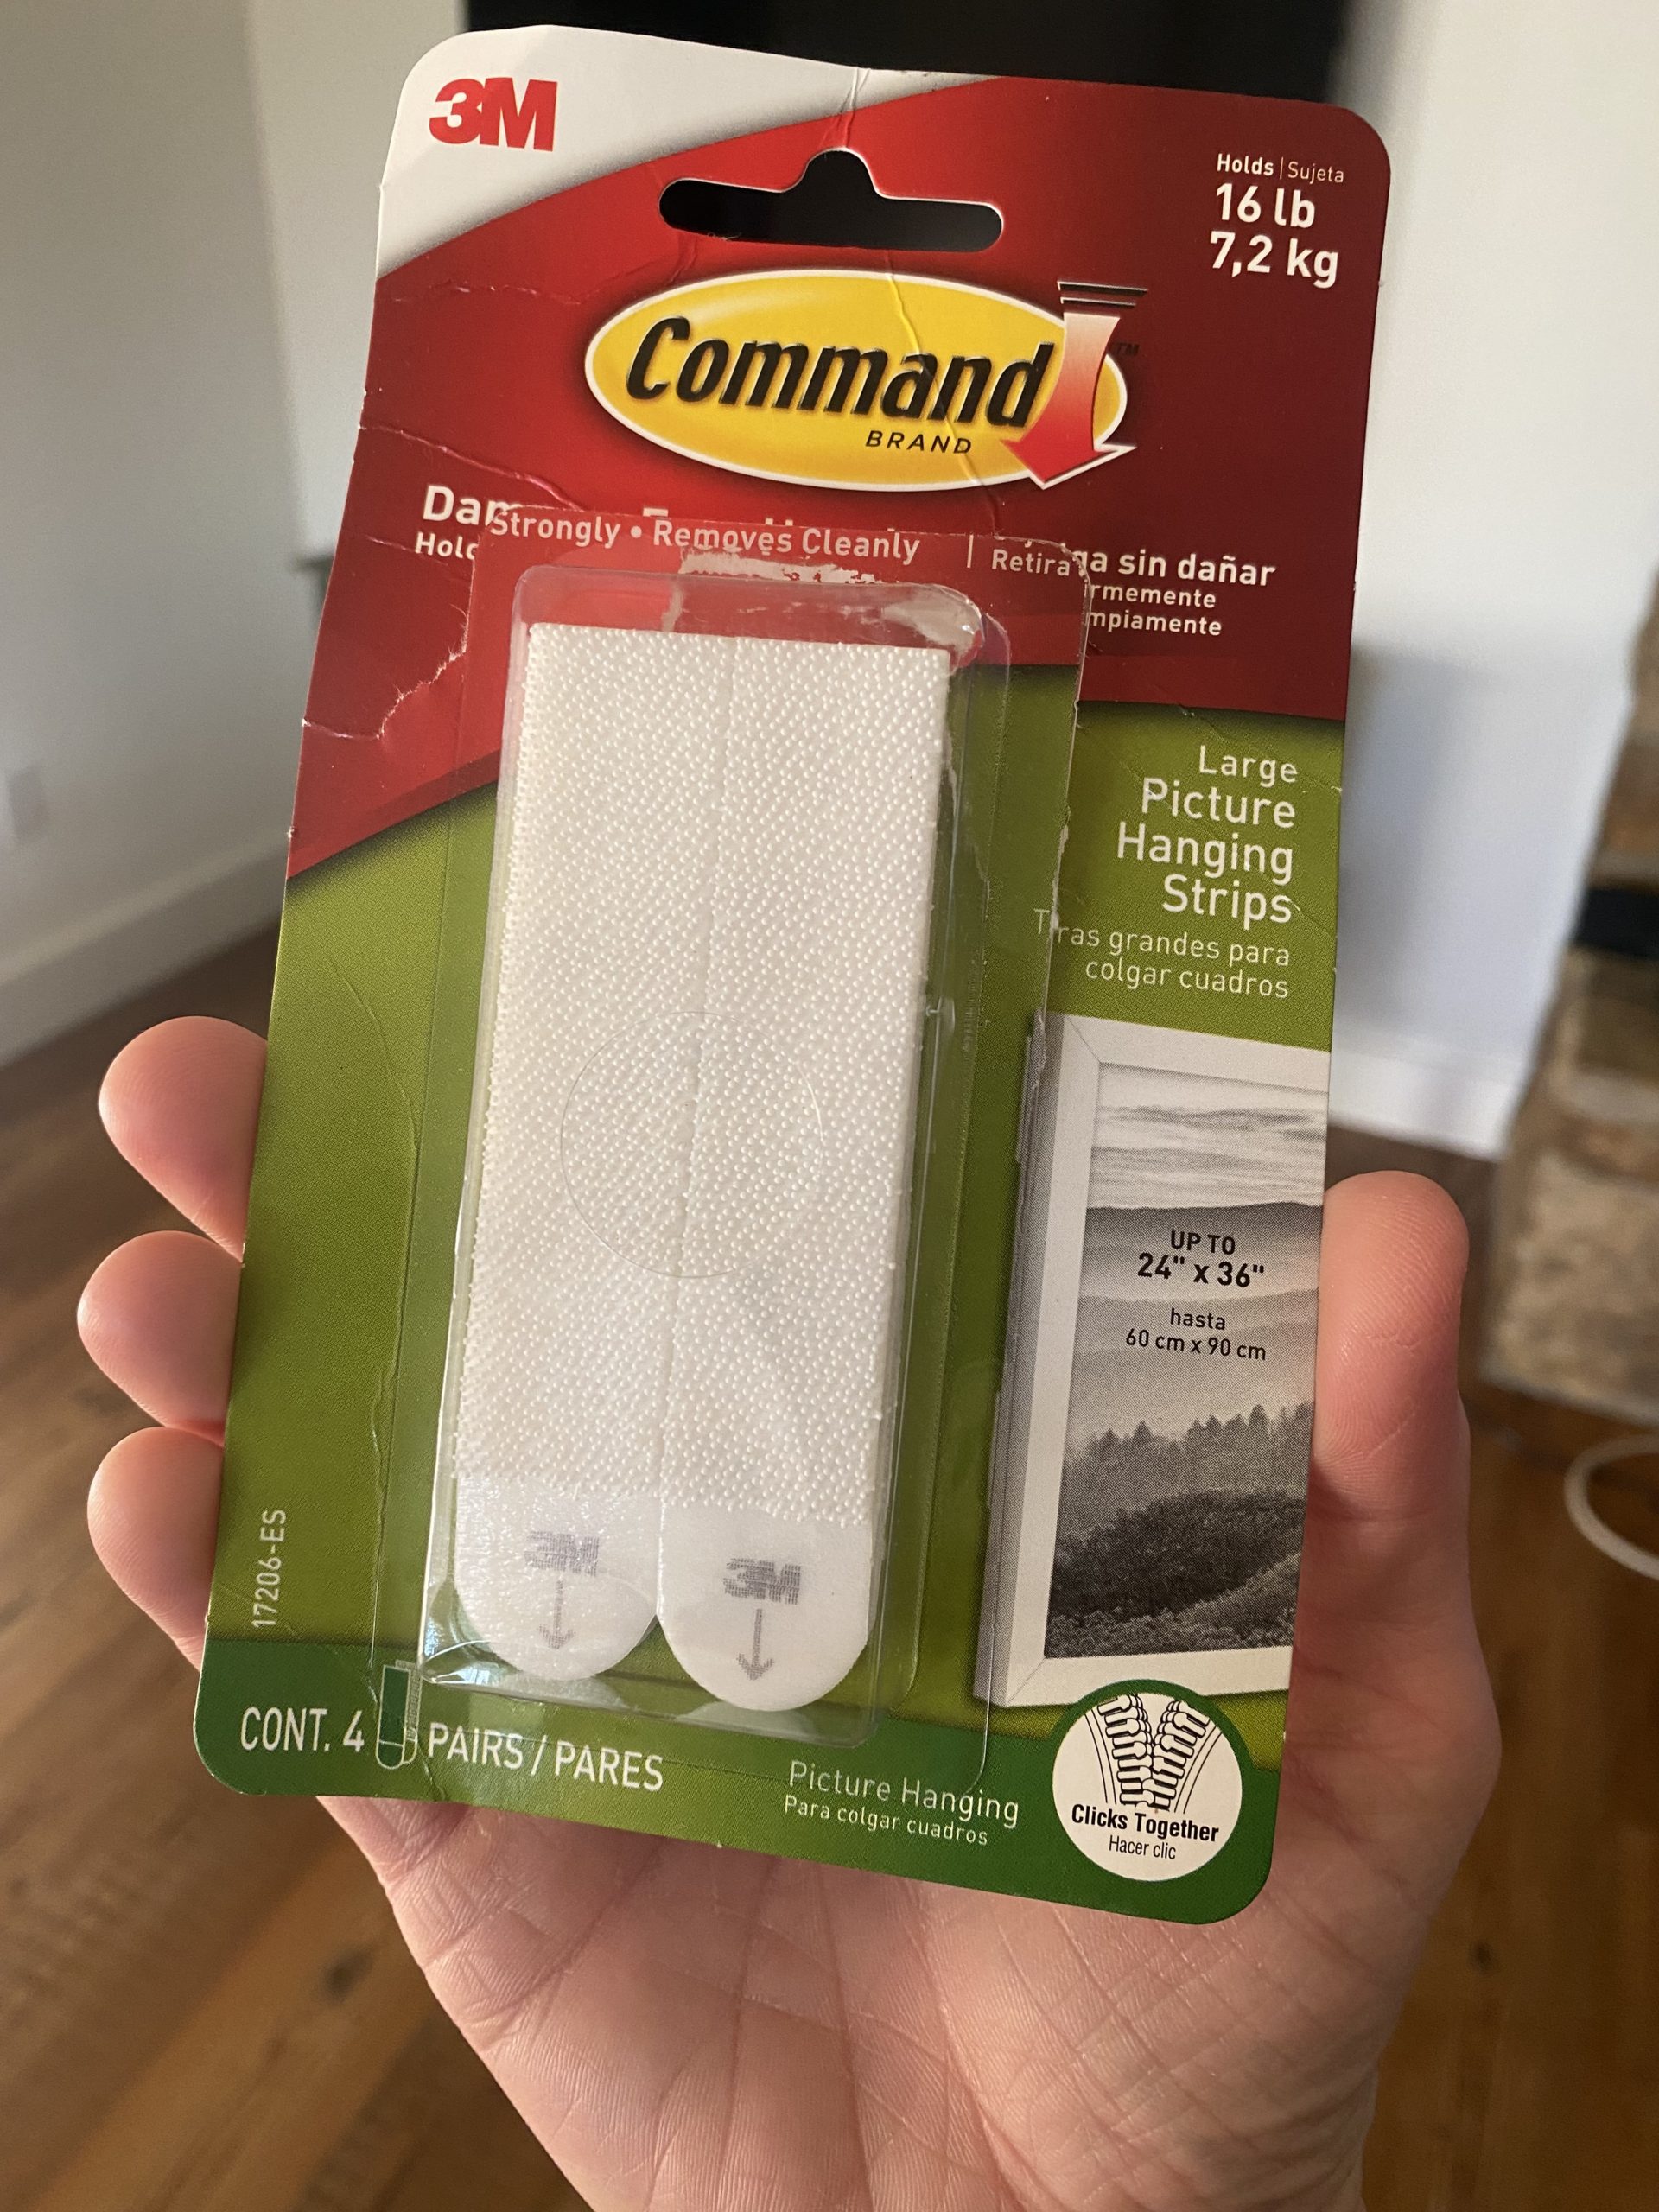
- Command Strips
- Paint or stain
- Rub ‘n Buff (optional)
- Cable pass through plates (optional)
Tools:
- Miter saw or miter box
- Nail gun
- Right angle clamps
Step One (Choose Trim and Cut):
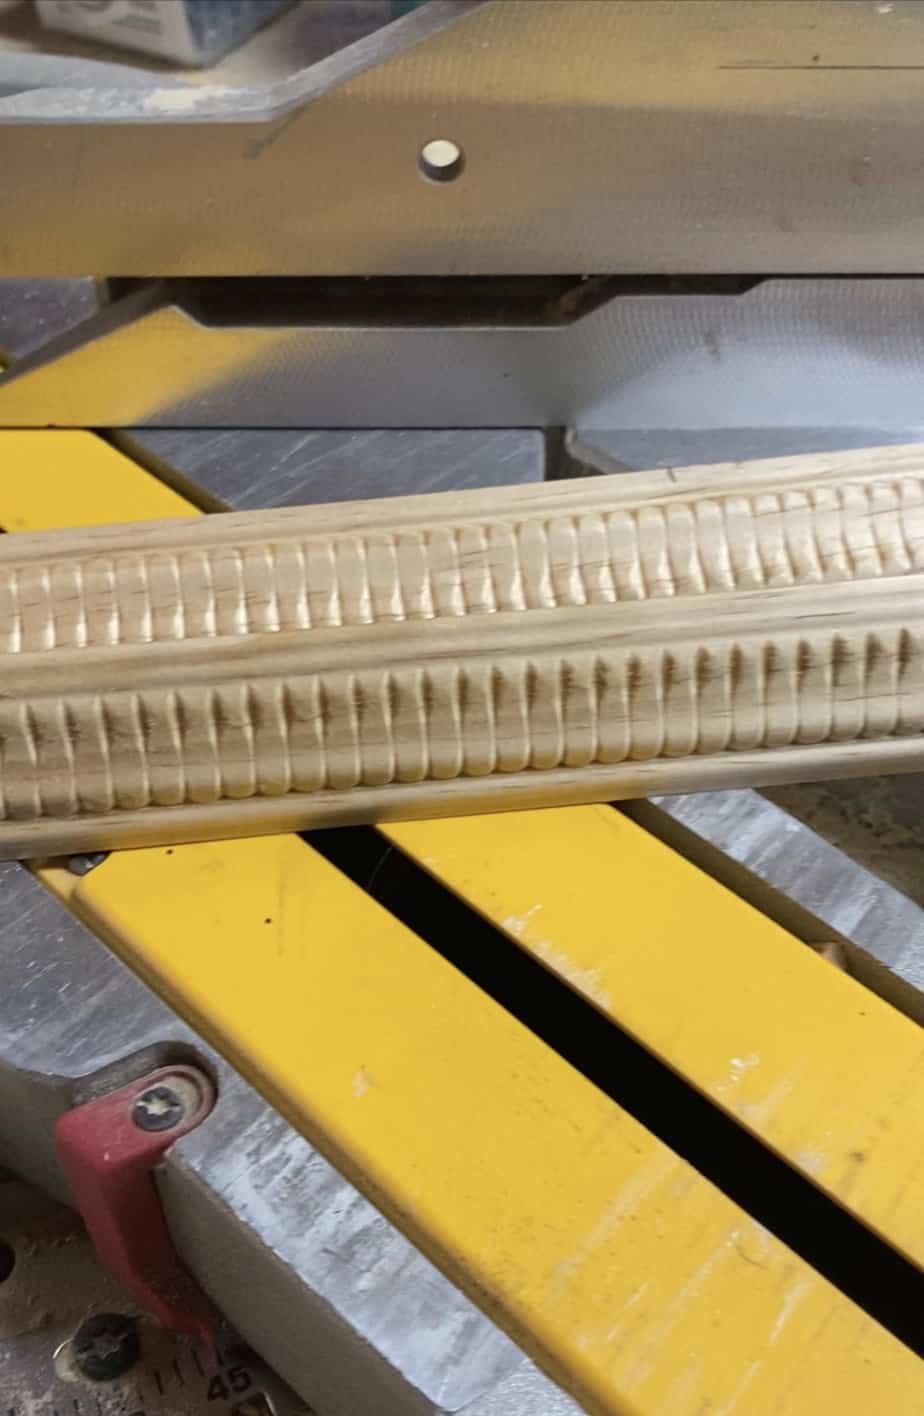
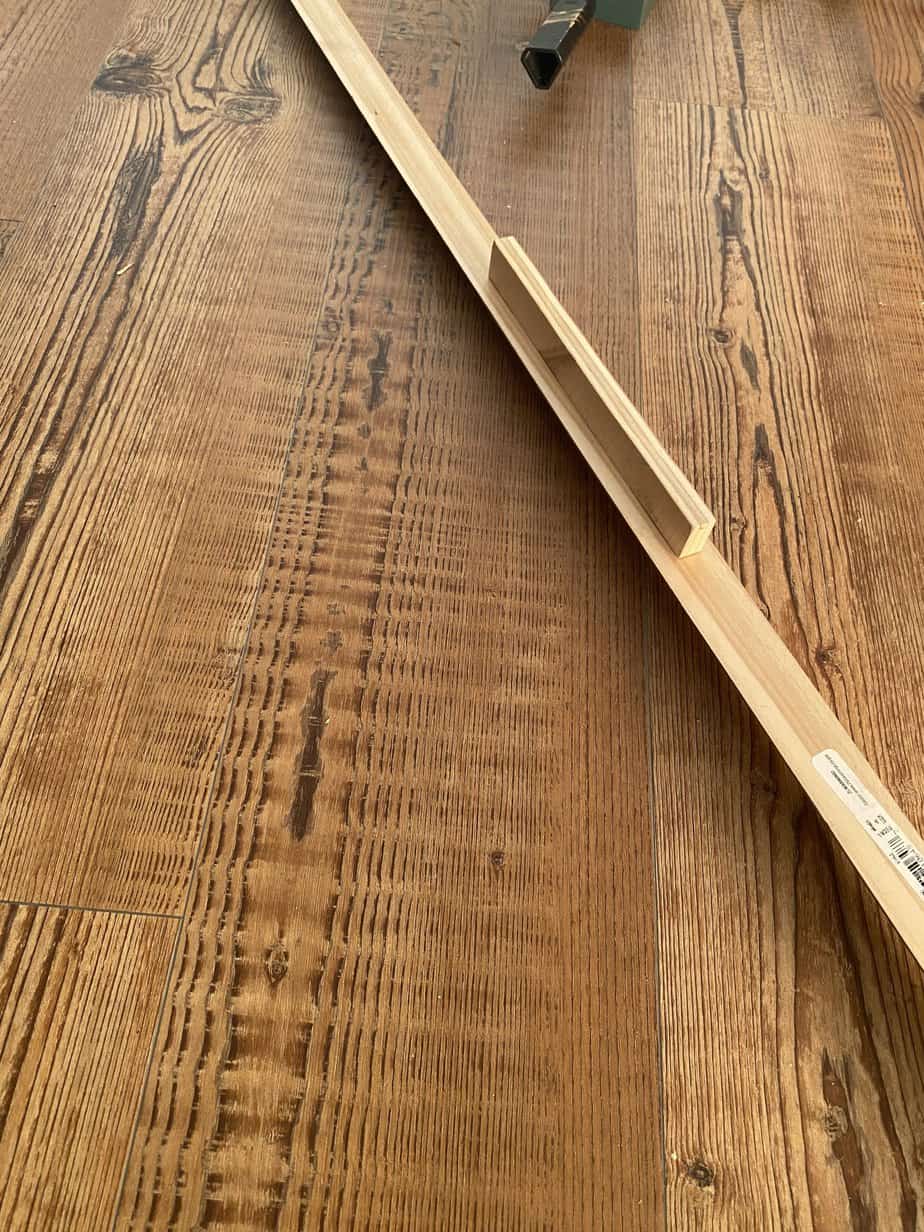
I wanted something decorative that looked like a fancy picture frame but not too thick, so I picked up this trim moulding at my local Home Depot. There were a lot of options to choose from in the decorative cabinet trim section. These are 8′ in length, cost less than $20, and I only needed two. If you are framing a larger TV, you may need more than that, mine is about 60″. When choosing your trim pieces, lay them out and make sure they are perfectly straight.
First, measure the TV to get the custom dimensions. You’ll want to make sure any plastic border around the TV is covered so all you can see is the screen so measure accordingly. I took all my measurements from the inside of that border and built the frame based on those inside measurements if that makes sense.
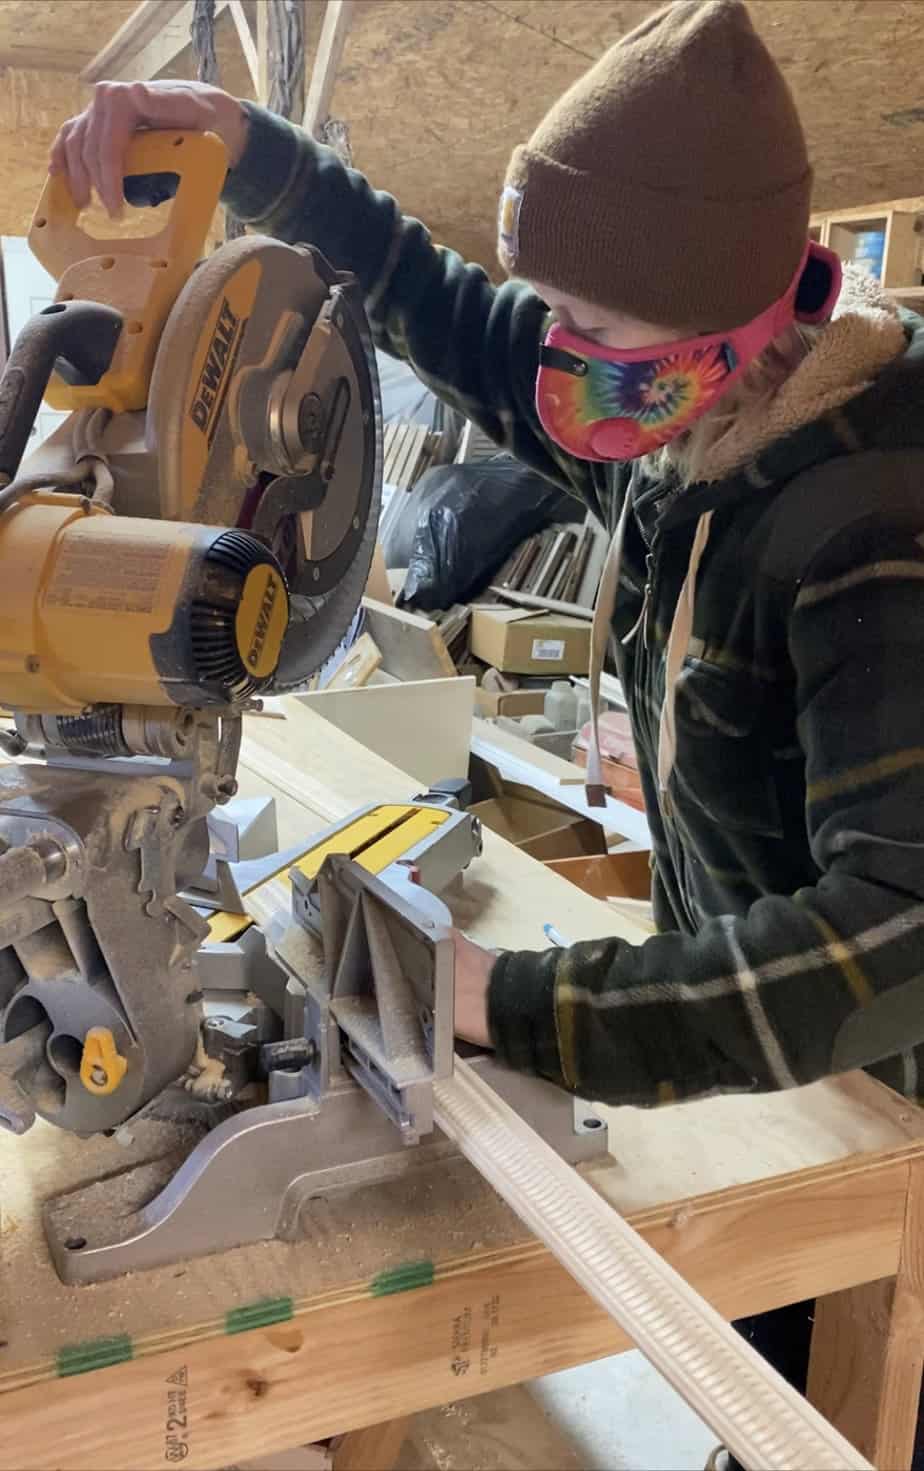
Now that you have all the measurements, use a miter saw or a miter box to cut all the ends at 45 degrees.
Step Two (Paint or Stain):
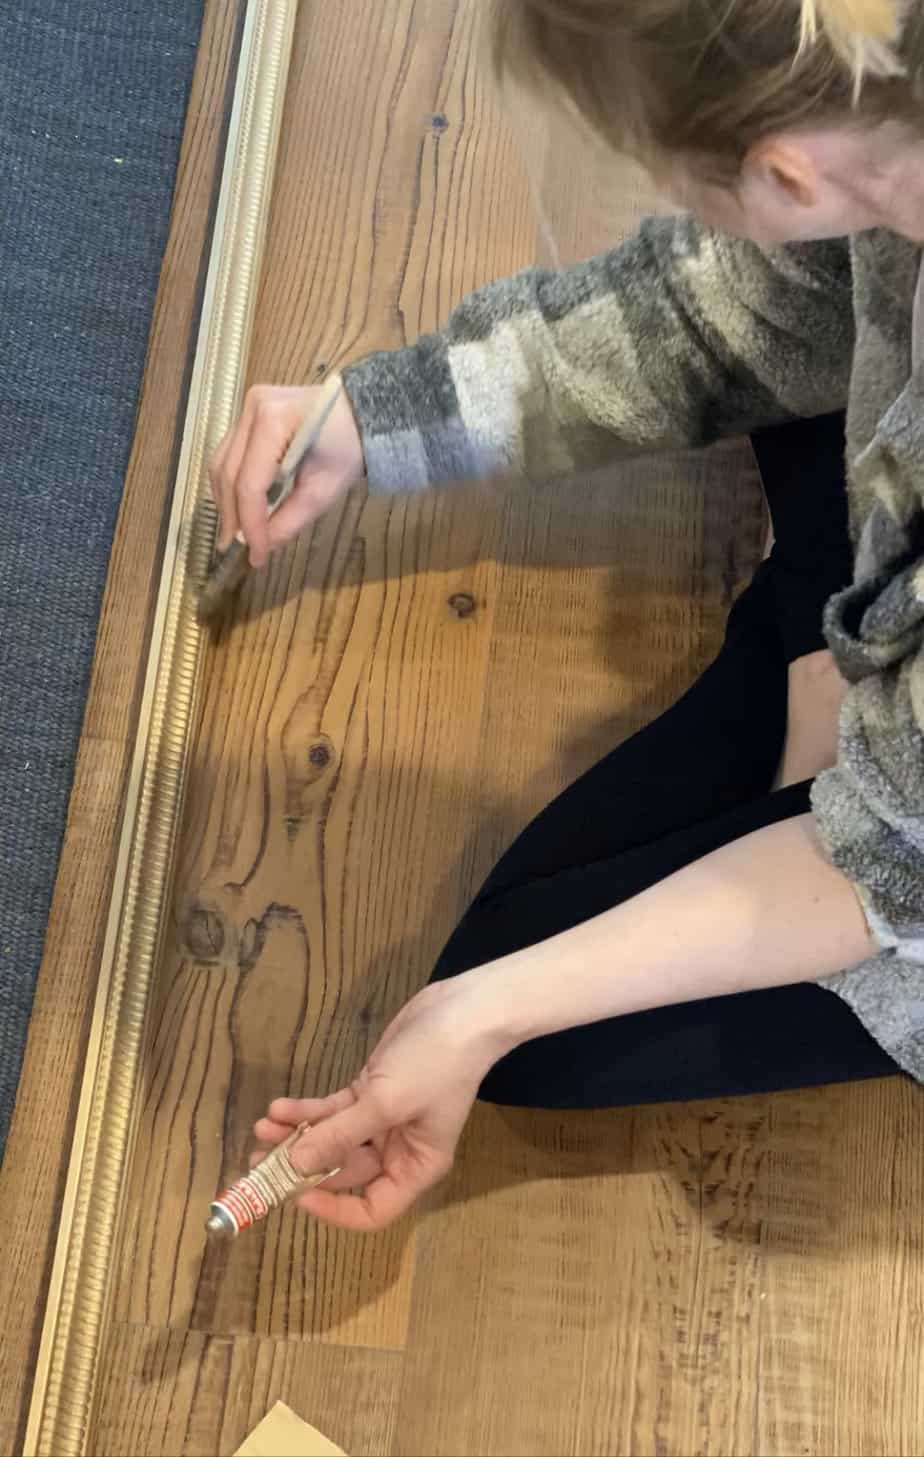
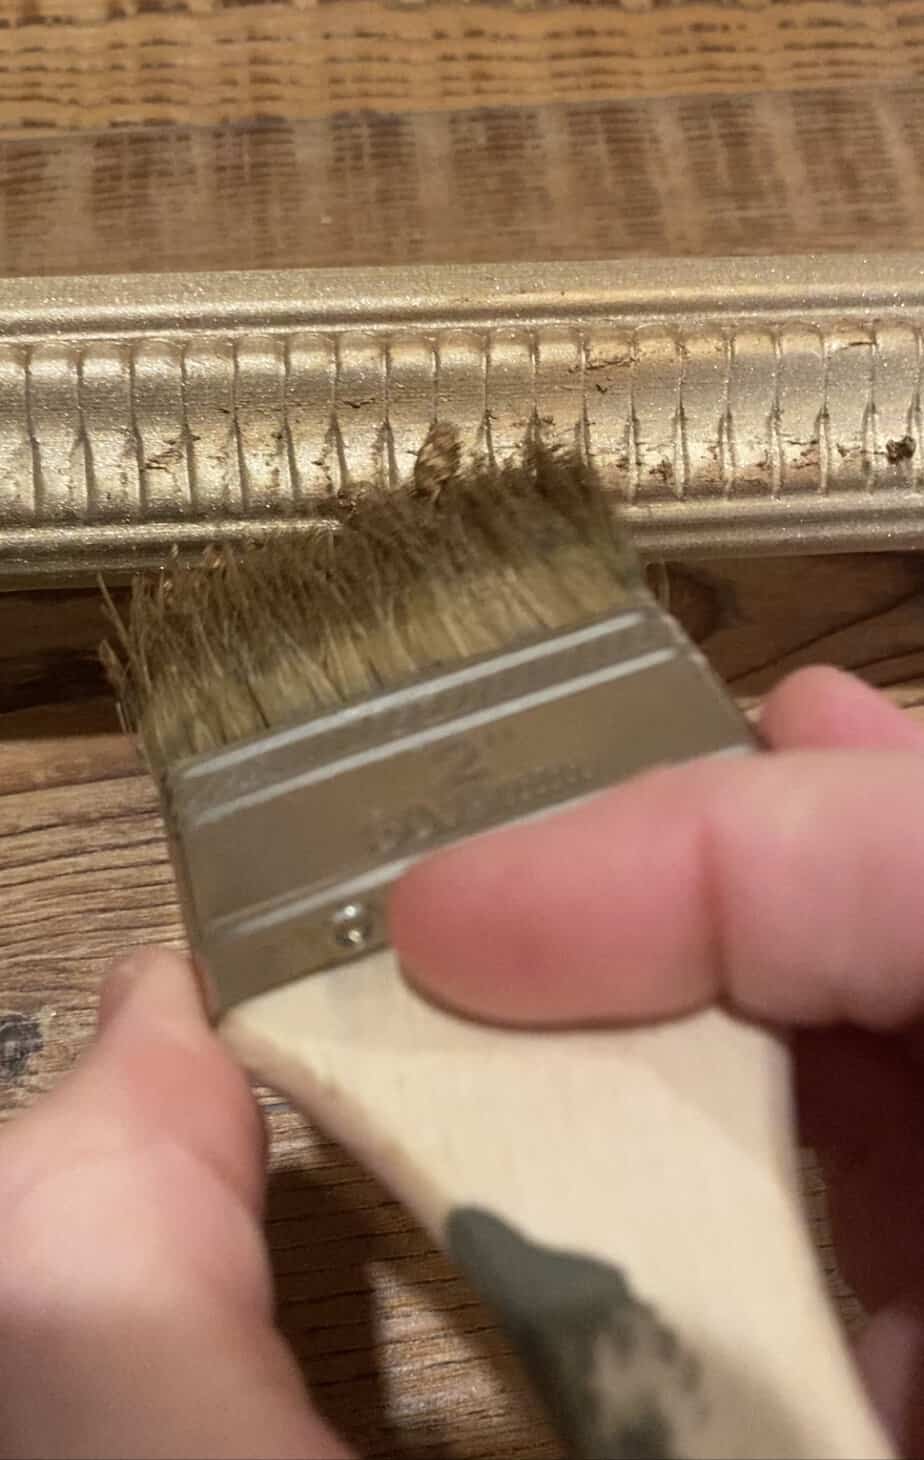
How you want your frame to look is personal preference, it could be painted or stained. I wanted a vintage look for mine, so I spray painted it gold.
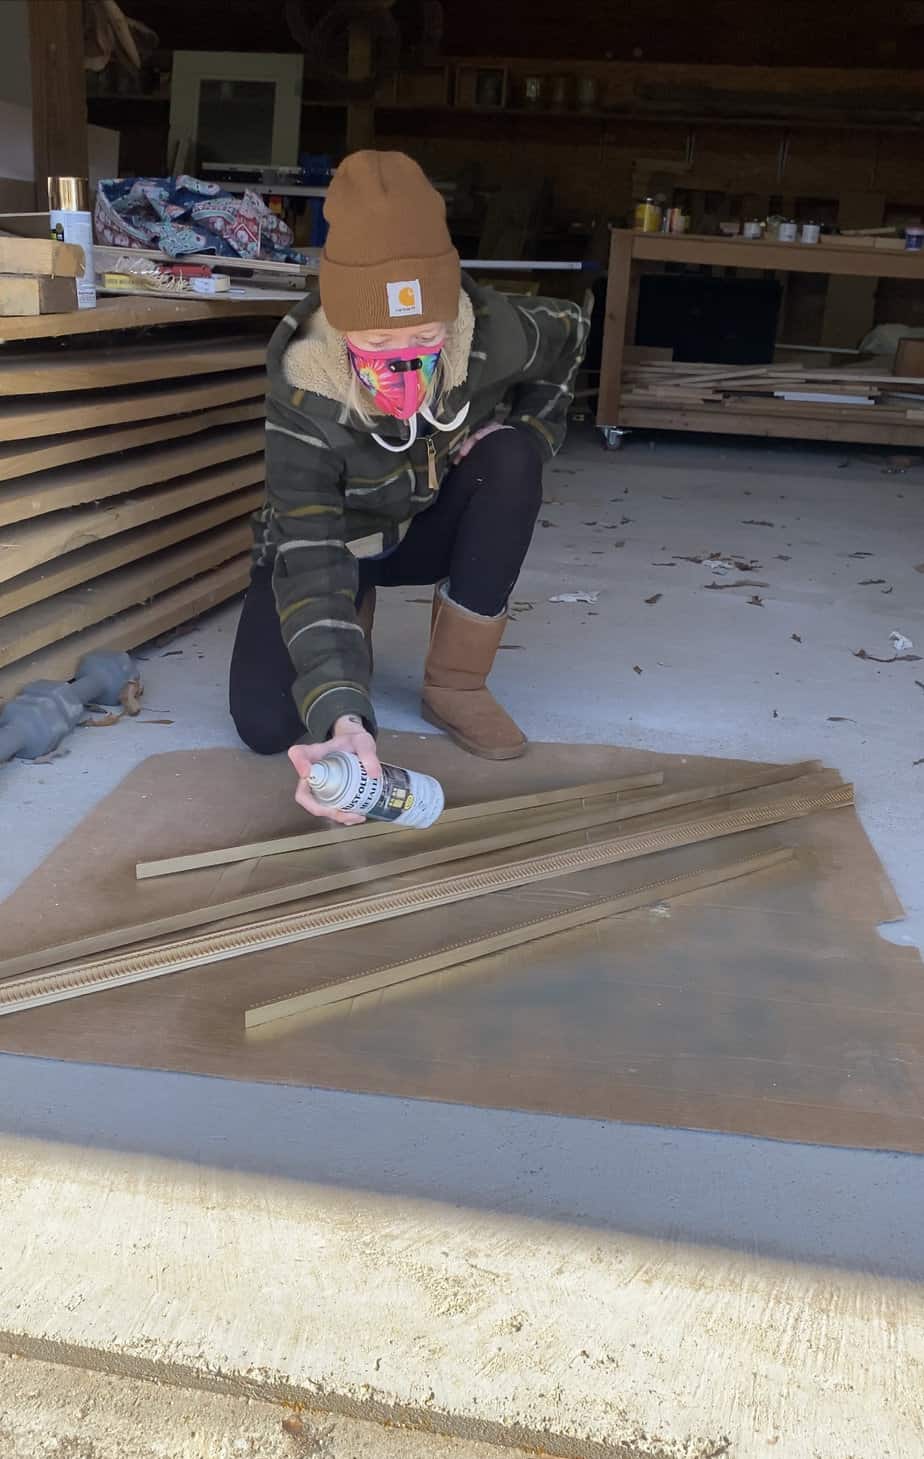
The gold spray paint ended up being a little too shiny, so I used Rub ‘n Buff in Antique Gold just to make it look more aged.
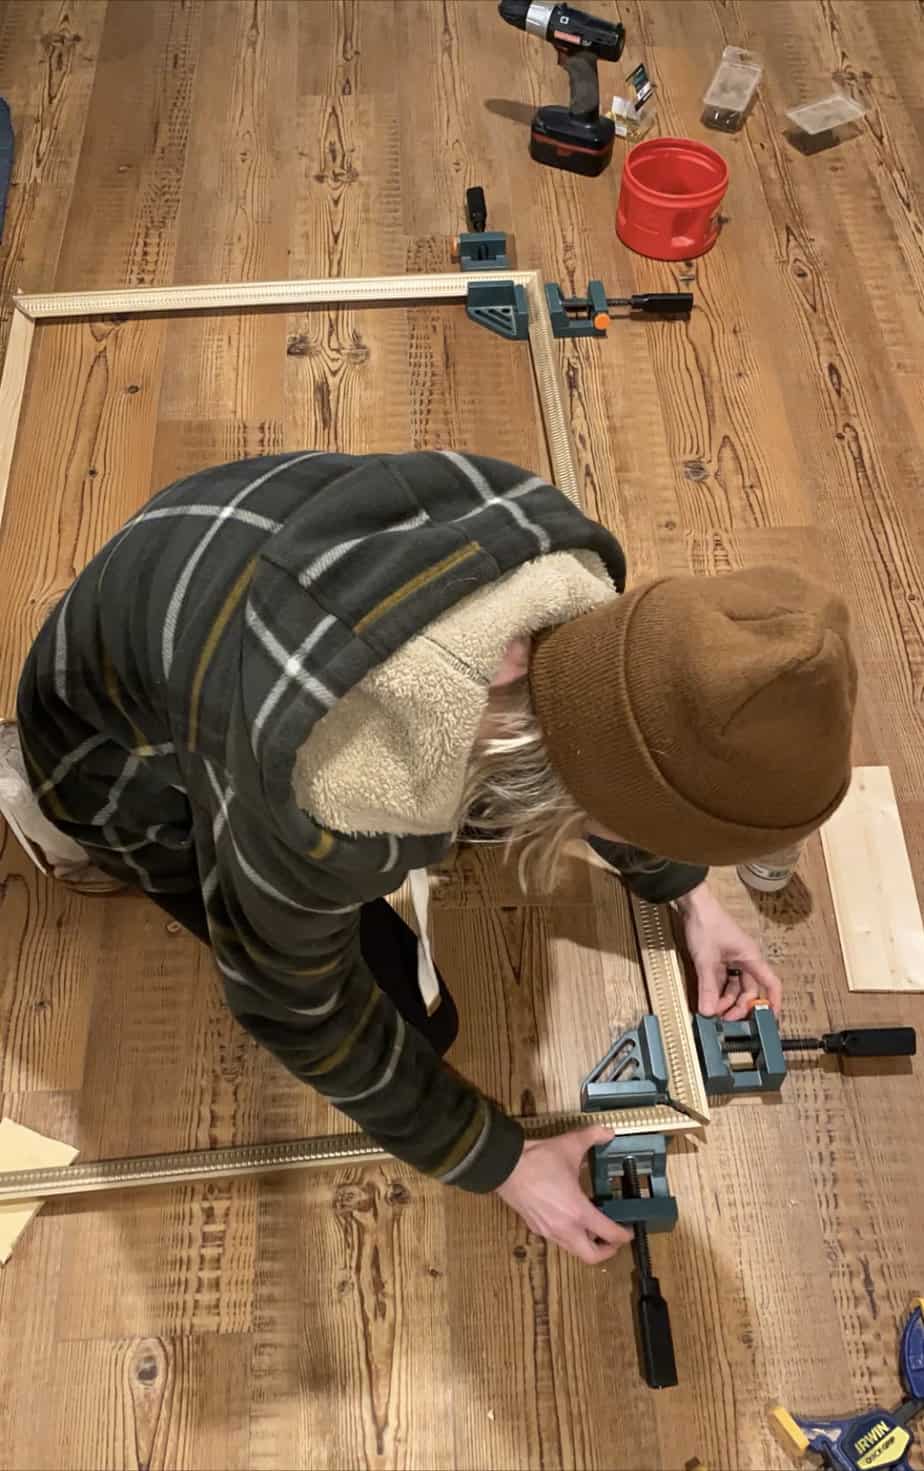
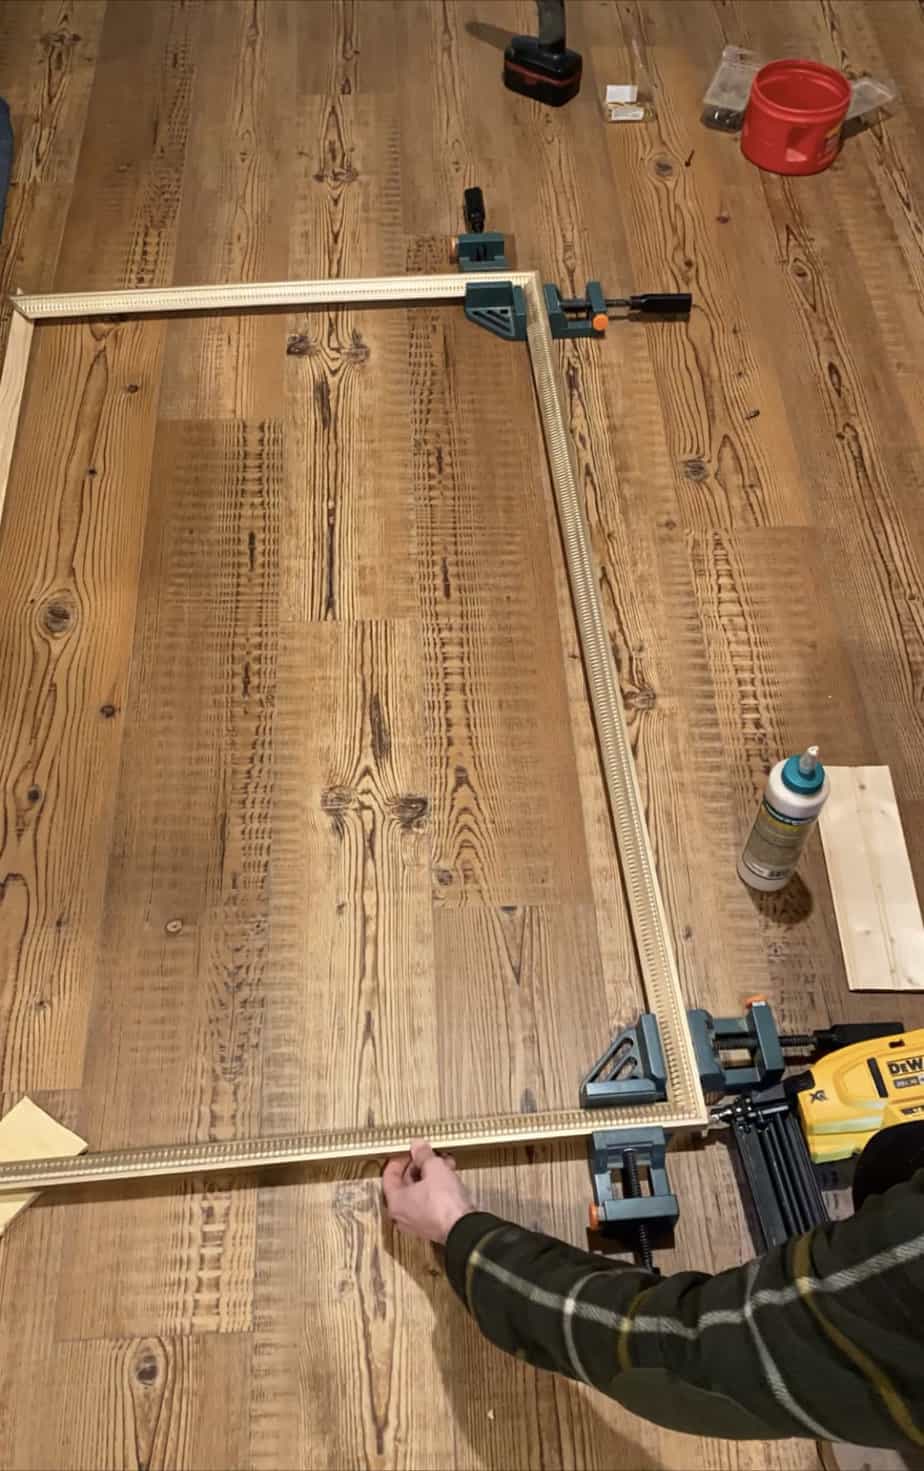
Step Three (Assemble the Frame & Hang):
Now, it’s time to assemble the frame. I put the trim into right angle clamps to make sure everything was perfectly square. Then, I connected everything using wood glue and the nail gun.
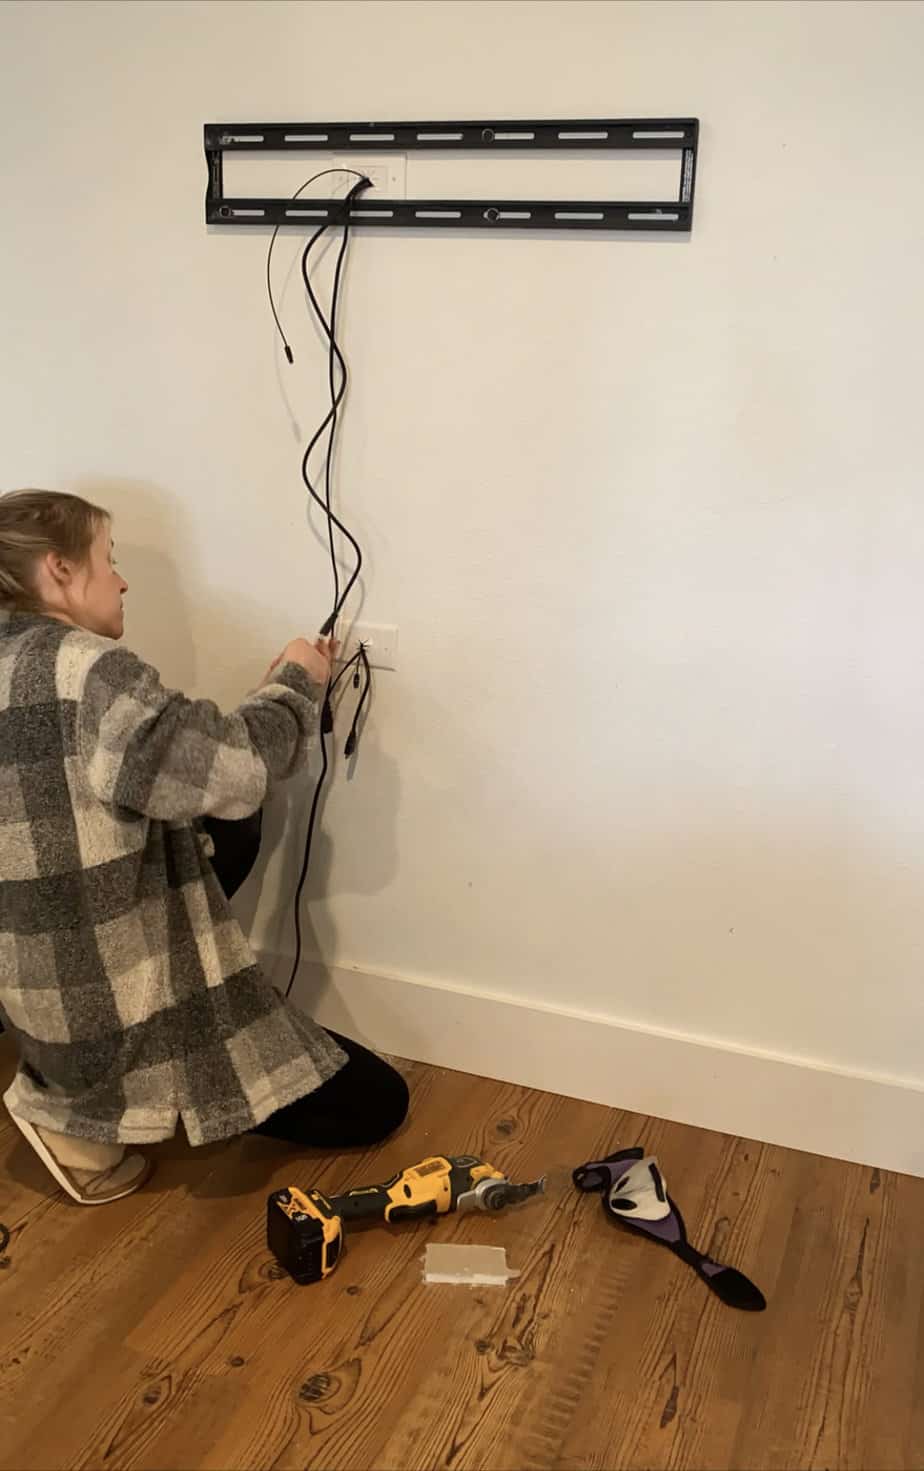
As an extra step, I decided to hide all the cords inside the wall. I loathe cords and hiding them makes the TV look even more like wall art. This is an optional step, but I promise it’s worth the extra time. I got a two pack of cable pass through plates and ran the cords behind the TV, through the wall, then out where the back of the media console would be.
I used wood glue to attach this little wood cleat at the top of the frame. This is what will rest on top of the TV. For the sides and bottom, I used 3M Command Strips. I cut them lengthwise to make them more narrow and less visible. This frame is extremely lightweight, and the Command Strips hold it just fine.
All that’s left now is to hang your new TV frame and enjoy!
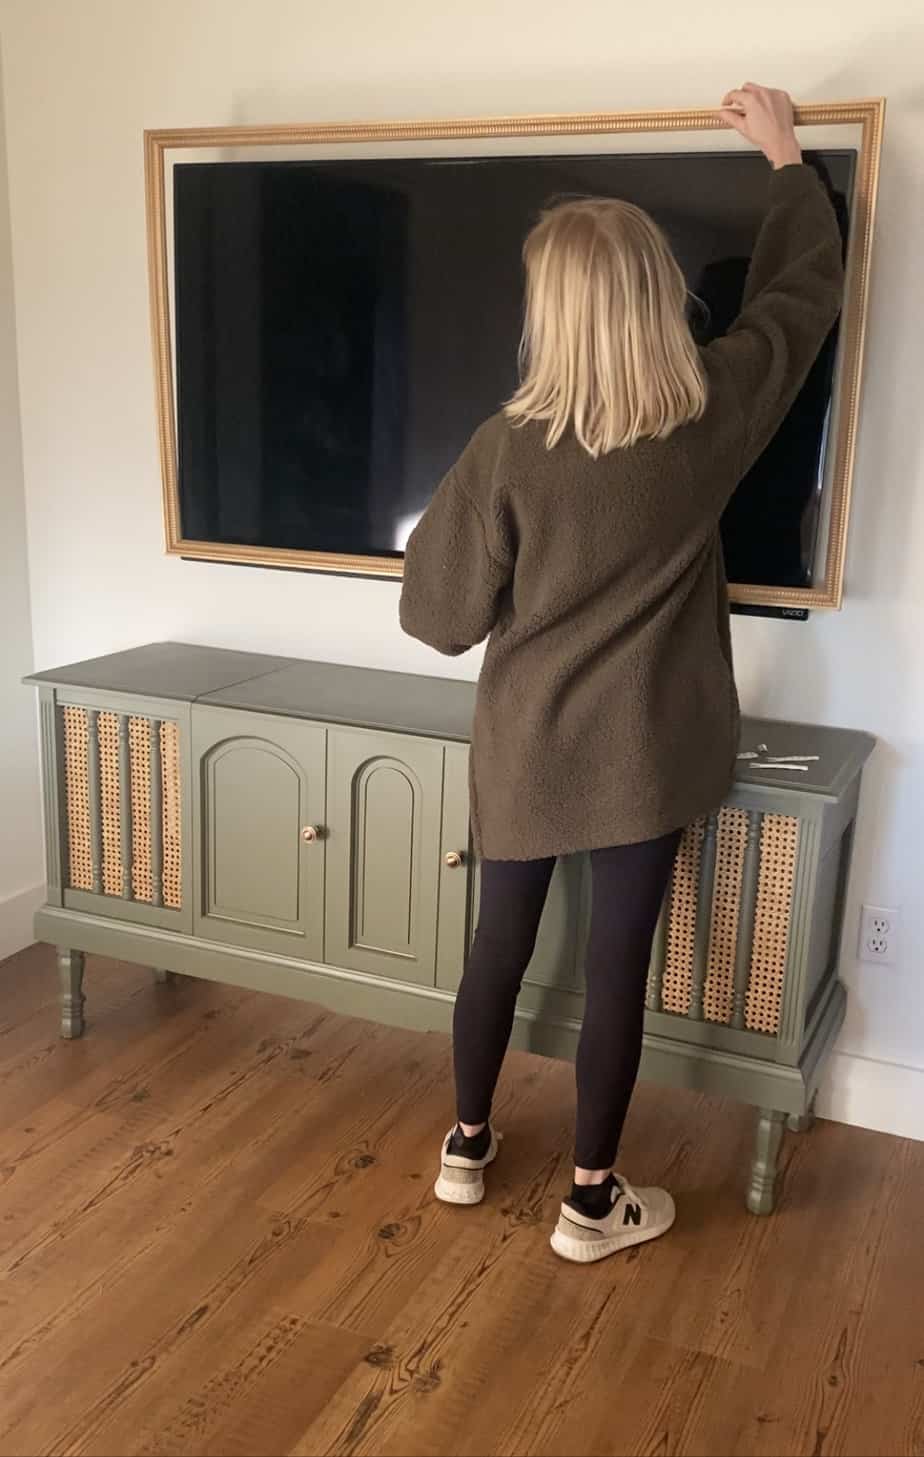
FYI-There are loads of YouTube channels with videos that let you stream art on your smart TV! This is my favorite channel for TV art. Isn’t that beautiful? Most of the videos will stream for several hours.


4 Comments
Did you have to do anything special for the tv sensor and remote to communicate?
I just have to be pretty close to the TV for the remote to pick up. If we used this TV more, I would probably cut a little notch.
What tv is that?
Just an old Vizio TV we have had for ages