
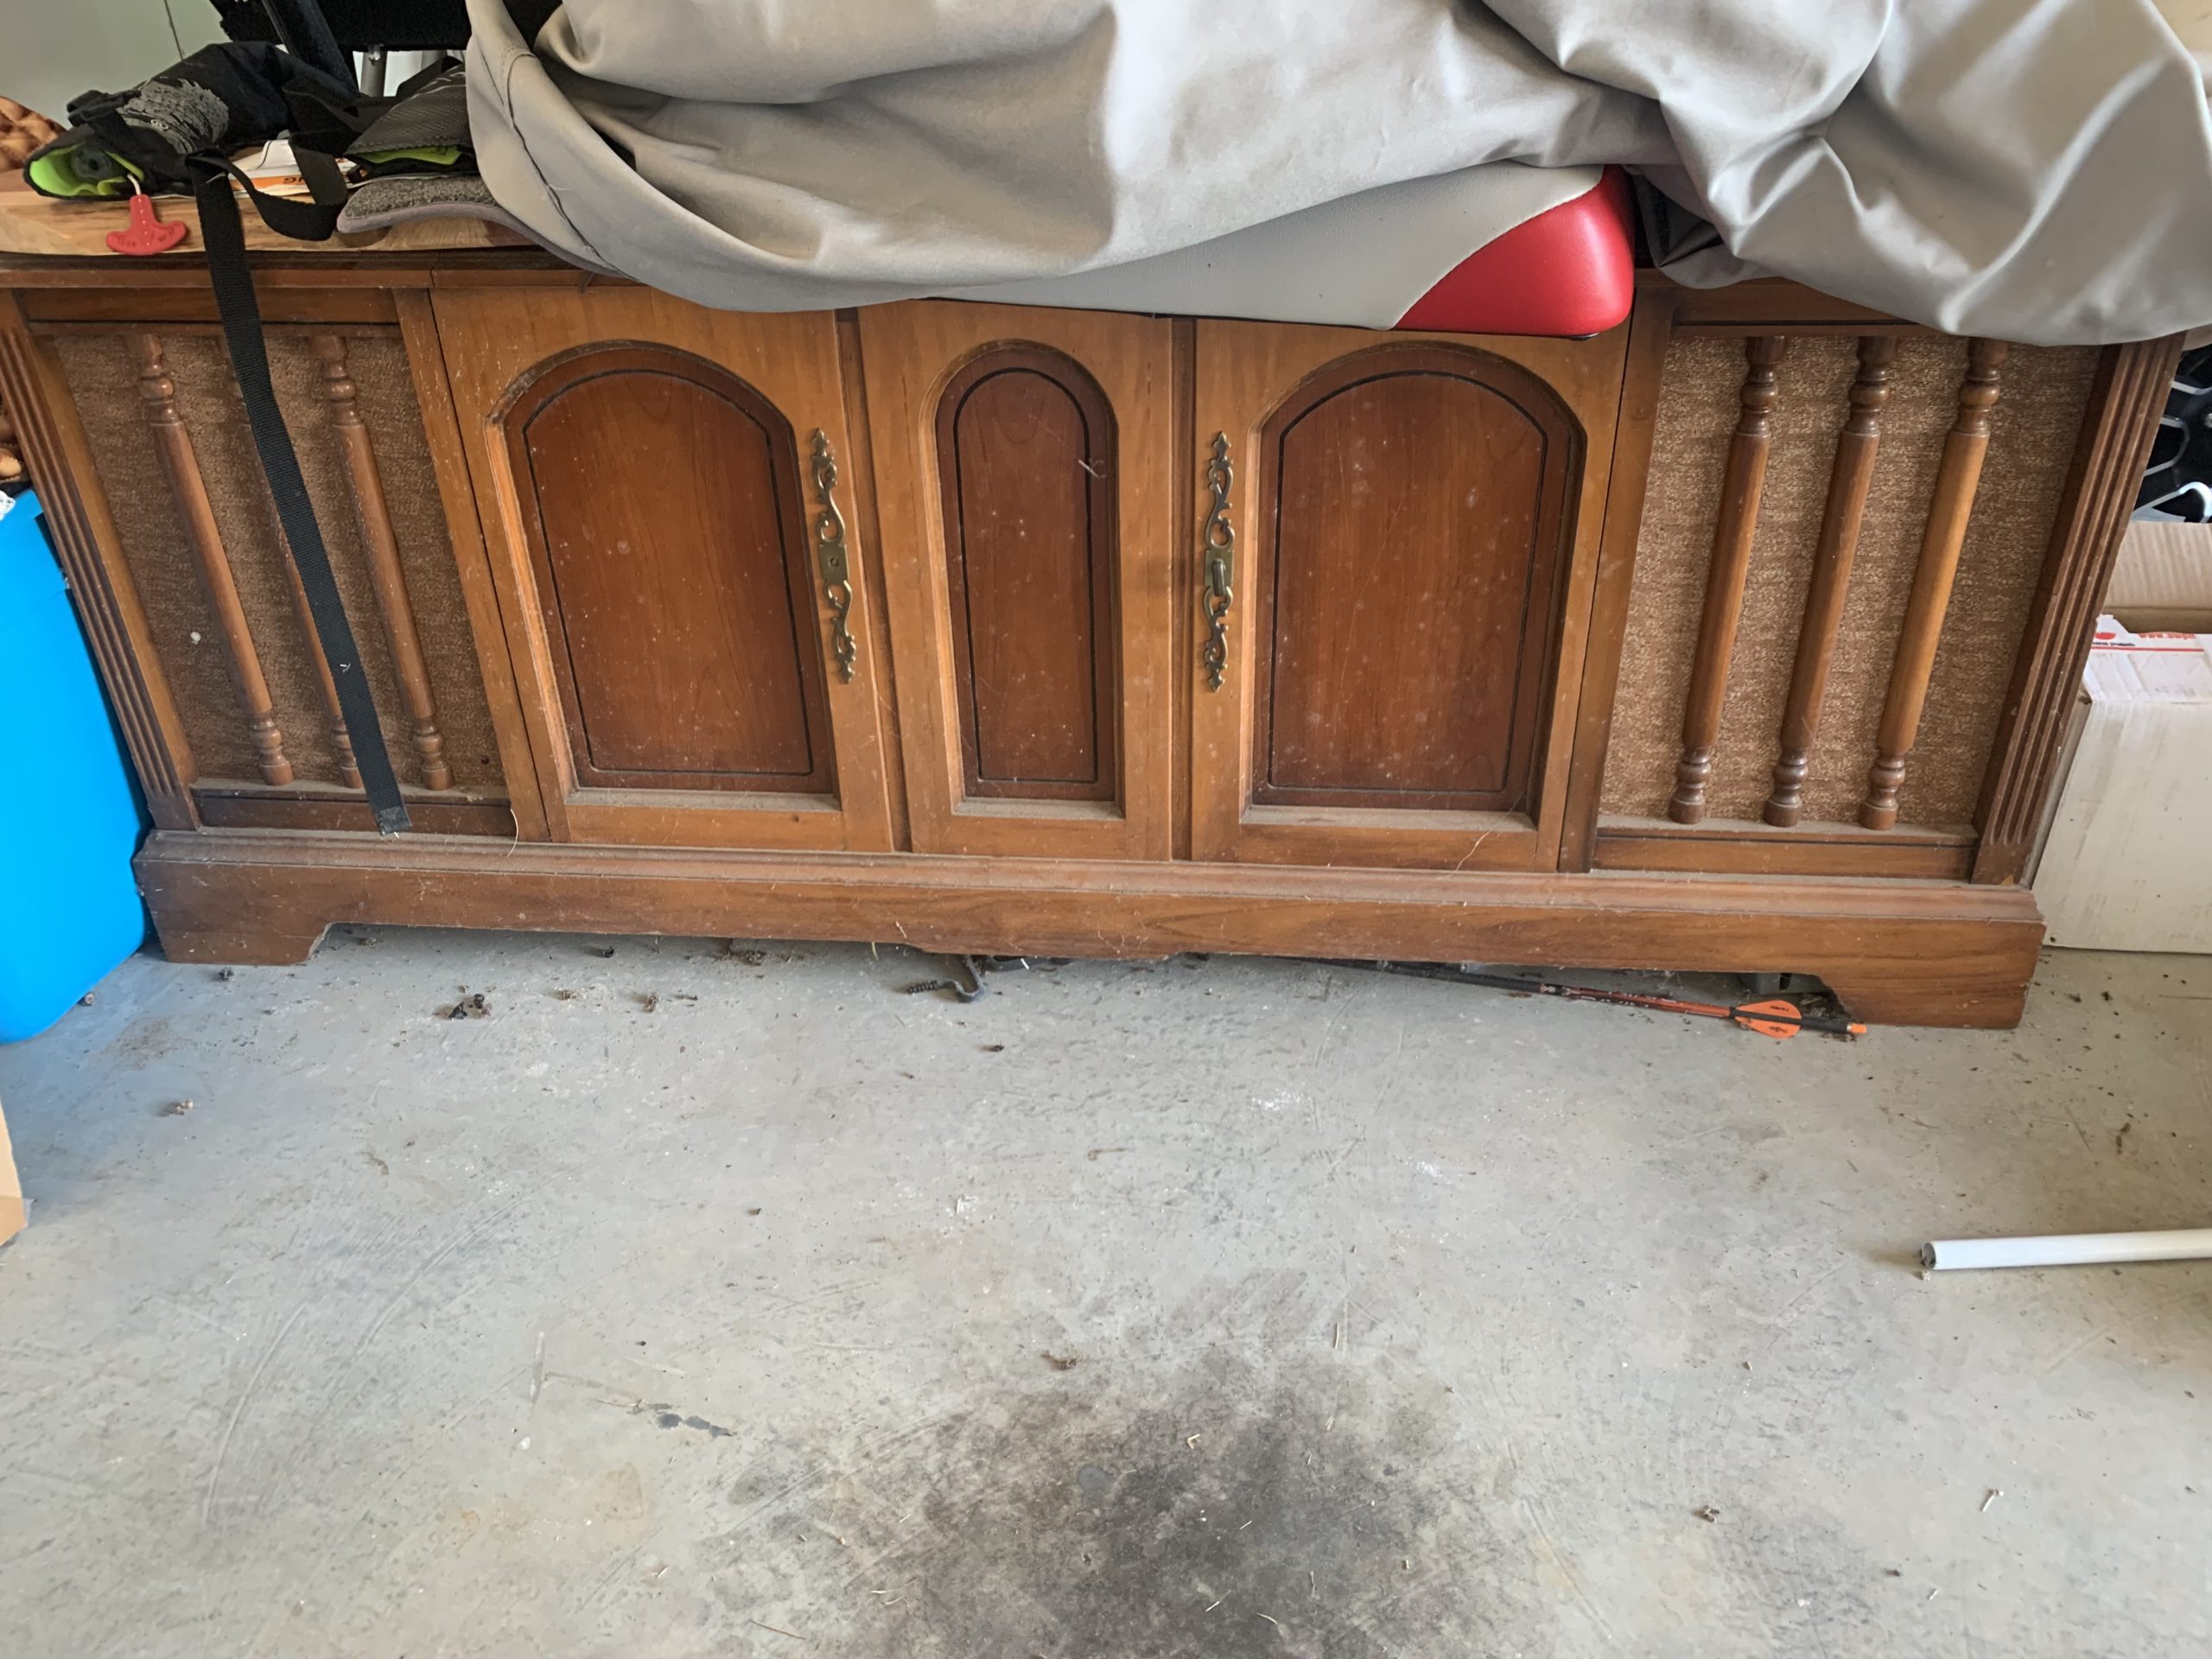
I love to see a good stereo cabinet makeover on Pinterest. It’s great that people are repurposing these old pieces of furniture and giving them new life instead of winding up in the landfill. They really have so much potential. Recently, a friend was getting rid of an old stereo cabinet and asked me if I wanted it. I didn’t really know what to do with it at the time, however, I said yes because you know I can’t pass up a freebie. Later, I realized that it would be perfect as a media console for the living room. I had recently moved the TV to the nook beside the fireplace and had been looking for a piece of furniture to go underneath it. This stereo cabinet fit the bill, but it needed a little updating first. Here’s how it went from drab to fab….
(This post contains affiliate links)
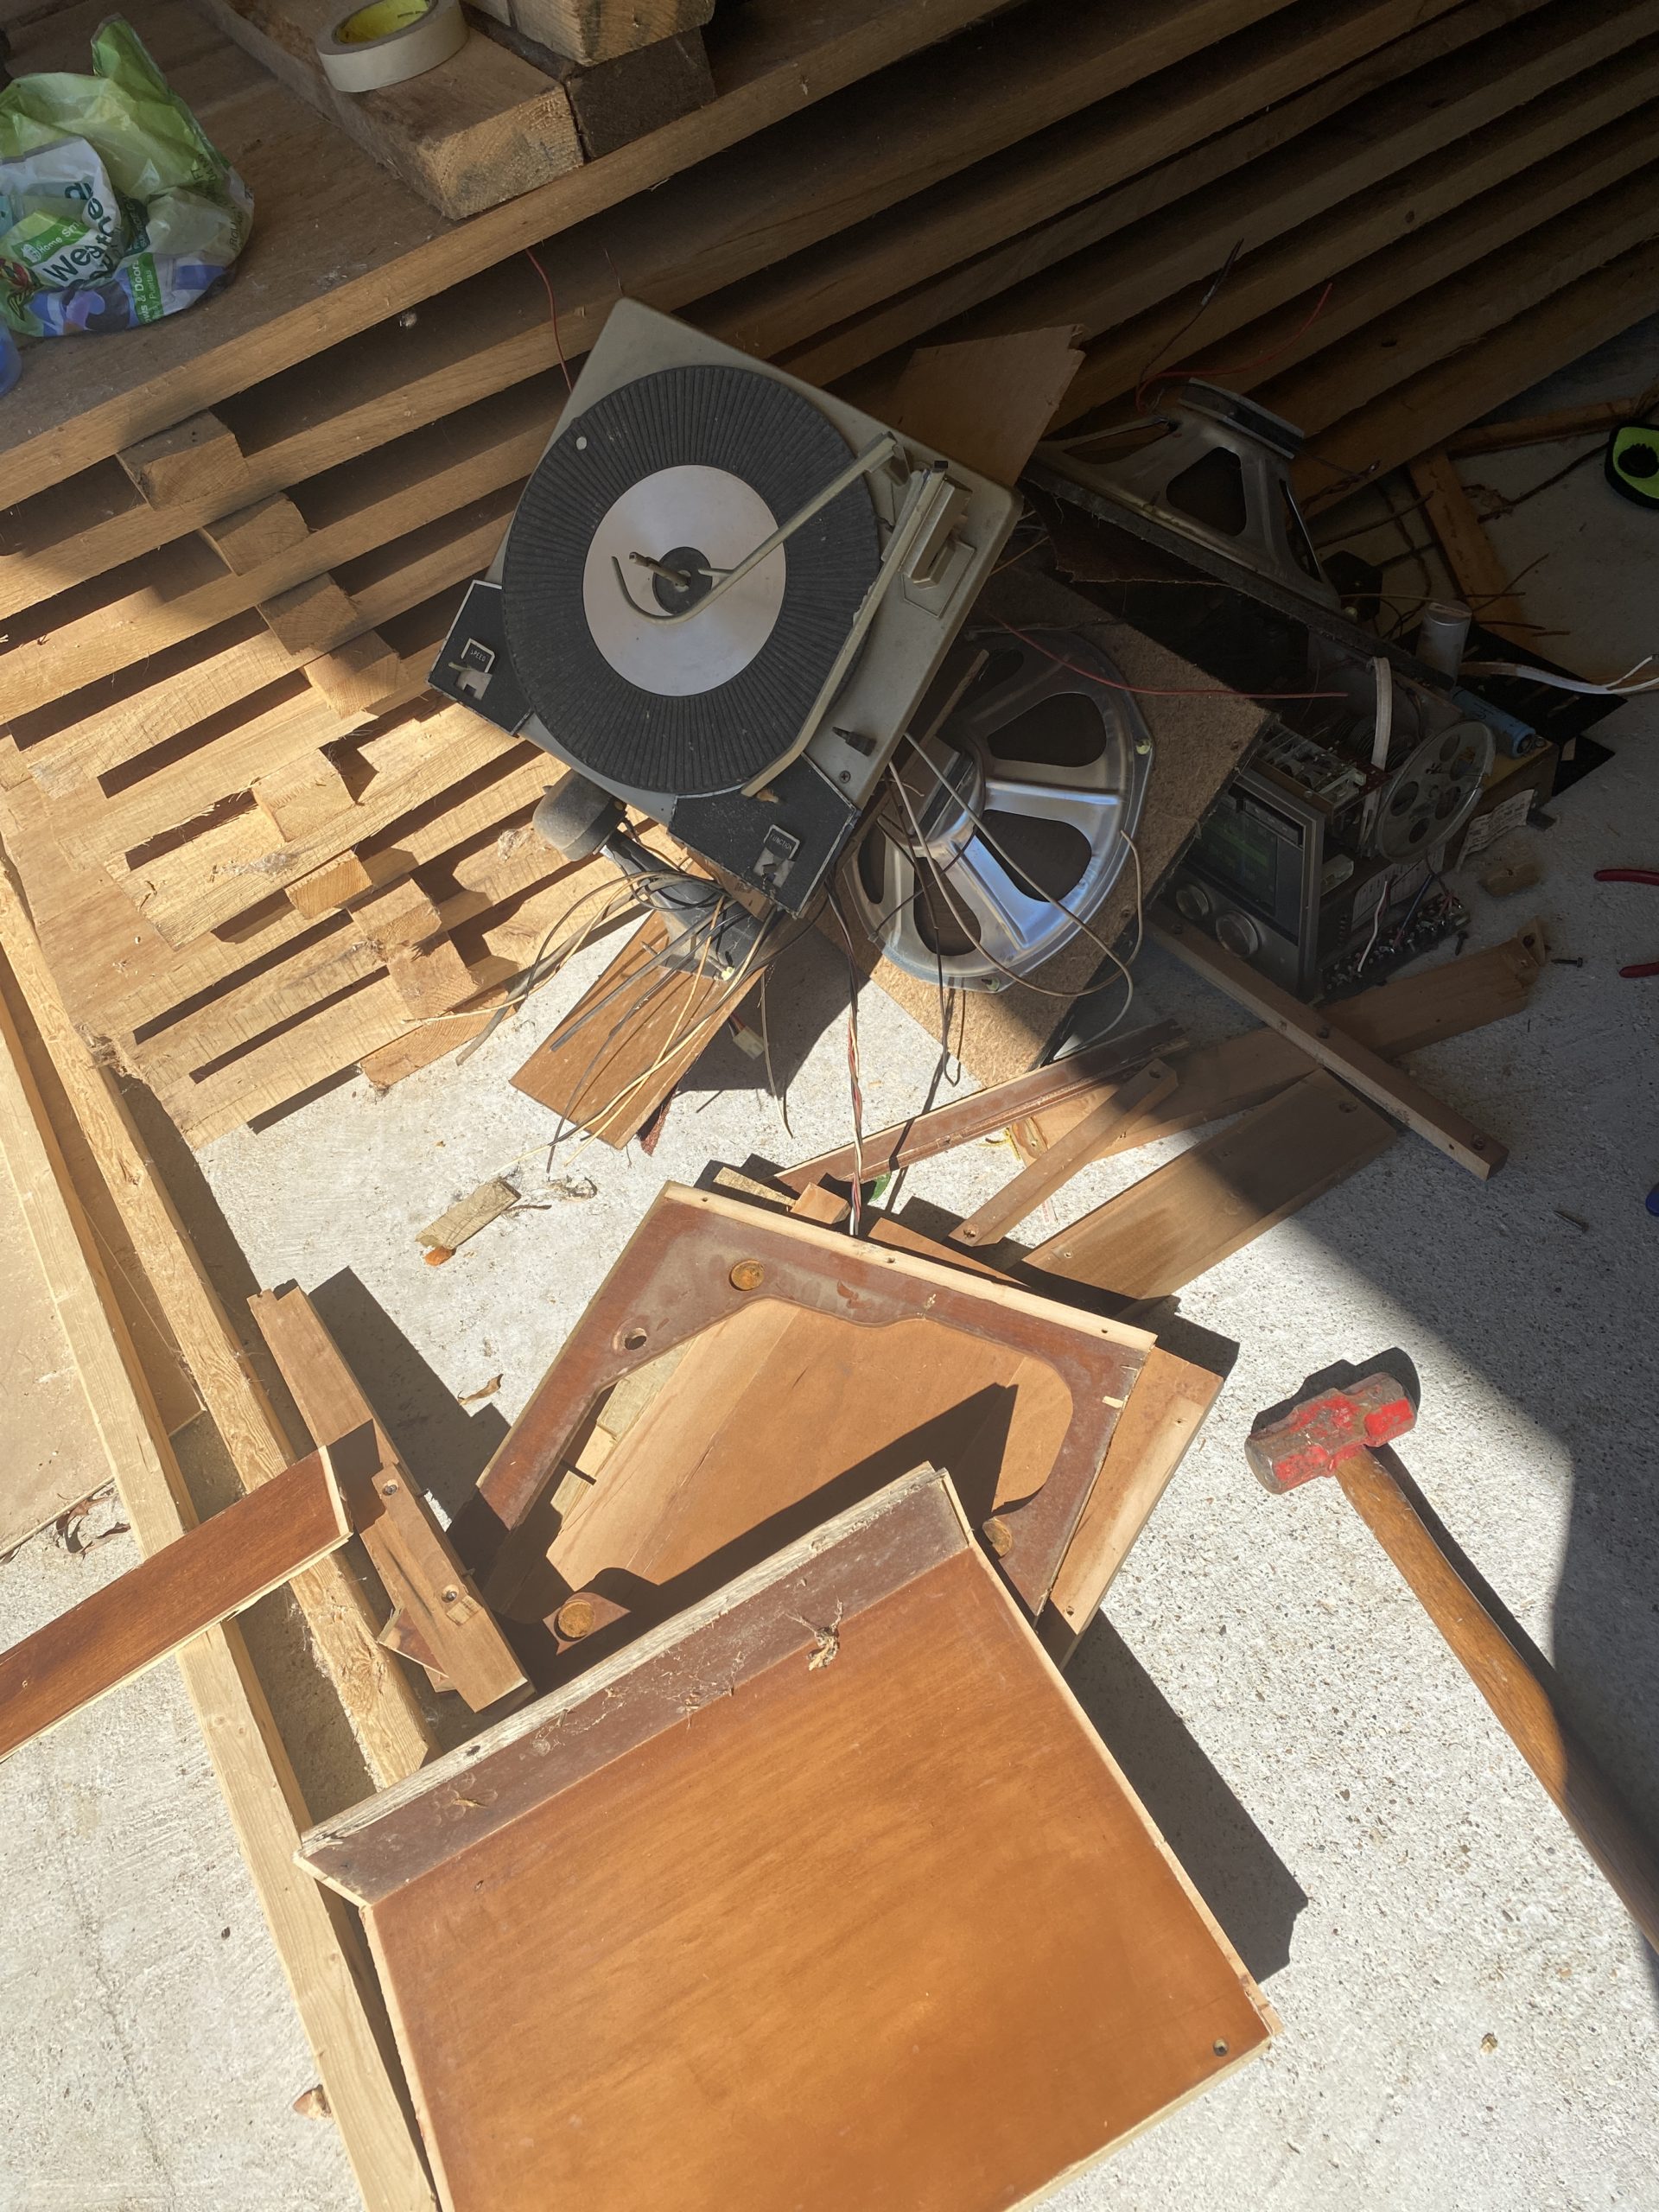
I started by removing all the electronics because they didn’t work anymore plus they made the cabinet super heavy. Trust me when I say, they built stuff to last back in the day. This was definitely not easy! This also meant a lot of the panels had to be removed as well. After everything was gone, I was pretty much left with an empty shell.
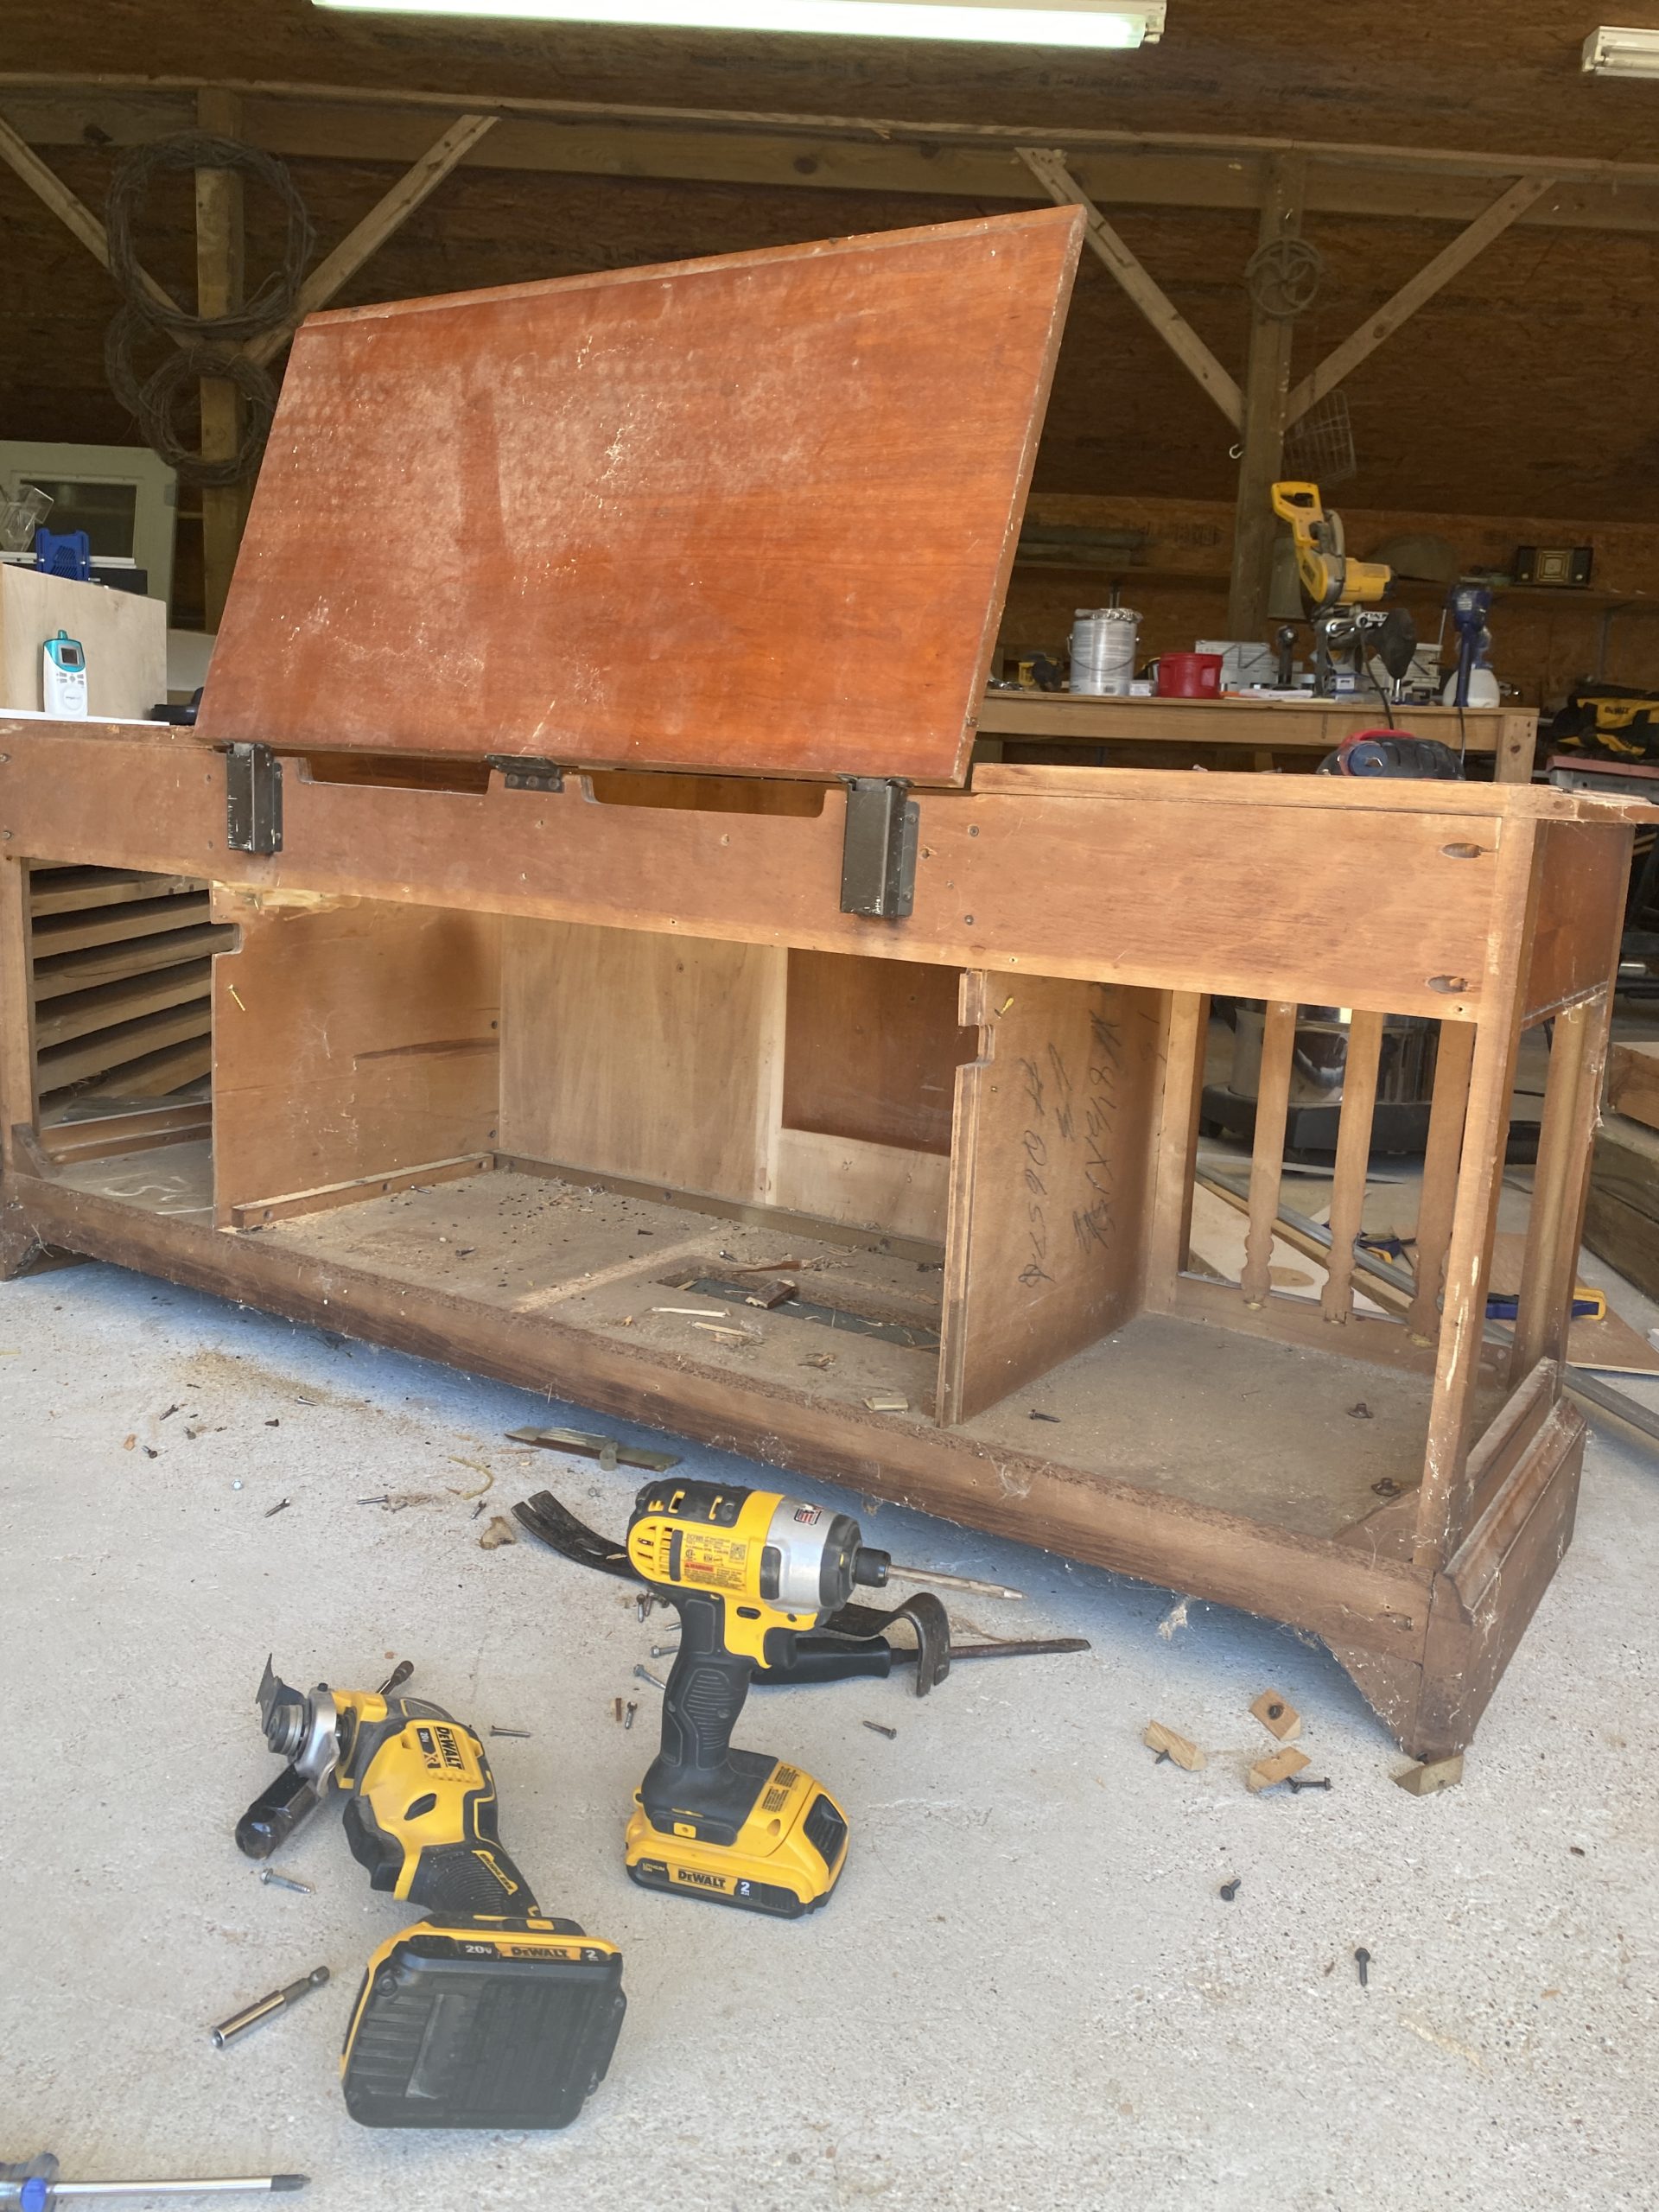
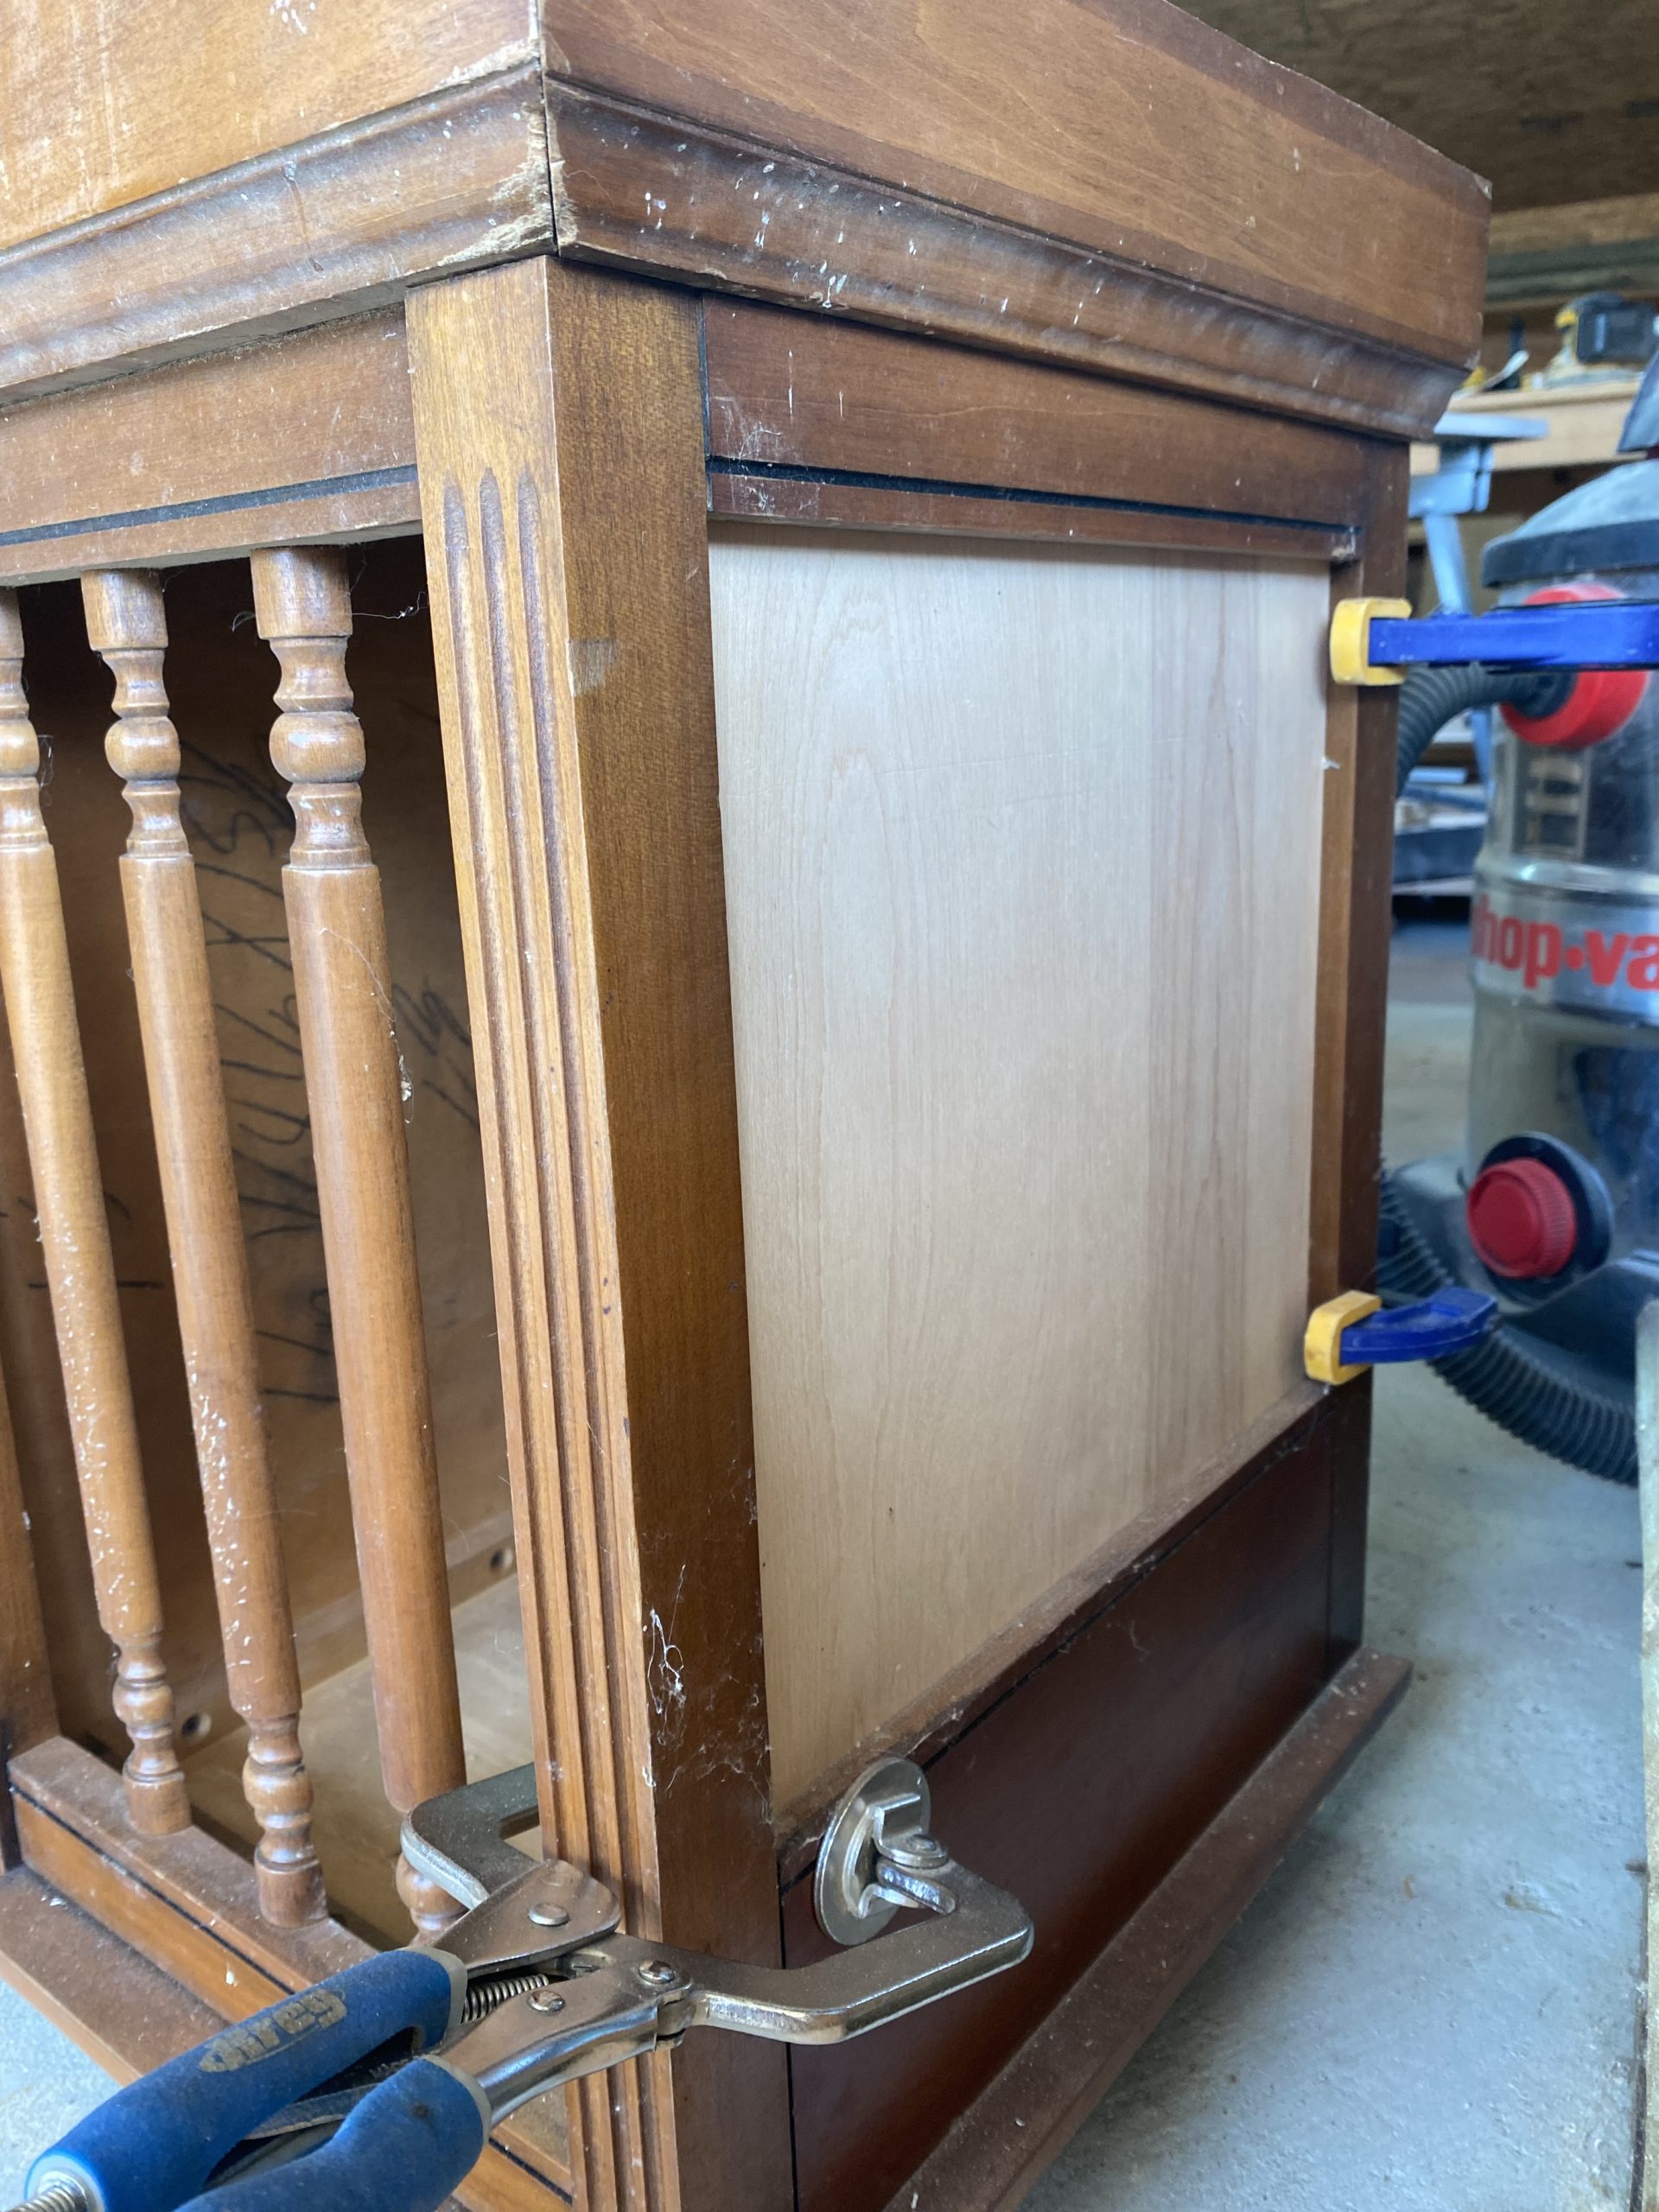
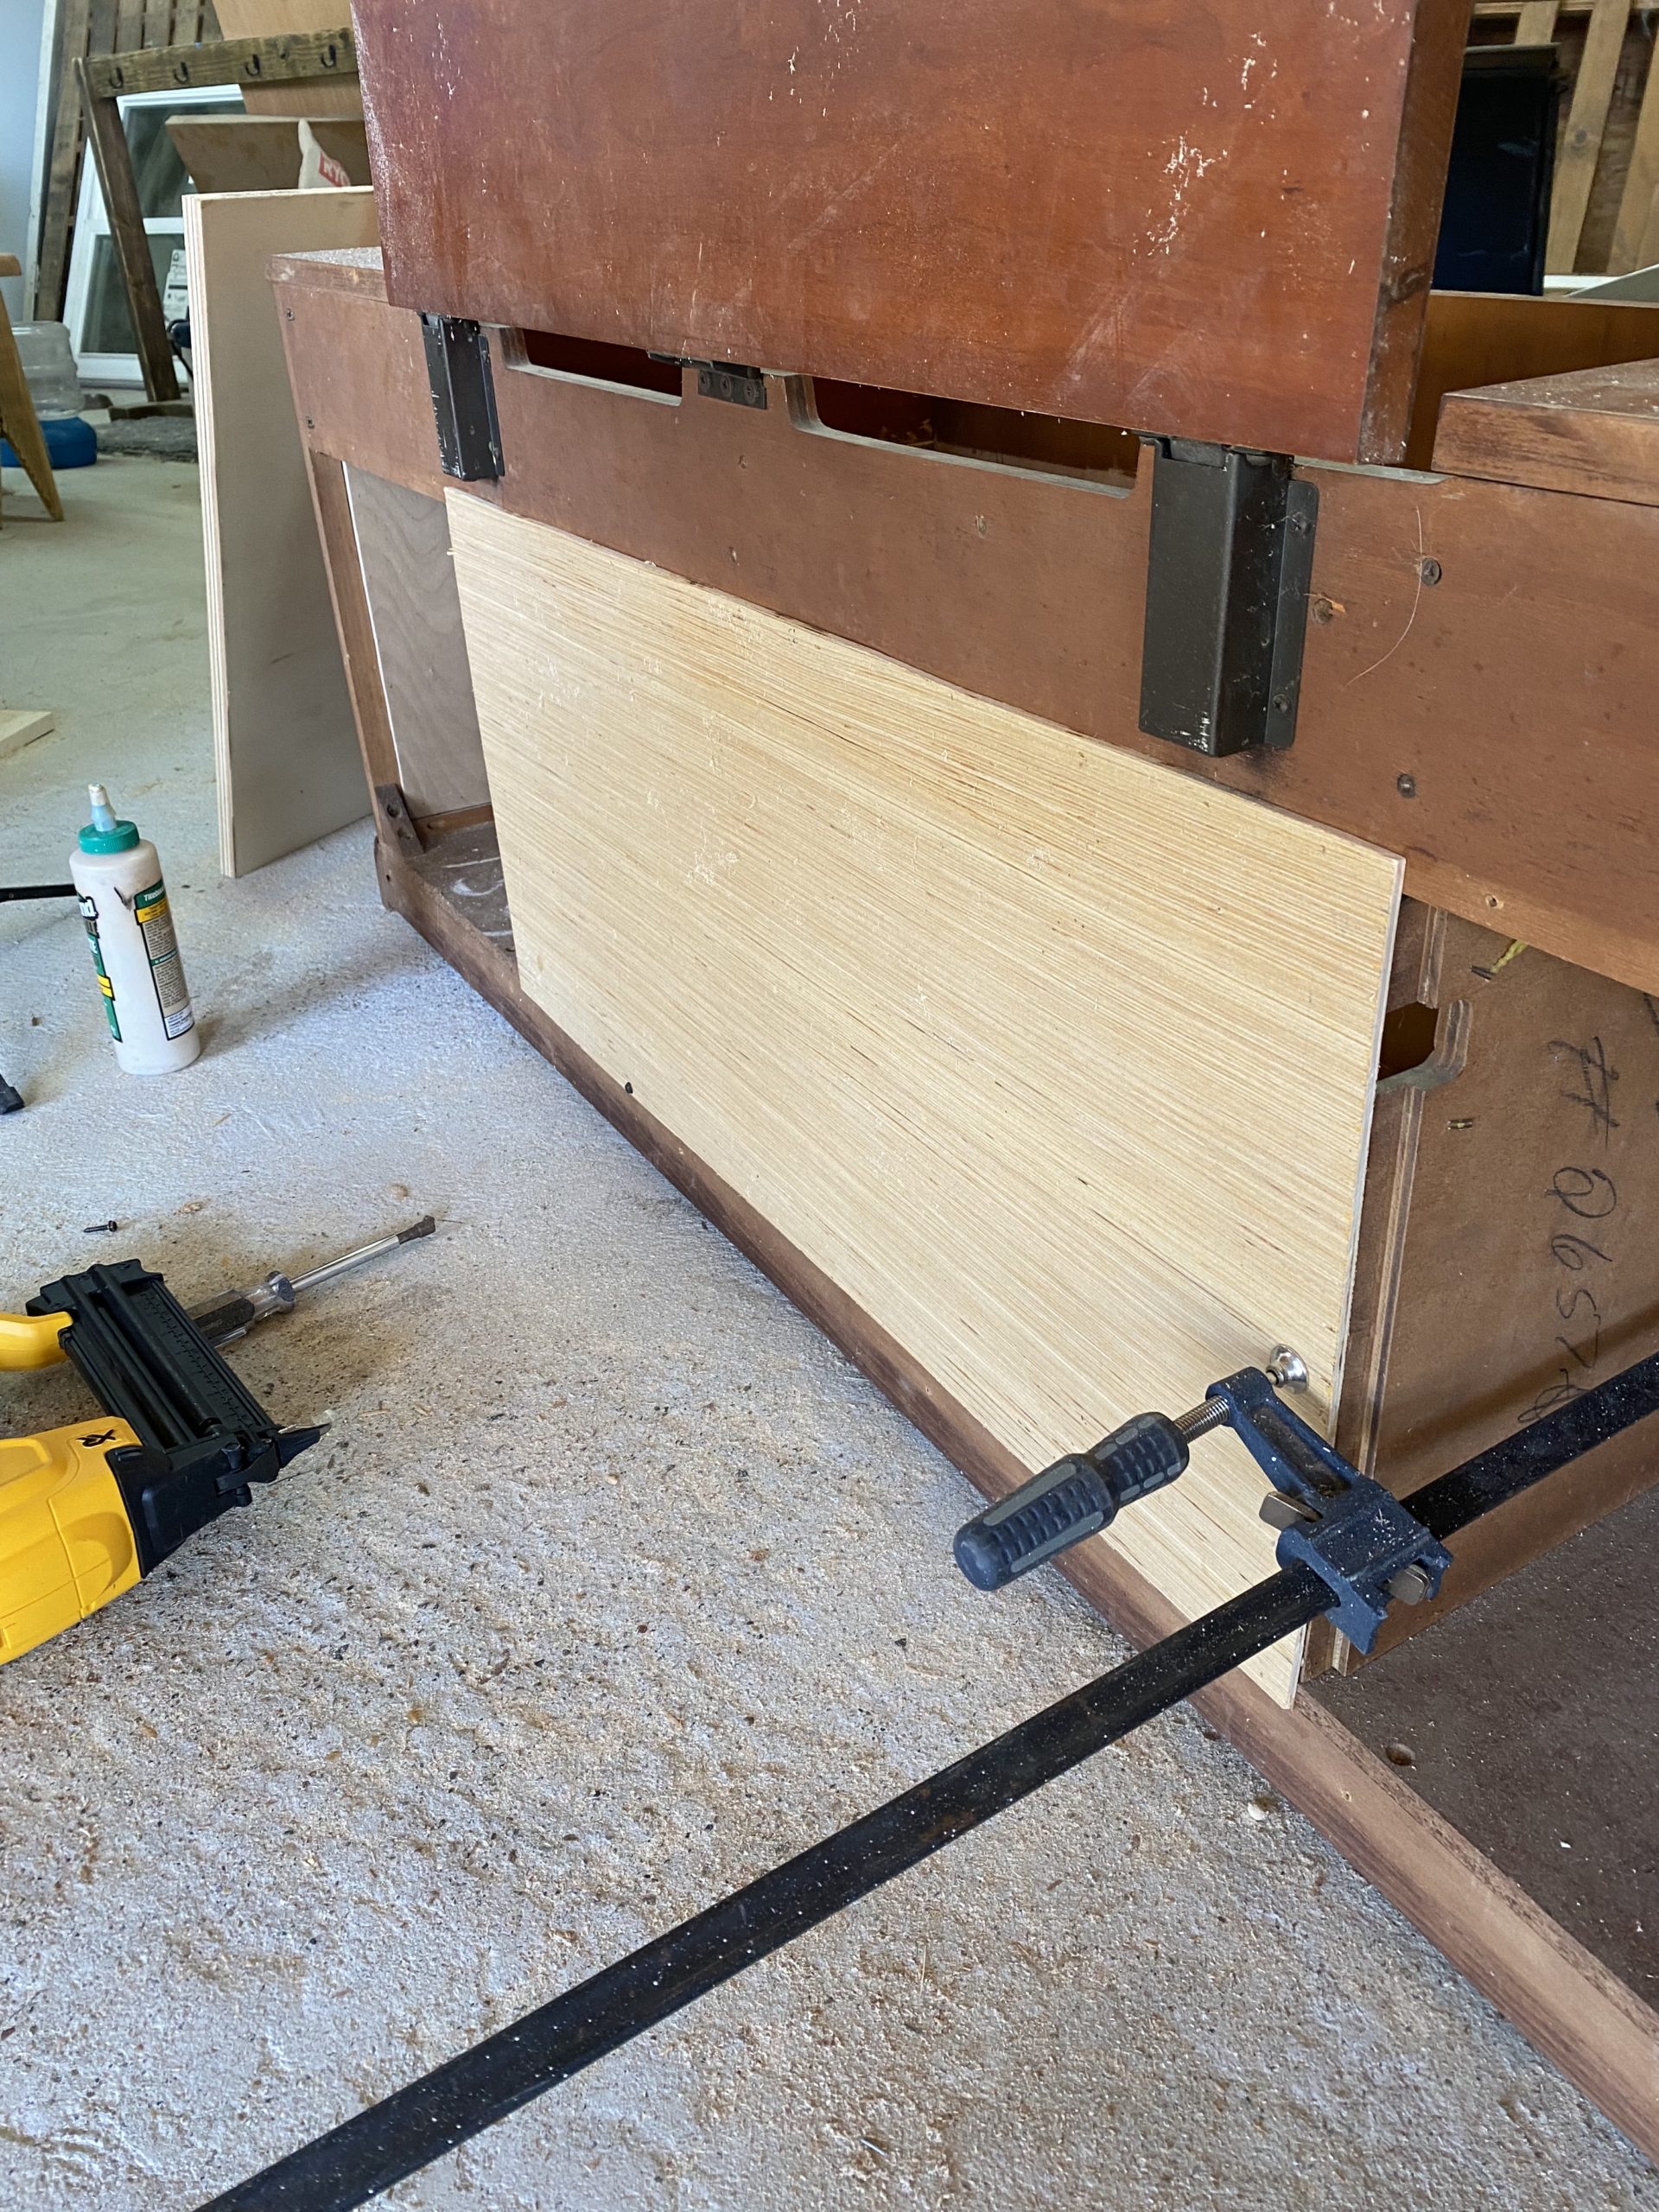
I cut new side panels out of 1/2″ plywood. Then I cut some 1/4″ plywood for a back panel. I only put it in the middle and left the two sides open so I could hide electronics and cords in there. I also removed all the trim that went around the entire bottom to save for later. You’ll see why in just a bit.
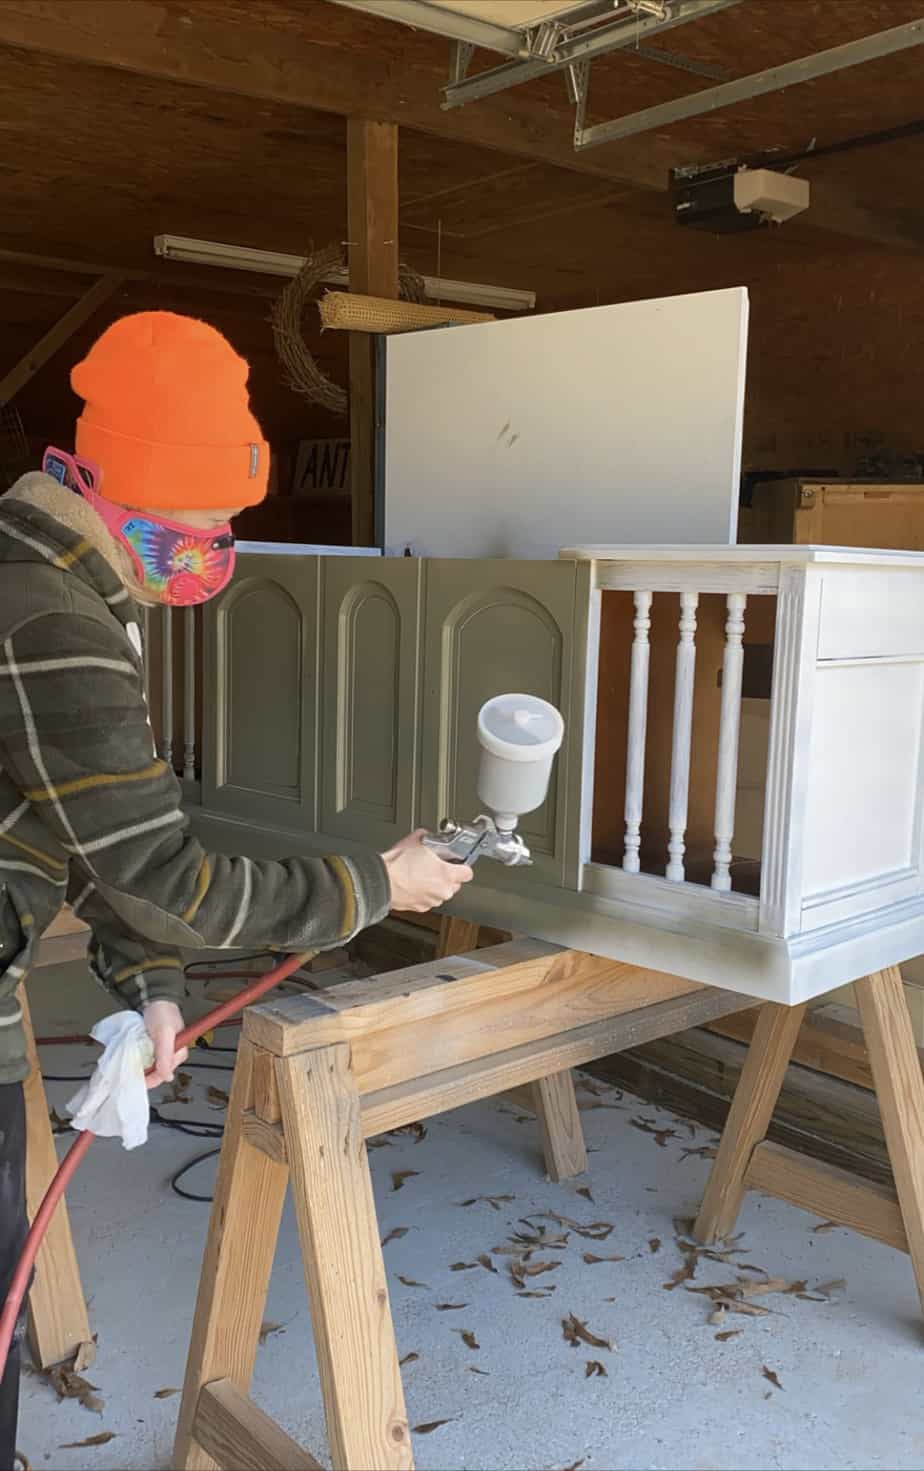
I gave everything a good sanding to scuff it up then I used my go-to primer to get it ready for paint.
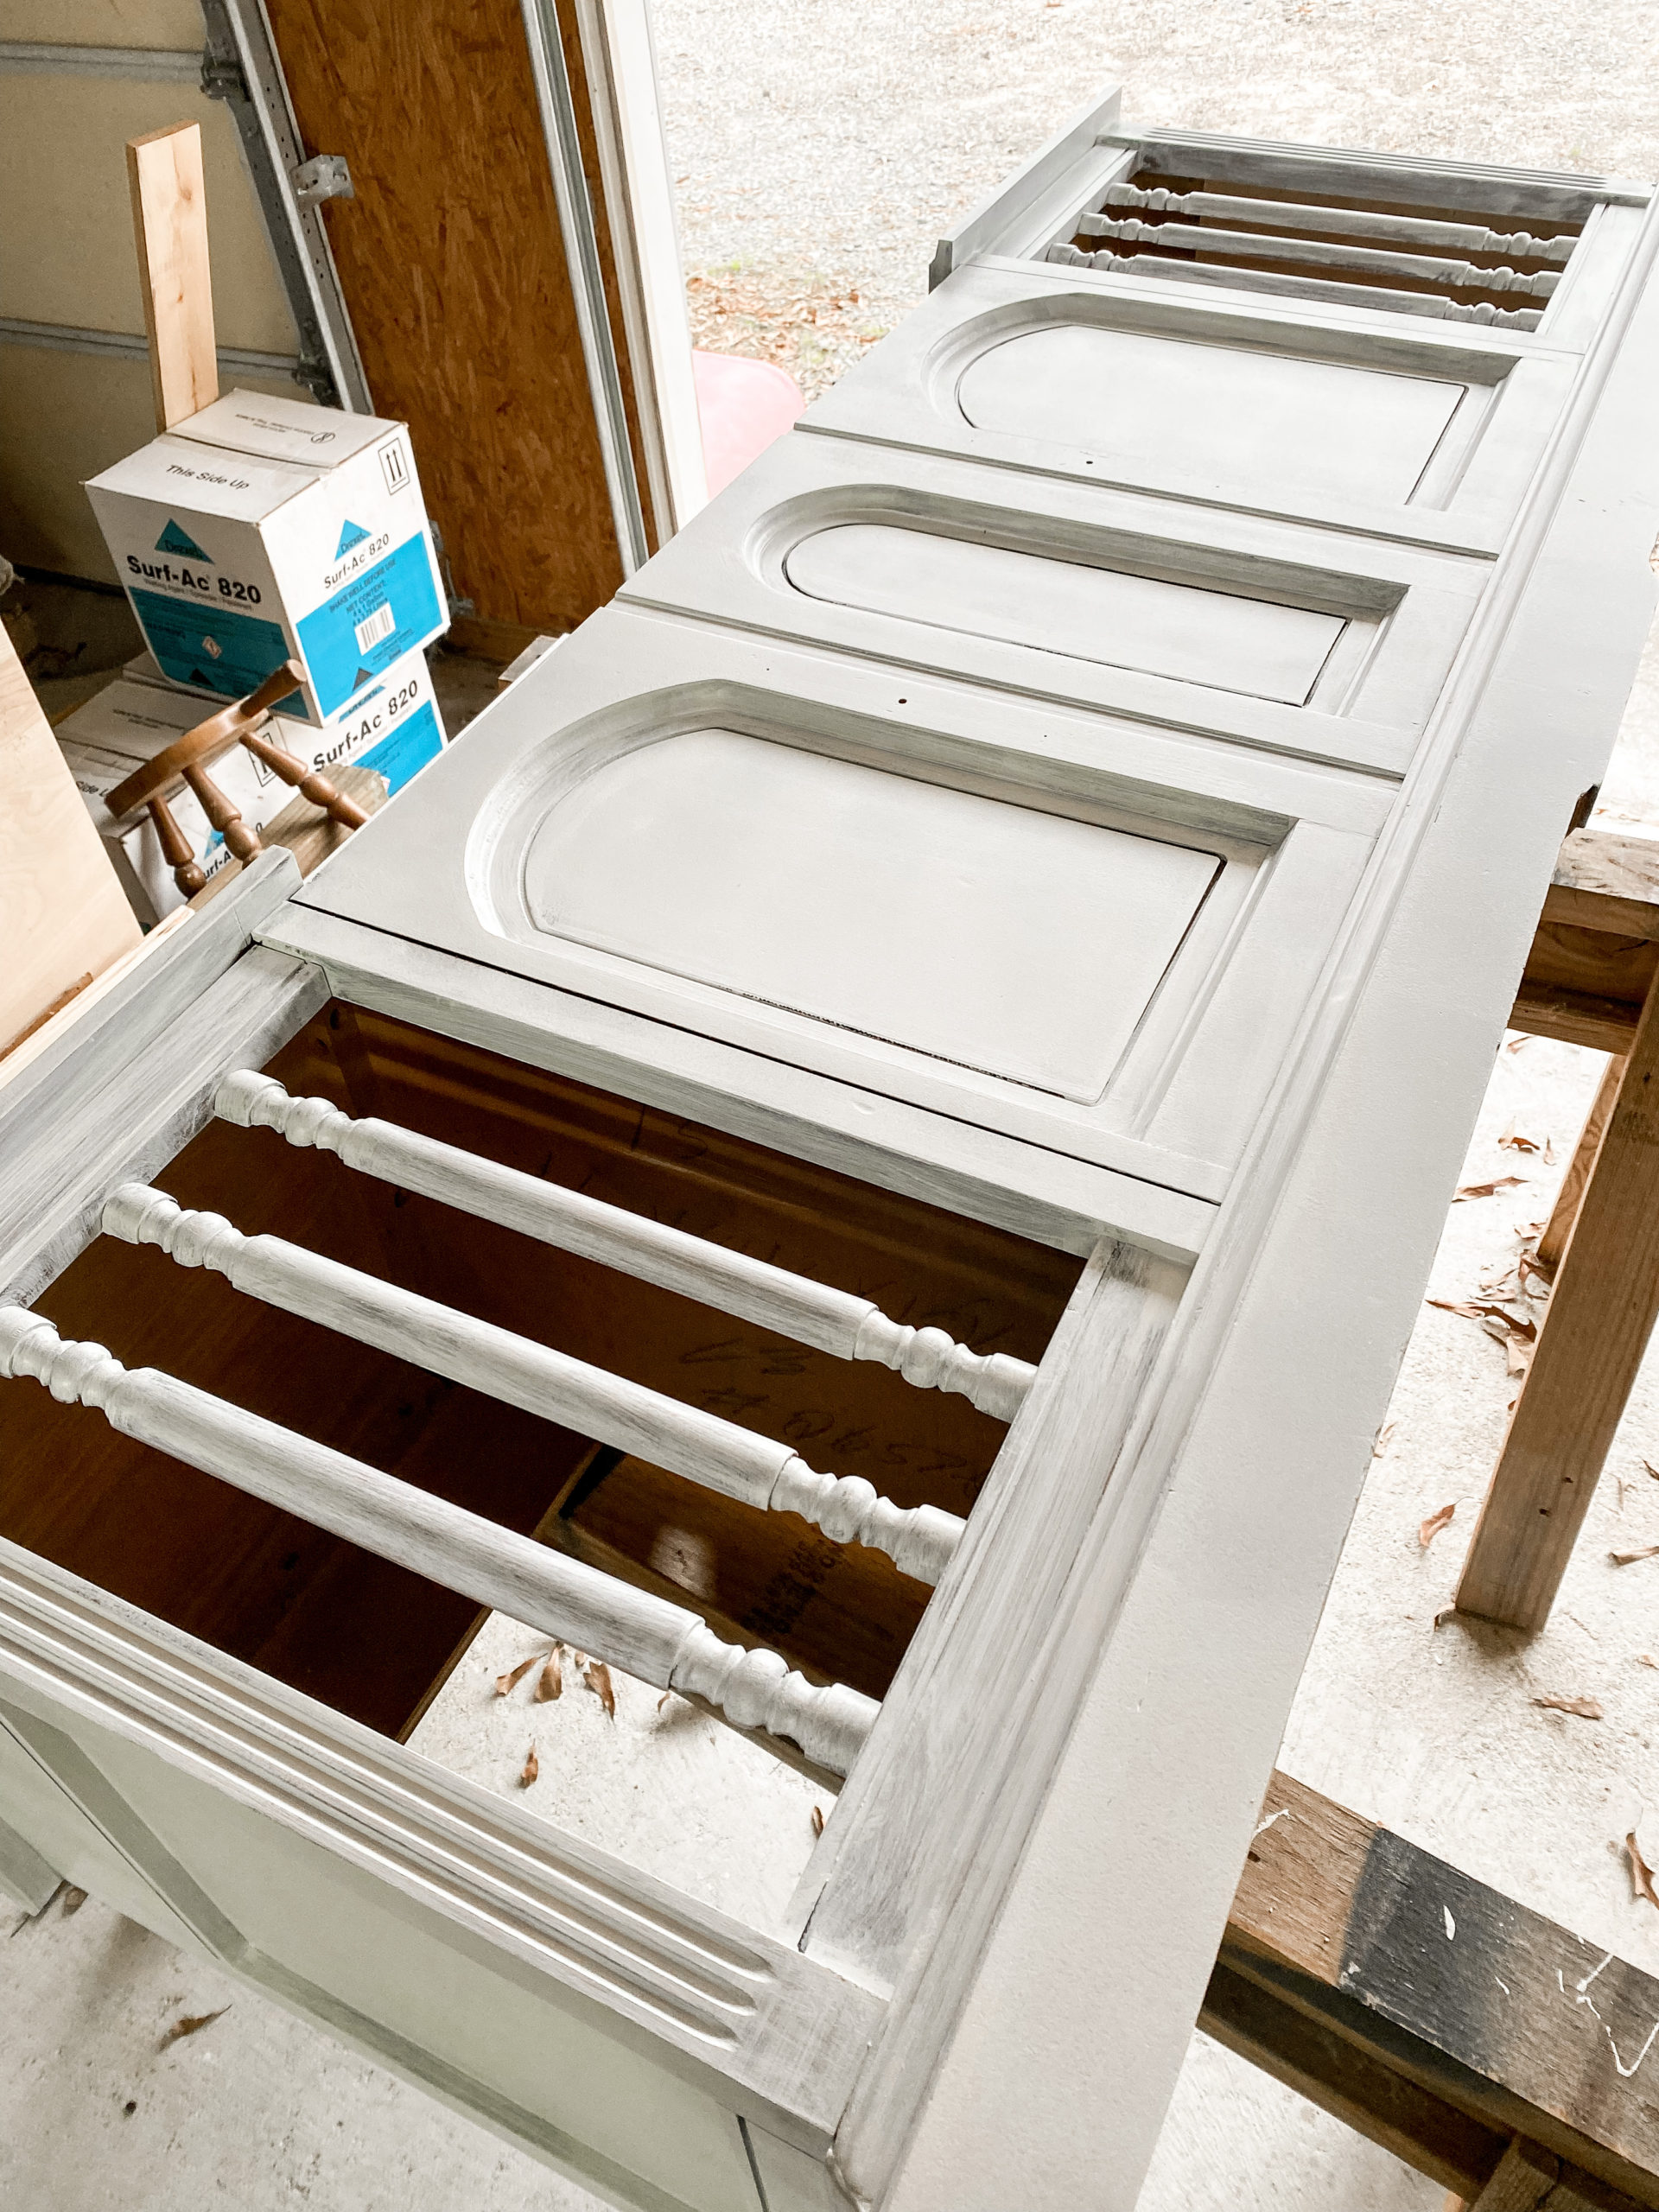
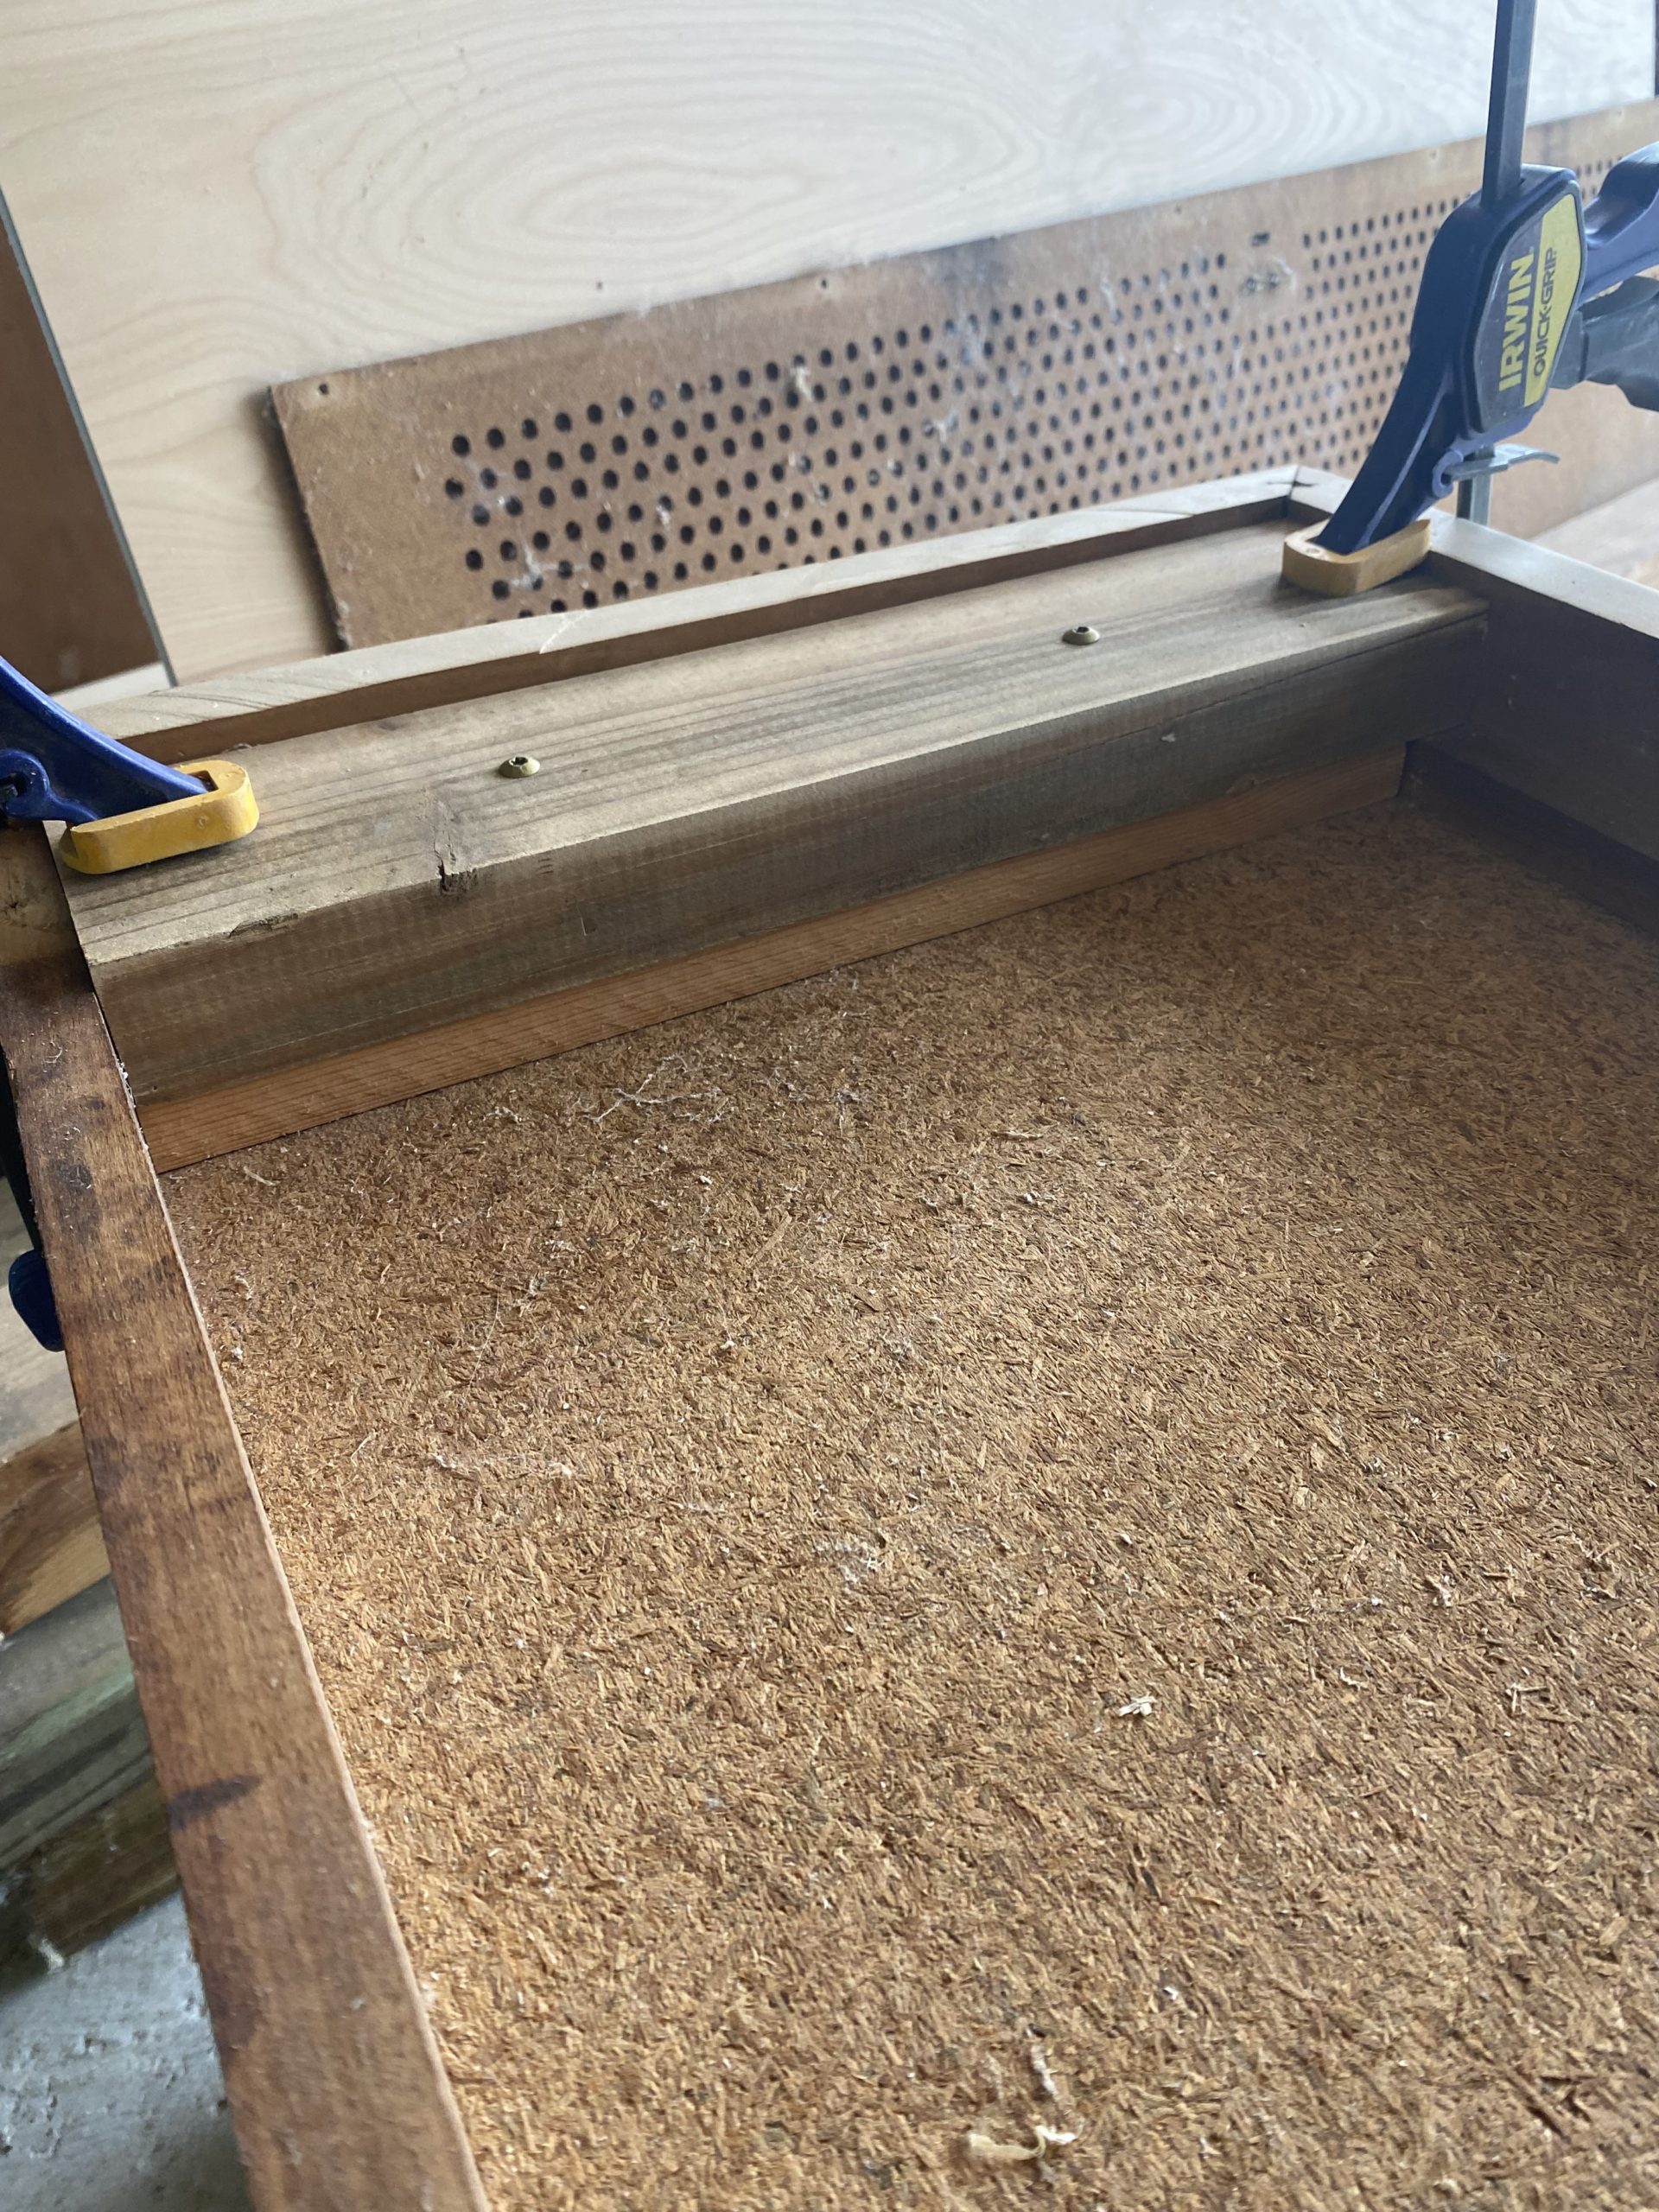
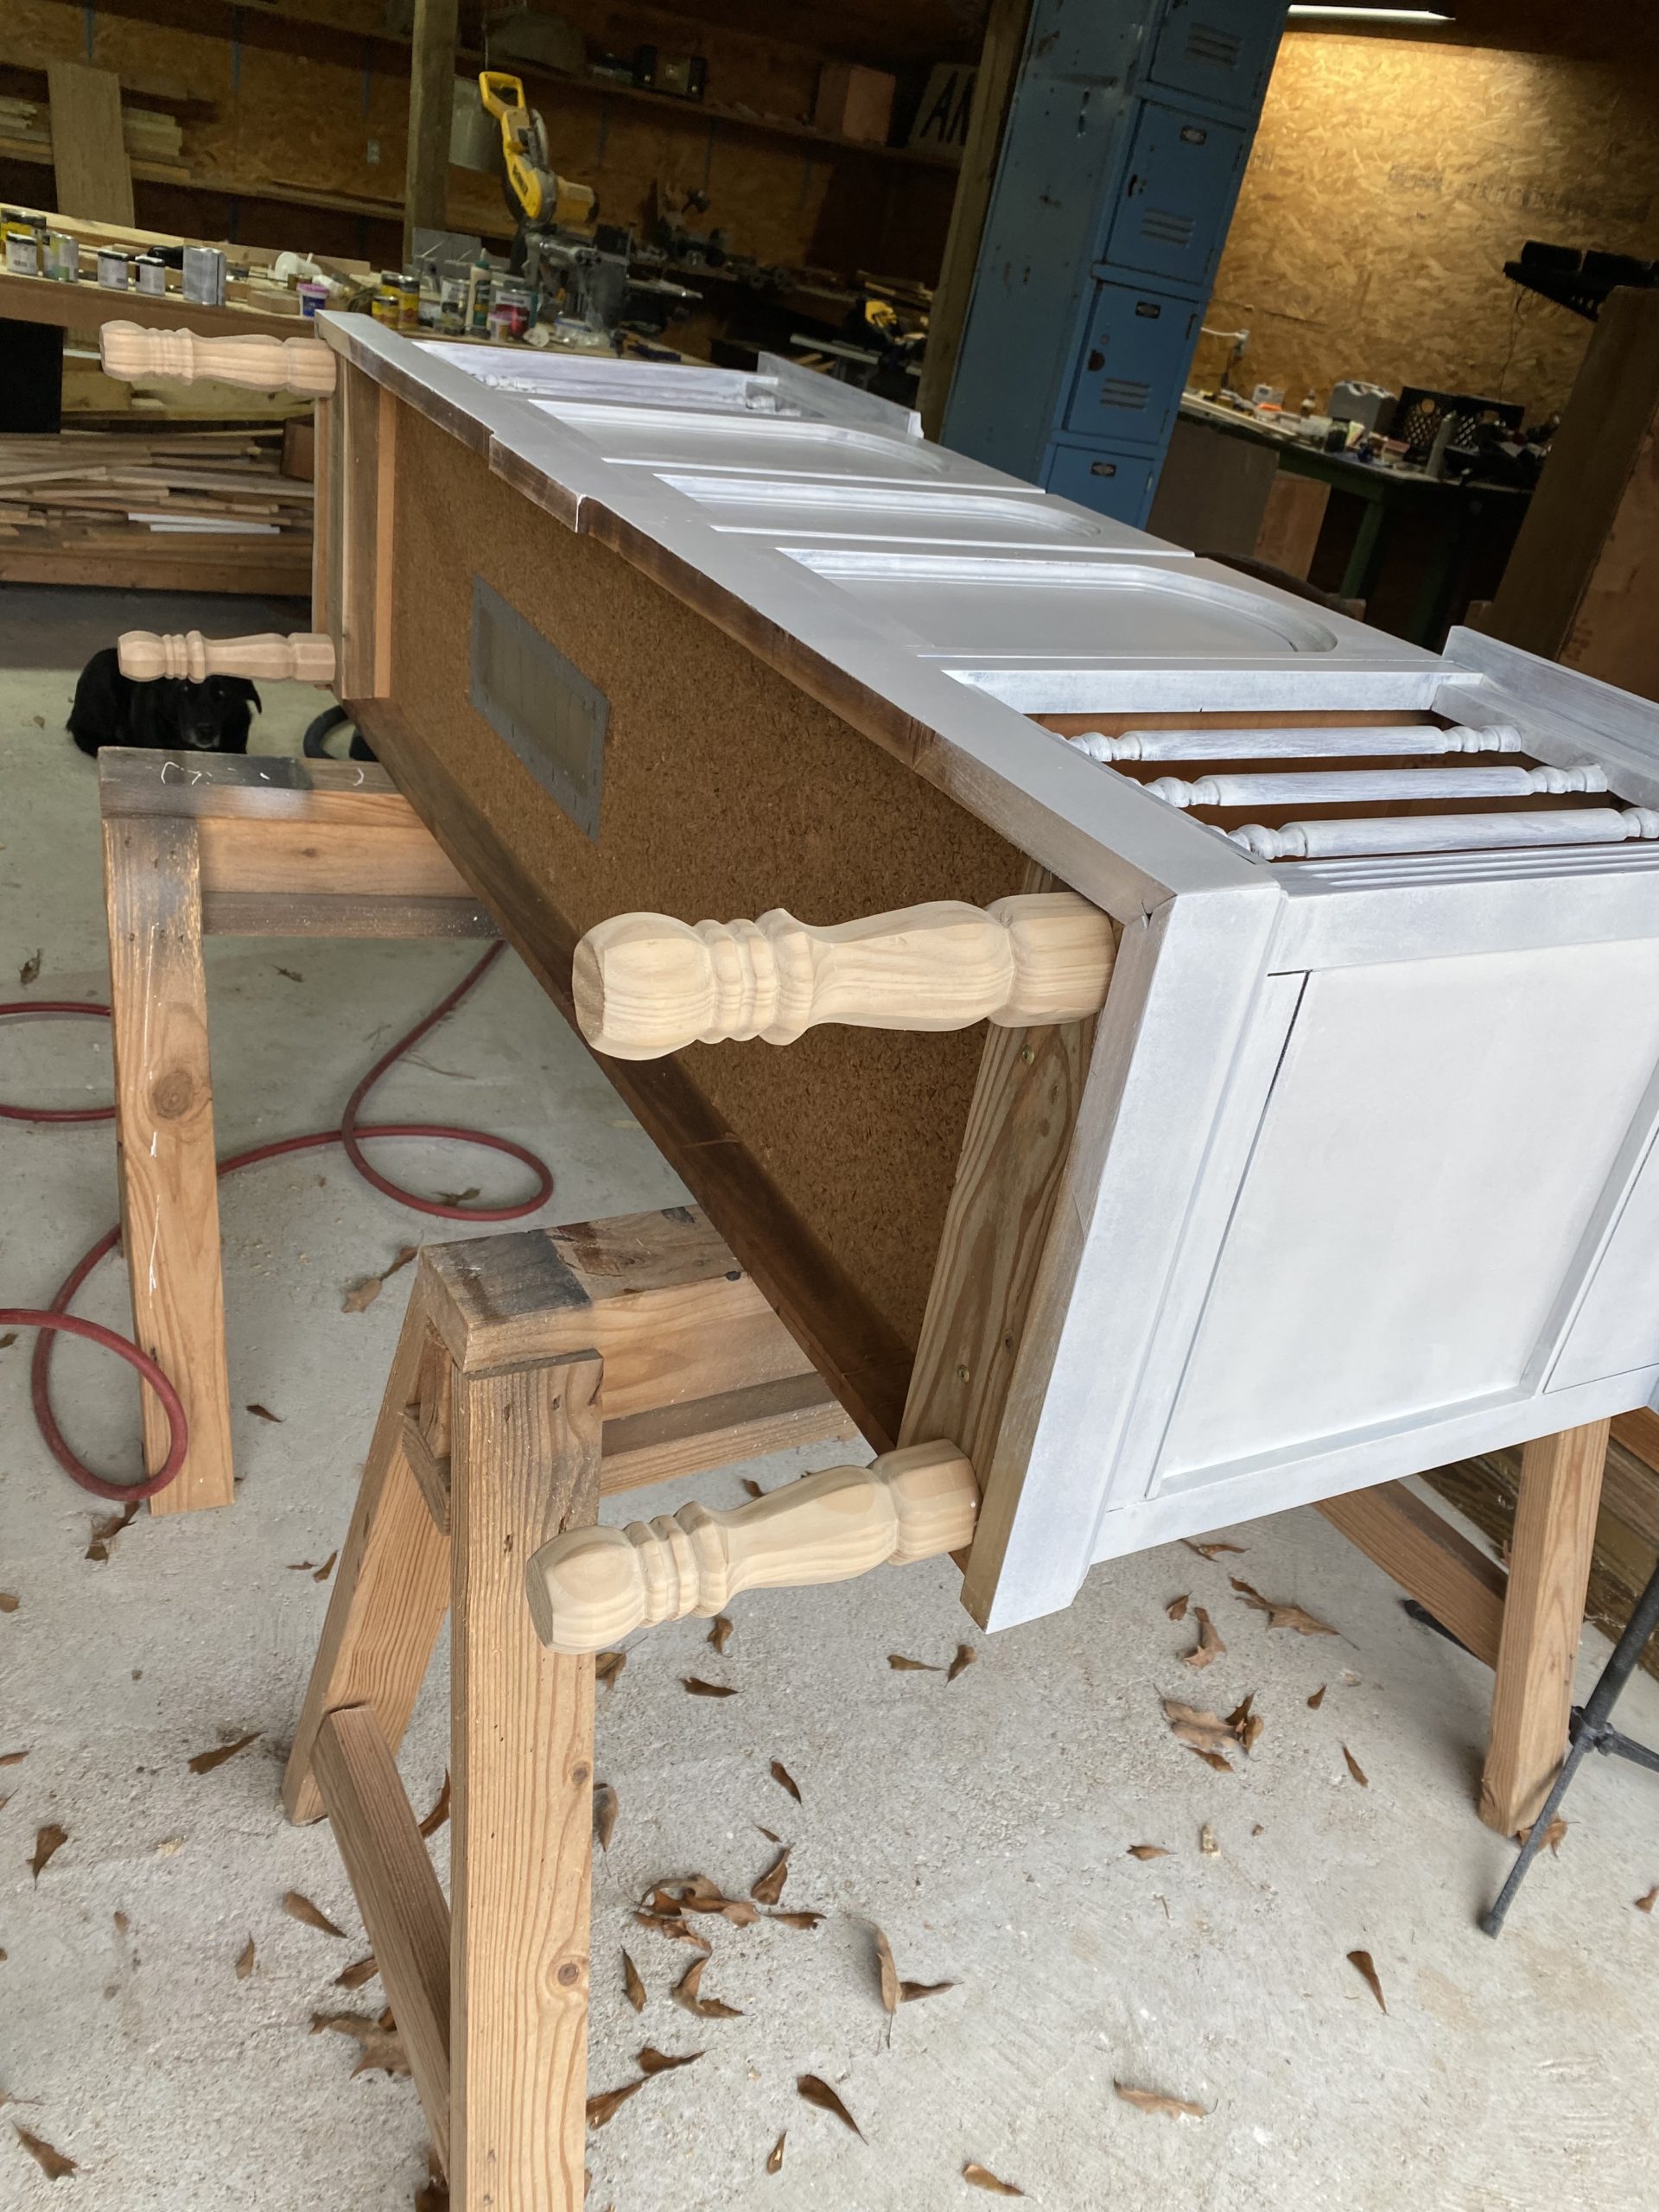
You can tell from the pic on the right what I did with that trim. I used a circular saw to cut the footings off and make it straight in preparation for the turned legs. Because it is recessed underneath, I had to use some scrap wood to build it up level with the bottom trim and to have something to attach the legs to.
Time for paint! I used Benjamin Moore’s Alkyd Enamel paint in satin finish. I love this stuff because it doesn’t require a topcoat and dries to a super hard finish. I wanted an earthy green, so I went with Eclypse by Sherwin Williams.
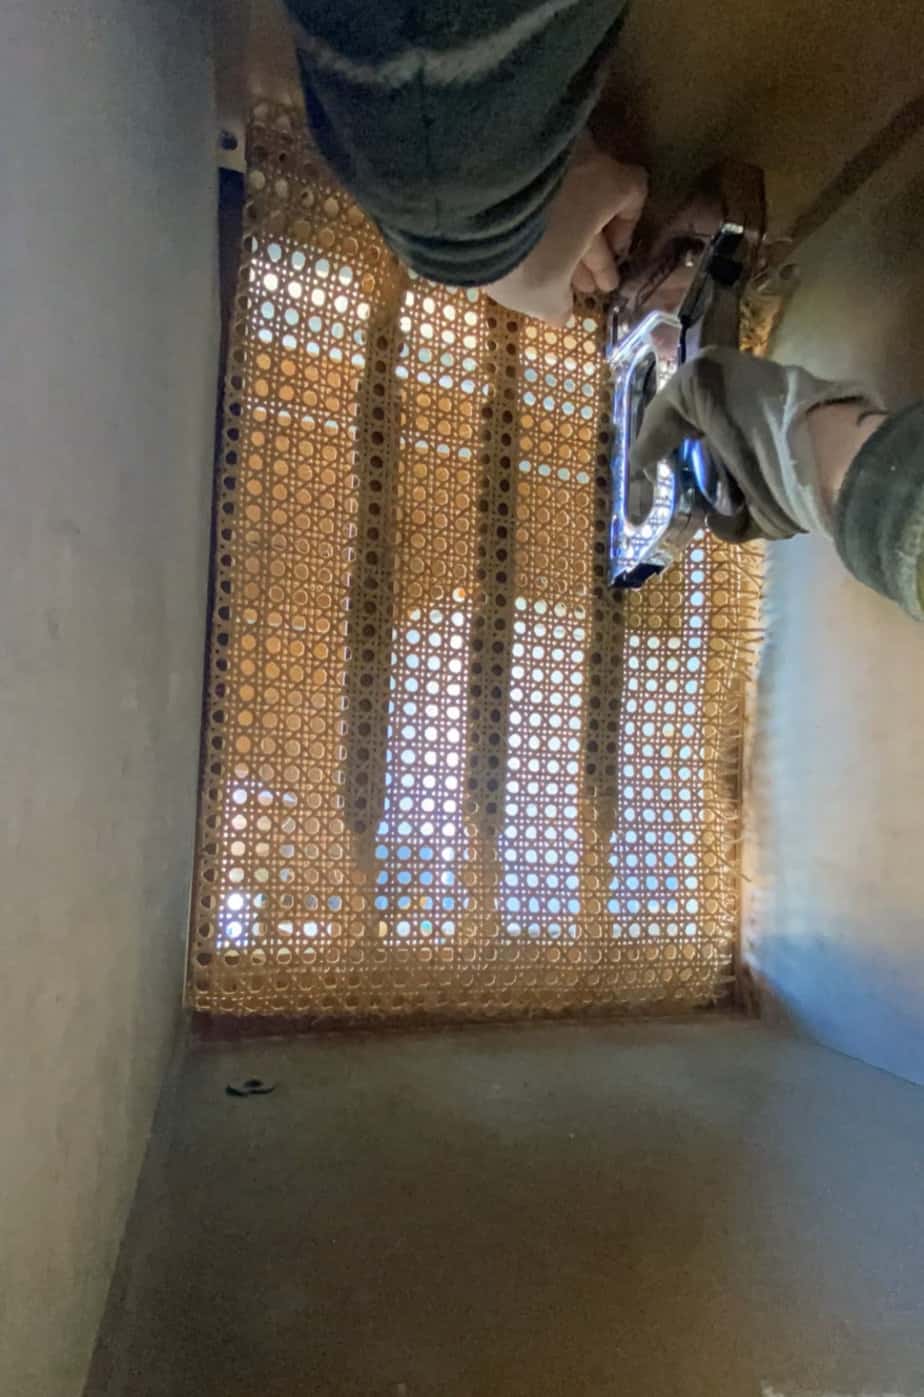
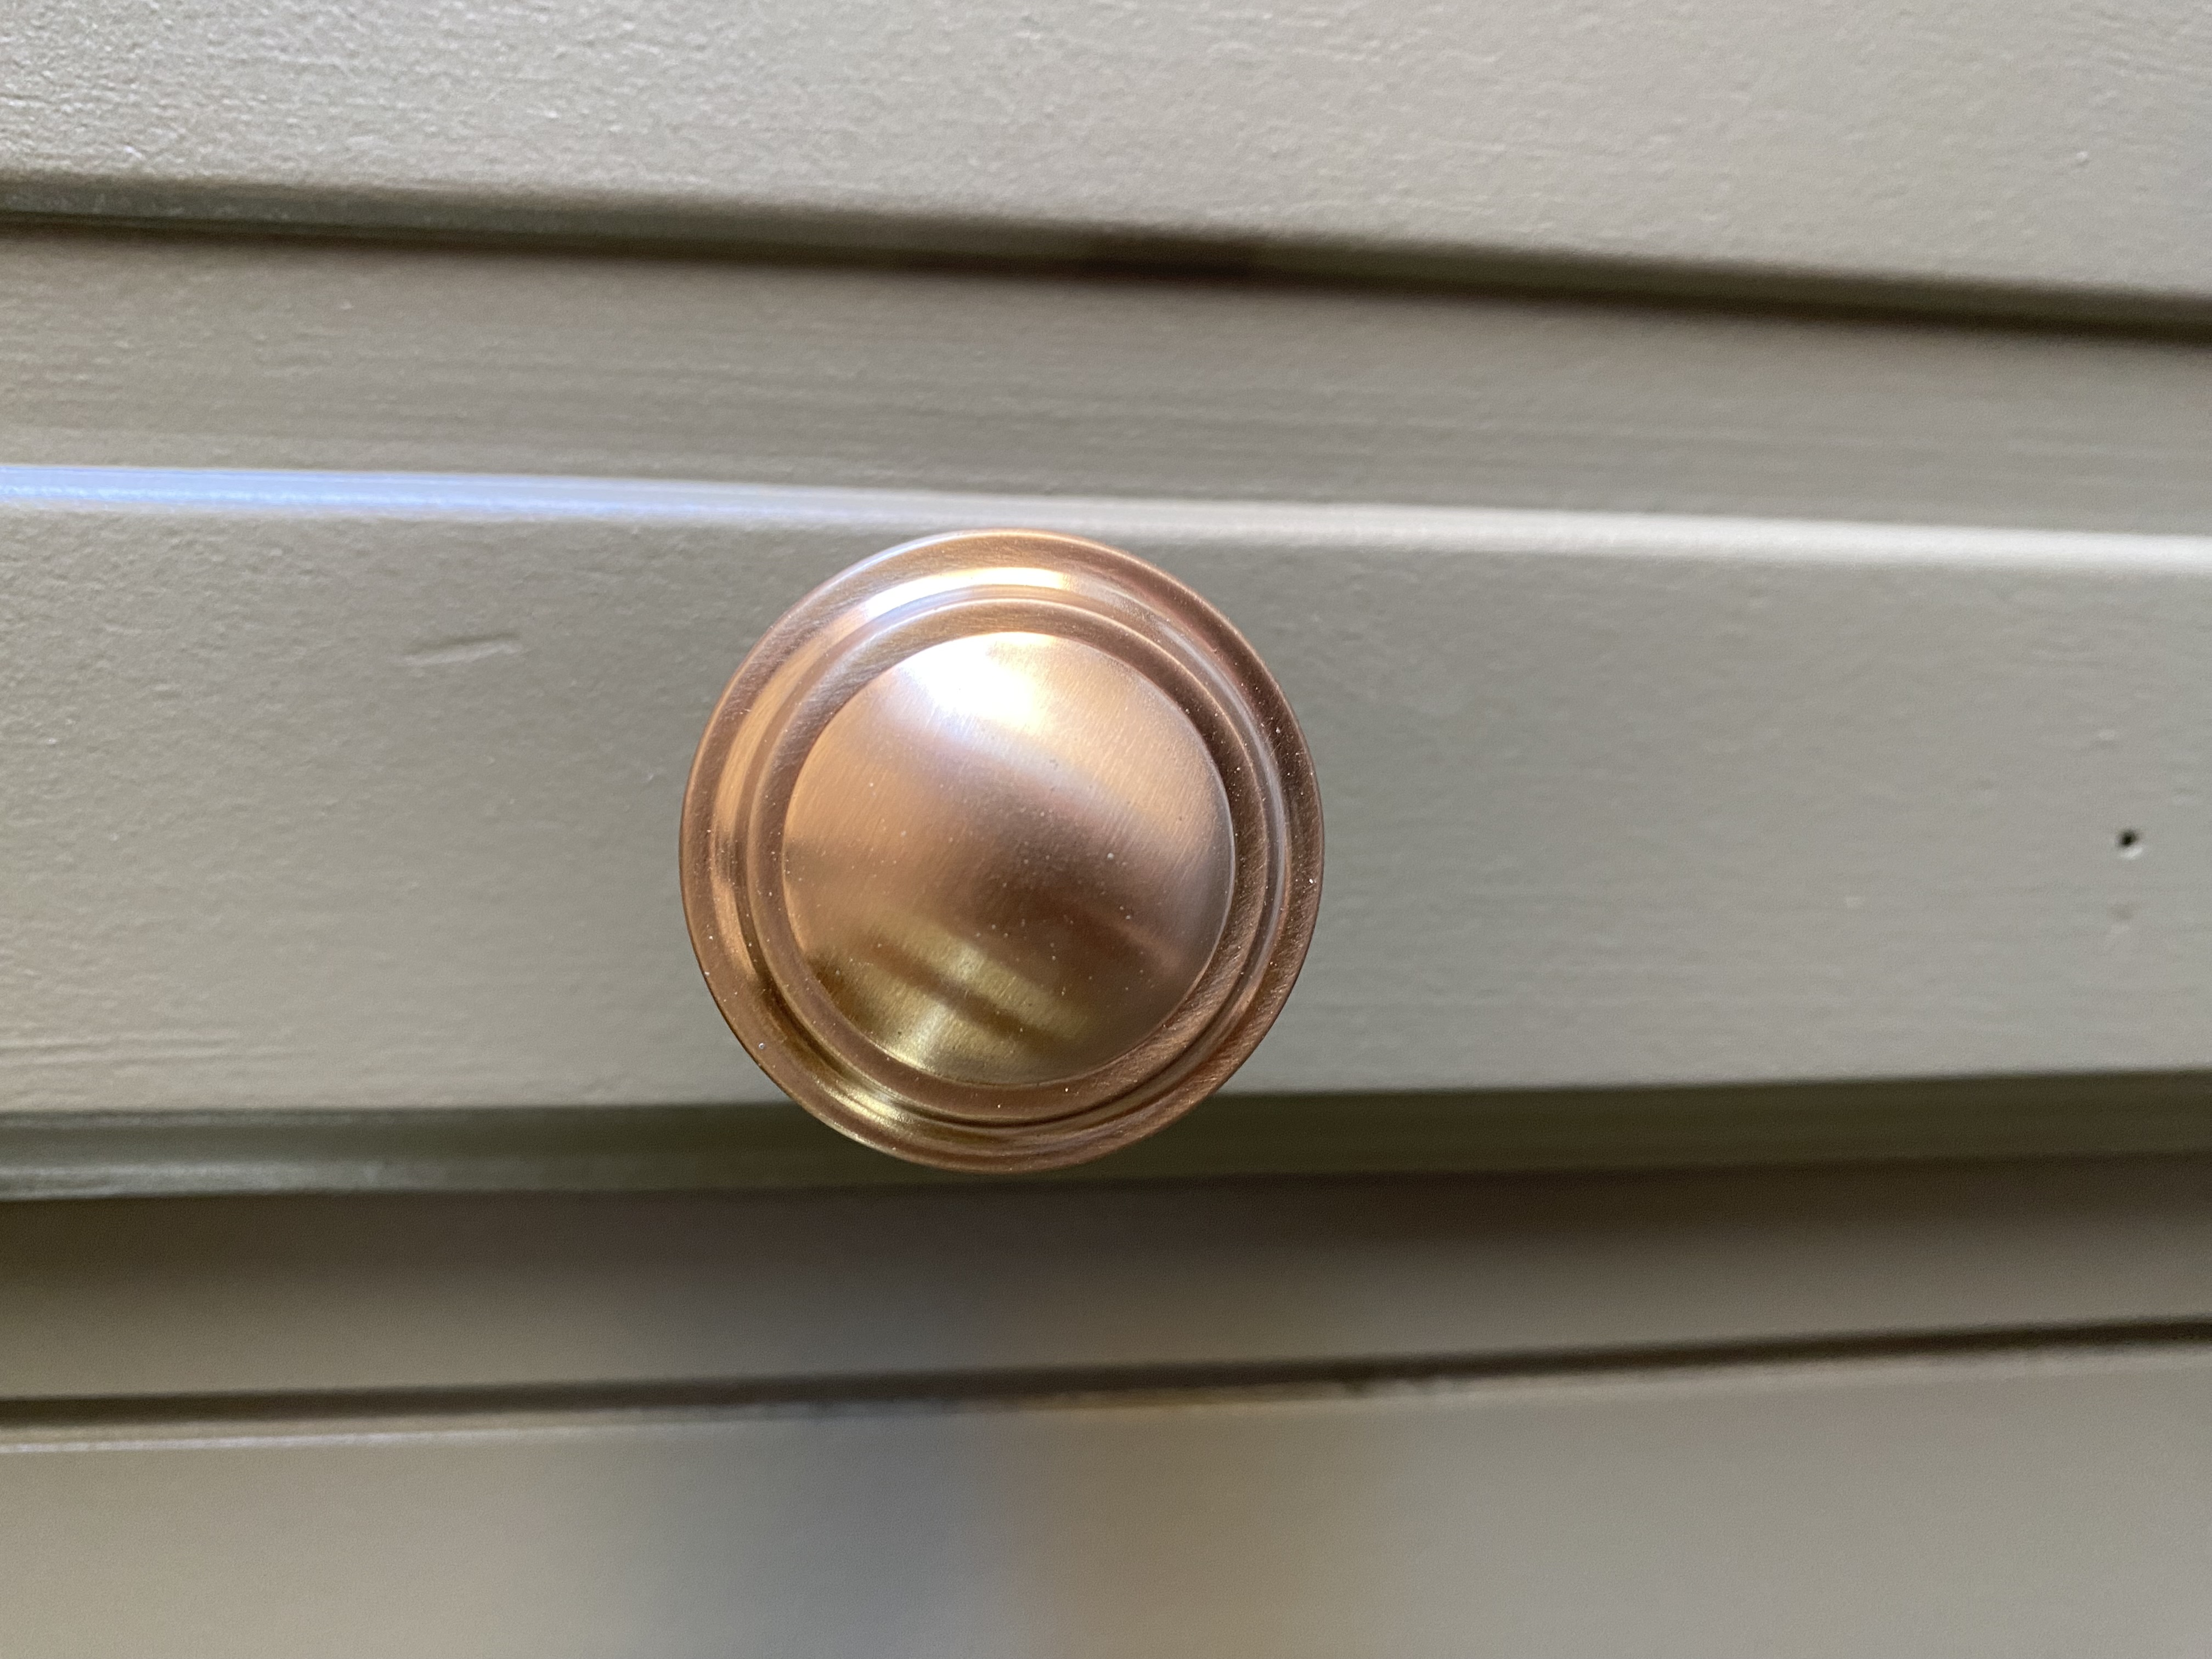
Now, it’s time for the finishing touches. I had some leftover caning from another project, so I stapled it inside the two end sections where the speakers used to be. Lastly, I added these gorgeous brass knobs where the old hardware used to be. They really pop against the green.
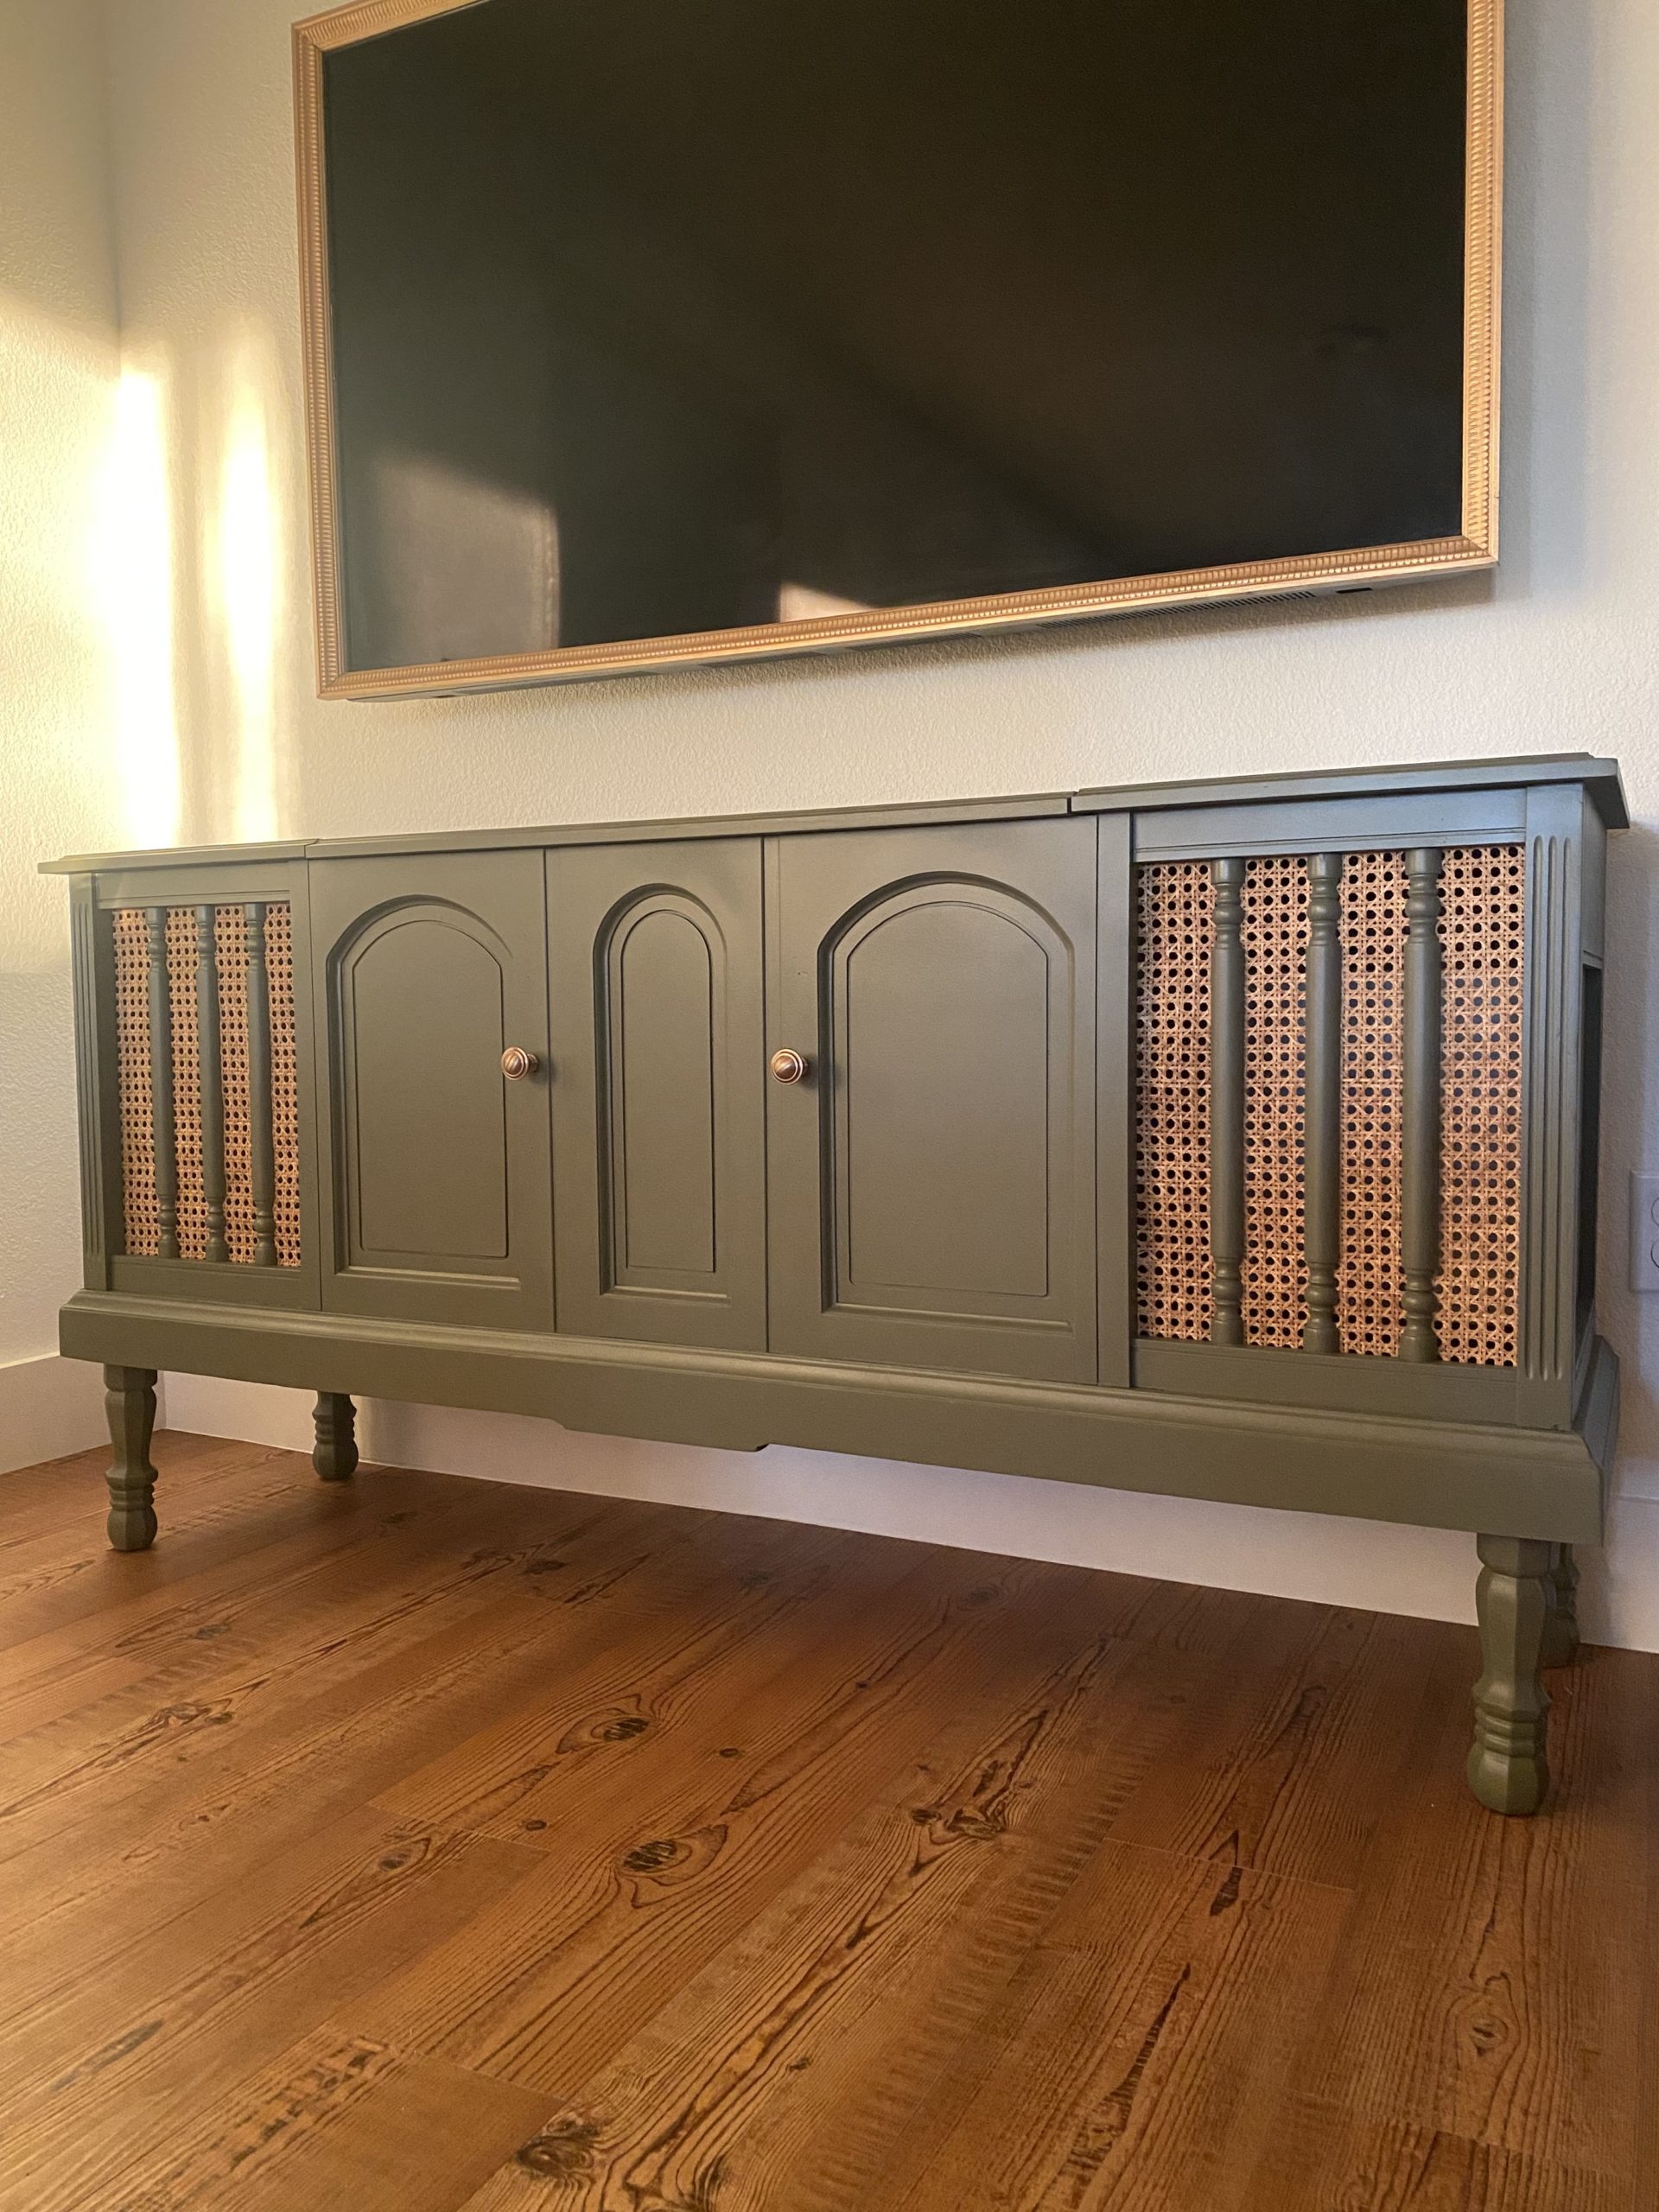
And here’s the reveal! I seriously love how this turned out. From and old unworking stereo cabinet to a new media console. Run to your nearest flea market and find one of your own to flip!
PS-If you’re wondering about that TV frame, I’ll have all the details on that very soon.
For even more details on this project, head over to Instagram and check my highlights.


No Comments