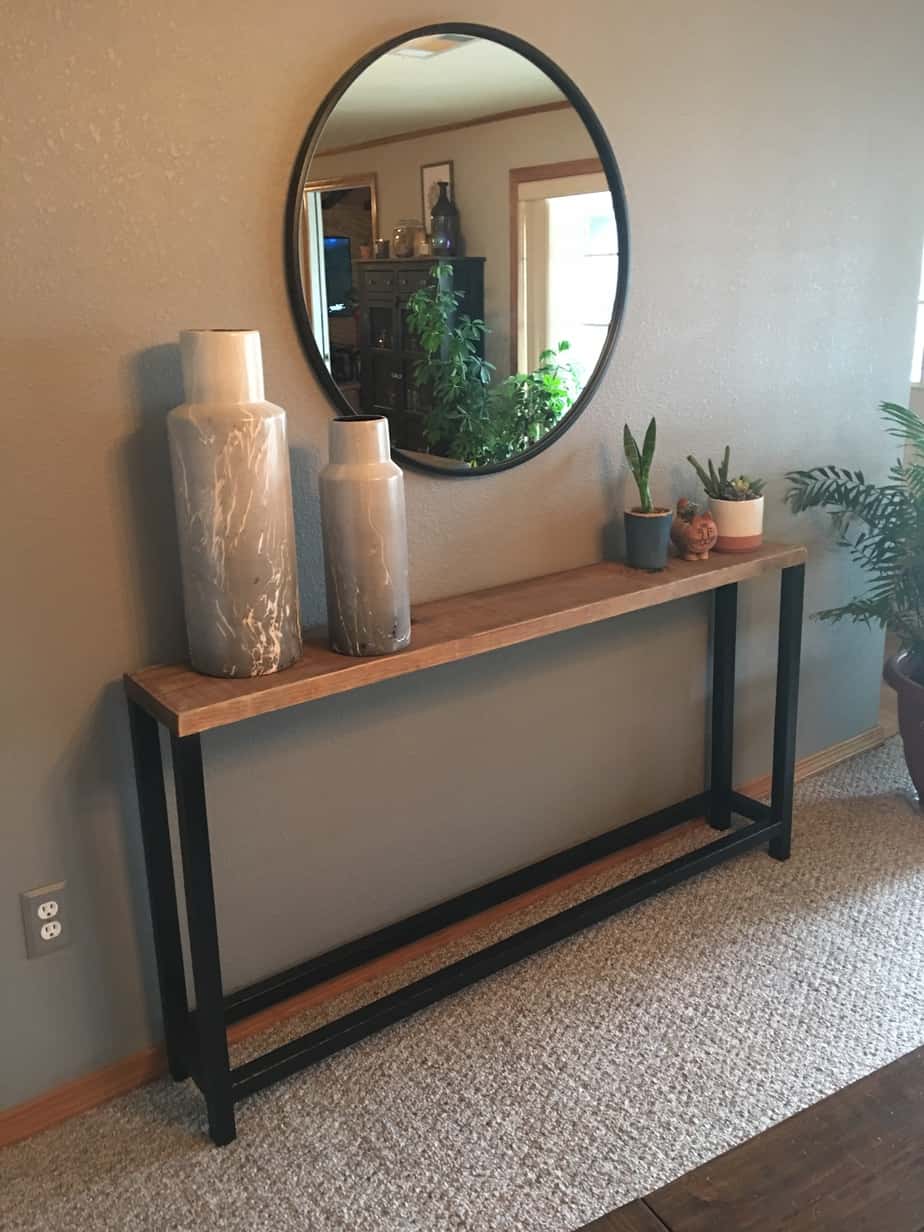
After stealing the round mirror for the half bath, I decided to create a vertical shiplap accent wall to cover the bare space. Vertical shiplap is all over Pinterest and Instagram these days and I’ve been desperate to have some of my own. While this isn’t your traditional tongue-and-groove shiplap, it’s an affordable alternative to achieve the same look and you know I’m all about saving a buck. 😉
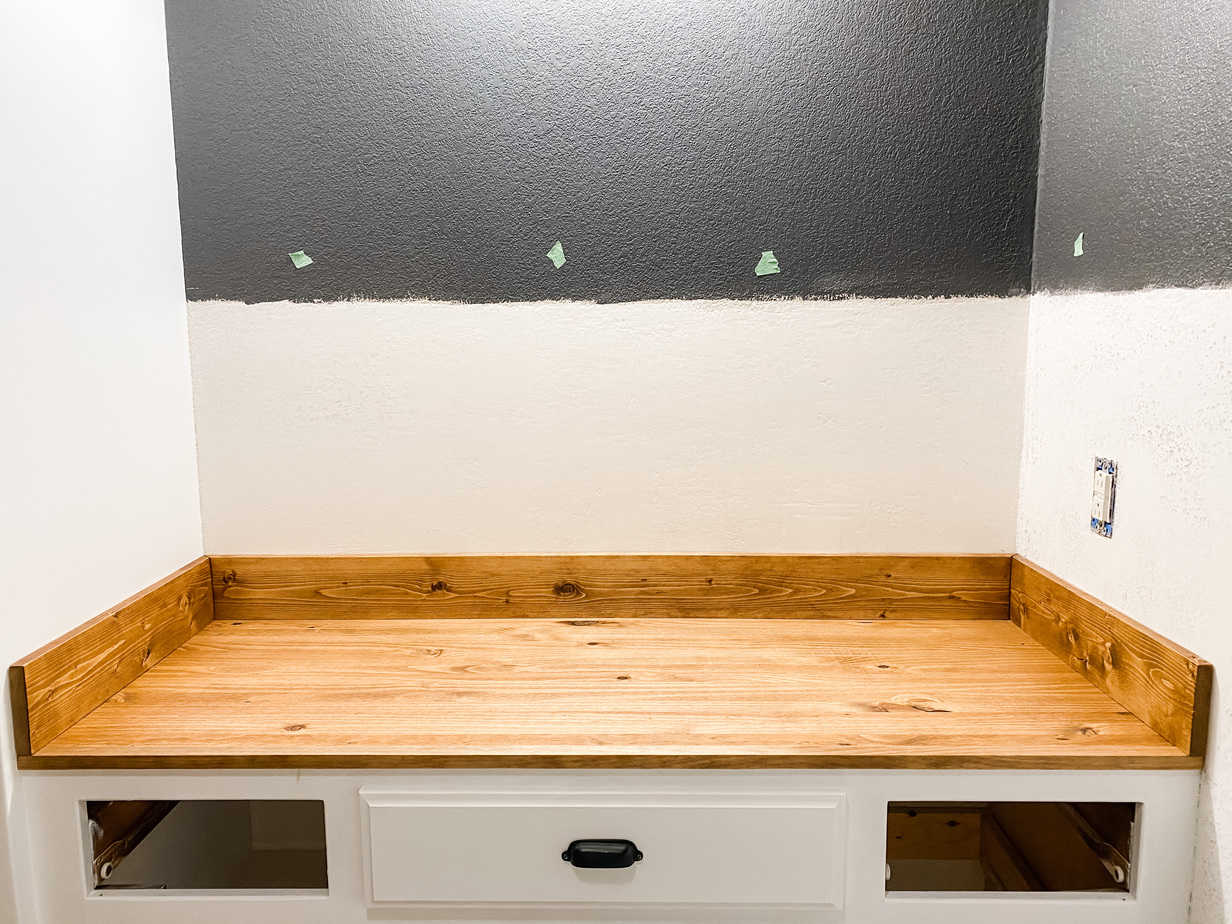
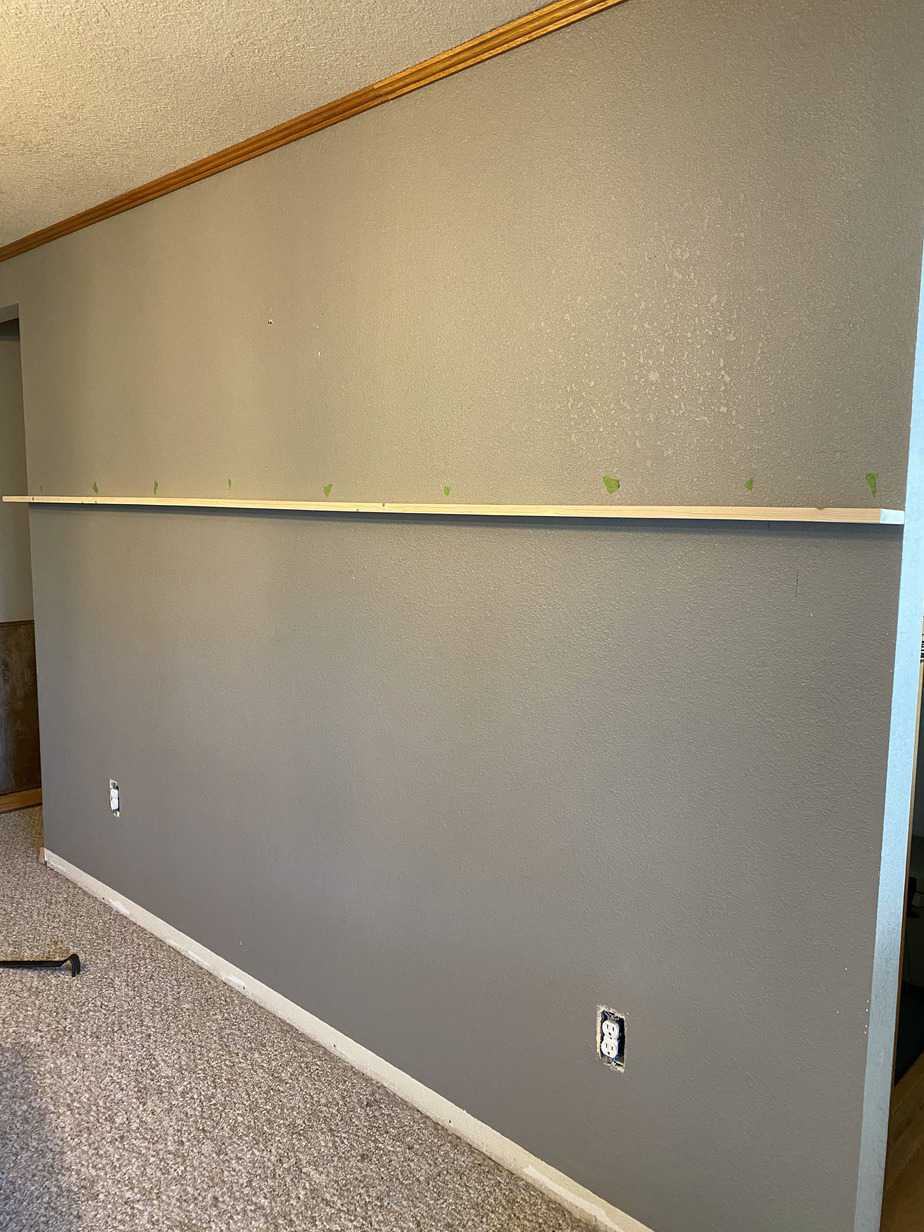
Here is a pic of the dining room wall before…
Step One: Rip the Boards
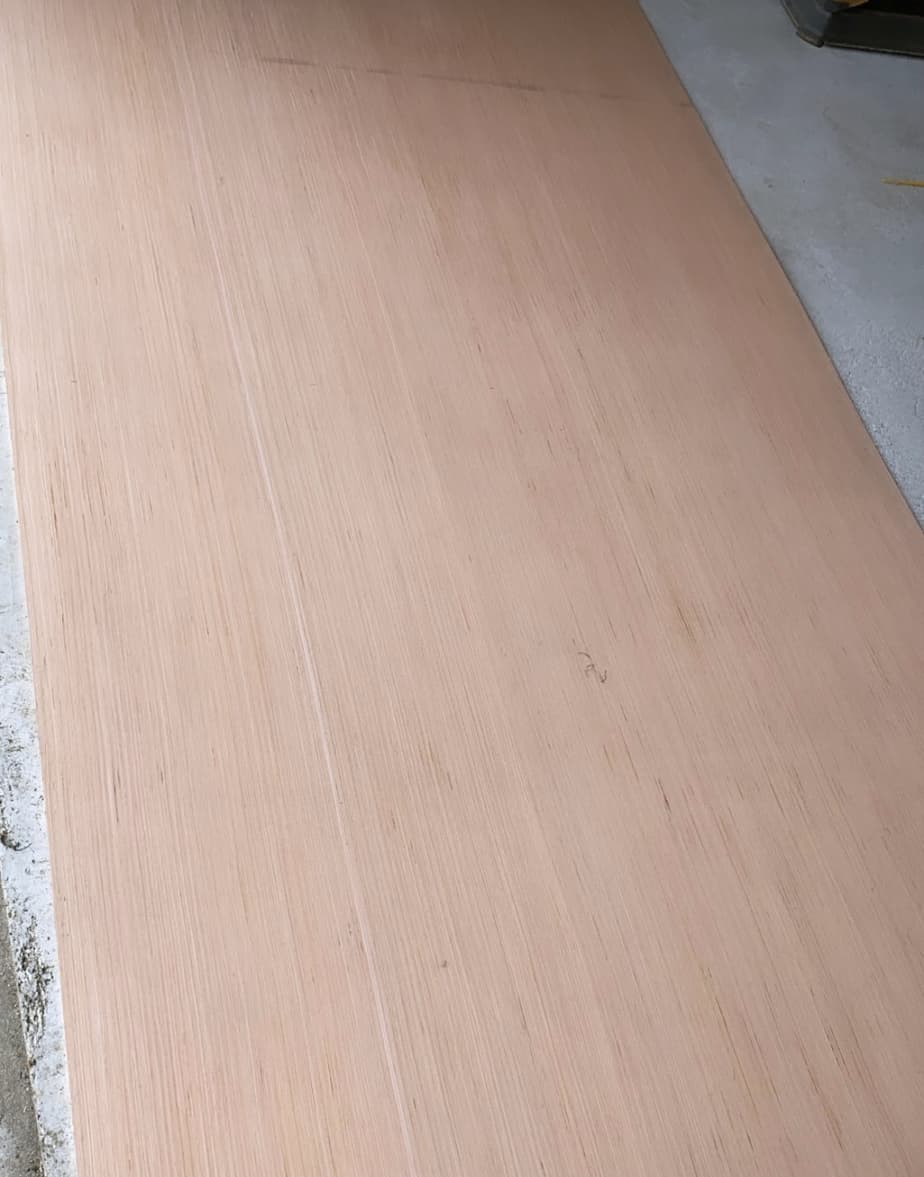
I purchased three of the utility panels at Lowe’s for about $15 dollars each. Measure the height of the wall. Ceilings are different heights and mine are pretty low. The rule of thumb when installing any kind of wainstcoting is that the height should be a third of the wall’s height. I wanted mine to be taller so I went two-thirds of the way up my wall. Also, take into account the width of the picture ledge on top because that will be your total height. (FYI-If you are butting the shiplap up against your baseboard and don’t want to remove it like I did, begin your measurement at the top of the baseboard.) Now that you have your height measurement, determine how wide you want your boards to be. The common width for shiplap is 6″. I love the look of a wider shiplap so I went with 8″ wide.
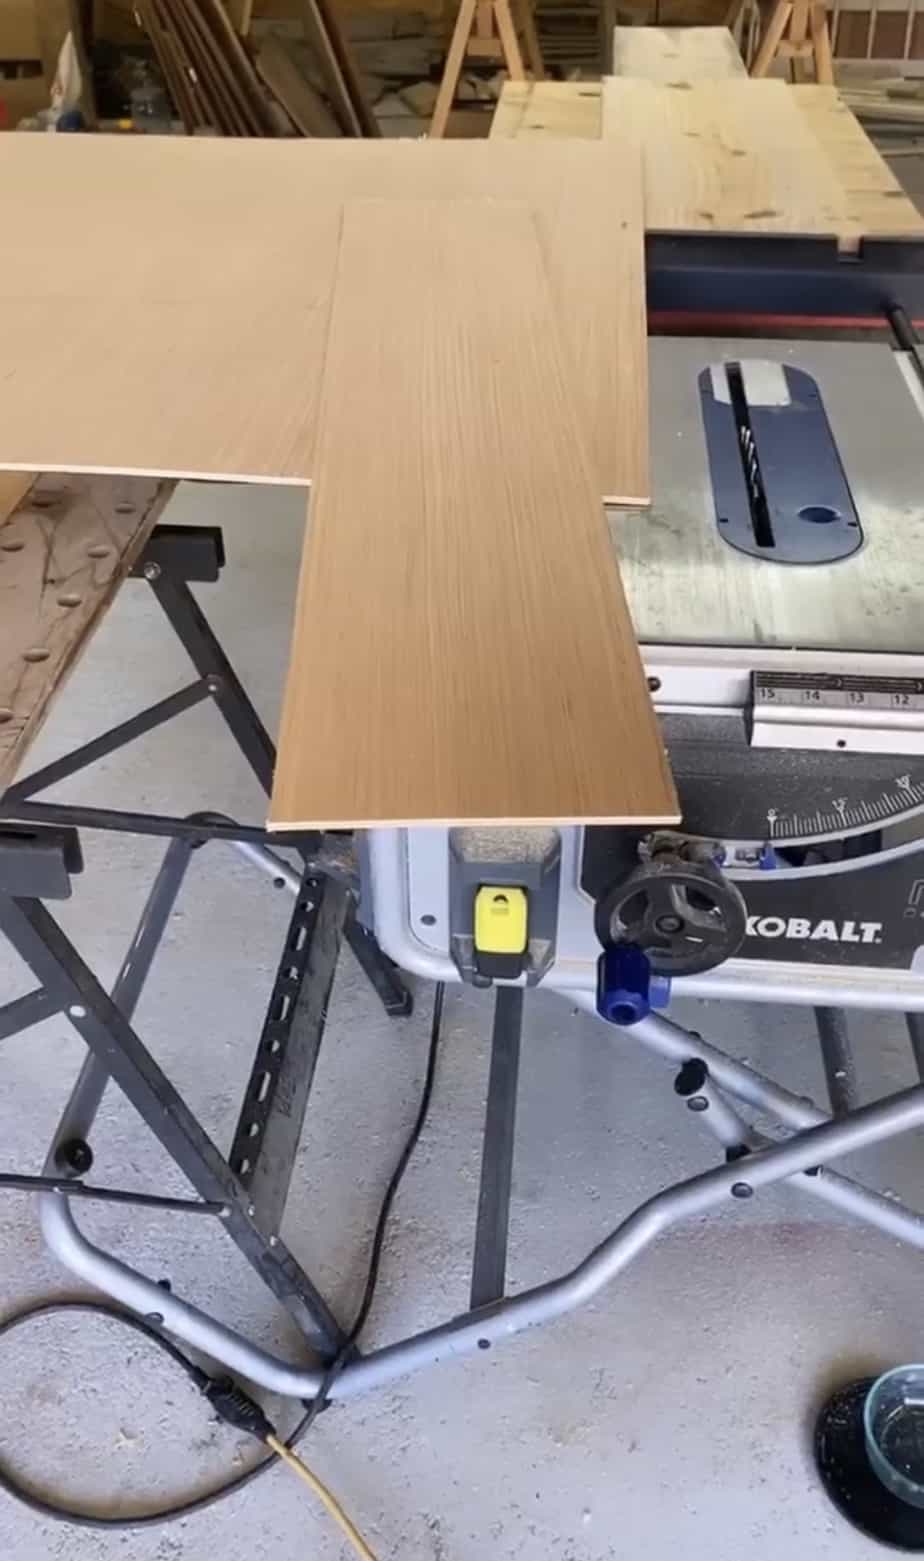
Using a table saw, I cut the panels to the height I wanted and then ripped the 8″ shiplap boards. These panels are very floppy so either have someone help you hold them while you run them through the table saw or set up a make-shift table beside the saw for support like I did.
Step Two: Attach Boards to the Wall
First we need to create the picture ledge. Start by attaching the 1×4 board to the wall. I used a stud finder to mark the studs then marked where the studs were on the board. Drill pocket holes at your marks then attach the board to the studs using pocket hole screws that are long enough to make it through the drywall and into the studs. I also removed my baseboard. This is optional. I ran my boards all the way to the floor.
Now that the picture ledge is up, find the center of the wall and line it up with the center of the first board. Start from the center of the wall and work your way out. The last two boards on each end may have to be ripped down to fit. I used a nail gun as well as Liquid Nails to attach the shiplap boards. Apply the glue to the back. Once it is in place, begin nailing it to the wall down one side of the board and then the other. It took quite a few nails on both sides of the board to hold it in place and I also shot at an angle when nailing them in. Any place where the board would gap out, I shot a nail so it was flush up against the wall.

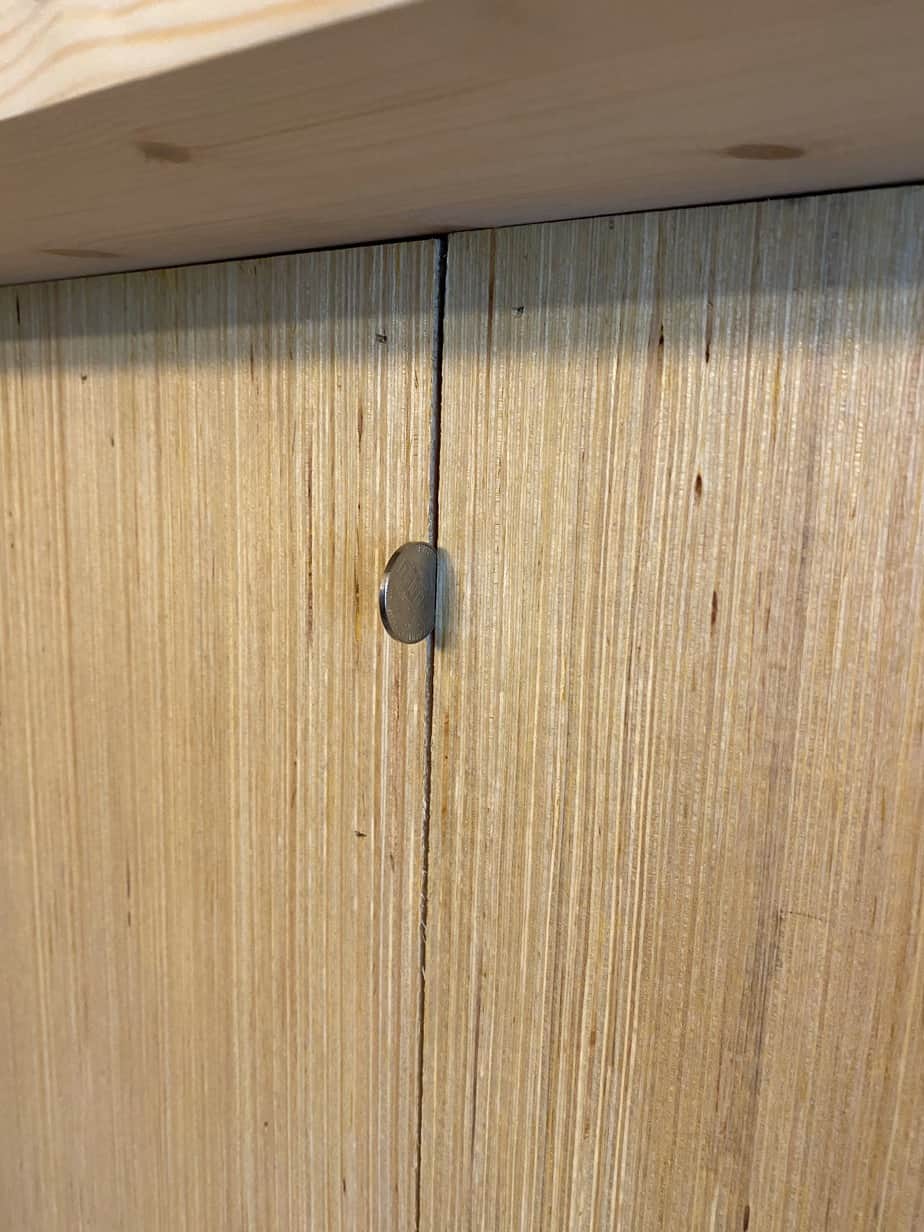
Use a nickel in between the boards for spacing. I also used a speed square and measured along the way to make sure everything was lined up. I also had to cut around two outlets which was a little tricky.
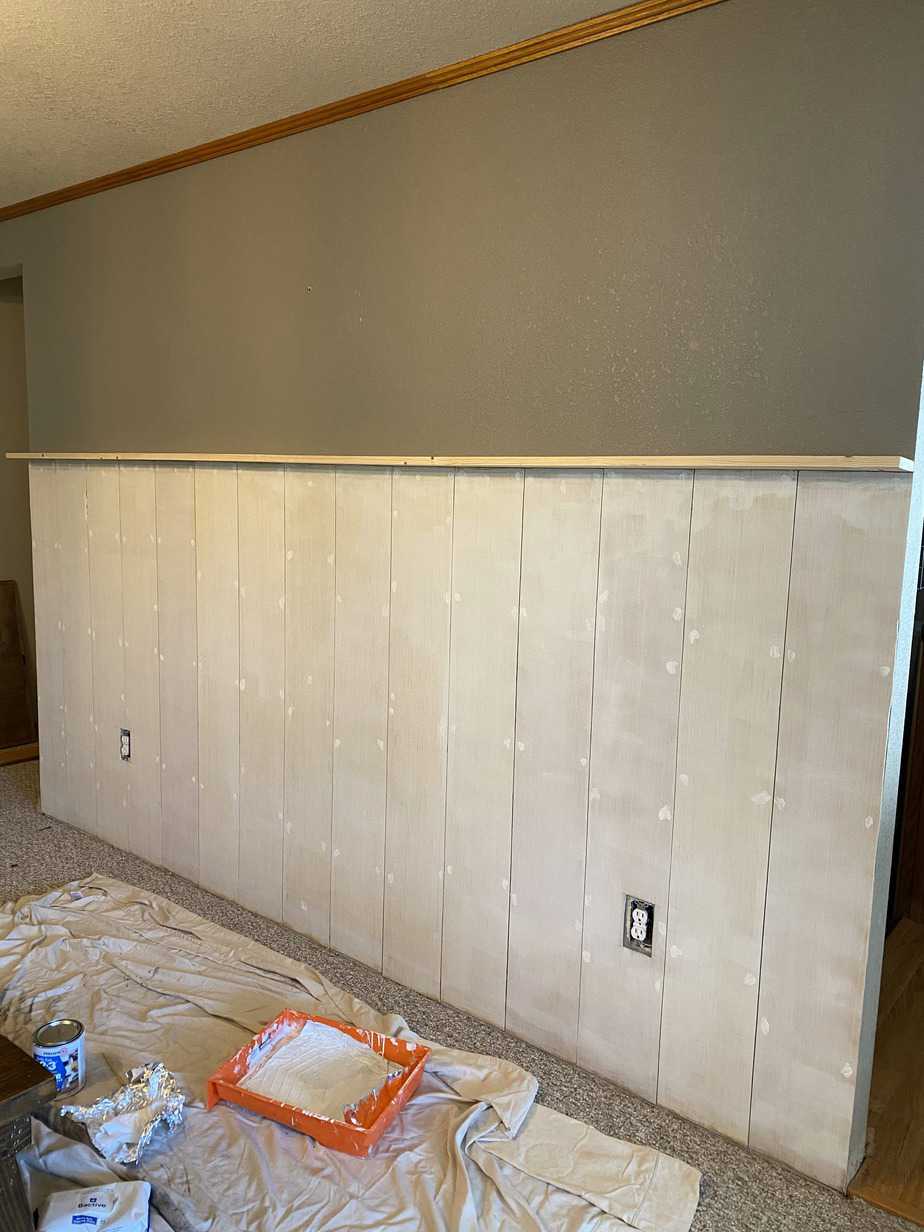
Step Three: Prime and Paint
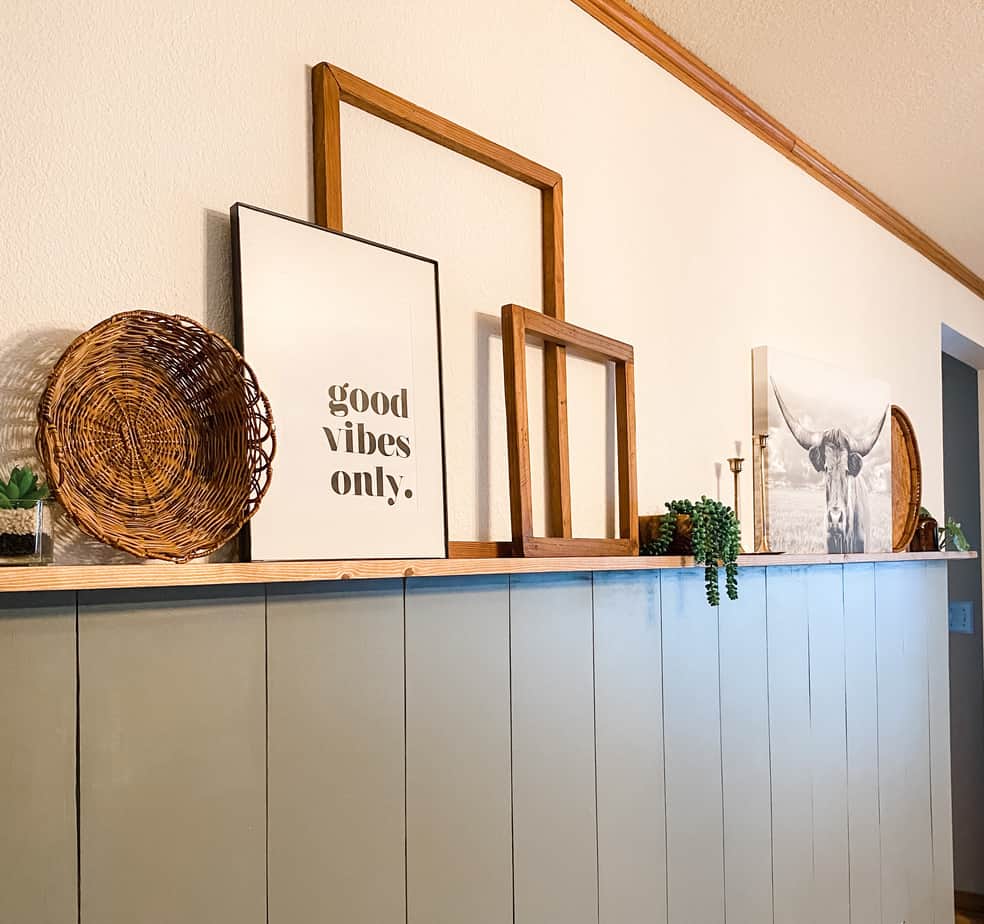
Time to prime and paint! First I filled all the nail holes then sanded smooth. I used Zinsser Bulls Eye 1-2-3 Primer to prime all the shiplap boards. I also went ahead and stained the picture ledge with Minwax Early American. Fill any unwanted gaps with caulk before you paint. The paint I used was called Mountain Road by Sherwin-Williams. It took several coats. Make sure you get in between the boards as well.
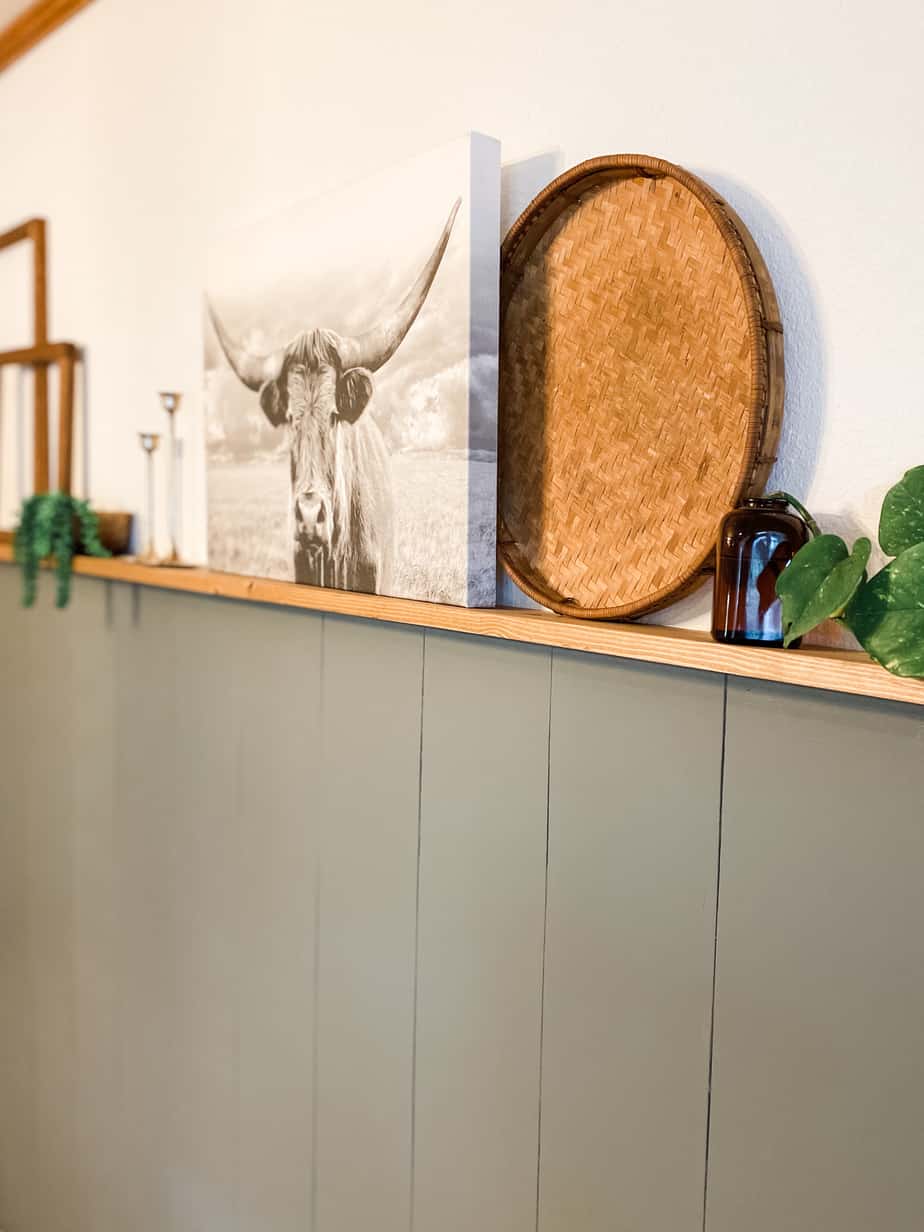
All that is left to do now is decorate your picture ledge! I’m going for boho farmhouse vibes. I love how this vertical “shiplap” accent wall turned out. This project was so easy and inexpensive and it really makes a dramatic impact!