
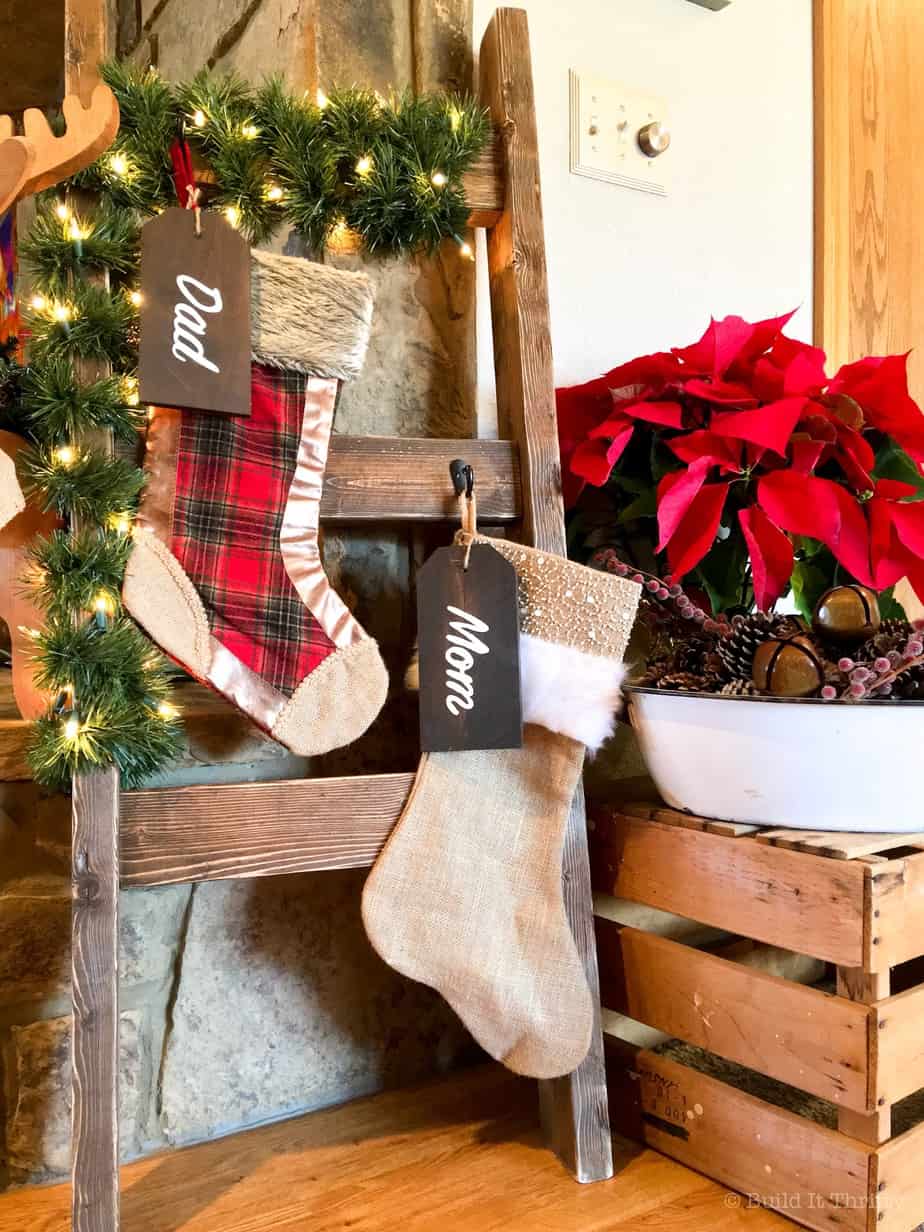
I have a confession to make. I just got my Christmas tree up last week and I’m not even finished shopping for gifts! Can anyone else relate? Every Christmas I vow to do better the next year but it never happens. I think I just work better under pressure. 😀 In the spirit of last-minute decorating, today I’m sharing with you the stocking stand-two ways.
Stockings were never really anything special when I was a kid. They were mainly reserved for candy, unshelled pecans and, if you were lucky, maybe an orange. Now that I have my own kids, they usually just get flung under the tree without a second thought until Christmas Eve when I drag them out and cram them full of whatever I can find. This year, however, I thought I would start doing things a little different and give the forgotten stocking a little more love. If you were to buy a stocking stand it could easily cost you $30 and up. These cost a fraction of that to build. They are a great option for anyone who doesn’t have a mantel and wants to give their stockings the recognition they deserve.

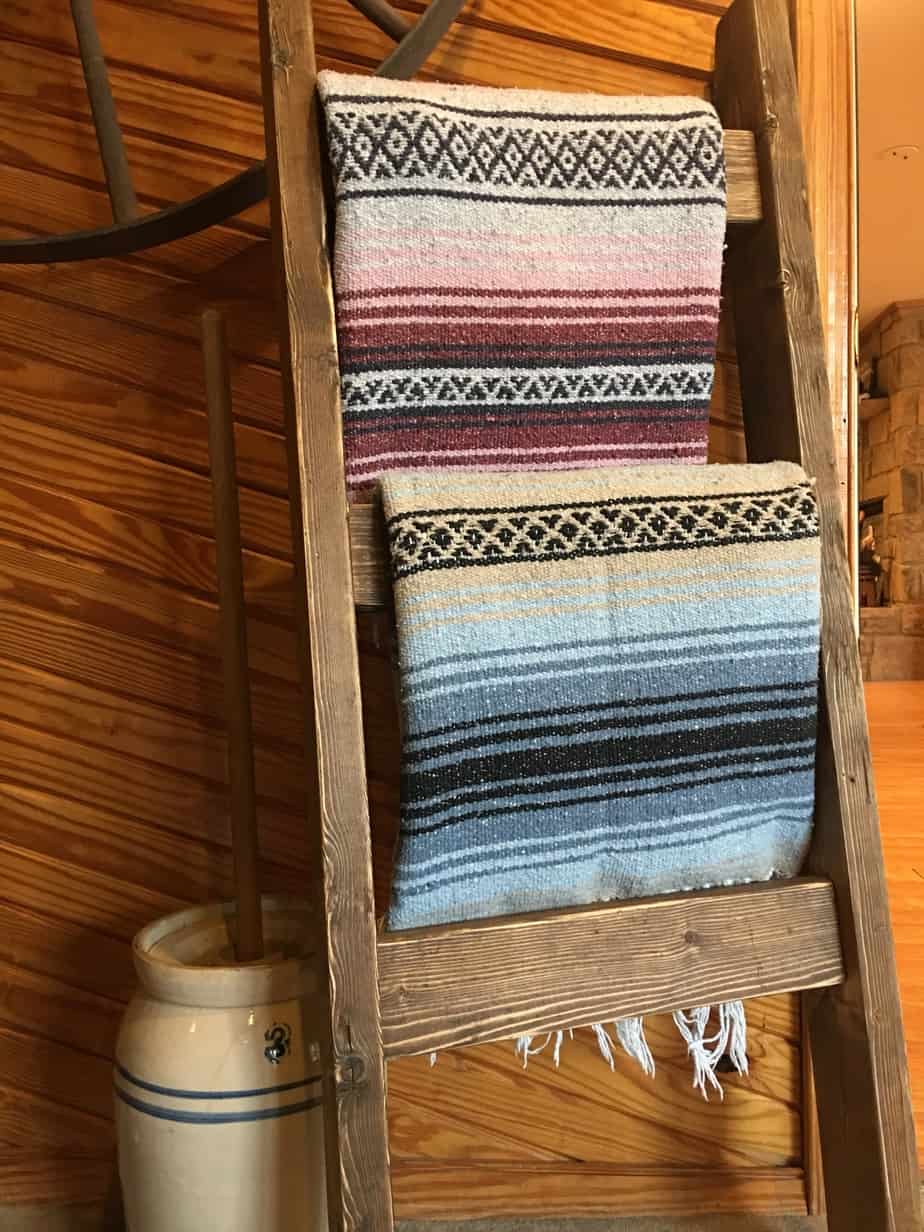
My personal favorite is option one because it can do double duty as a blanket ladder when Christmas is over! Not feeling the ladder? No problem. I’ve got a second option for you. Boom. Option two is a more traditional stocking stand that can easily be stored away with all your other decor after the holidays. Whichever option you prefer, they are both quick and inexpensive projects that can be finished in a day. Here’s what you need!
Materials:
This post contains affiliate links. For more information see the policies page.
- 2 1/2″ pocket hole screws
- 1 3/4″ wood screws
- Wood glue
- Stainable wood filler
For the ladder:
- 2-2×4@8′
- Hooks
For the stand:
- 2-2×4@8′
- 1×4 scrap
- Hooks
Tools:
- Miter saw
- Kreg Jig
- Drill
- Sander
Cut List:
For the ladder:
- 2-2×4@48″
- 3-2×4@16″
For the stand:
- 2×4@36″
- 2×4@38″
- 2-2×4@31 1/2″
- 2-2×4@12″
- 4-1×4 squares at 3 1/2″
Option One-Stocking Ladder
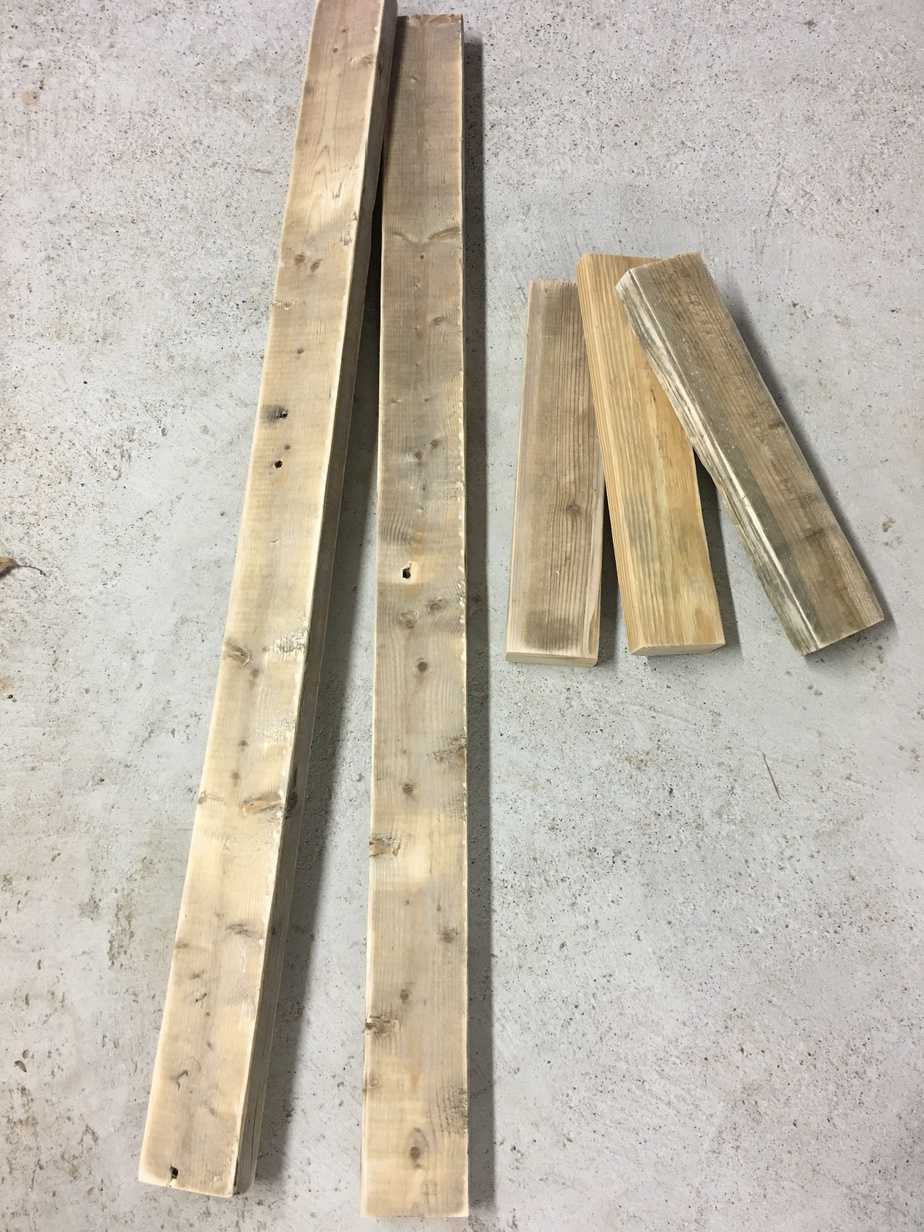
Step One: Make Cuts
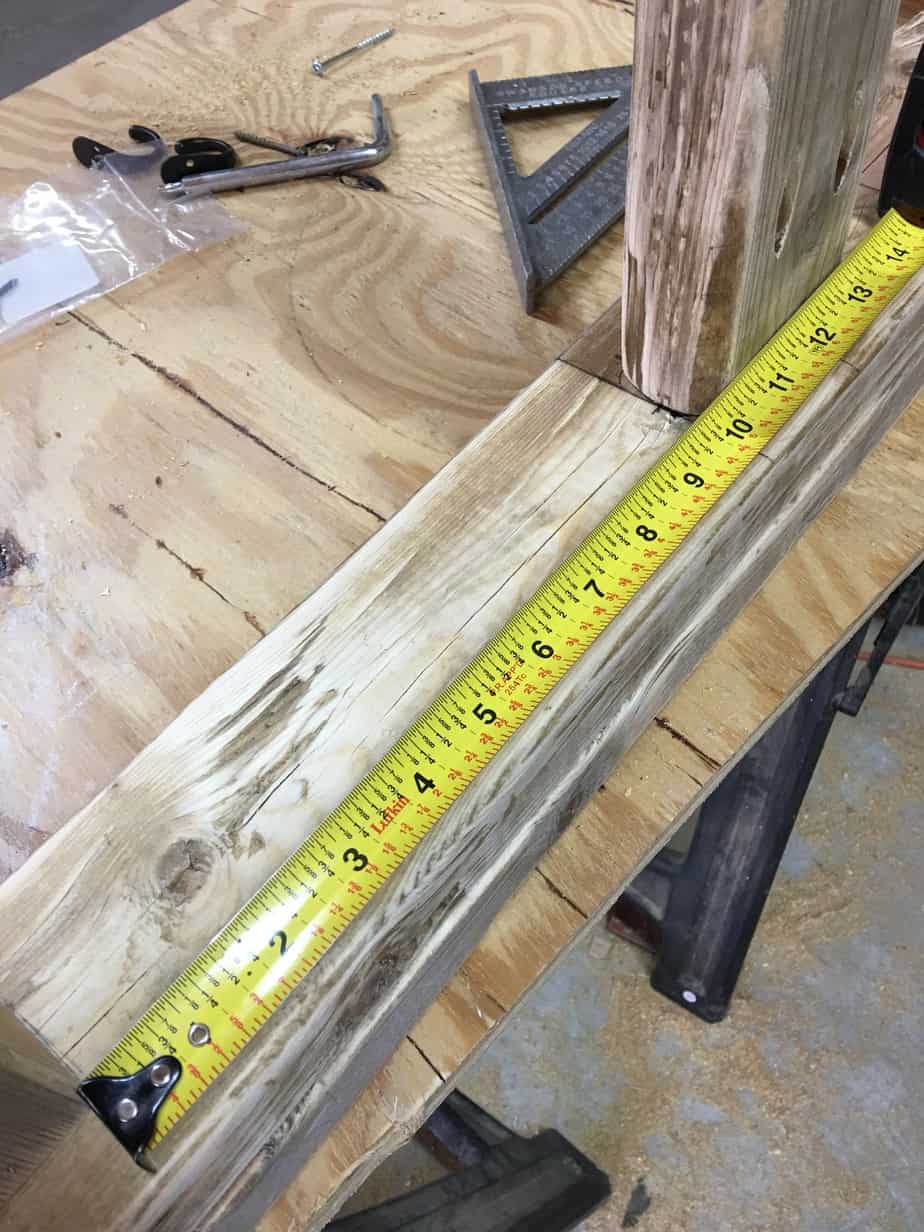
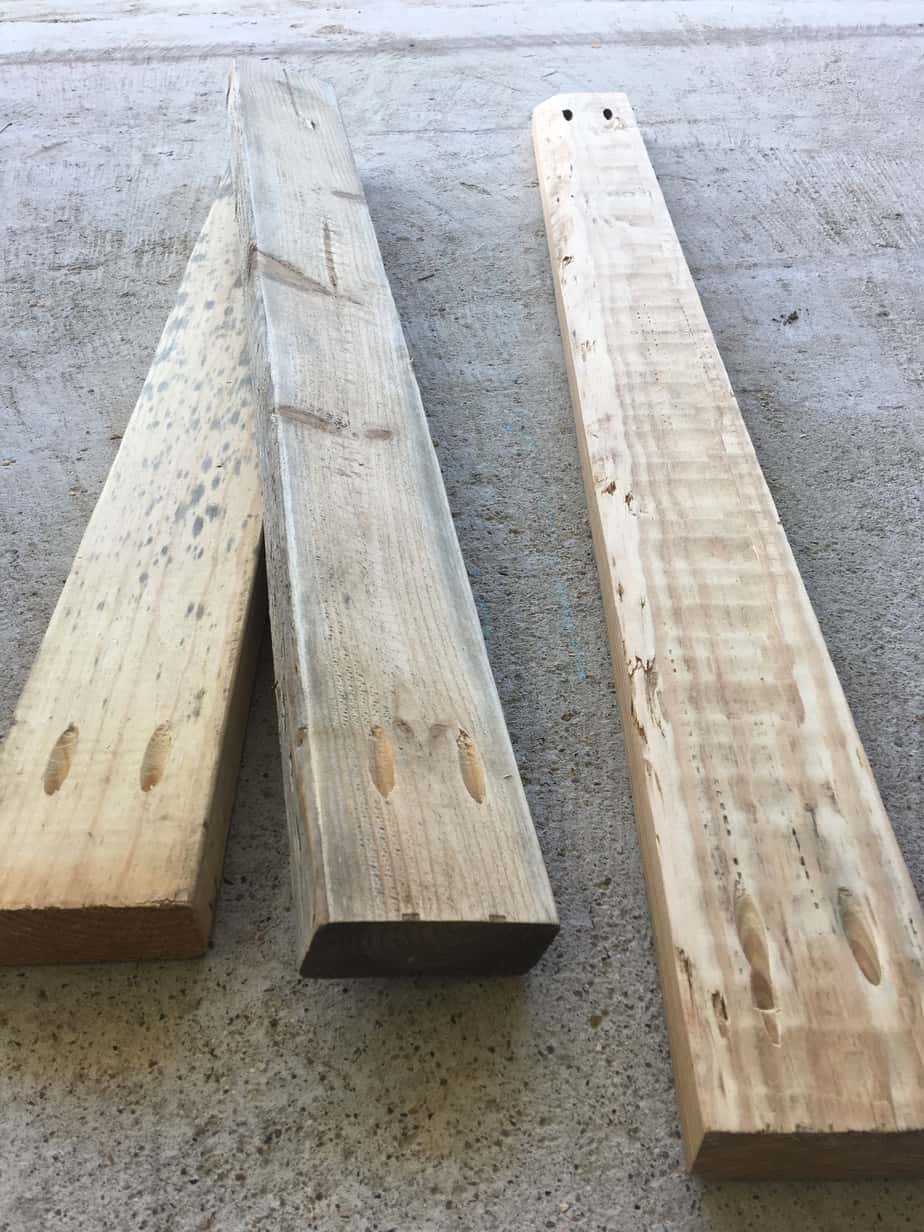
Start by using a miter saw to cut the two rails to 48″ and three ladder rungs to 16″.
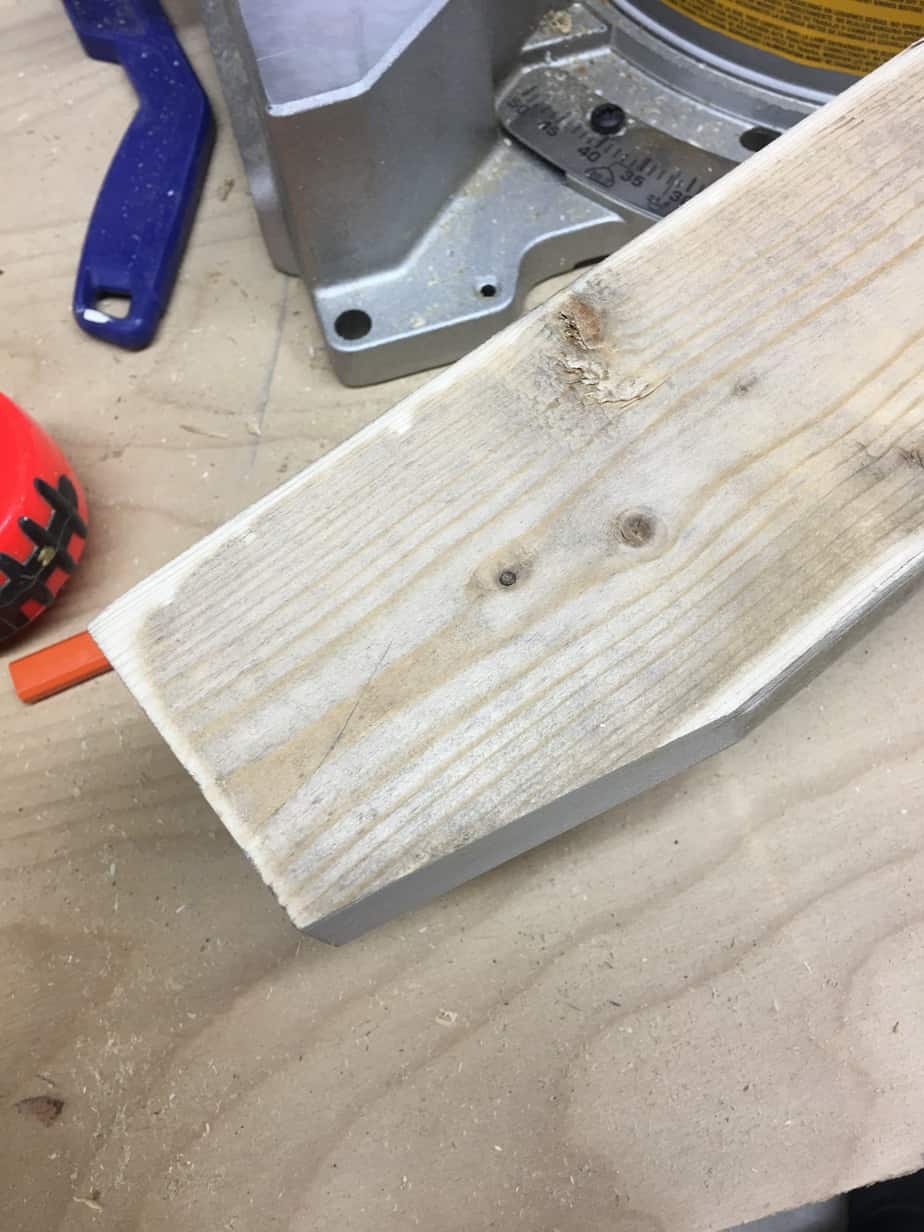
Next, adjust the miter saw to 10 degrees and cut both of the feet. Save the little 10-degree sliver for the next cuts.
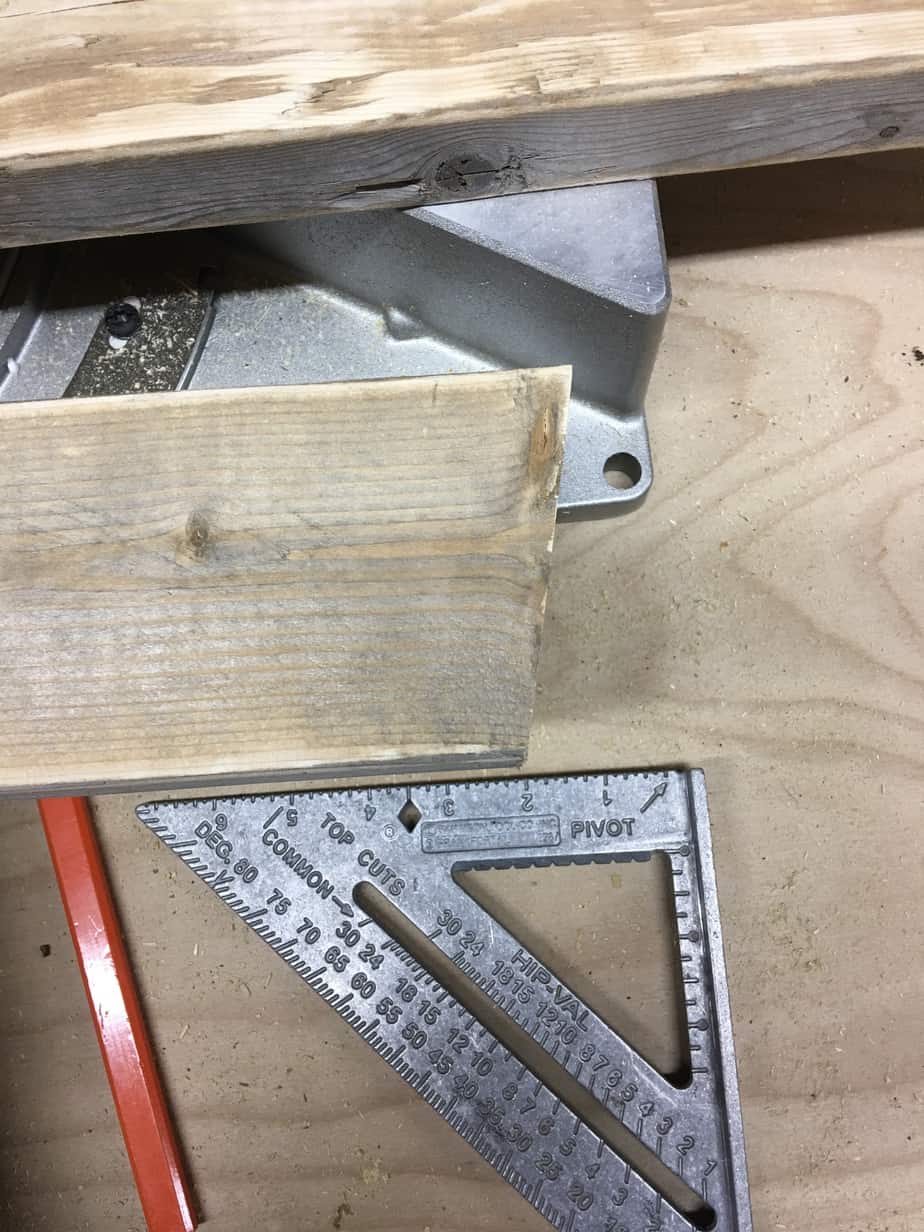
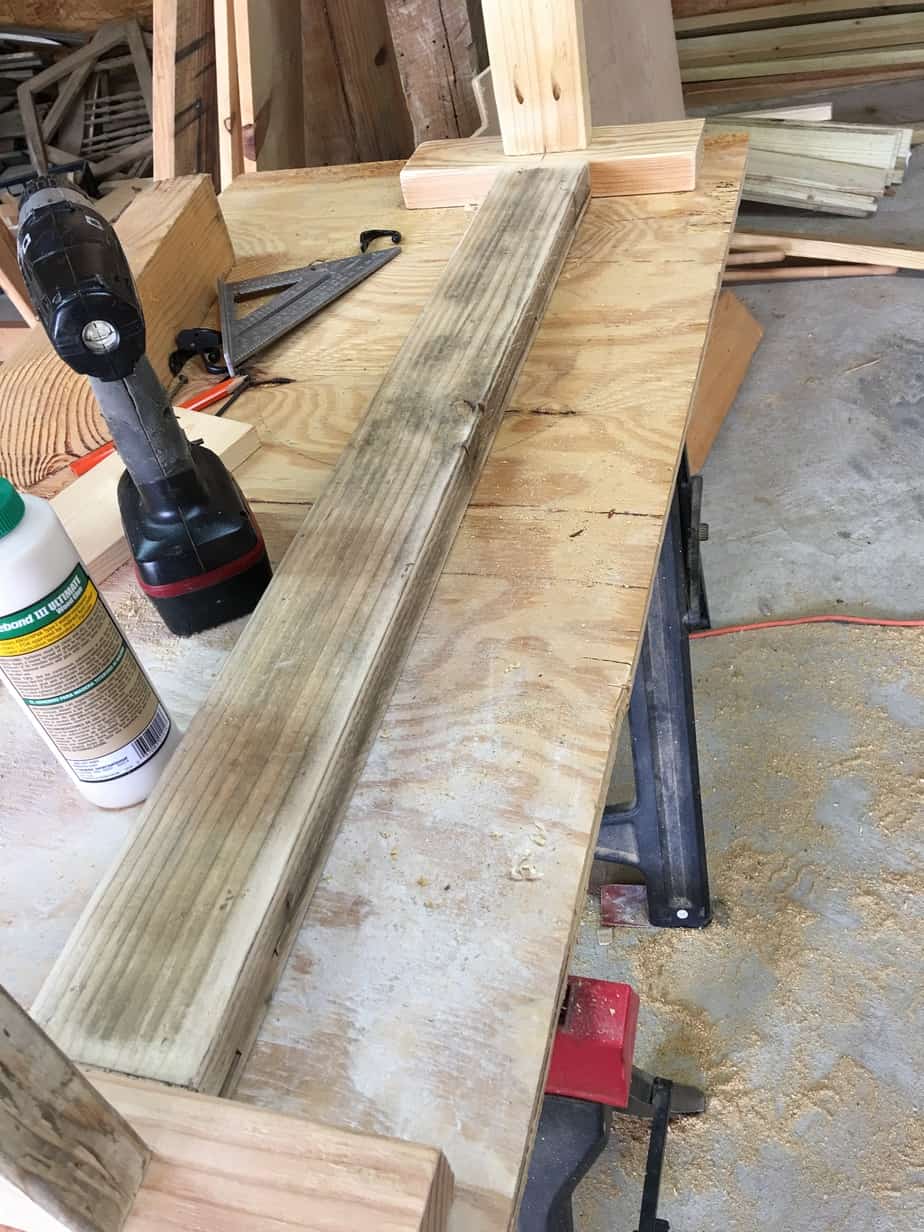
Now take that sliver and use it as a guide for how much to cut off the tops of both rails (as pictured below).
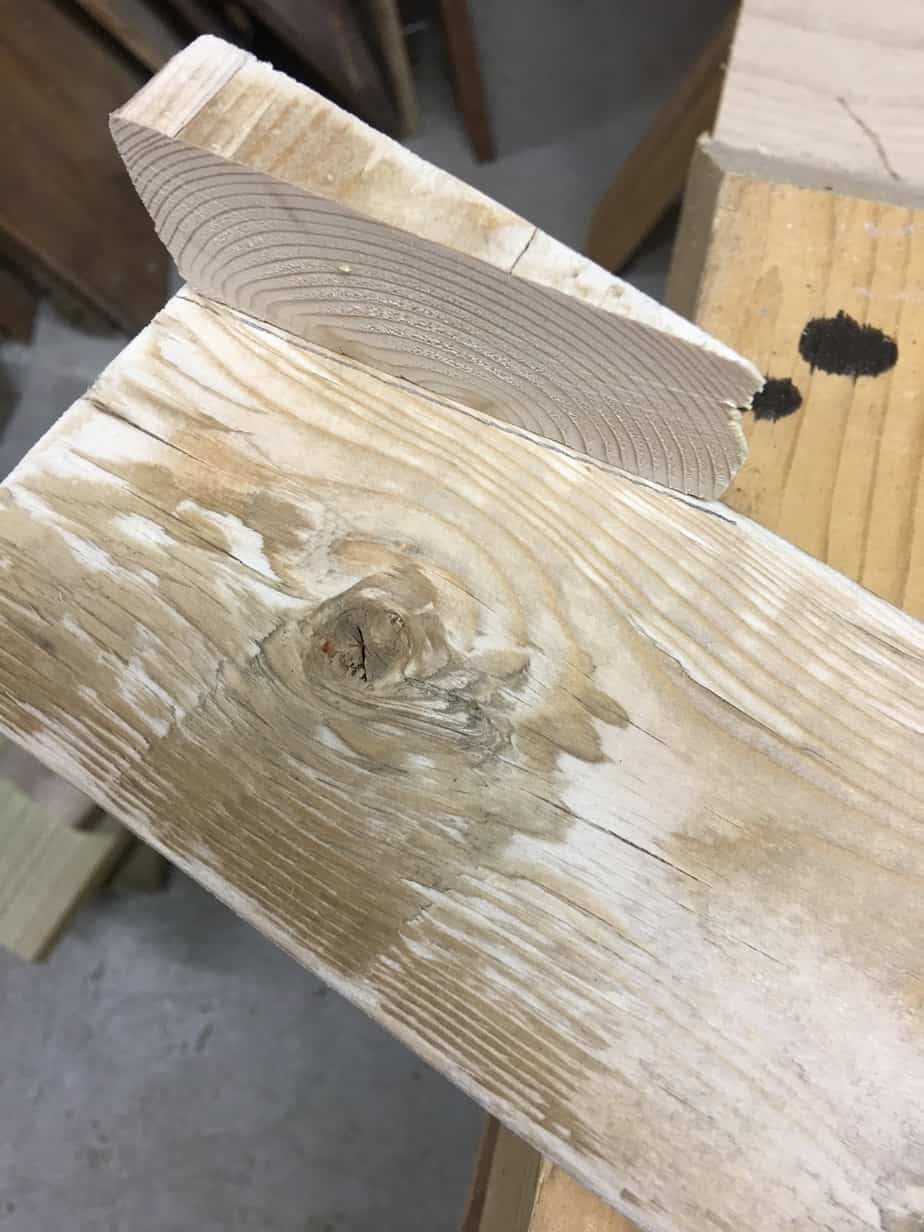
Make the cuts for the top of the rails. These angled cuts help your ladder sit more securely against the wall and it just looks better.
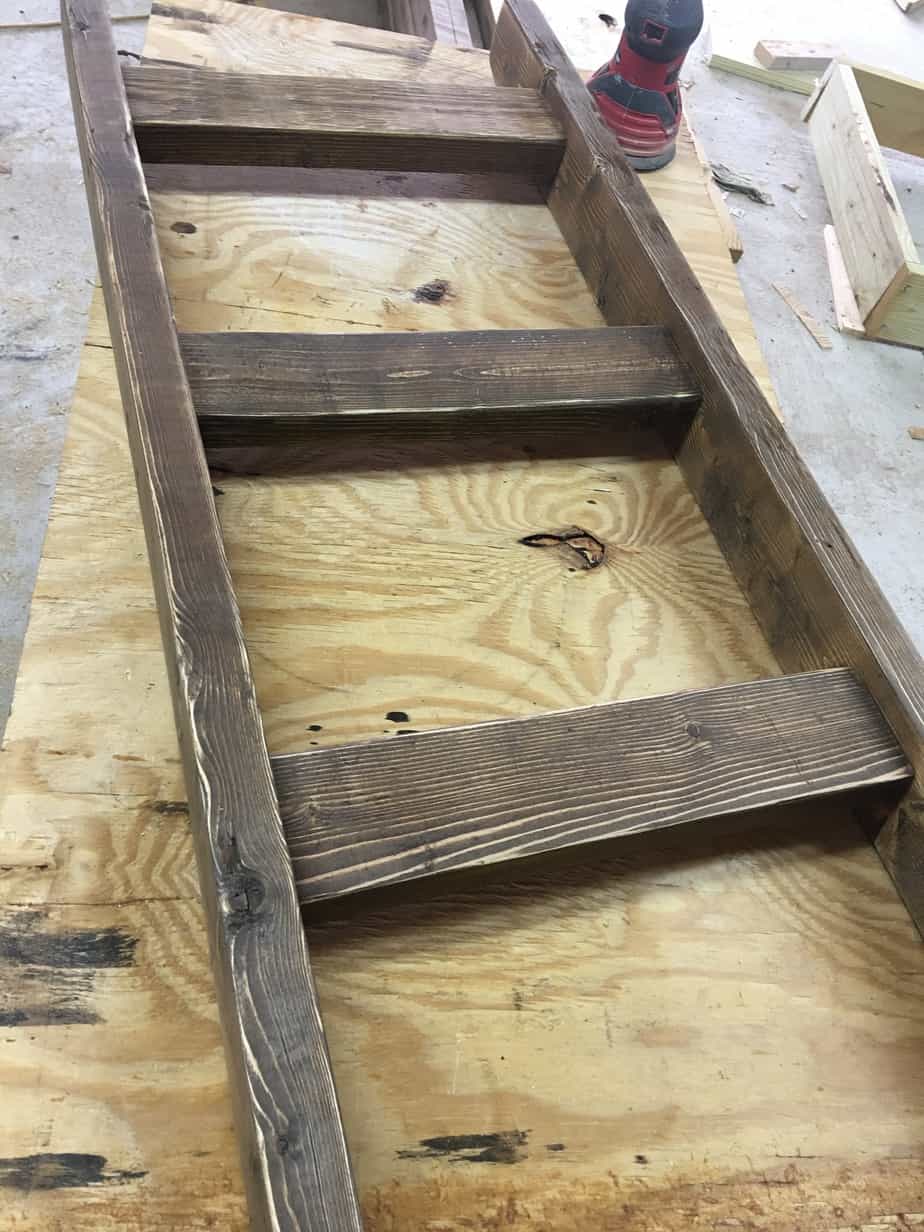
Step Two: Attach Ladder Rungs
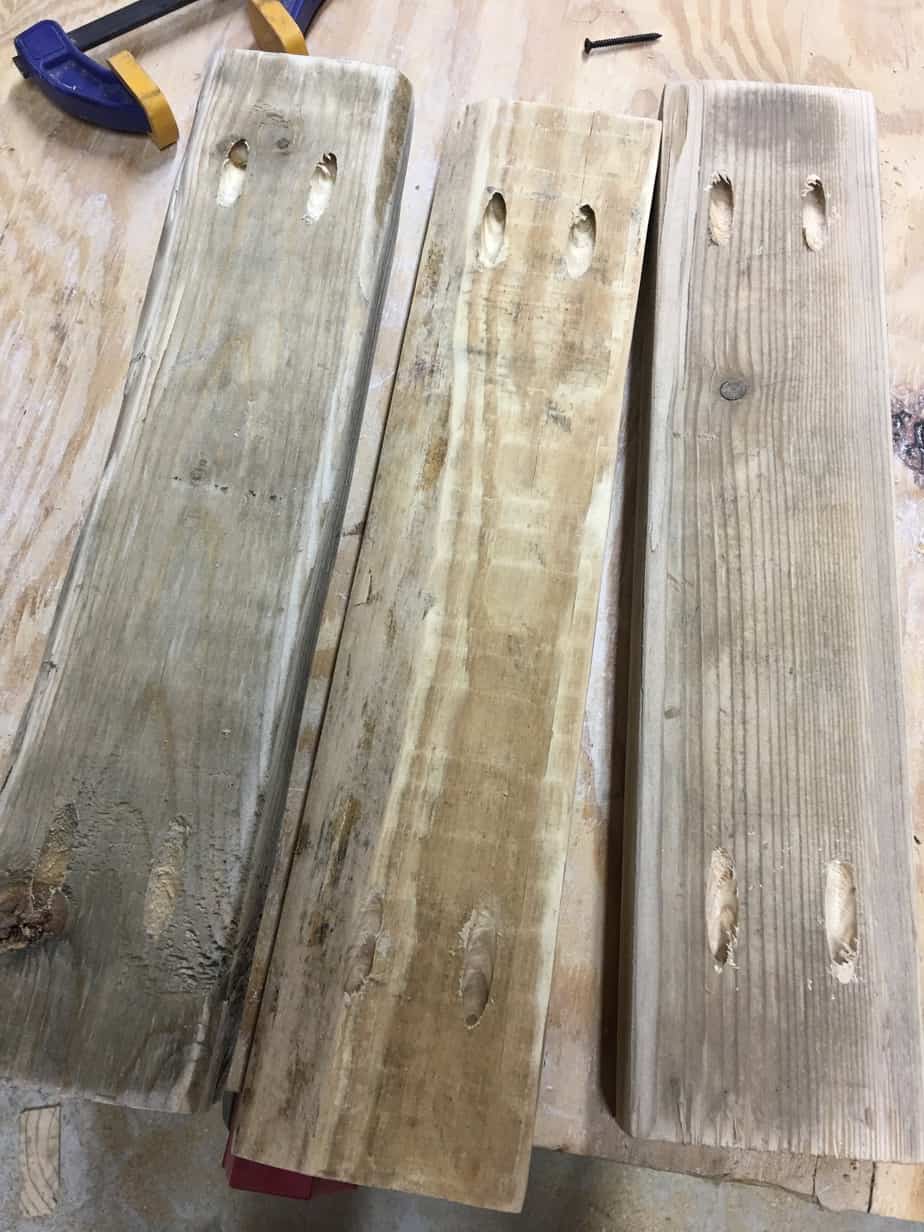
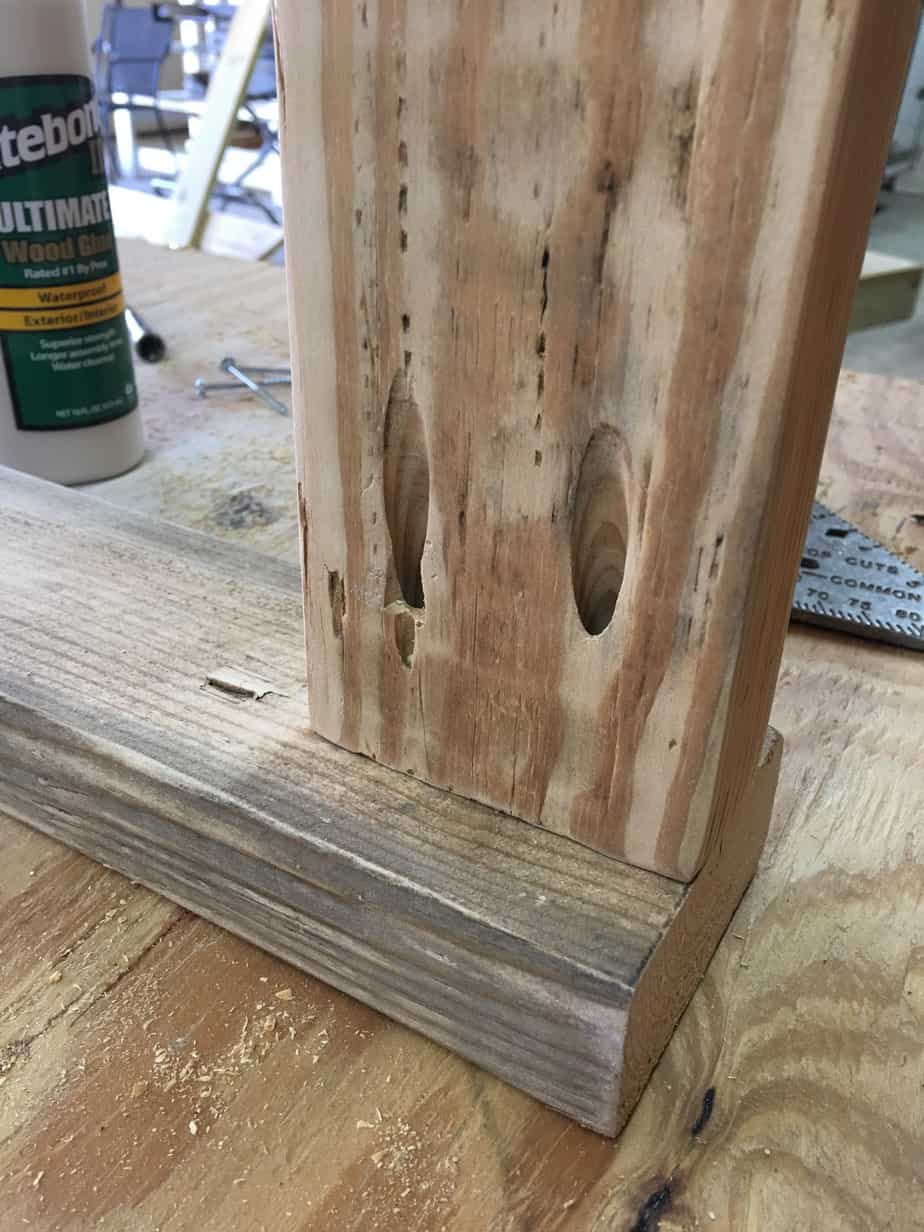
Adjust the Kreg Jig to the 1 1/2″ setting and drill pocket holes in each end of the three ladder rungs.
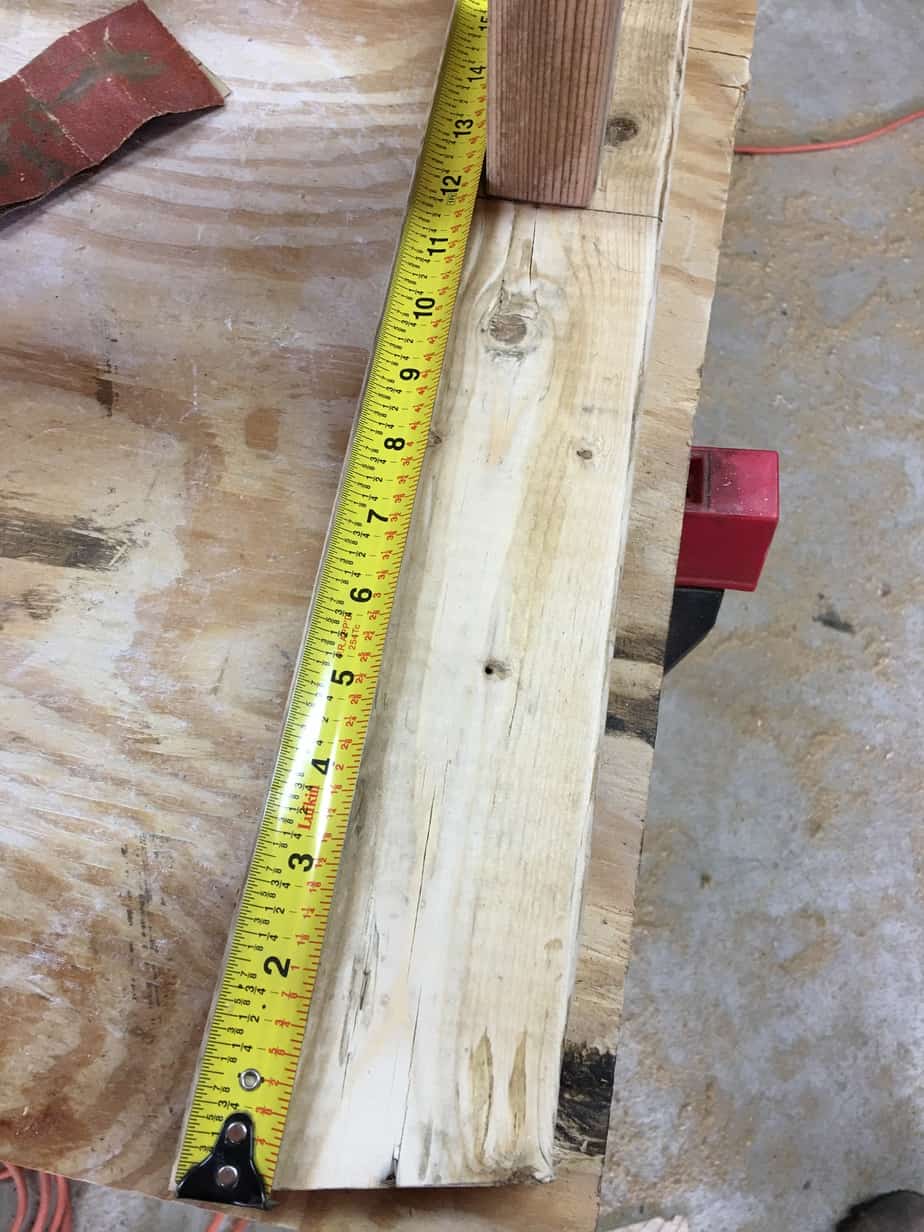
Measure 12″ from the bottom of the rail and mark. This is how far up the rungs will begin. Lay the ladder face down and put a piece of 1×4 scrap under each rung while attaching. This ensures all the rungs are placed evenly along the rails so you don’t end up with a crooked ladder that doesn’t sit evenly on the wall. I learned that the hard way. 😉
Use wood glue and 2 1/2″ pocket hole screws to attach the first rung.
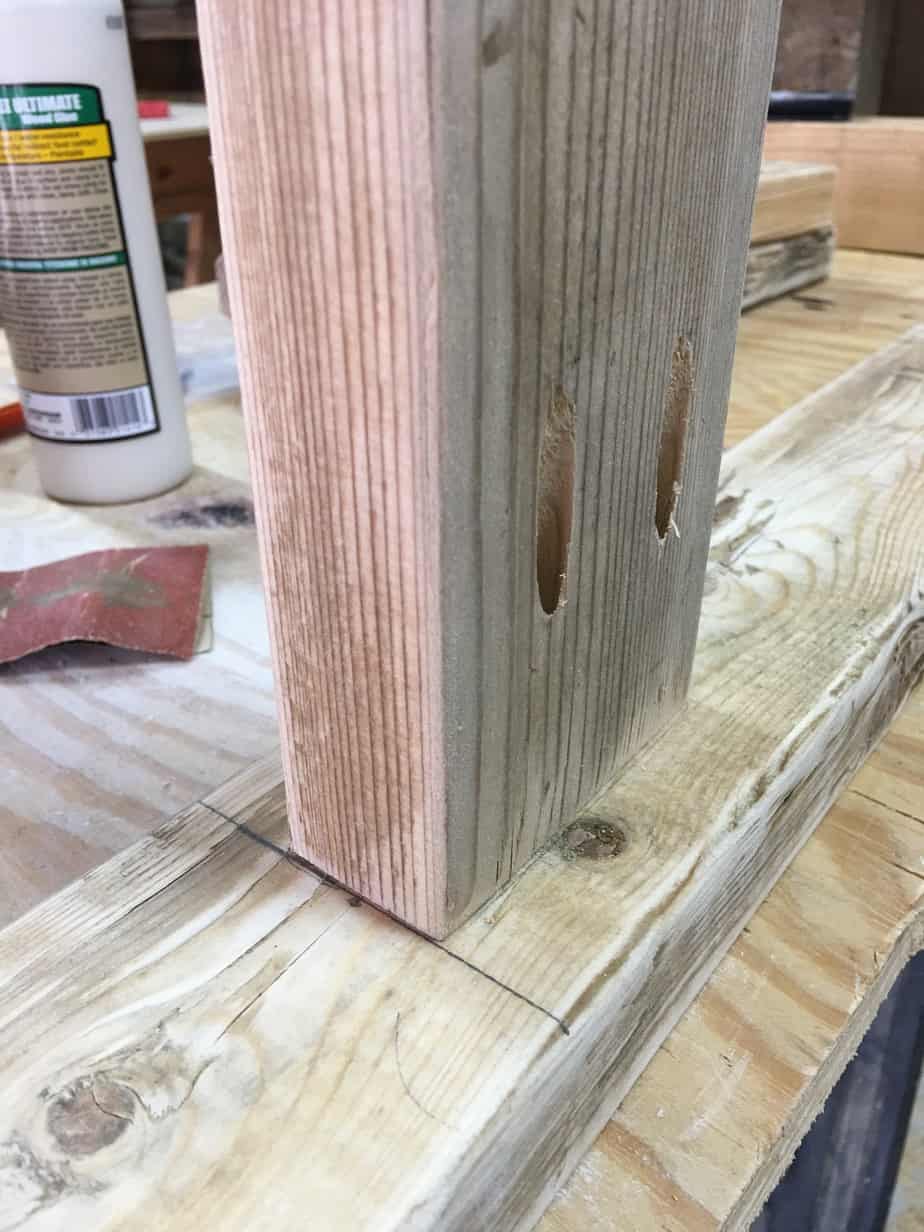
Measure 10″ up and mark for the next rung . Lay the ladder face down again and repeat step as above.
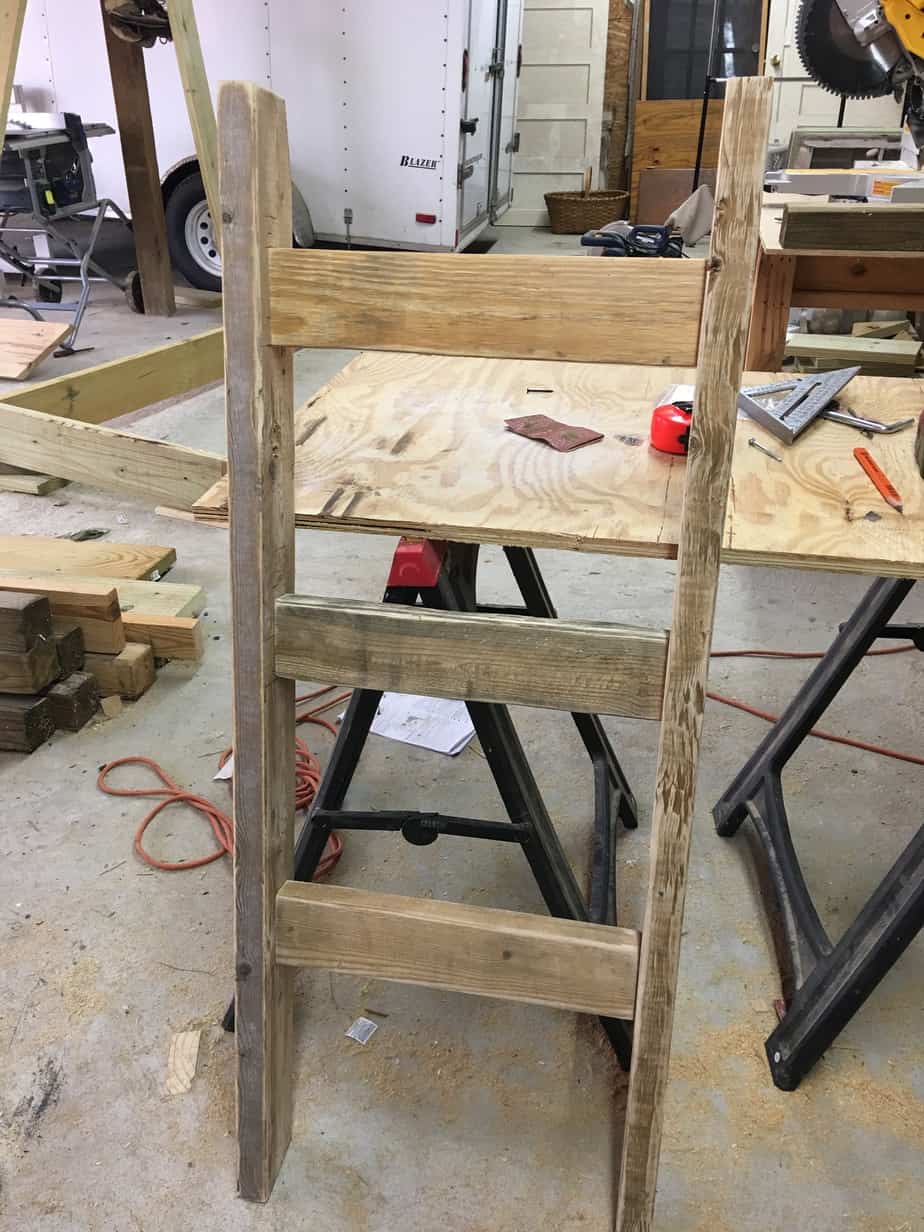
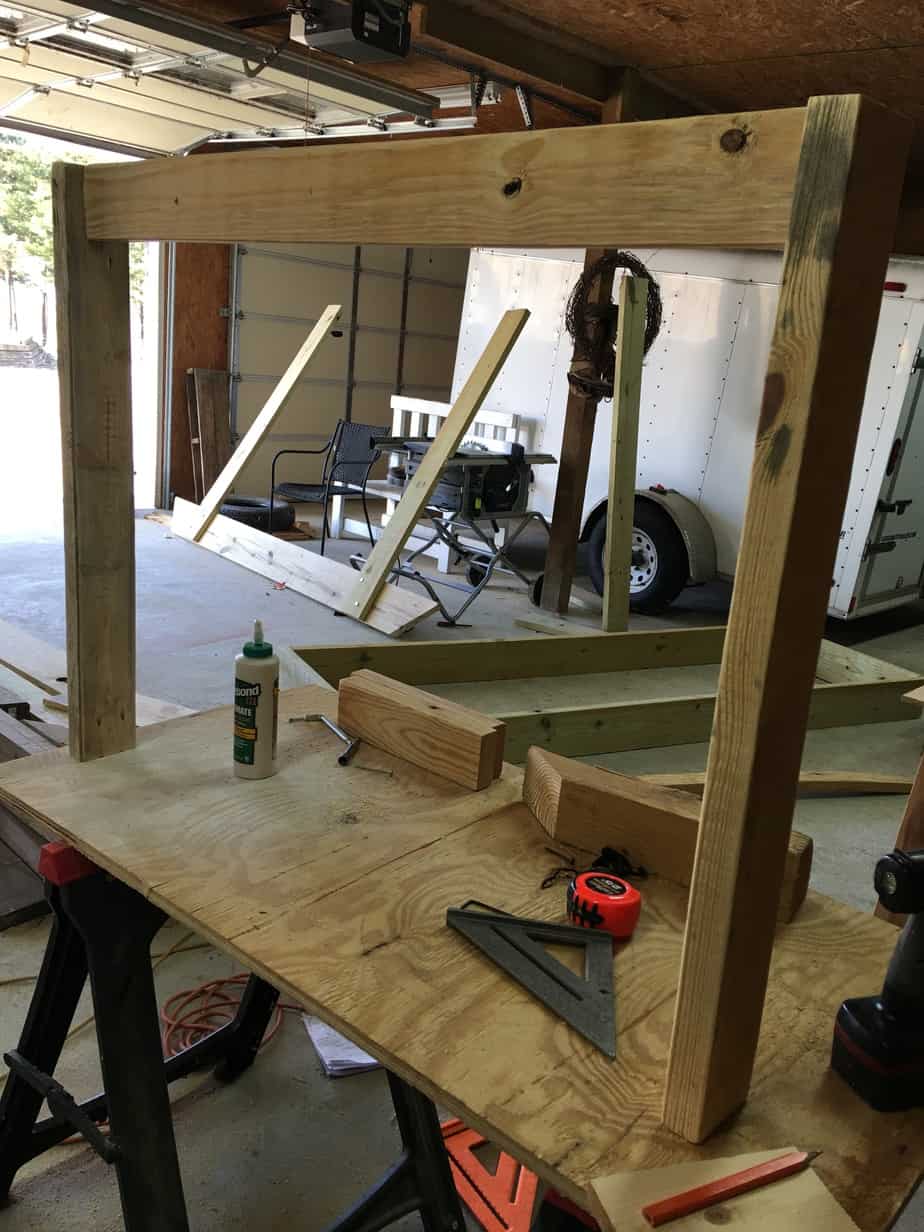
Mark another 10″ up from the last rung and repeat the same steps for attaching the top rung. After all three rungs are attached, grab the second rail and attach it the same way as the first rail.
The ladder is fully built! Sand the entire ladder using an orbital sander and 120-grit sandpaper to get it ready for stain. Be sure to round all sharp edges, especially where it will touch the wall. Also make sure all pencil marks are erased before staining.
Step Three: Stain and Distress
I used Early American by Minwax for the stain but you can use whatever stain you choose. It is usually my go-to stain as it matches almost everything!
Once the stain has had time to dry completely, use an orbital sander and 120-grit sandpaper to distress the entire ladder as little or as much as you want. Be sure to go around all edges.
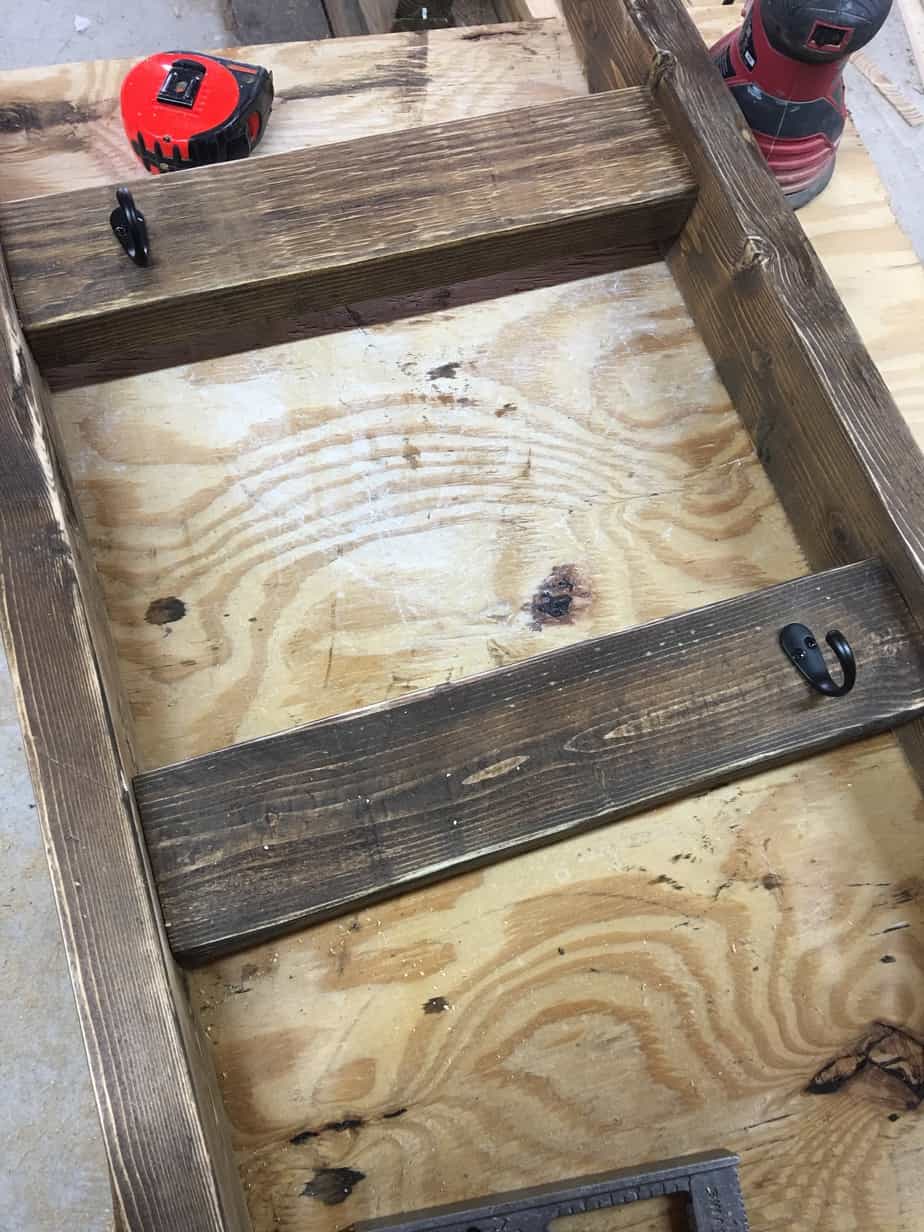
Step Four: Attach Hooks
Now it’s time to attach some hooks for the stockings. I purchased the black hooks from Amazon. They are a pack of five for about $7 and come with the screws, can’t beat that! Follow the manufacturer’s directions to attach. I only used two of the hooks but you could certainly attach more depending on how many stockings you want to display.
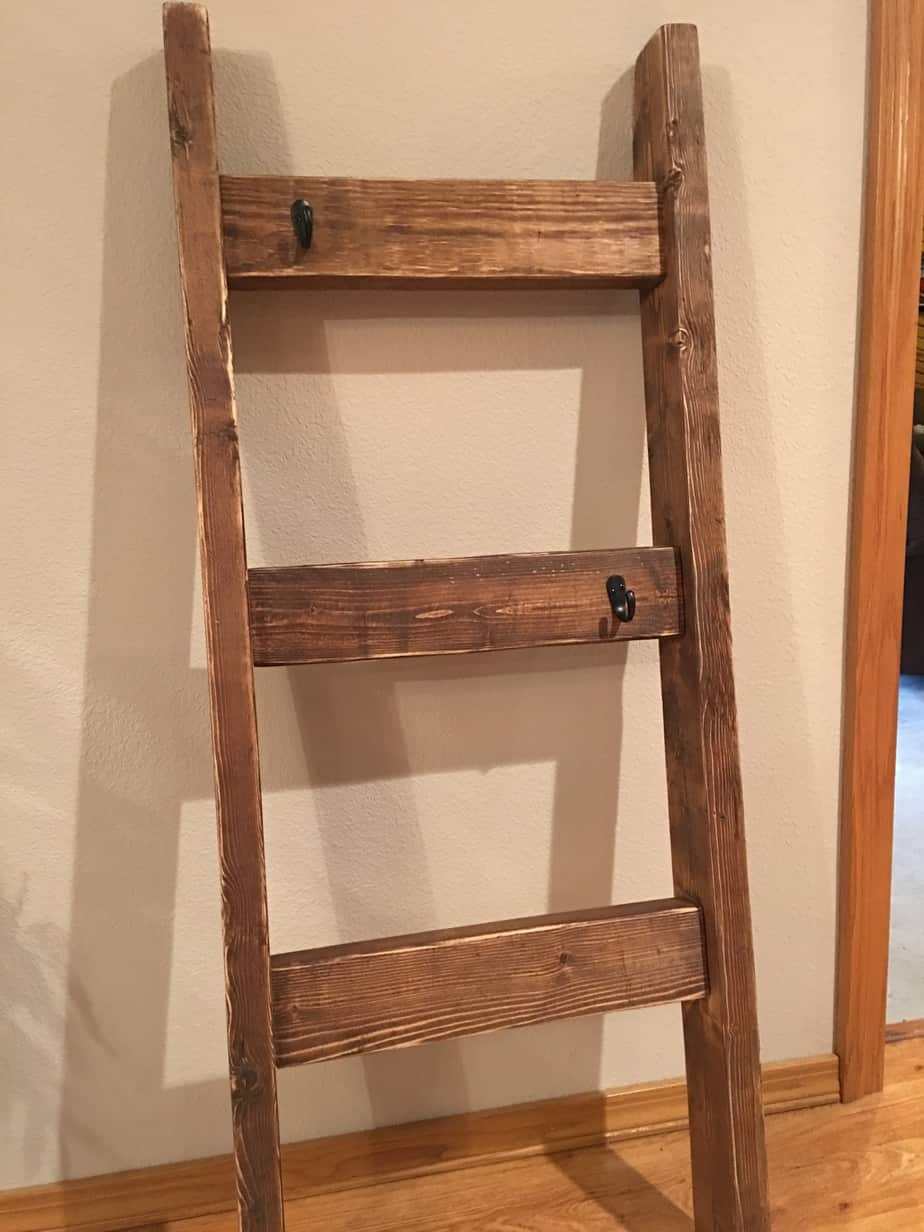
Here is the ladder totally finished! The stain looks so much darker under the fluorescent lights of the shop. Weird. This is the true color of the stain, a medium warm brown.
Bonus! Here is what your ladder can look like during the off-season! I love things that serve more than one purpose.
Option Two-Traditional Stocking Stand
Step One: Make Cuts and Drill Pocket Holes
Make all your cuts as specified in the cut list.
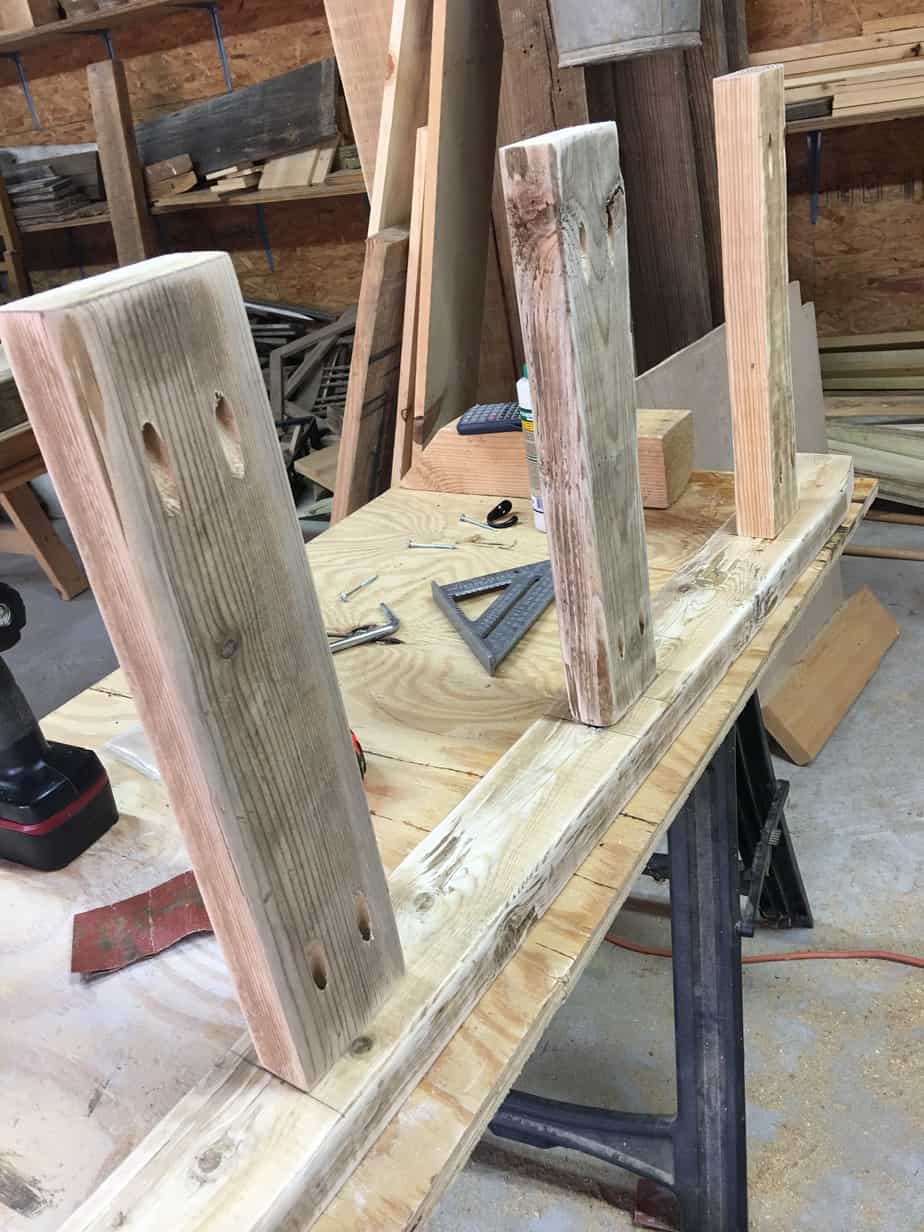
Adjust the Kreg Jig to the 1 1/2″ thickness setting and drill pocket holes on both ends of the 36″ and 38″ boards and on one end of each 31 1/2″ board.
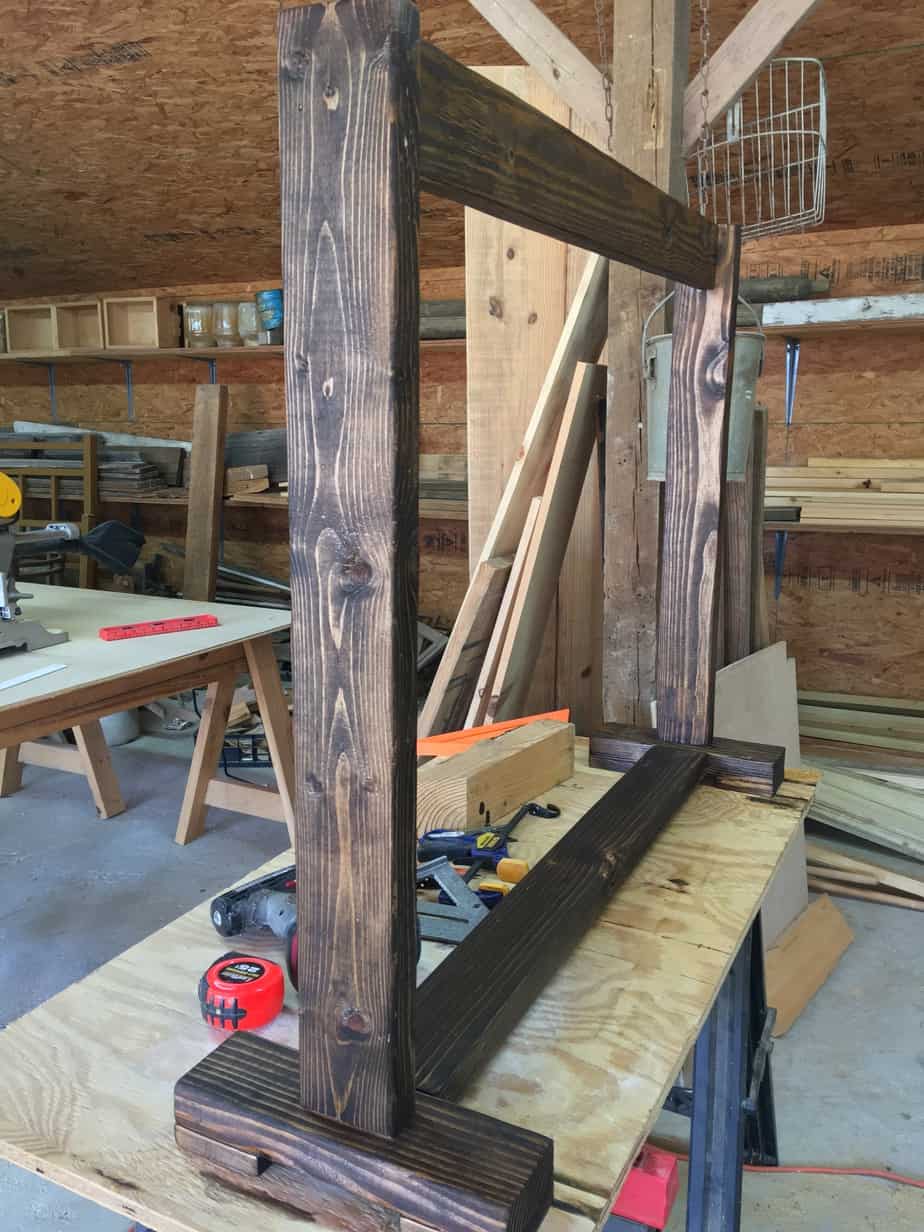
Step Two: Assemble Top Frame
Assemble the top frame by attaching the 38″ board to both 31 1/2″ boards on the ends without the pocket holes. Find the center of the board and mark. Attach the 38″ board with 2 1/2″ pocket hole screws and wood glue.
This is what the top frame will look like once it is finished. Now, let’s build the base.
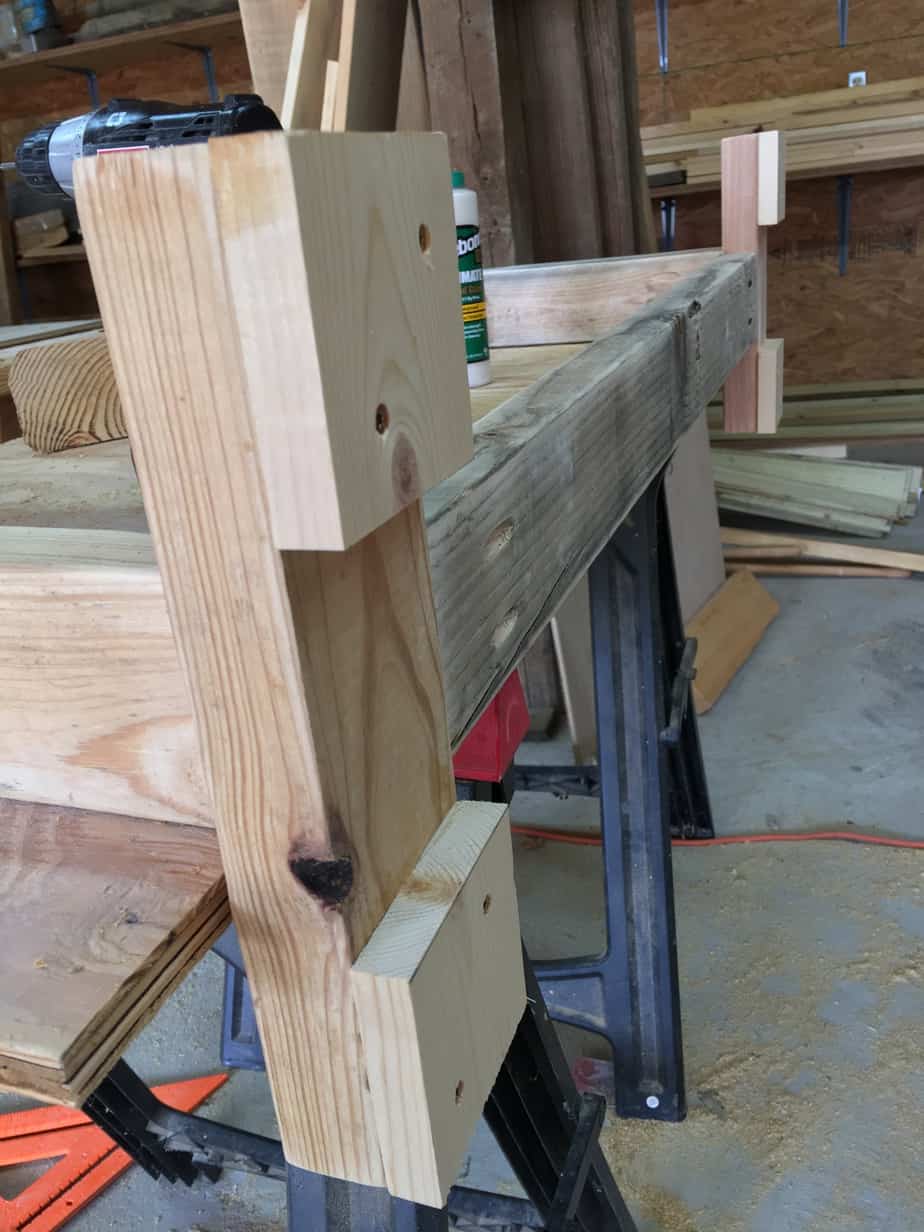
Step Three: Build Base and Attach Top Frame
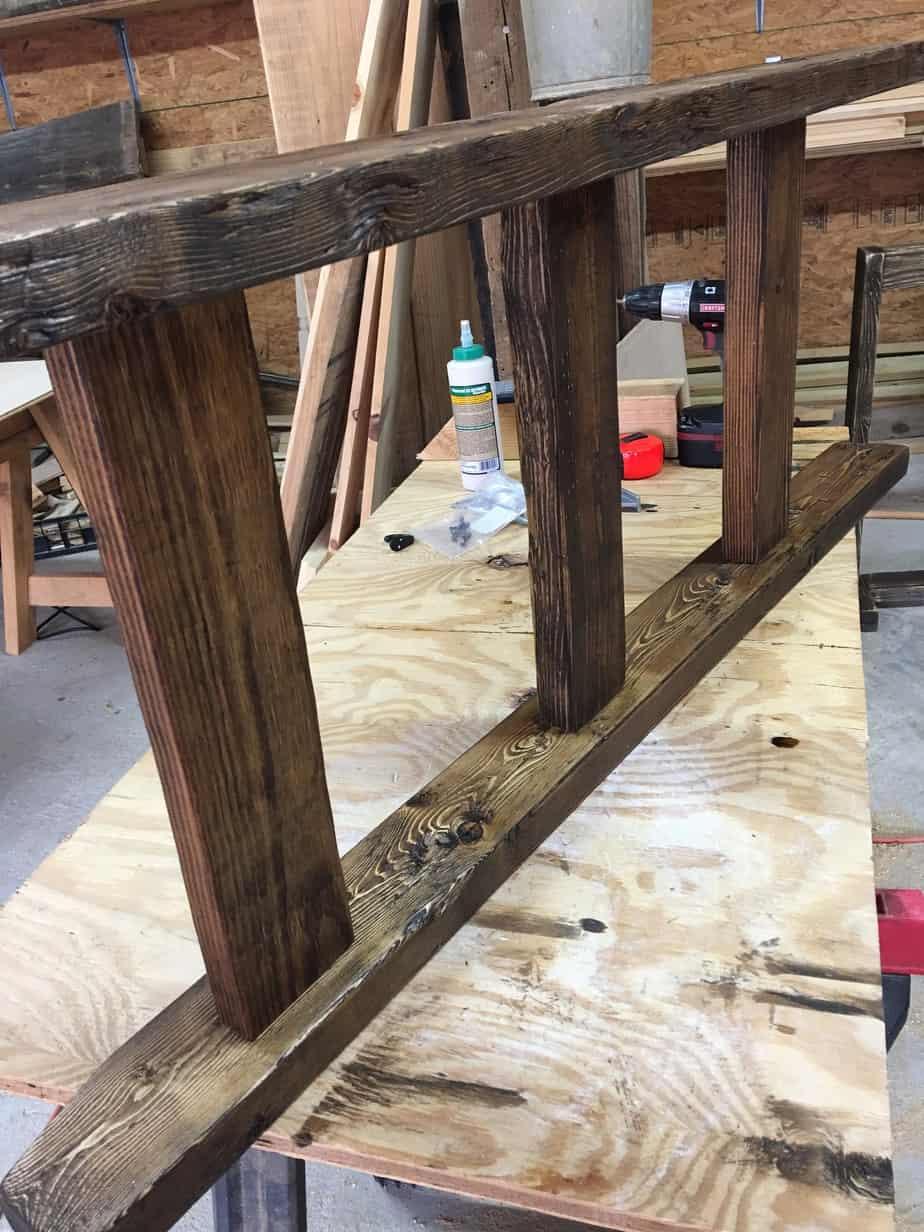
To build the base, attach the 36″ board to both 12″ boards using the same method as above. Now that the base is built, mark the center of the 12″ boards and attach the top frame to the base.
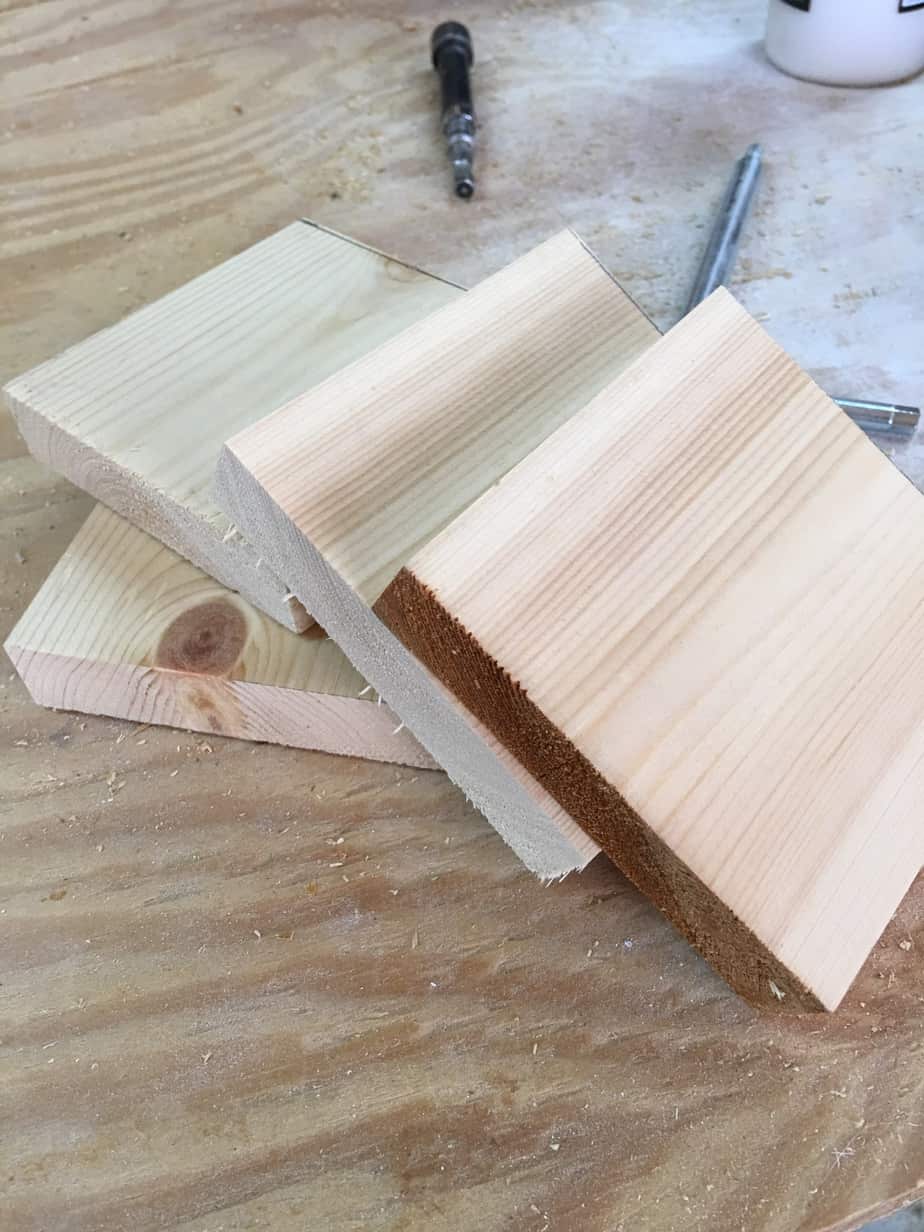
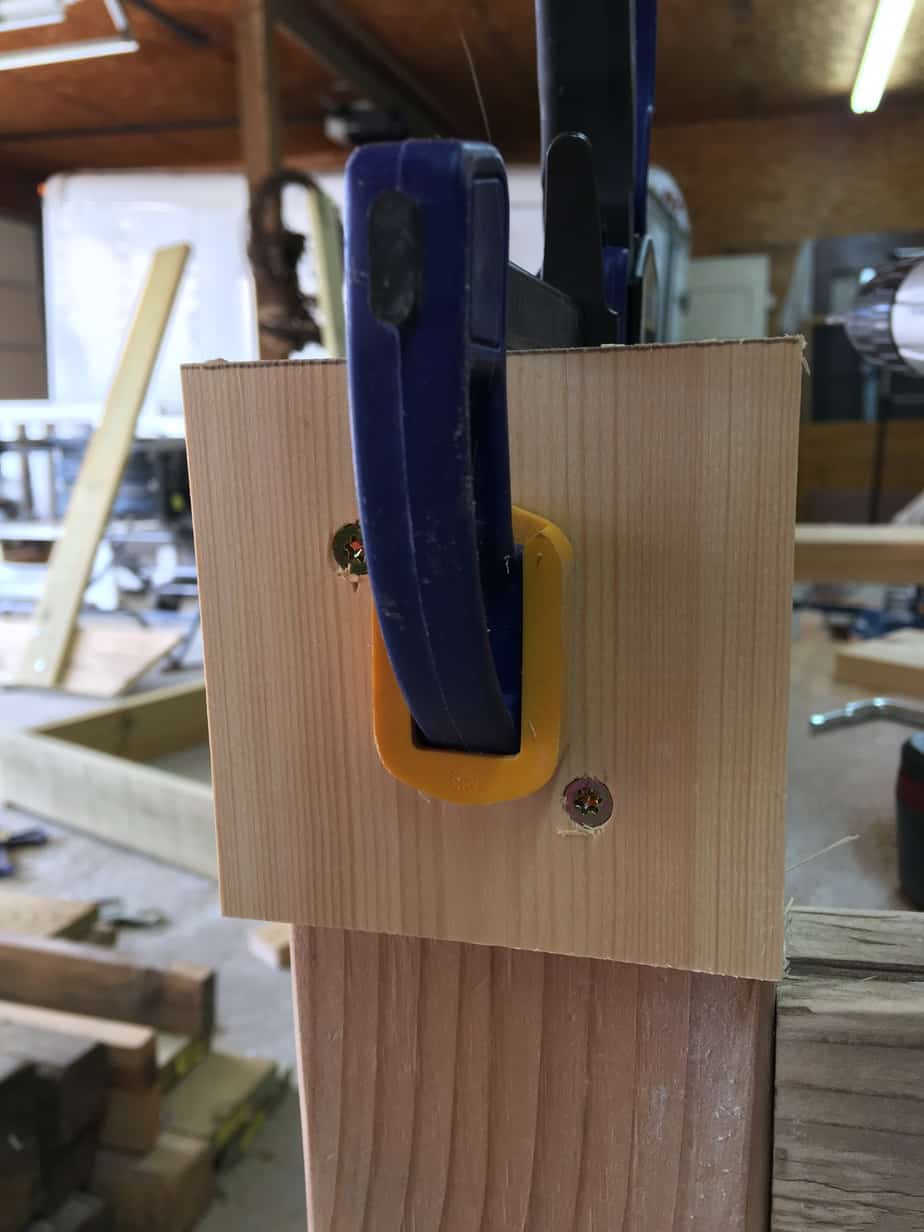
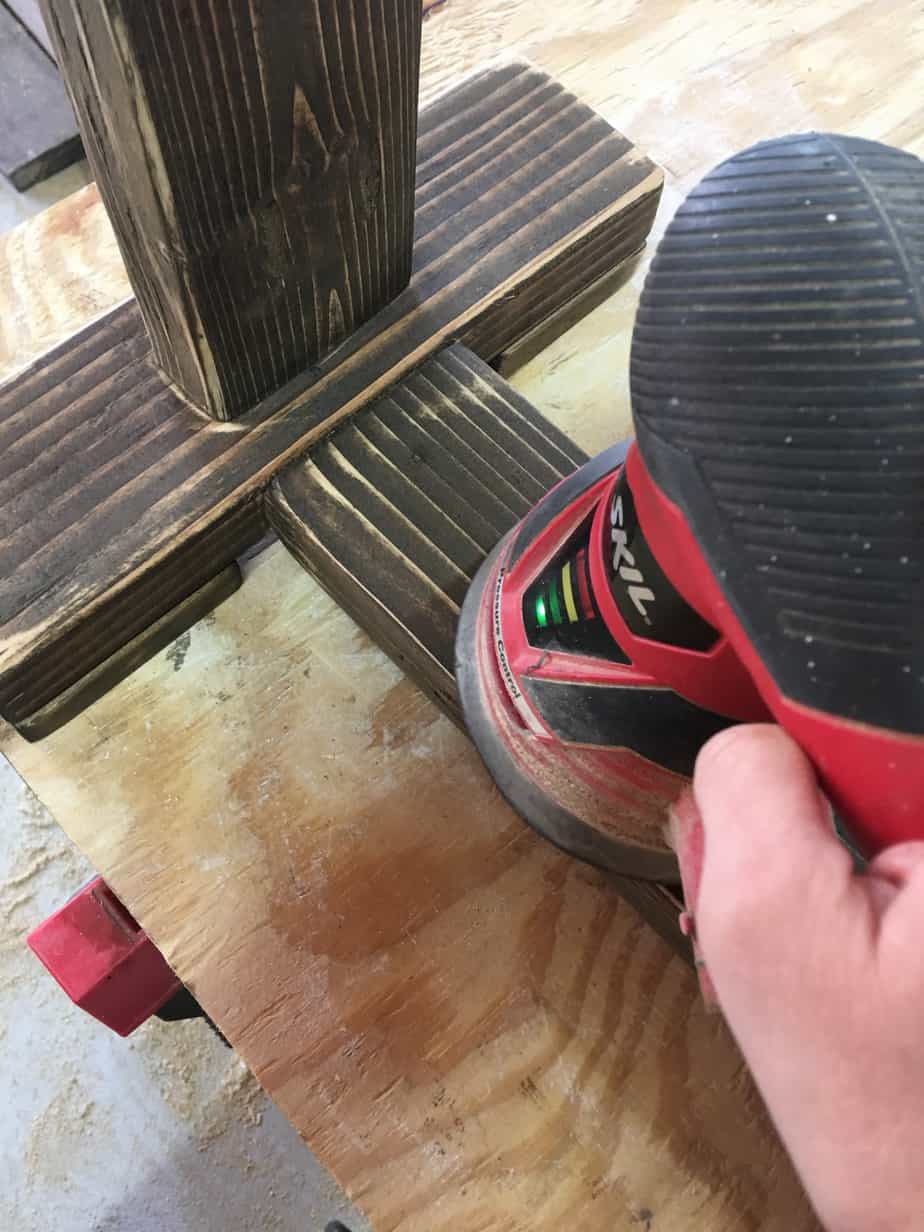
Step Four: Attach Feet
Grab the four 1×4 boards that were cut previously and attach one to each end of the 12″ 2x4s using wood glue and 1 3/4″ wood screws.
Step Five: Stain and Distress
Prior to staining, fill in any visible pocket holes with stainable wood filler and let dry. Sand the entire stand with an orbital sander using 120-grit sandpaper.
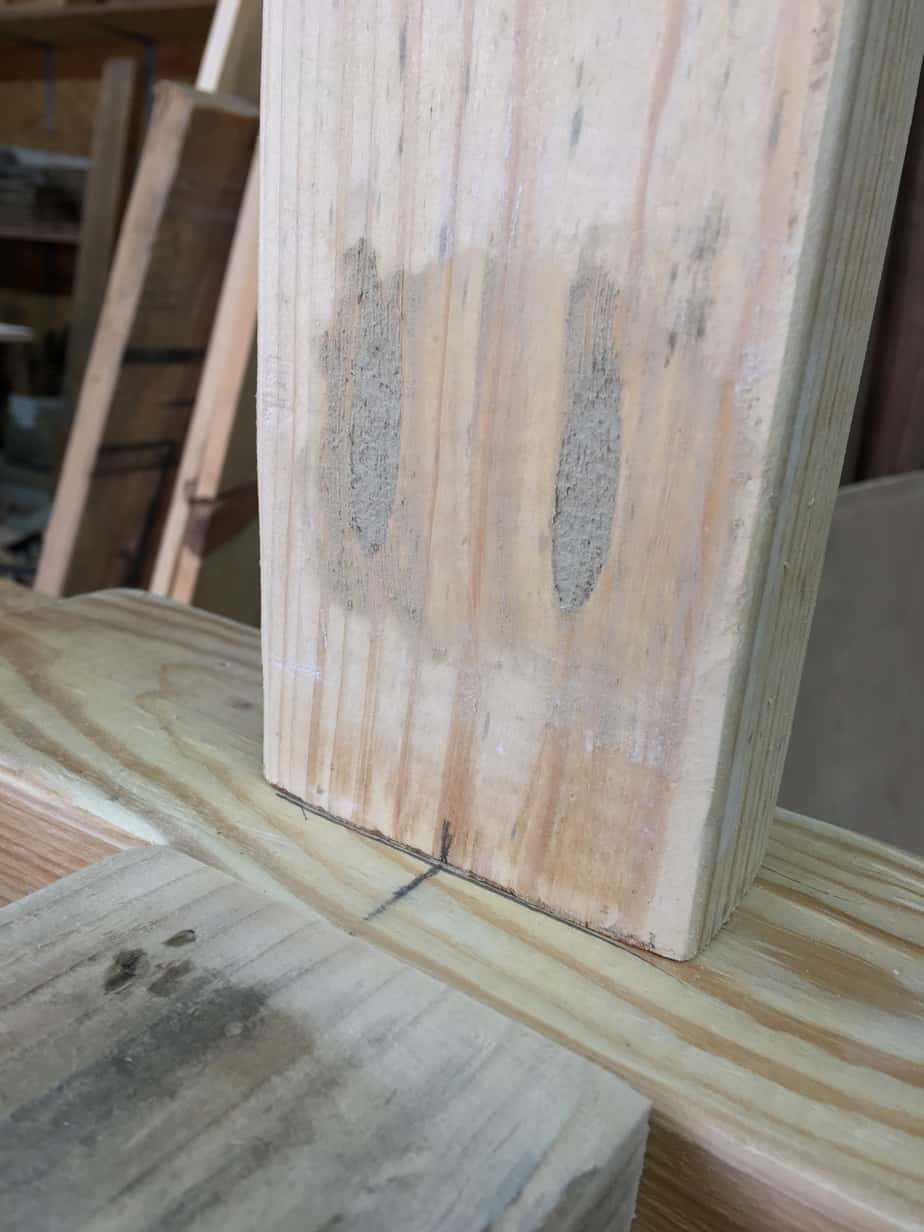
Some of the boards had some dark discolorations so I opted for a darker stain to hide this. This time I used Minwax Dark Walnut.
Allow stain to dry fully then come back and distress, again with 120-grit sandpaper, until you get the desired look.
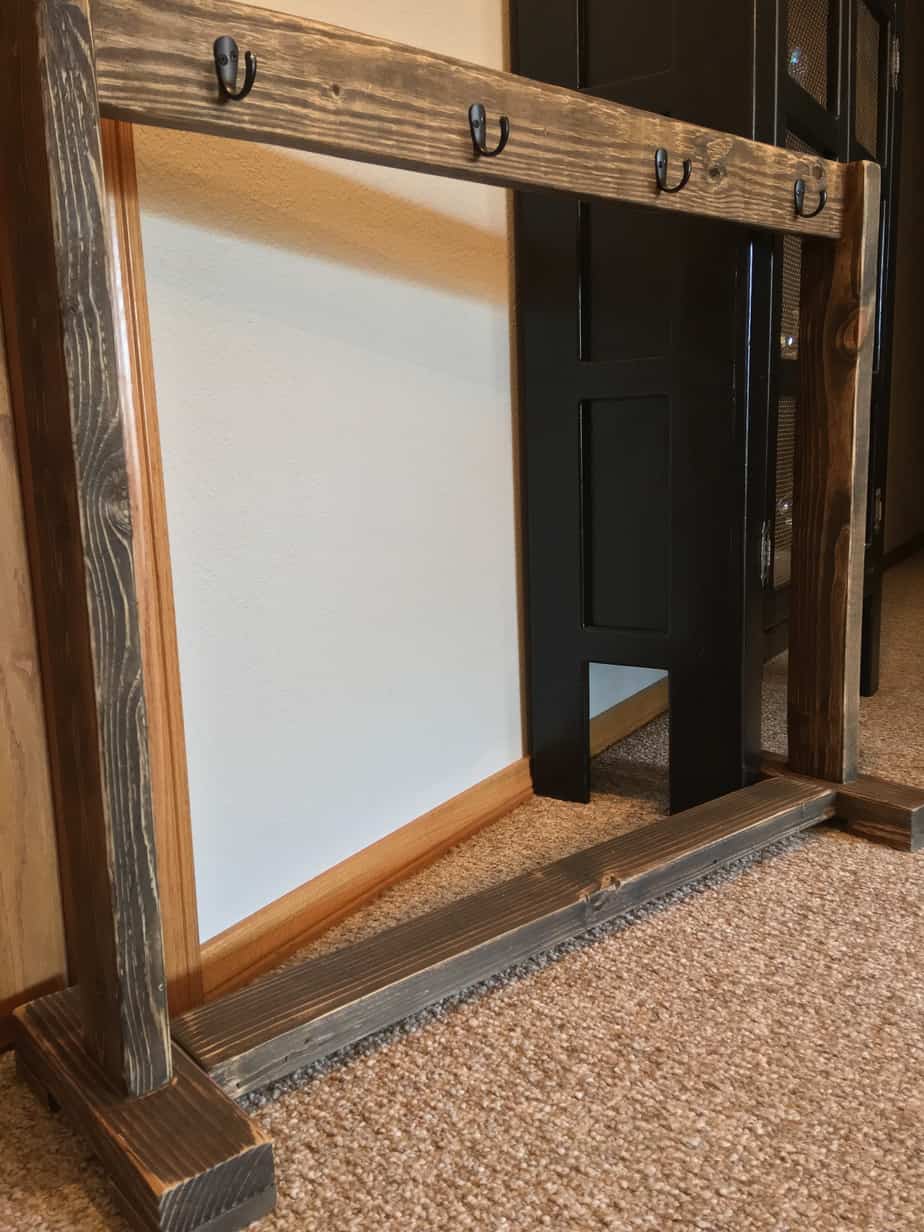
Step Six: Attach Hooks
This is the last step! I used the same hooks as I did on the ladder. The hook spacing will depend on how many you want to use. I went with four but there is plenty room for more. Measure 4″ in from each side and mark. Again, follow the manufacturer’s directions to attach the two outside hooks. Measure 10″ in from each of the outside hooks and mark for the placement of the two inside hooks then attach.

Now this stand is complete! Both of these projects were quick and easy and would even make great gifts! They are sturdy and will last for many Christmases.
On a more personal note, I’d like to wish all my blog readers a very Merry Christmas! I hope you all have a blessed holiday season filled with laughter and amazing new memories. I’ll be back in 2020 with more budget-friendly projects that I can’t wait to share!


No Comments