
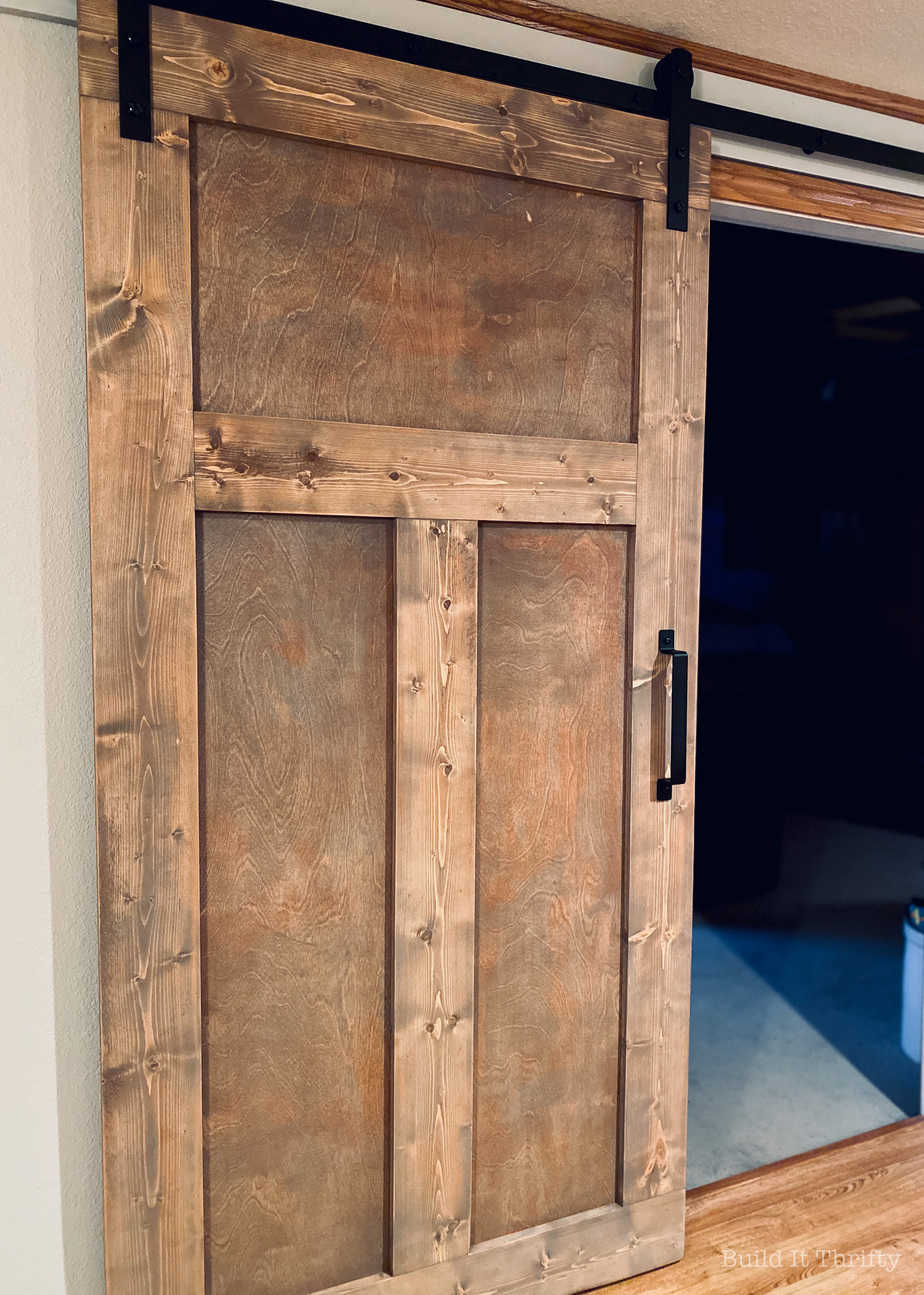
It seems like sliding barn doors are all the rage lately. They are everywhere! Just a quick search on Pinterest for “sliding barn door” and it’s obvious how popular they are right now. The great thing about them is that they add so much character to a home and are relatively easy and inexpensive to build. After realizing that I was in need of one myself, I decided to jump on the barn door bandwagon. Say that five times fast. The problem is that there are so many different styles to choose from! I knew I wanted something simple and eventually decided on a Craftsman style door because of its clean lines. If you were to buy a preassembled door, it could cost you twice as much and that’s not including the price of the hardware. The total cost of the lumber including the hardware for this door is just a little over $100 which is a steal! Having never built any kind of door before, I thought I’d share how my simple sliding barn door project went with you guys. So let’s get into the steps so you can create your own!
Materials:
This post contains affiliate links. For more information see the policies page.
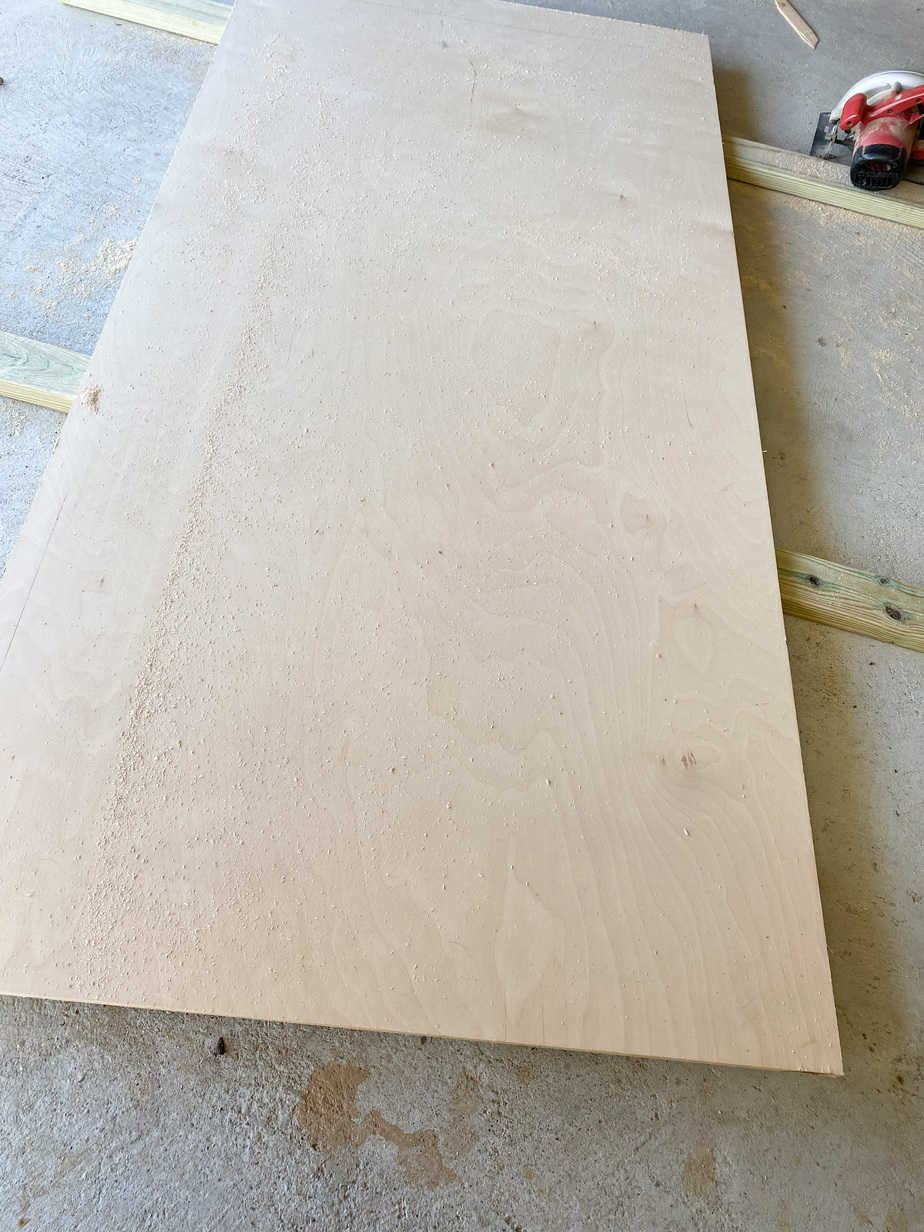
- One 4′ x 8′ sheet of 3/4″ plywood
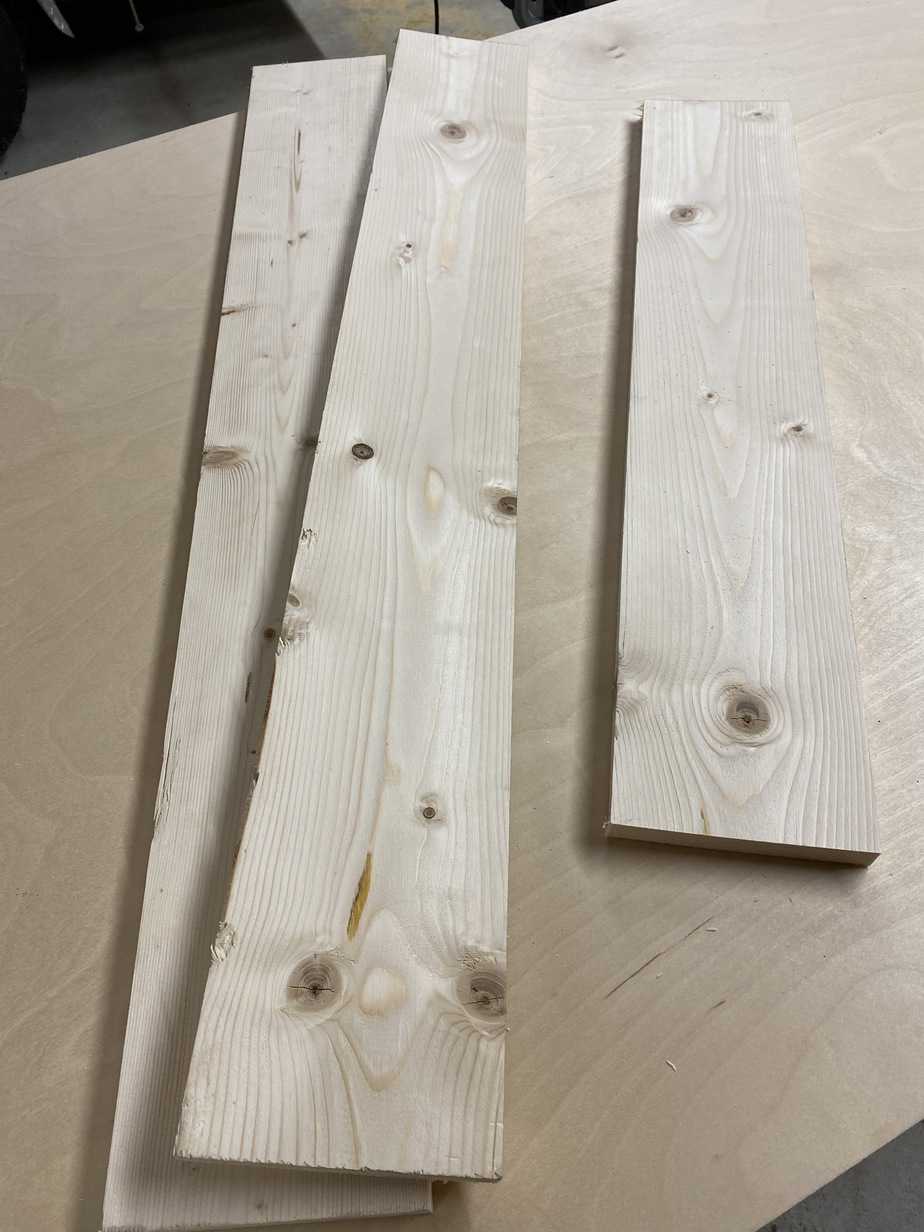
- 3-1×6@6′
- 1-1×6@8′
- *1-1×6@8′ (if using a header board to hang track)*
- Wood glue
- 1″ brad nails
- Stainable wood filler
- 3″ wood screws
- Sliding Barn Door Hardware Kit
- Sliding Barn Door Pull Handle
Tools:
- Skilsaw or table saw to rip plywood (if not having ripped at the store)
- Miter saw
- Brad nailer
- Clamps
- Drill
- Stud finder
- Sander
Cut List:
- 2-1×6@70 3/4″
- 2-1×6@40 1/2″
- 1-1×6@29 1/2″
- 1-1×6@49 1/4″
- *1-1×6@80″ (header board)*
Step One: Building the Door
Measure the doorway to determine the size of the door. If there is trim around the door be sure to include that in the measurement so the door will cover the opening as well as the trim. If you don’t have trim, you will want to adjust measurements accordingly. Also, be sure to refer to the hardware installation guide when determining the length to allow enough room for the track and floor clearance.
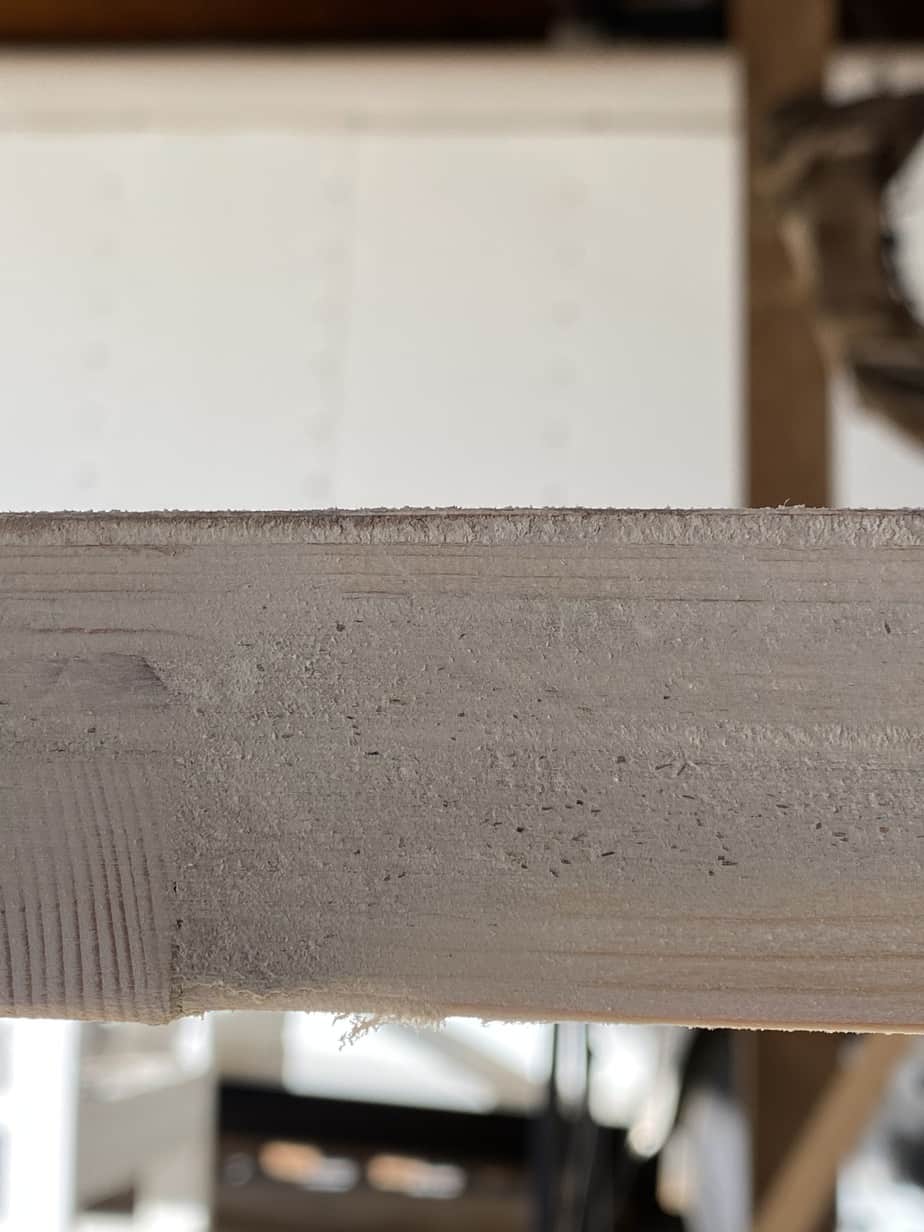
If not ripped at the store, rip the plywood down to the previous measurements. My door measured 40 1/2″ wide and 81 3/4″ long. A basic sheet of plywood just doesn’t look great to me so I went for a little bit of a better grade because the door was going to be stained. I think this panel was birch and cost around $30.00-35.00. This did make the project a little more expensive. If your door will be painted you could save money with a cheaper option.
Cut all the 1×6 pieces for the trim using a miter saw.
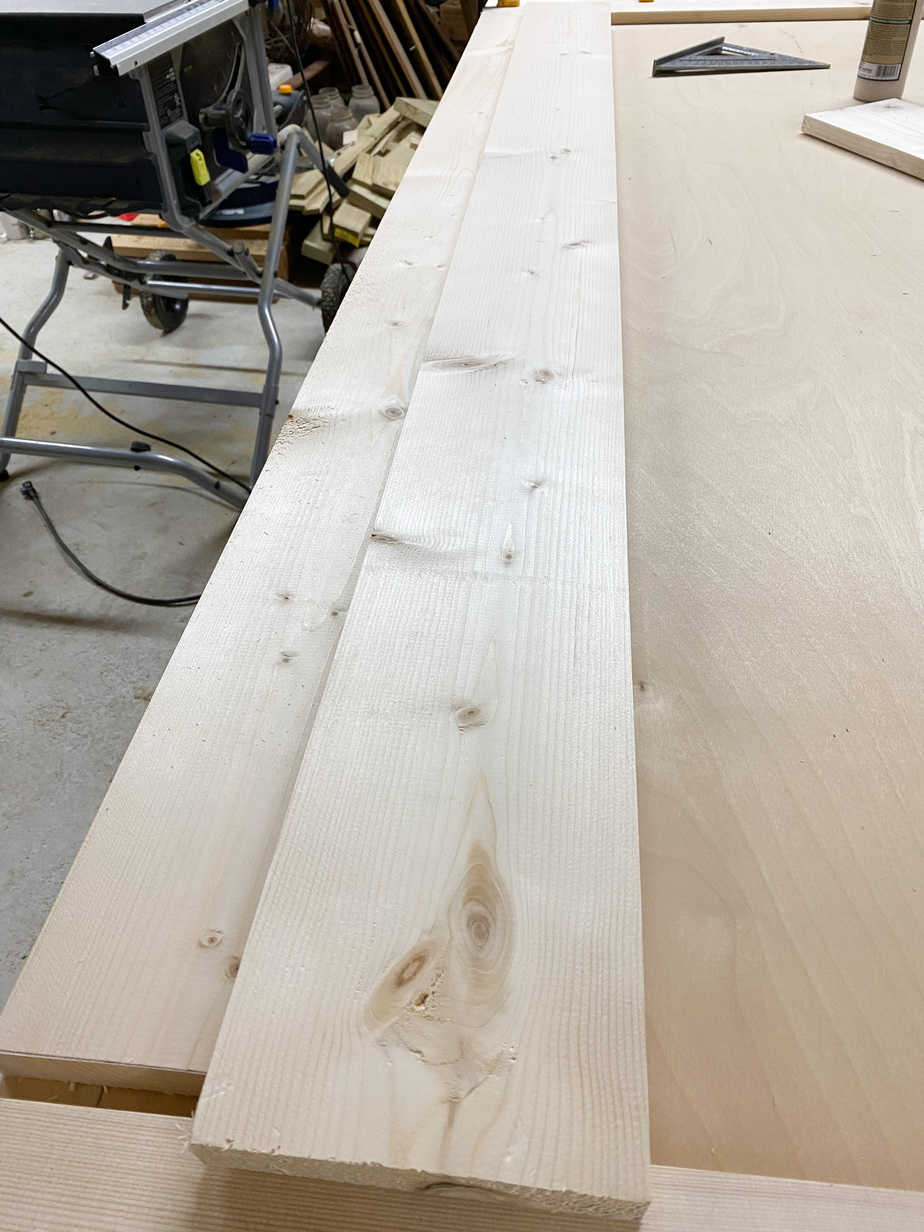
Now that all the cuts are made, begin applying wood glue to the trim and clamp in place while the glue dries.
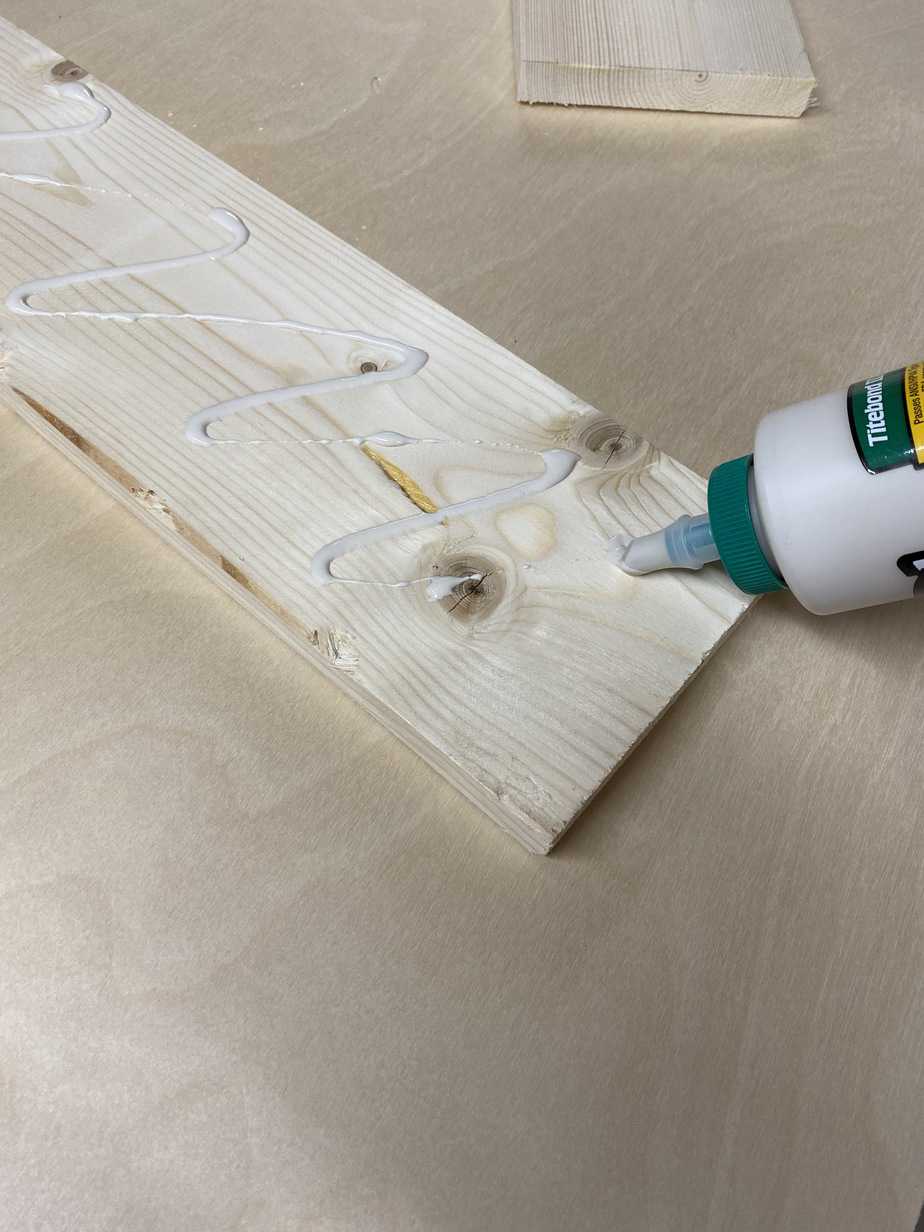
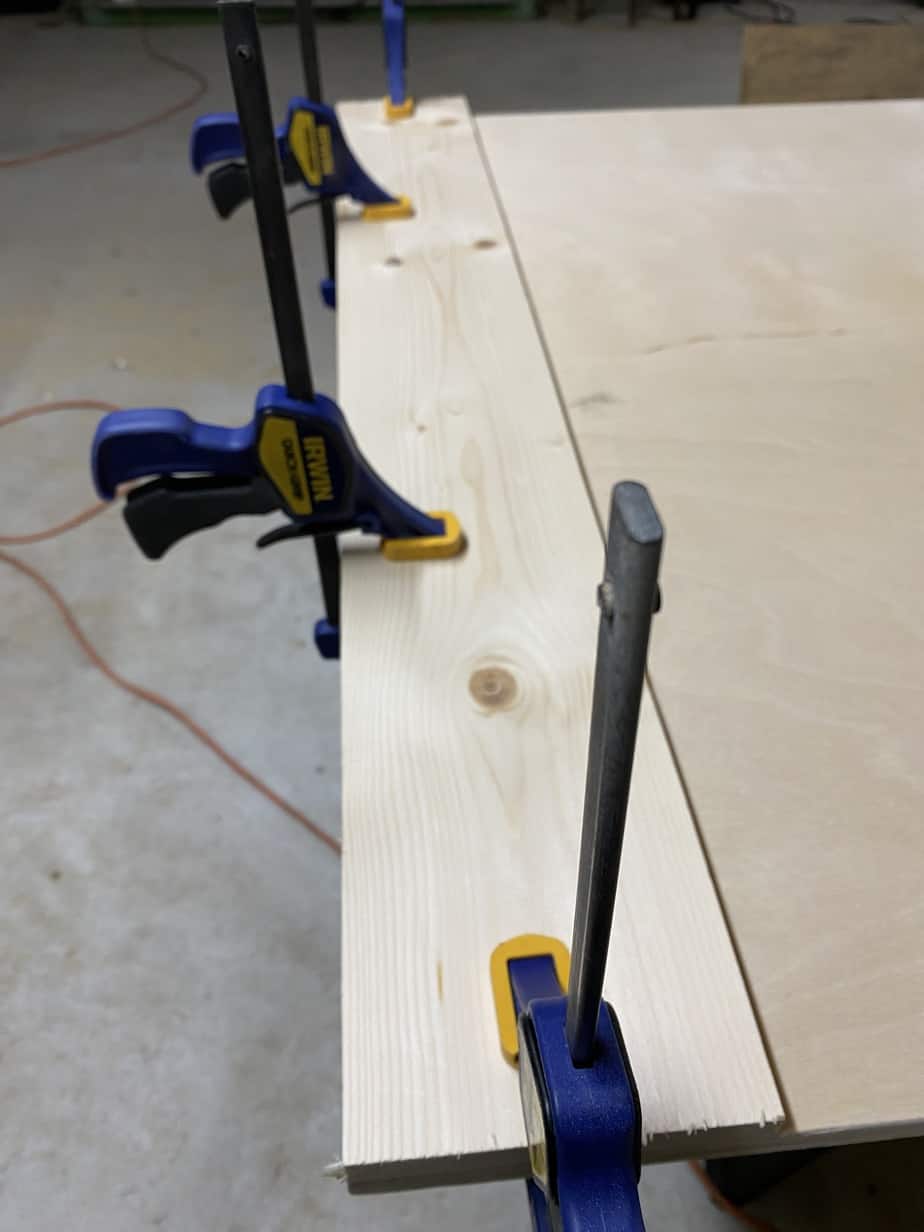
Repeat this process and continue gluing and clamping around the entire door until all of the outside trim pieces are in place.
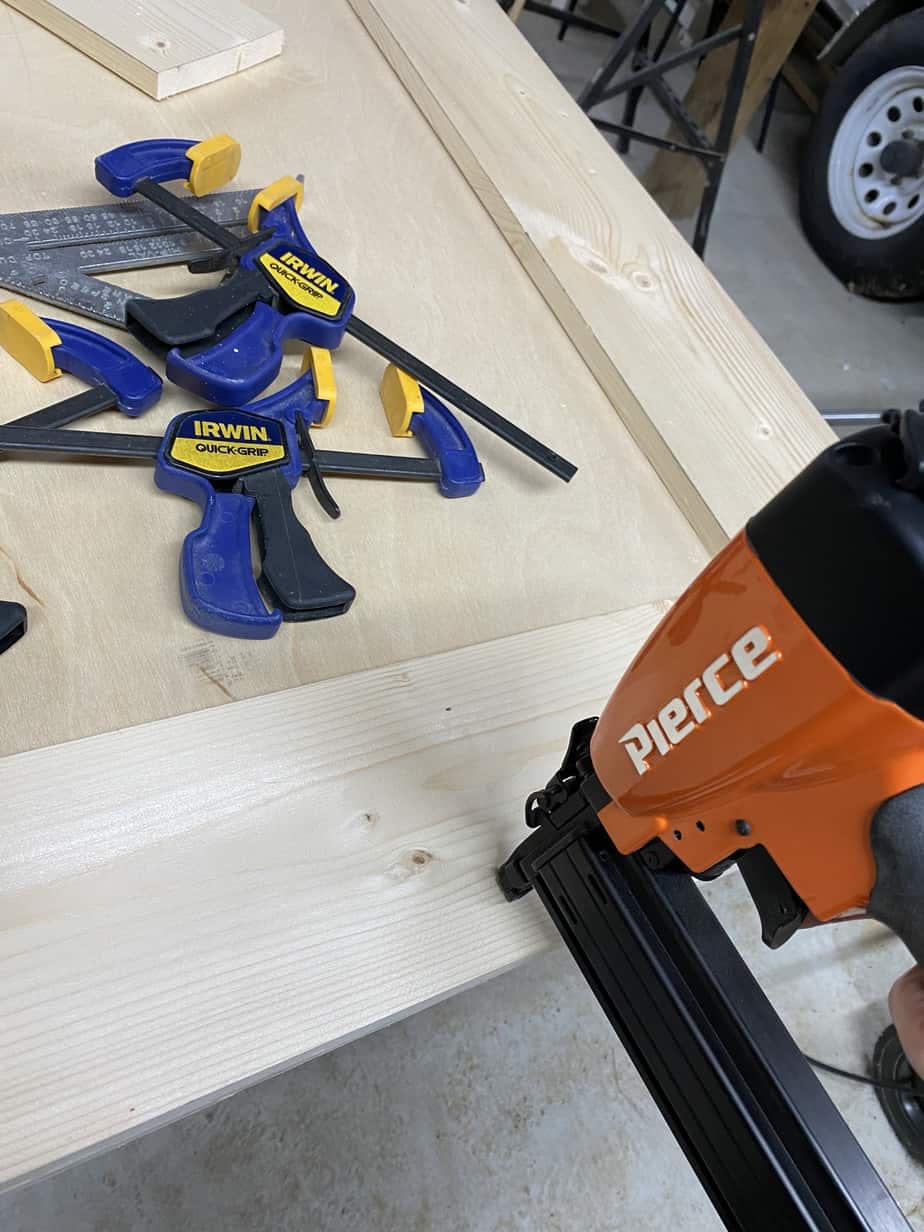
After all the wood glue has had adequate time to dry, secure all the trim pieces with 1″ brad nails. I attached a brad nail at the top and bottom of the trim about every 6″ along each board.
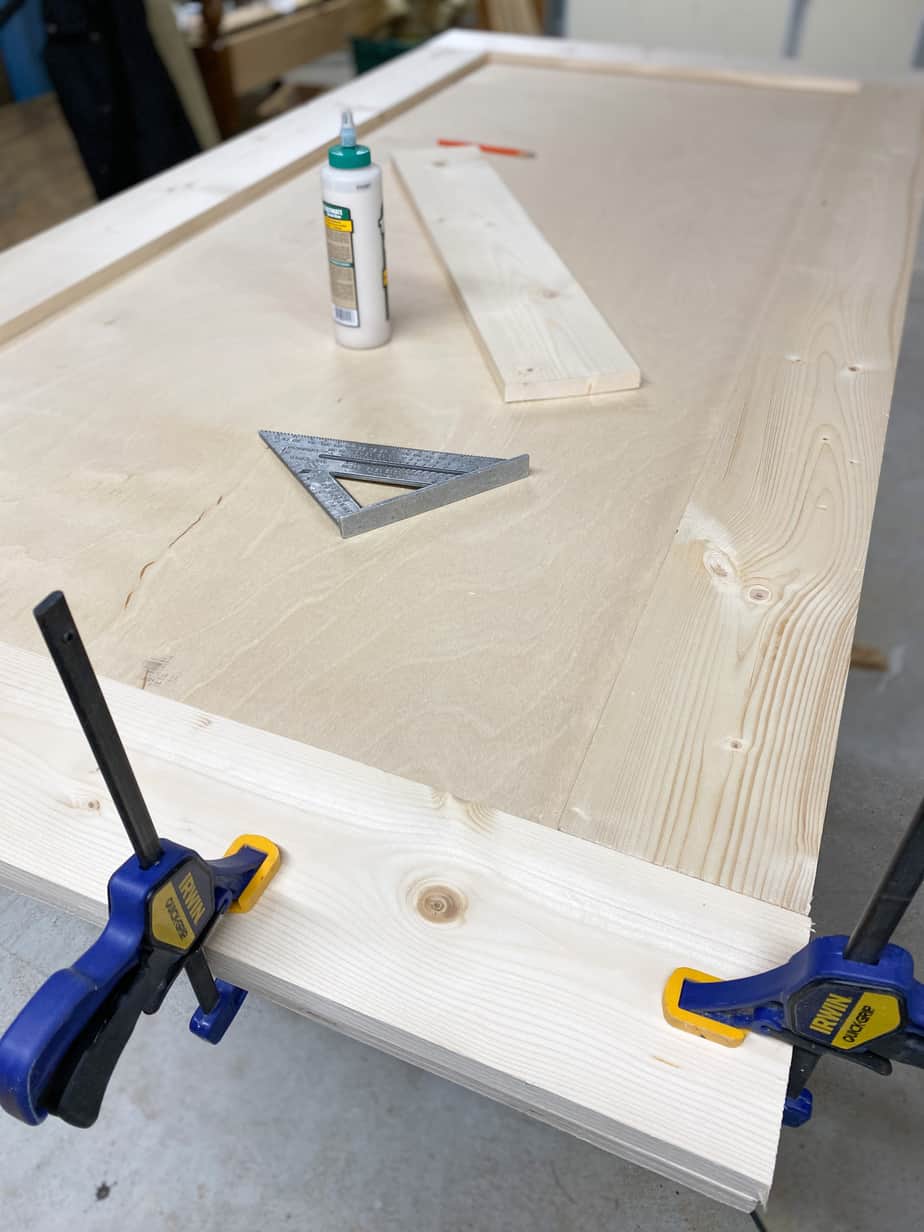
Now it’s time to attach the “T” in the center of the door. find the center of both boards and mark so they will meet up perfectly.
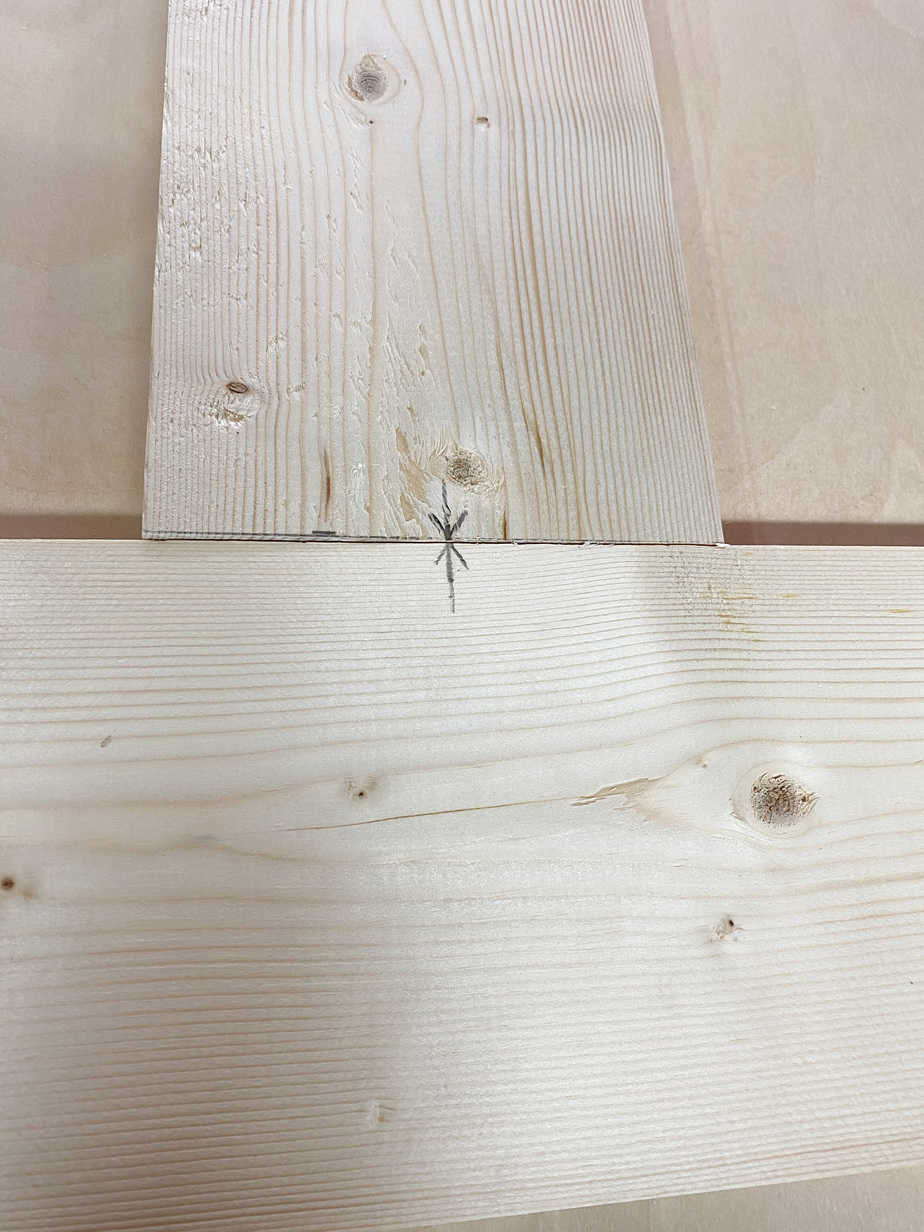
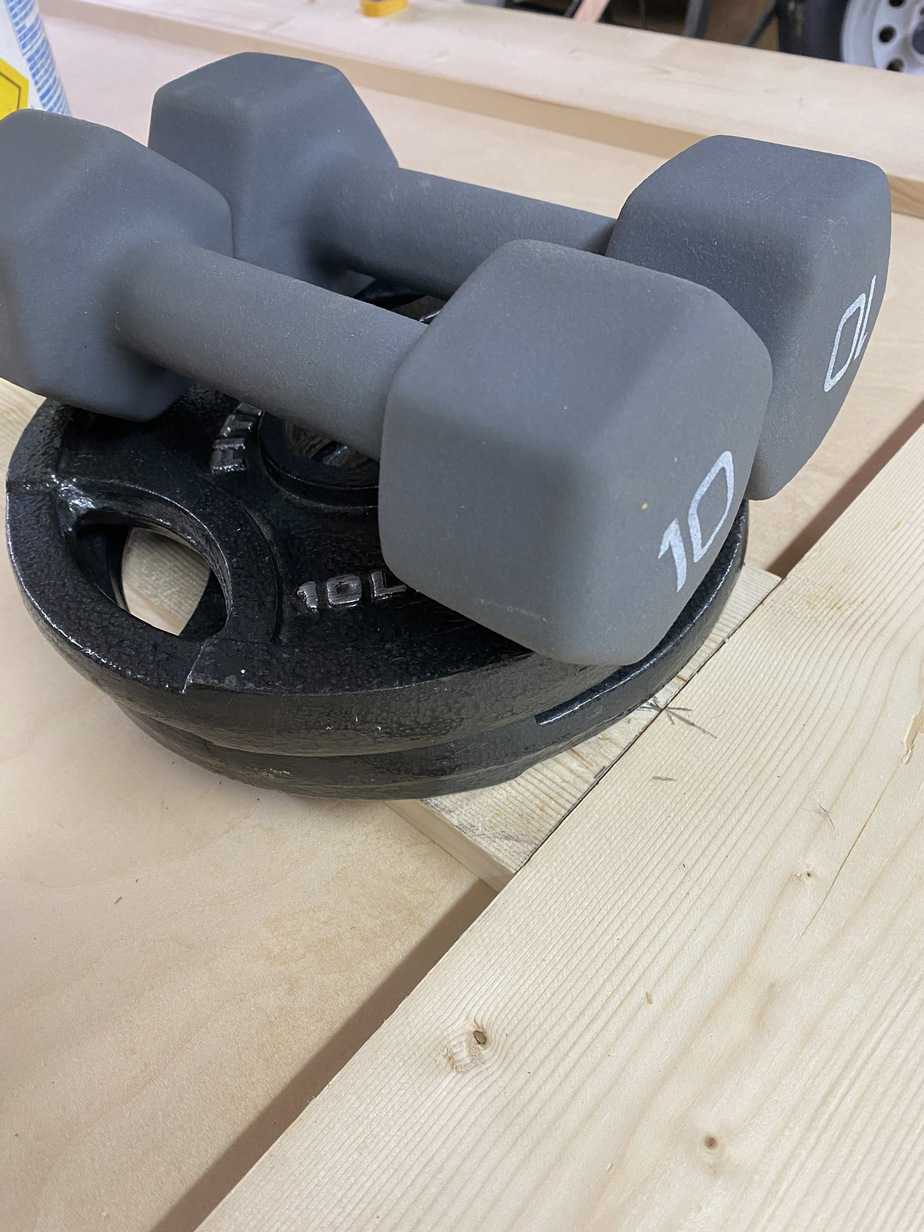
Once positioned correctly, glue down both boards. I didn’t have any clamps that would reach the center board so I had to get creative! After the glue is dry, nail the boards in place.
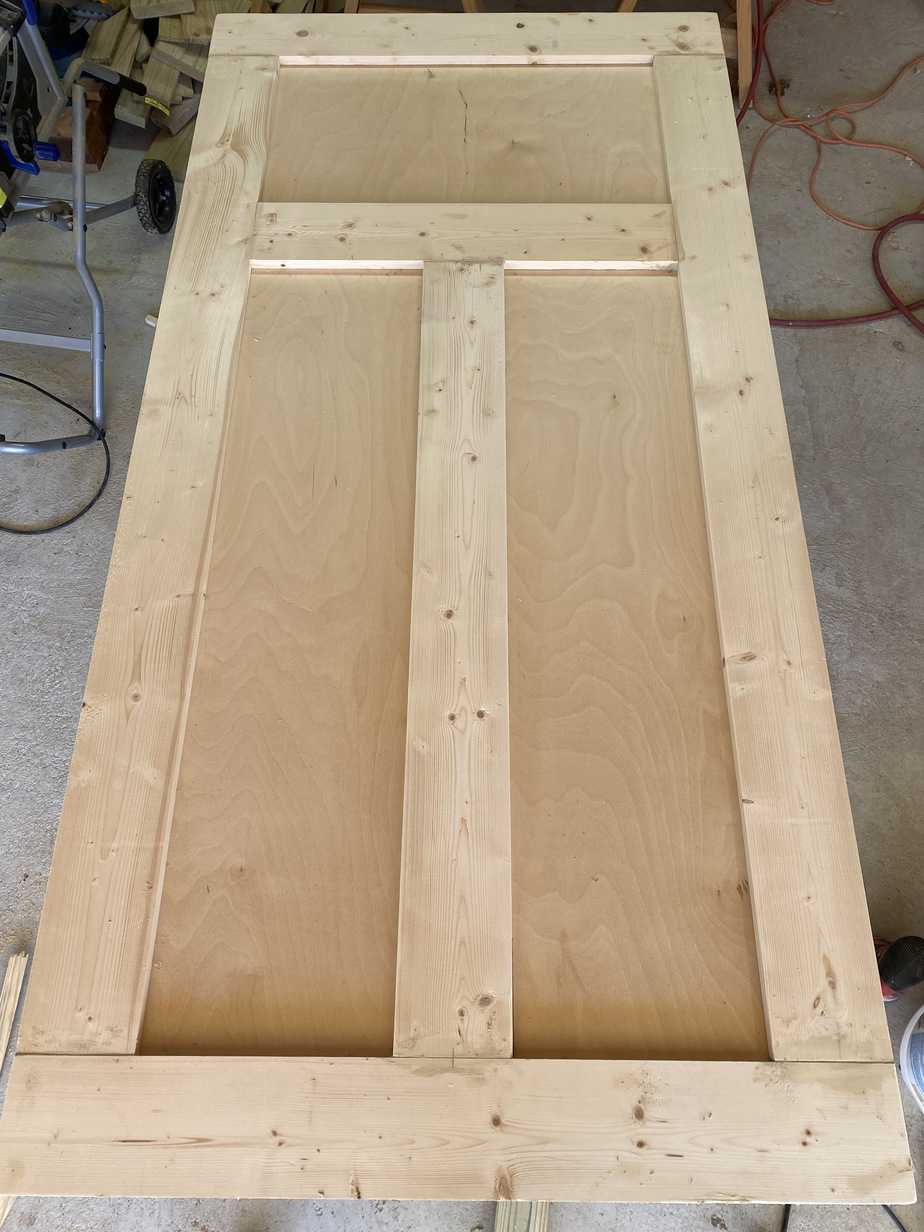
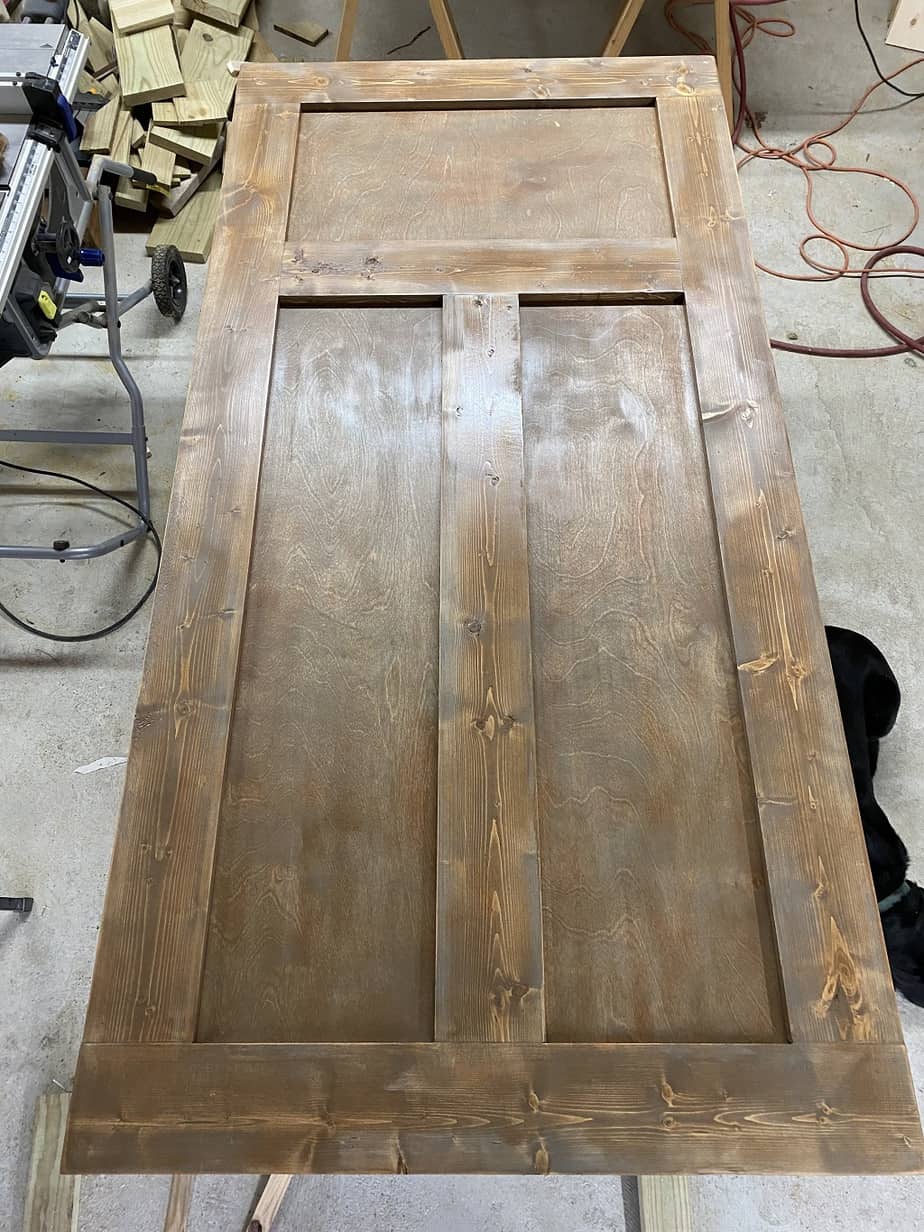
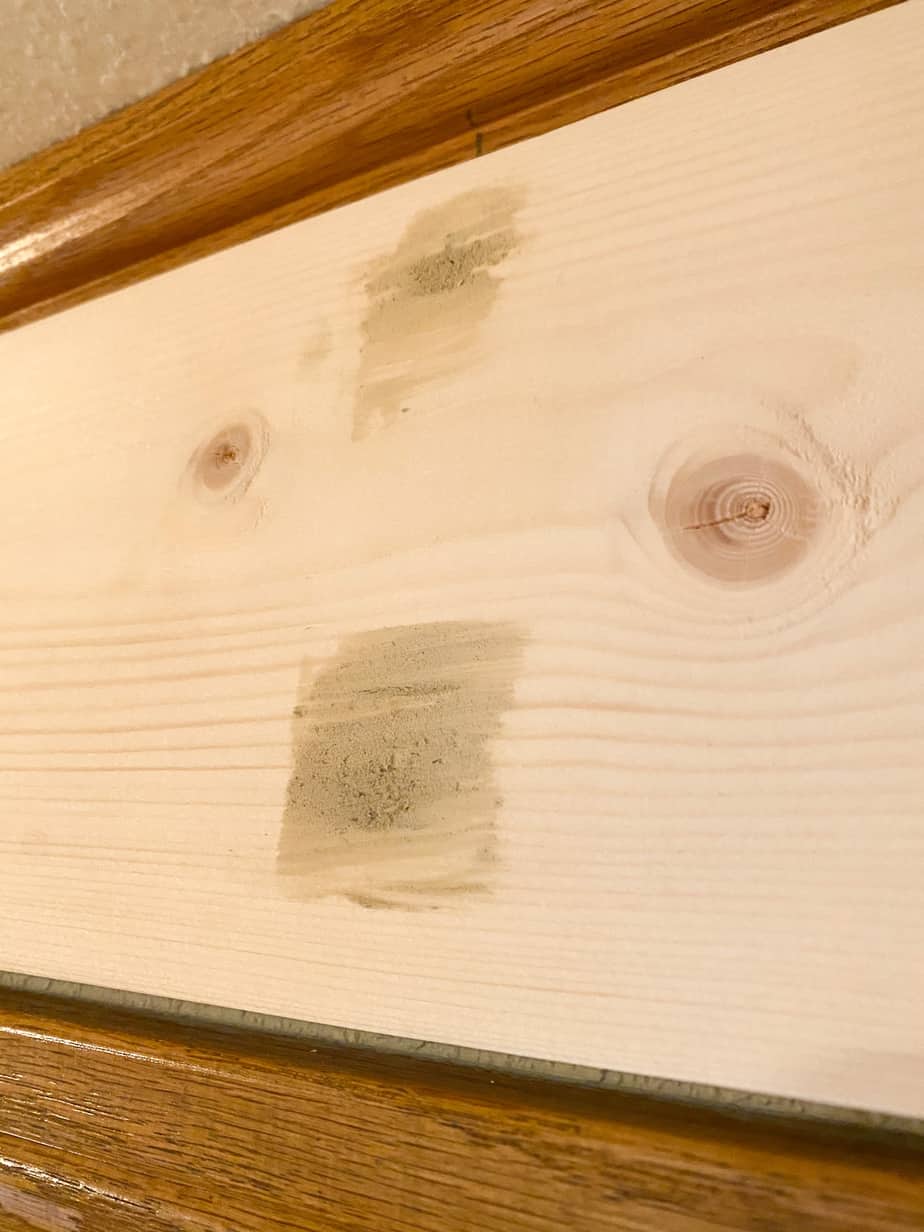
Here is the door completely built! Fill in nail holes and any gaps with stainable wood filler and let dry.
A little helper showed up around this time and decided he wanted to fill some nail holes. Gotta love free child labor. 😉
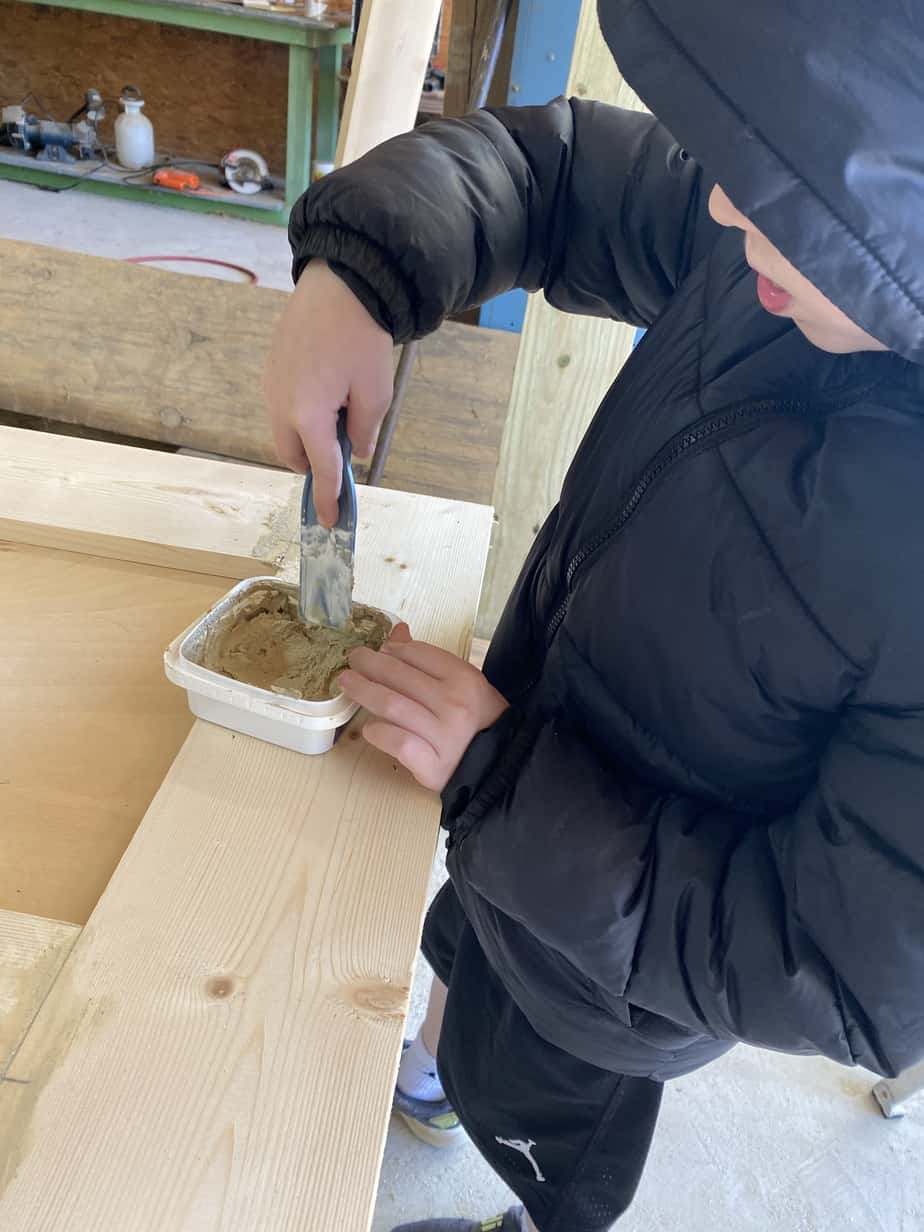
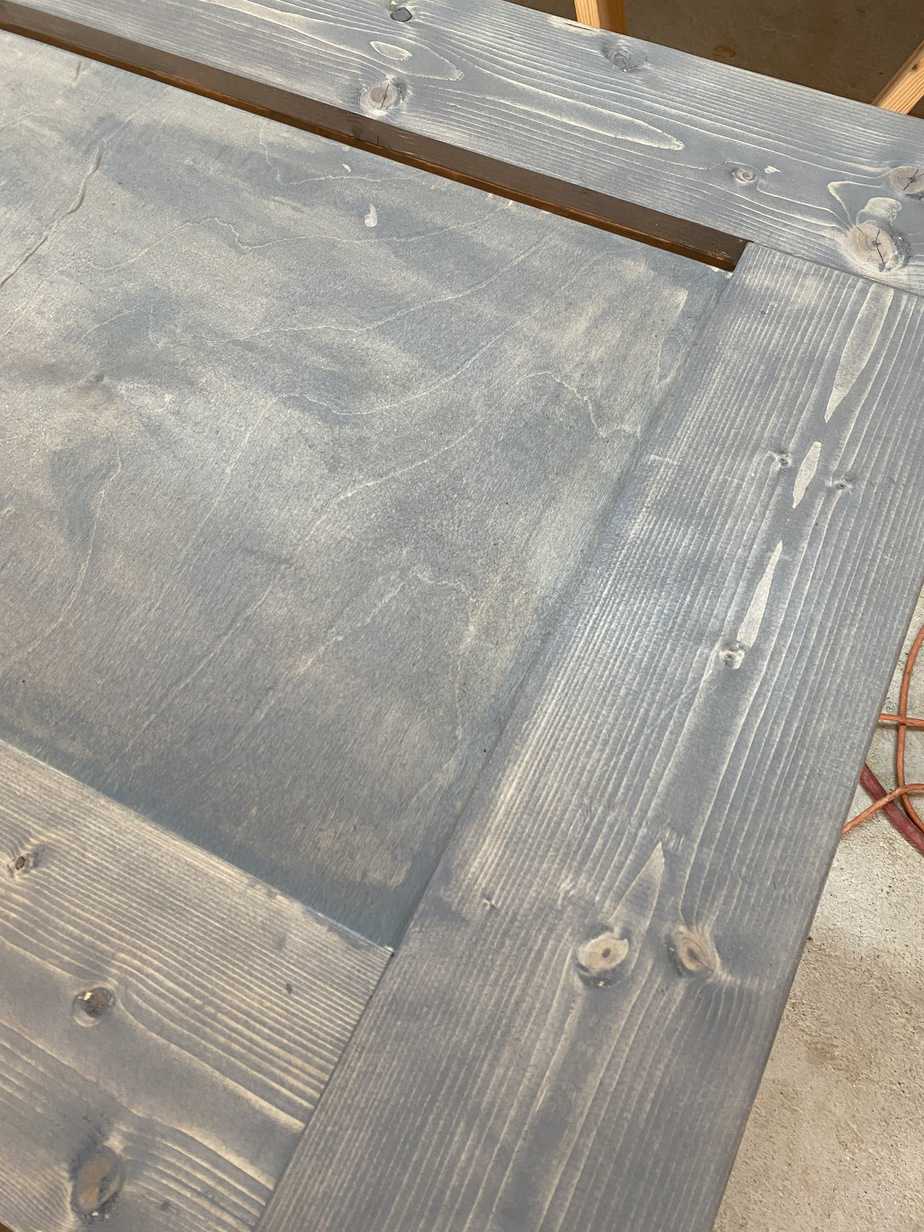
I also went around all the sides with stainable wood filler to hide the seams and the rough edge of the plywood. If you want a more finished look you could trim it out with furring strips or veneer banding. If this door was being built for someone else, I definitely would have added this step. Since it’s going in our house, I’m good with the wood filler and calling it a day.
Step Two: Sanding/Staining
Sand the entire door and all patched holes using 120-grit sandpaper. I needed the stain to match my trim and after testing several different color combinations I decided on Weathered Gray + Gunstock. First, I applied Rust-Oleum Weathered Gray then sanded again.
On top of that, I applied Minwax Gunstock. The plywood really soaked up the red tones in some spots.
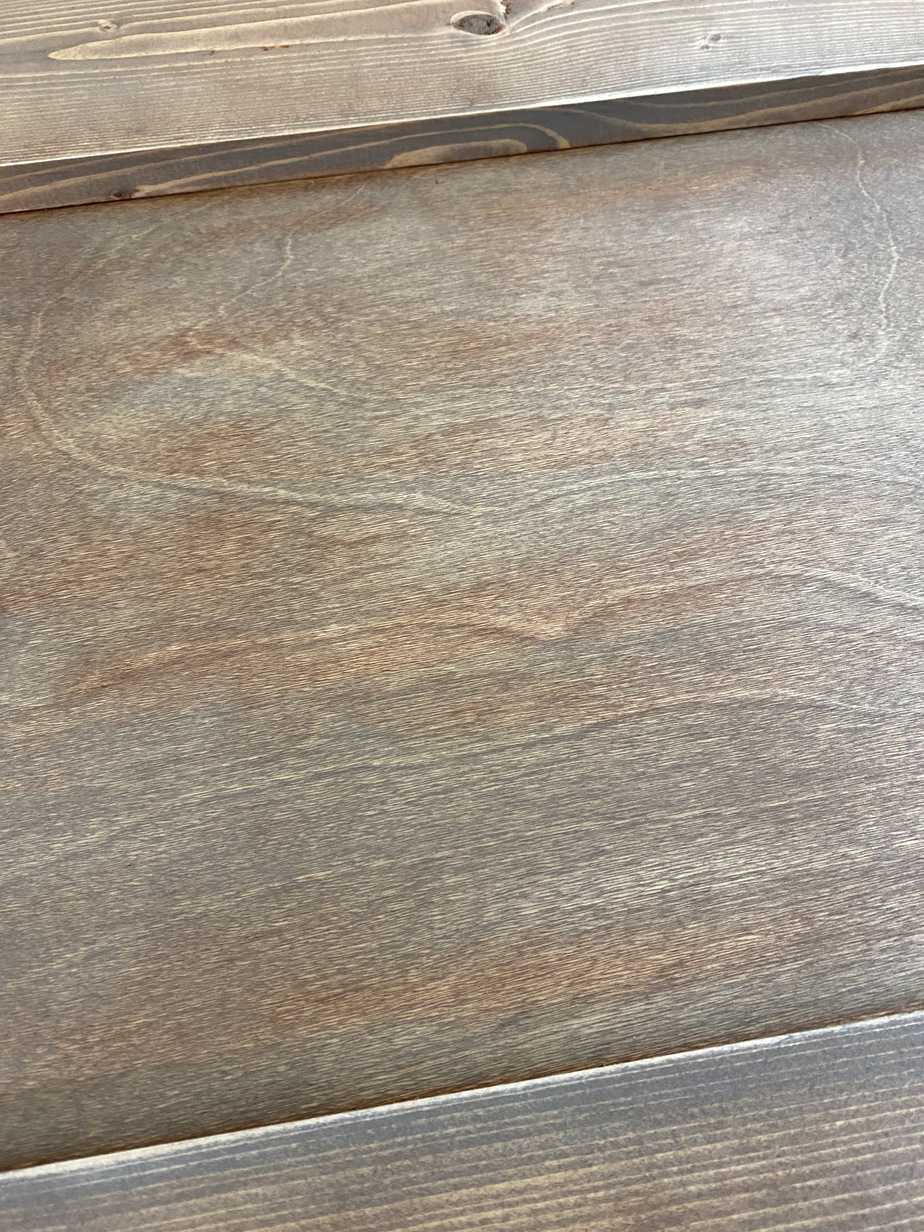
The end result wasn’t as warm as I wanted so I went back over the entire door with Colonial Maple and that did the trick.
Step Three: Installing Barn Door Hardware
I found the barn door hardware on Amazon. It was only $42.99 and it had great reviews. It does come in different lengths and also has various hanger styles to choose from. All the hardware used will be linked again at the bottom of this post.
*Be sure to follow the directions that come with your barn door hardware kit!*
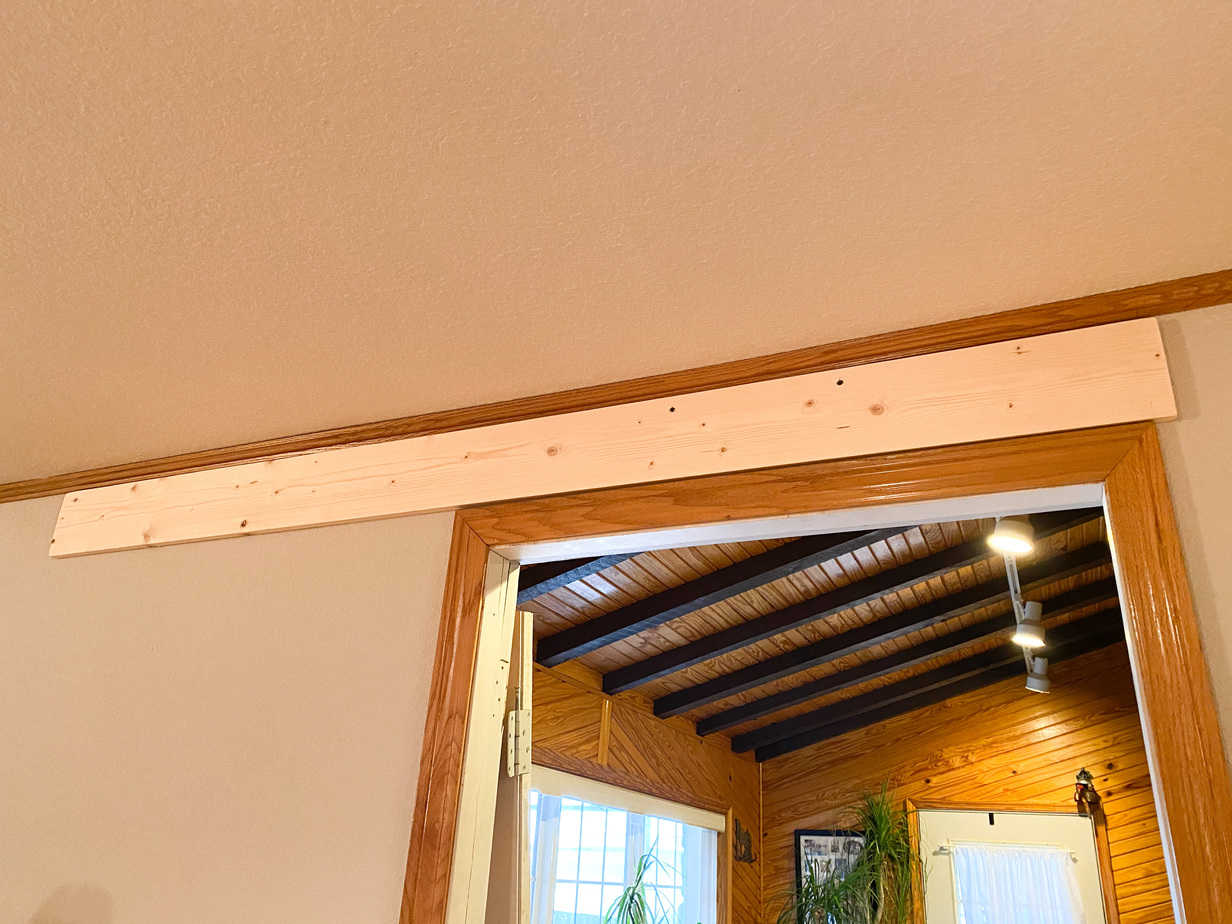
Use a stud finder to mark the location of the studs. If the studs don’t line up with the holes in the track, a header board will have to be used. I used a 1×6@80″ for my header board. I first drilled pilot holes to make sure the board didn’t split board when securing it to the studs using 3″ wood screws at the top and bottom.
Patch all screw holes and let dry and then sand before staining or painting.
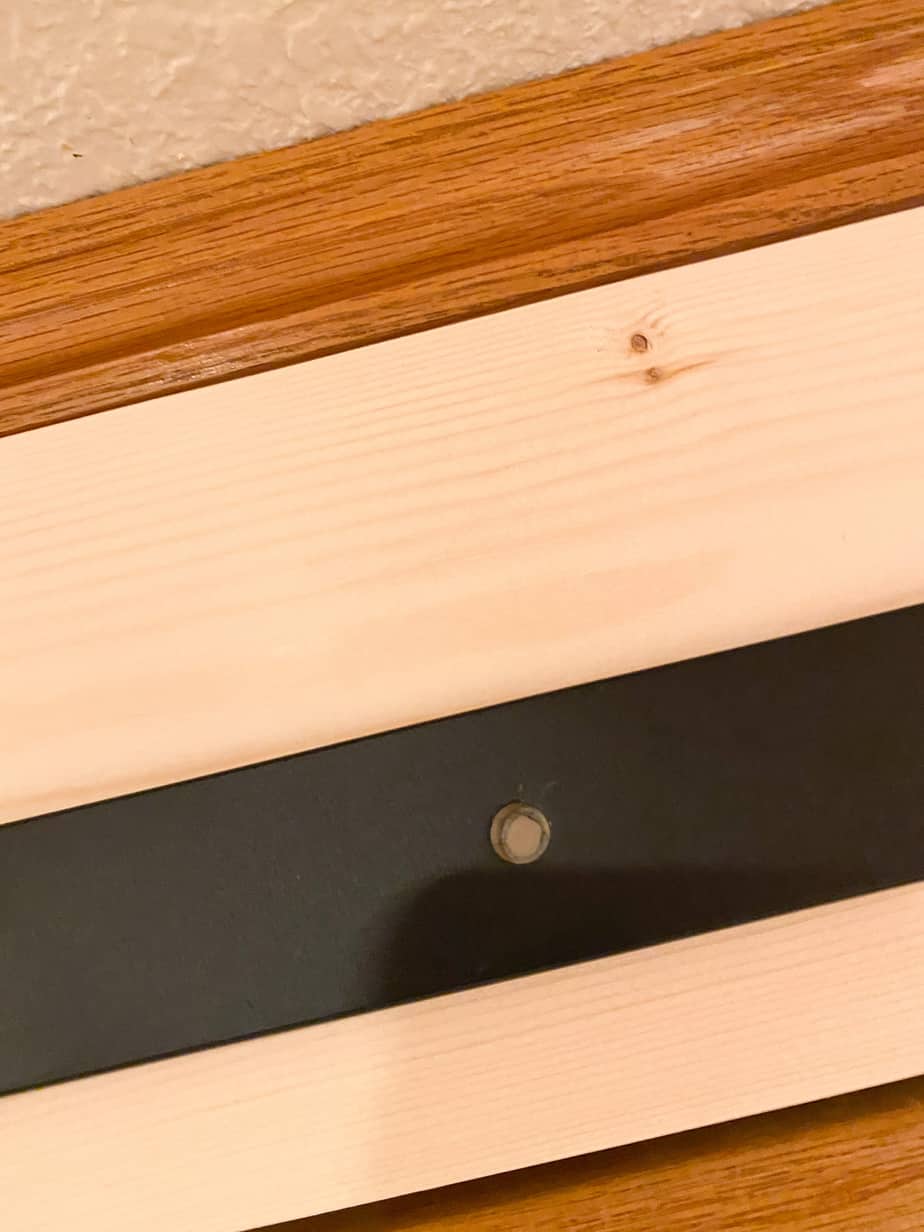
Now that the header board is up, determine where your track needs to be per hardware directions then mark and drill pilot holes.
Originally, the header board was going to be stained the same color as the door. I didn’t like the way this looked so it was painted the same color as the wall to blend in better.
Hang the track according to the directions using the hardware provided and check for level as you go.
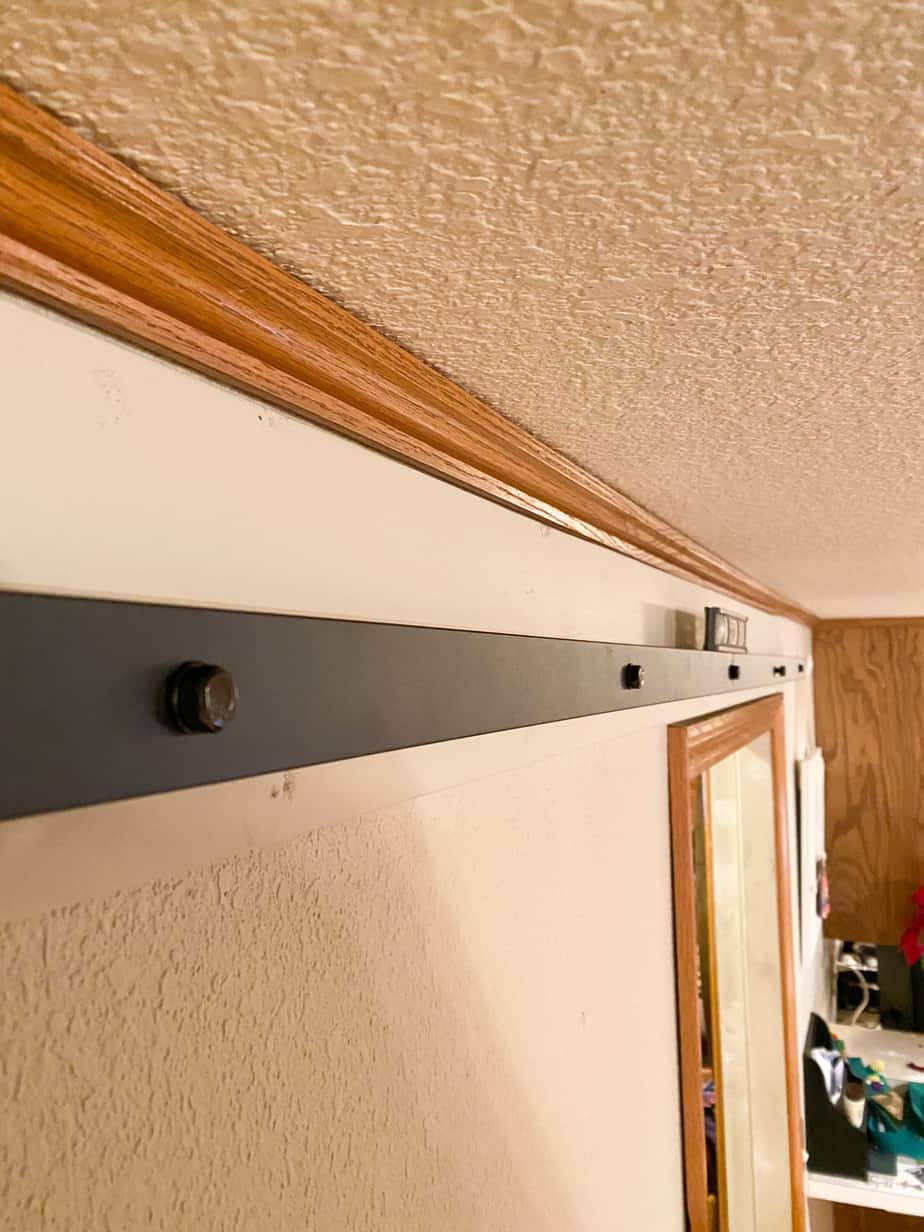
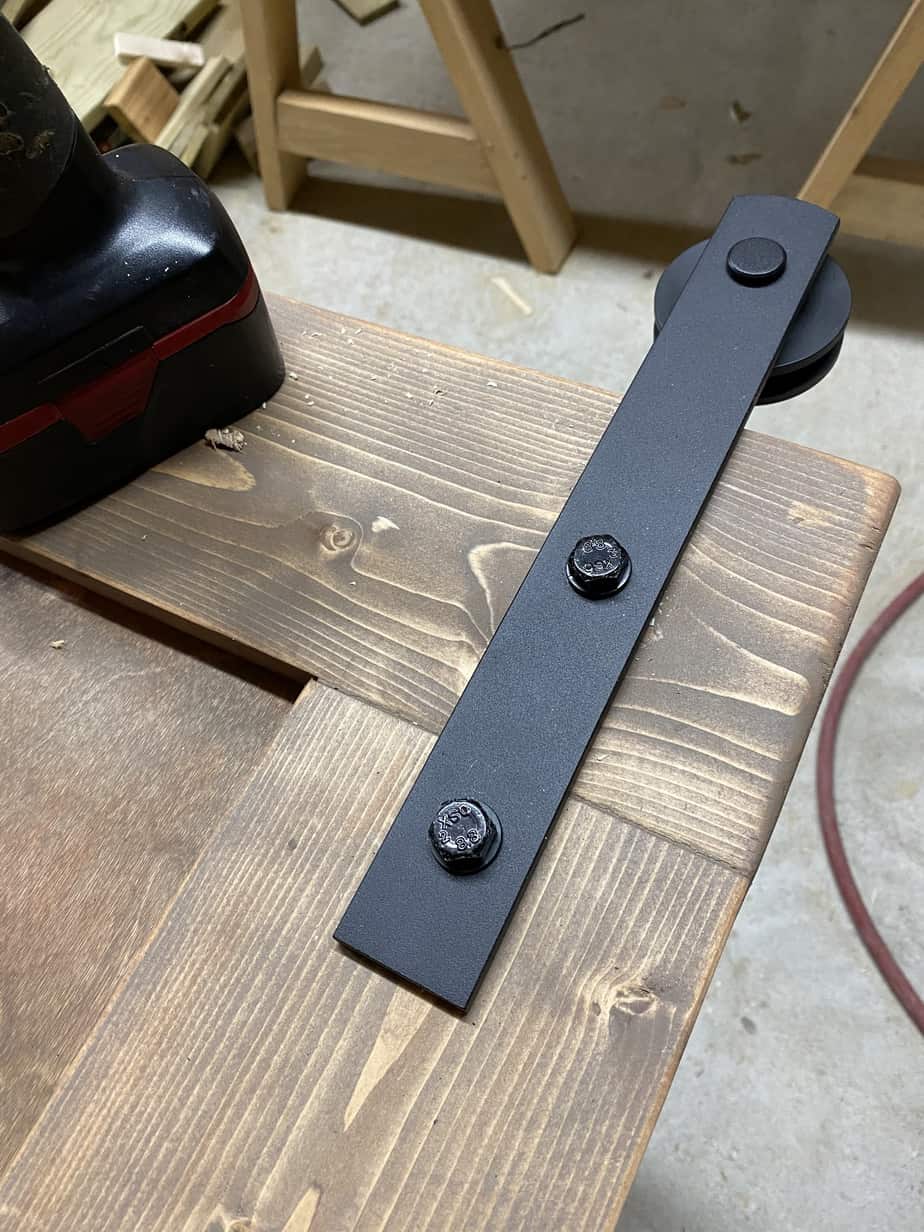
Now that the track is up, it’s time to attach the hangers to the barn door. To make sure there is adequate room for the track, refer to hardware directions to determine hole placement. Mark and drill the pilot holes and then attach the hangers. Side note–I didn’t realize until I already had the door hung that I put these bolts on backwards. It still looks good though so no worries! 🙂
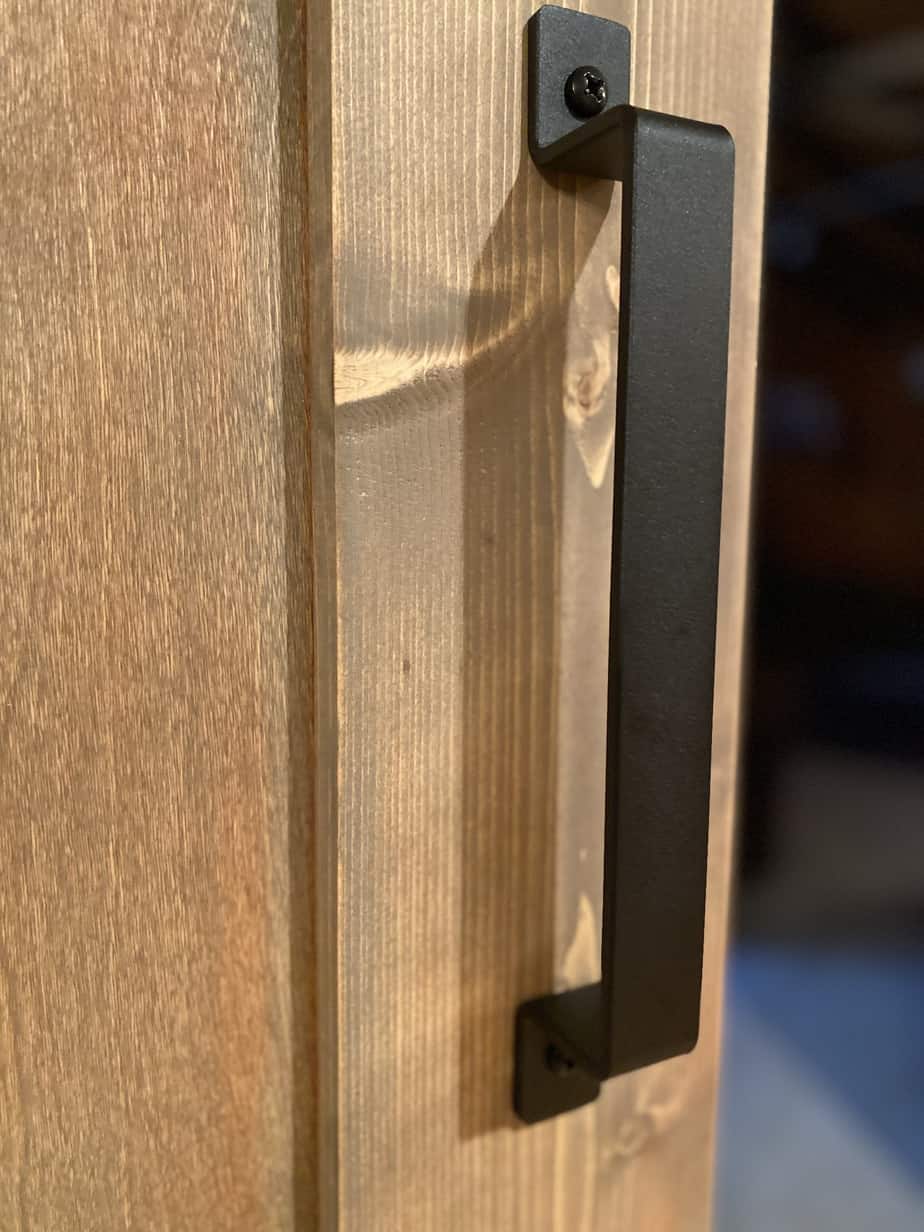
This handle was also purchased from Amazon. It only cost $11.99 and is solid steel. I love the simplicity of it. There are lots to choose from though if you prefer another style. Find the center of the vertical trim, drill pilot holes, then attach the handle with the screws provided.
All that’s left to do now is hang your barn door! This sucker is massive so unless you’re a burly man beast you will probably need help. I had to enlist the help of my burly man beast (AKA the hubs) to bring the door inside and hang it on the track. This door is at the entrance of his man cave so he is pretty happy about it.
And that’s it! I hope you enjoyed this project as much as I did. I can honestly say this has been one of my favorite projects to date. I’m already thinking about where I can put another one in our house. 😉 Until next time, happy building!


2 Comments
This turned out beautiful! Thanks for the instructions and links, its on my list of things to do 🙂
Thanks so much, Madeleine!