
Last summer, a friend wanted me to recreate a floral board & batten accent wall she saw on Instagram for her little girl’s room. This is a quick and easy project that makes a dramatic impact. Today, I’m sharing all the steps to create this project in your own home!
Materials:
- 1×4 MDF or wood
- Floral decals or wallpaper
- Primer and paint
- Caulk
- Liquid Nails (optional)
- 18-gauge brad nails
Tools:
- Miter saw or circular saw
- Nail gun
- Stud finder
- Laser level (optional)
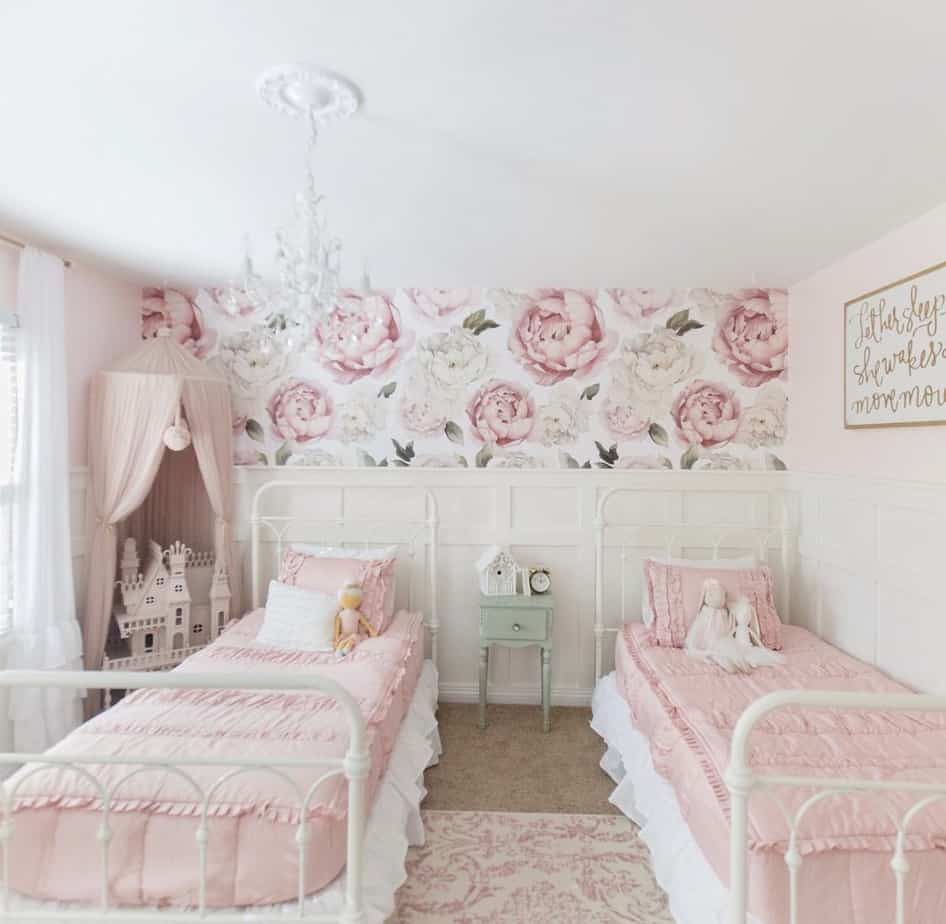
Here’s the original inspo pic from Instagram. How sweet is that room? My friend and I both assumed this was wallpaper because of how perfect it looked but we later discovered that they were decals from Rocky Mountain Decals. You can buy direct from their site or from Etsy. They have decals as well as wallpaper and wall murals!
Step One: Determine The Layout
To figure out board & batten spacing, I always use www.inchcalculator.com because who wants to do math? Not me. I click on the wainscotting layout calculator, plug in my wall width and material thickness and it does all the work for you! Seriously a life saver.

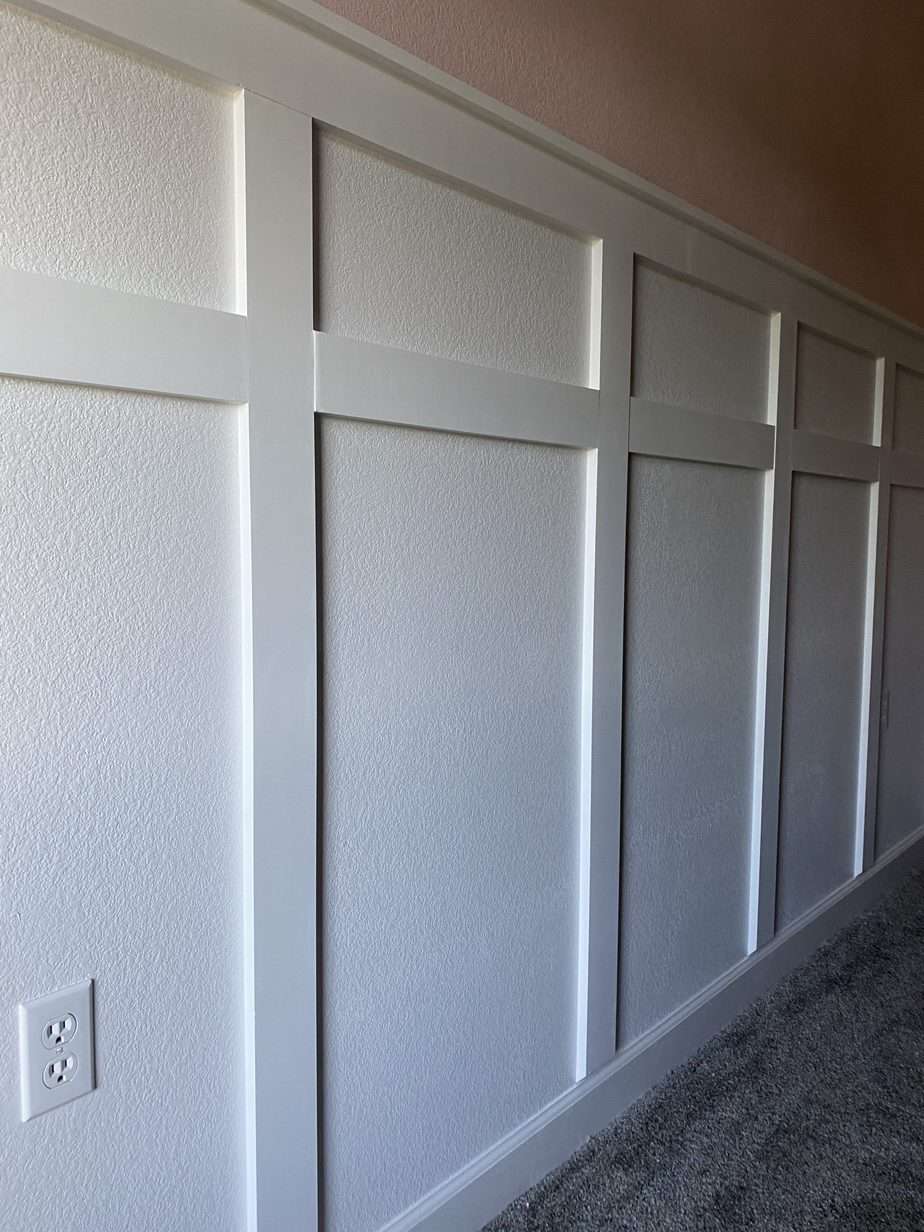
Step Two: Attach Your Boards
I almost always use MDF for projects like this, but material shortages made it hard to find primed MDF in my area so I decided to use unfinished wood. I like MDF because it’s light and easy to work with but there is nothing wrong with using primed pine or whitewood 1x4s for this. When in doubt, I’d say just go with what is the least expensive! (FYI-Using raw wood will add the extra step of priming. )
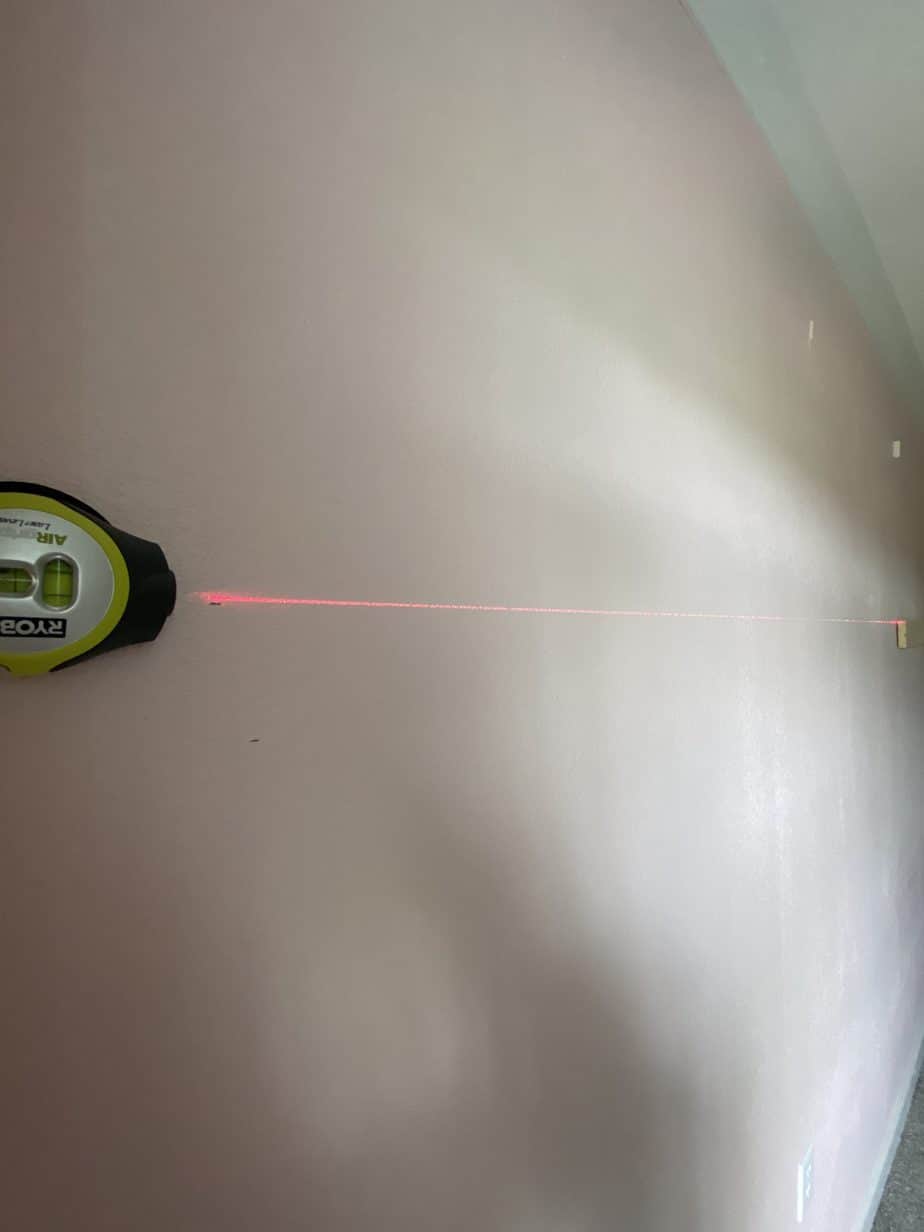
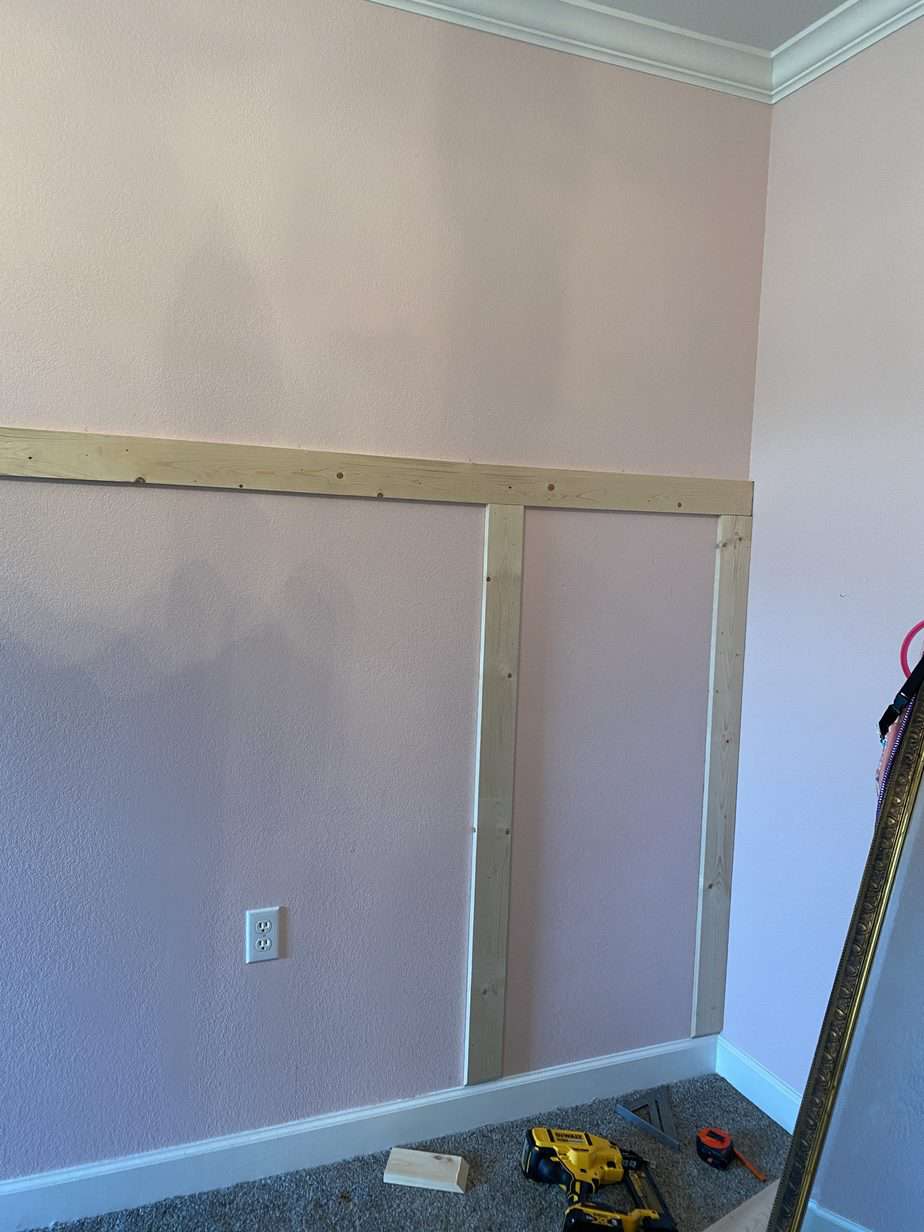
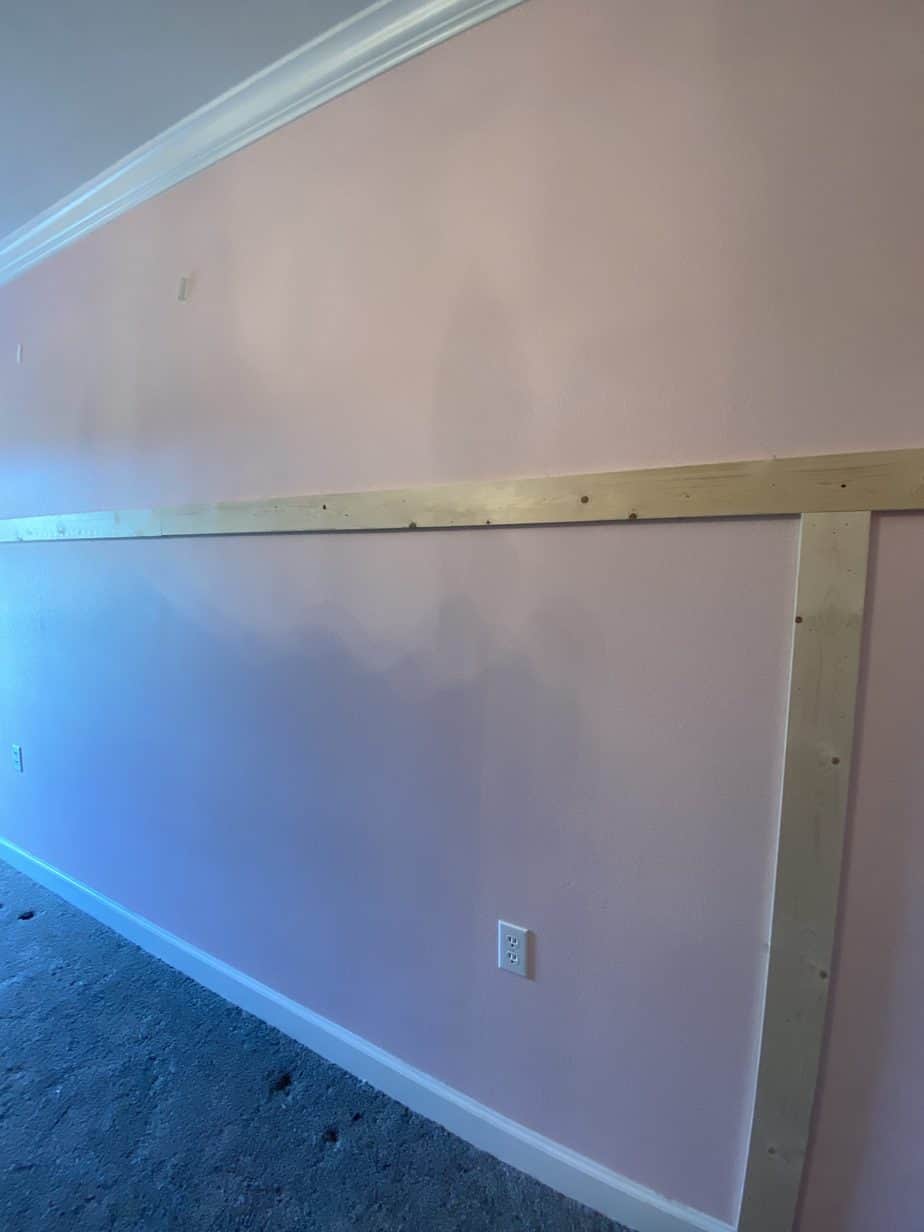
I like to start with the top board first. I used my laser level to get the perfect straight line. If you don’t have a laser level, you can just use a regular level or make a chalk line.
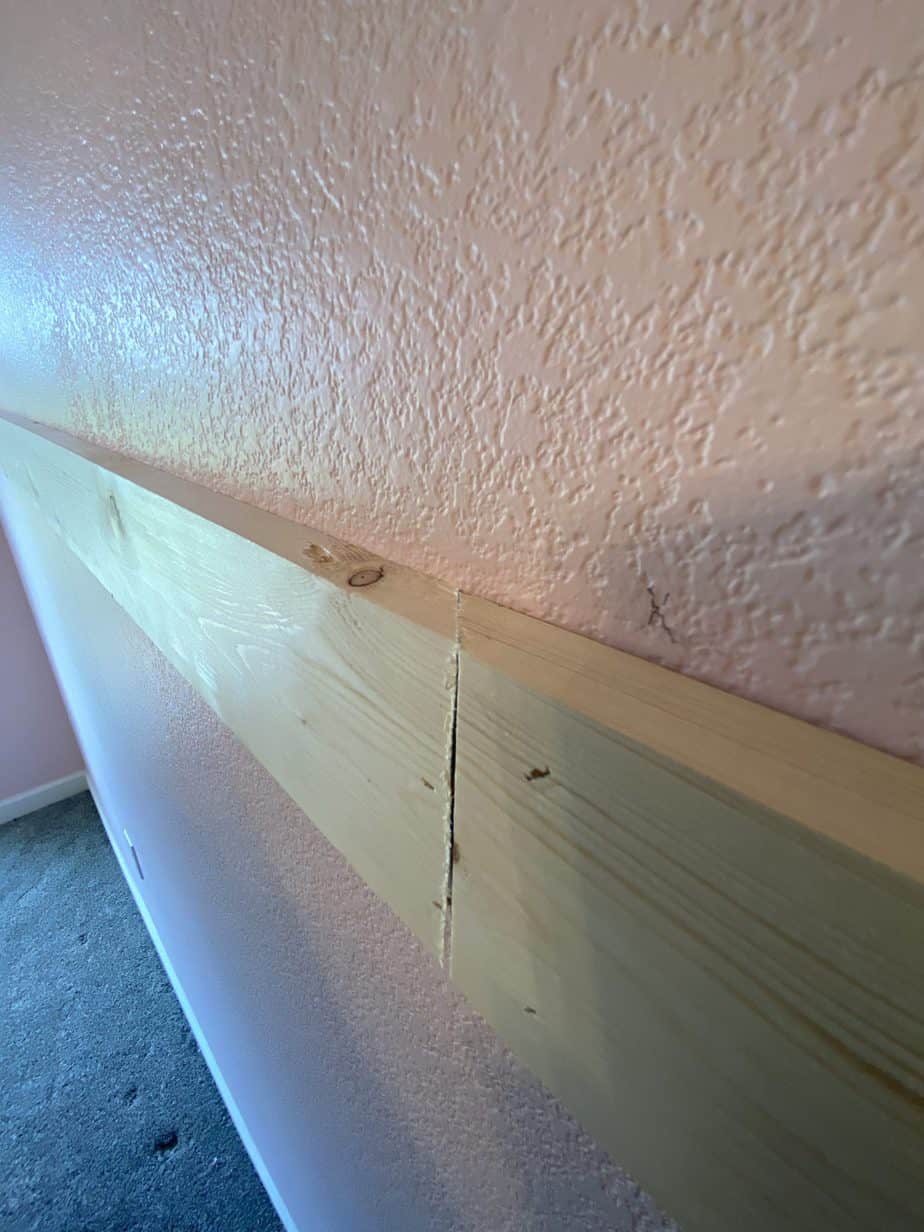
My board wasn’t long enough to span the whole wall but luckily they met almost right in the middle of the wall and over a stud! When you have two boards that will meet up like this, if you miter where they meet at 45 degrees it makes the seam less noticeable. After a little sanding and some wood filler, it’s barely visible.
Because the boards won’t always line up where the studs are, I used a combination of brad nails and Liquid Nails to attach the boards. (FYI-Liquid Nails can damage your drywall if you ever want to remove these later. ) If you don’t want to use Liquid Nails, you can shoot two nails side by side in different directions to form an “X”. This will help keep the board in place where you aren’t nailing into a stud.
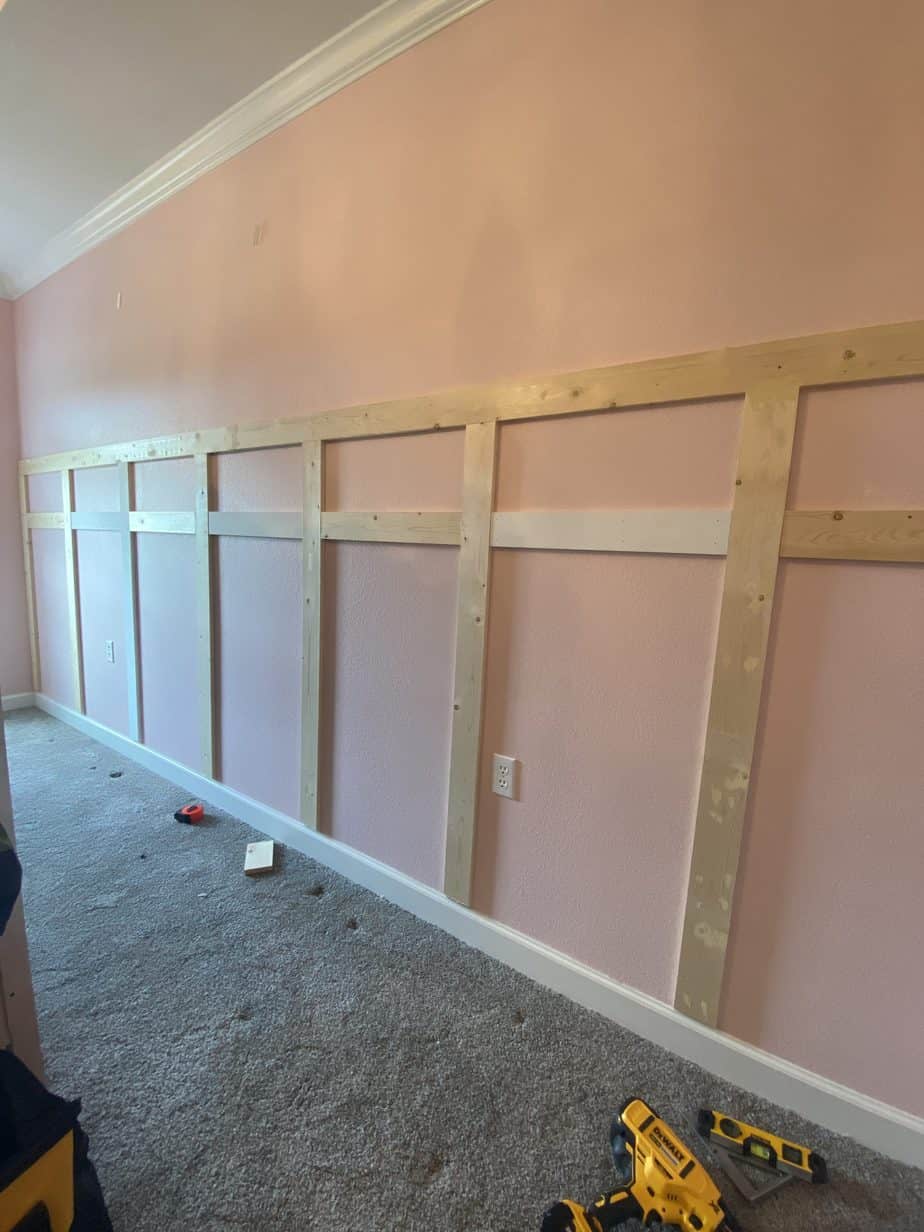
Now that the main horizontal board is installed, it’s time to attach the vertical battens. Refer back to your layout guide for the perfect spacing. Because the battens are thicker than the baseboard, I did a 45-degree cut on each end of each vertical batten so it would blend better where they meet. If you don’t like this look, you could certainly remove the baseboard and add a spacer board behind the baseboard to bump it out and make it flush with the battens. It really depends on the type of baseboard you are working with.
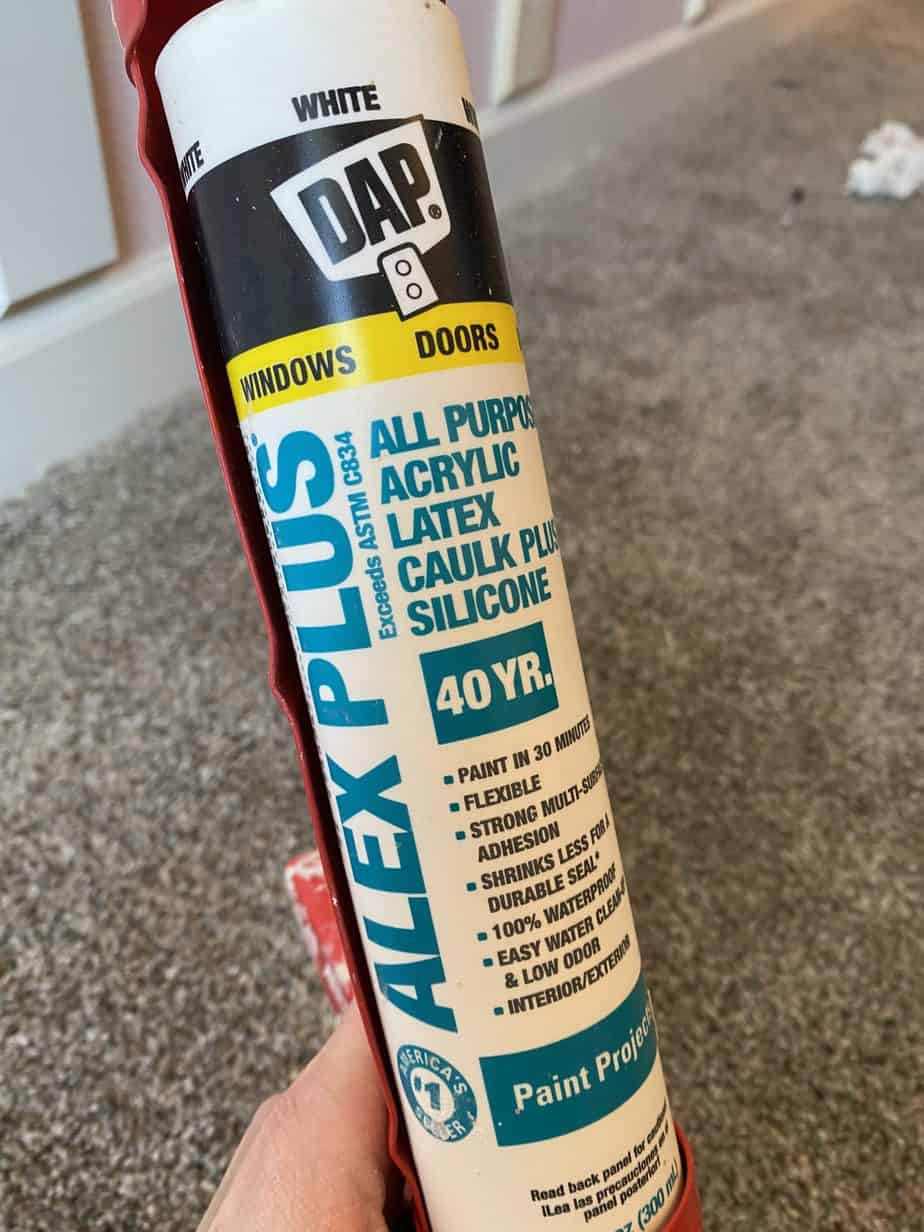
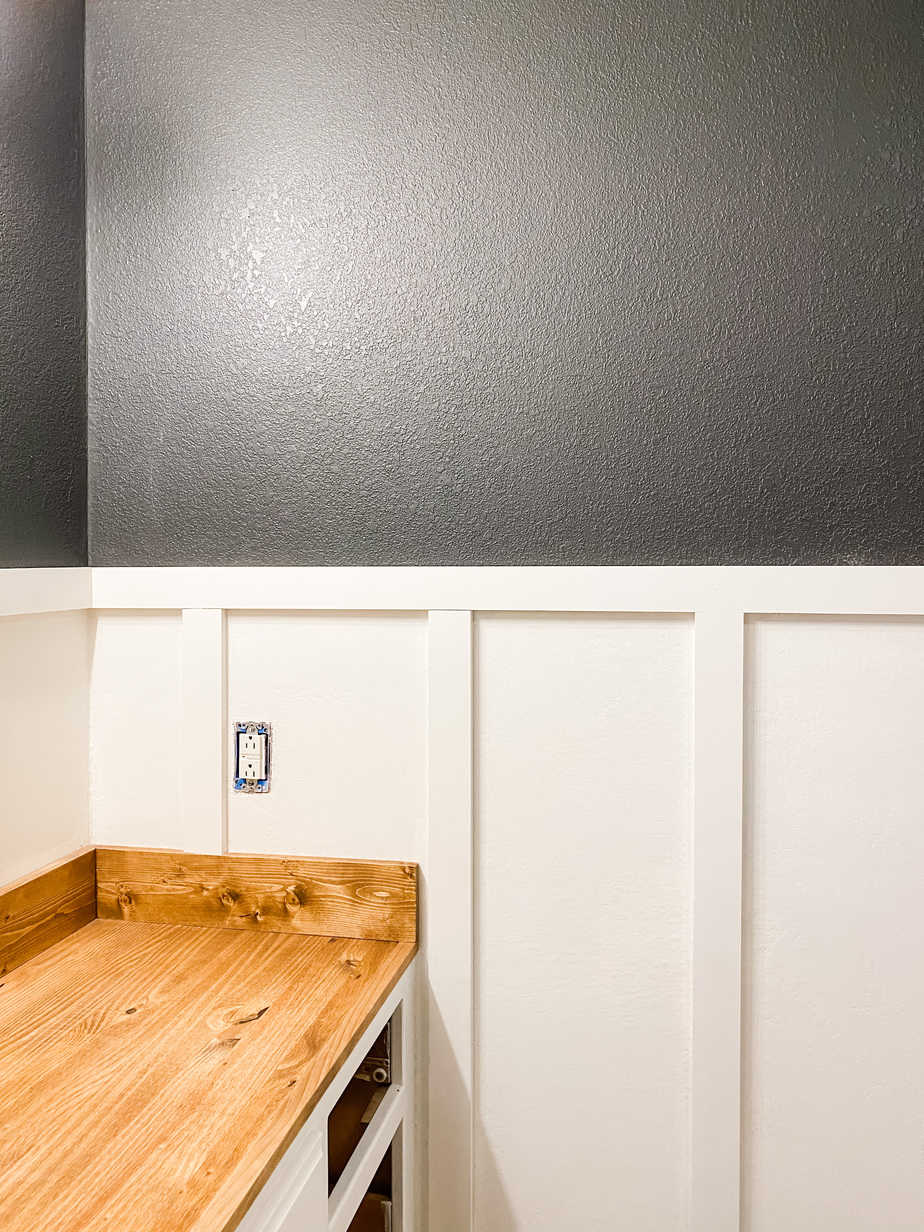
Once everything is built, fill all the nail holes and caulk all the seams. Please don’t skip the caulking step! It really makes everything look so much more professional once it is painted. This DAP is my go-to caulk that I use on pretty much every project.
Step Three: Prime & Paint
The next step is to prime the boards and if you read my cabinet painting post then you know that this is the primer to use for raw wood. If you’re using pre-primed MDF or pine, you can skip this step.
You can use trim paint or latex paint for this, whatever you have on hand. I used the color Pure White by Sherwin Williams to match the rest of the trim in the house.

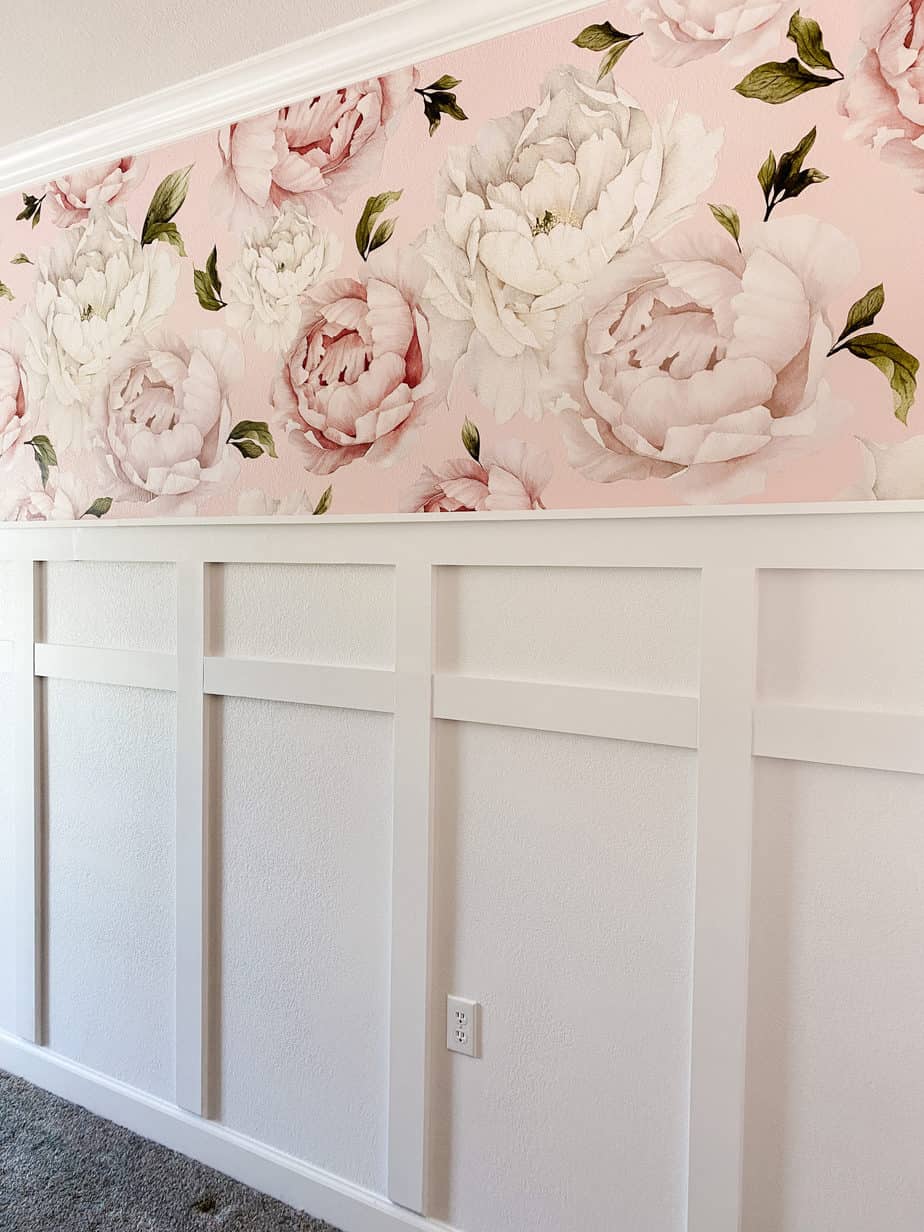
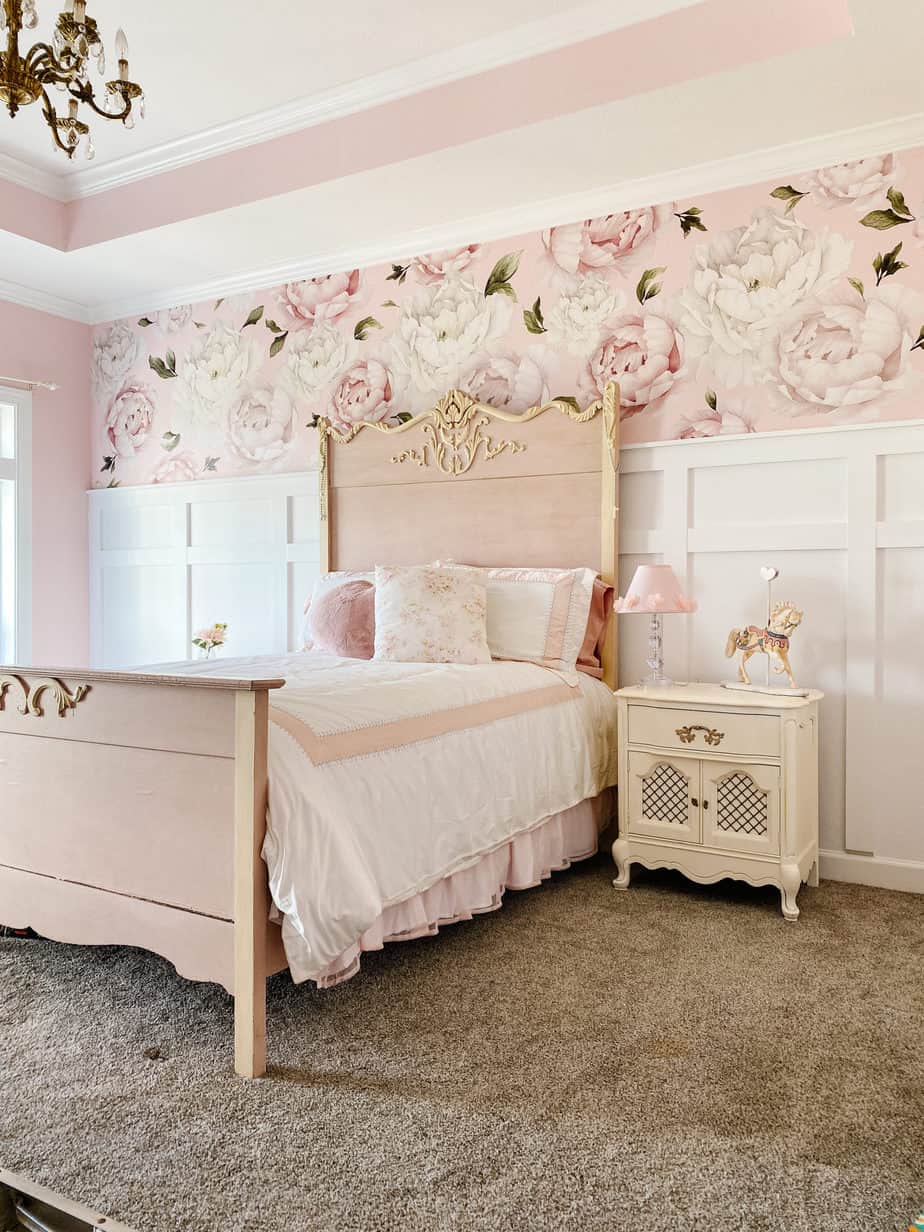
Here is the finished “board” & batten. I use the term “board” loosely because you can see from the picture that I didn’t cover any of the wall texture. My friend didn’t mind the texture but if you don’t like this look the wall can be skim coated then painted or you can just put up a board first and make it legit board & batten.
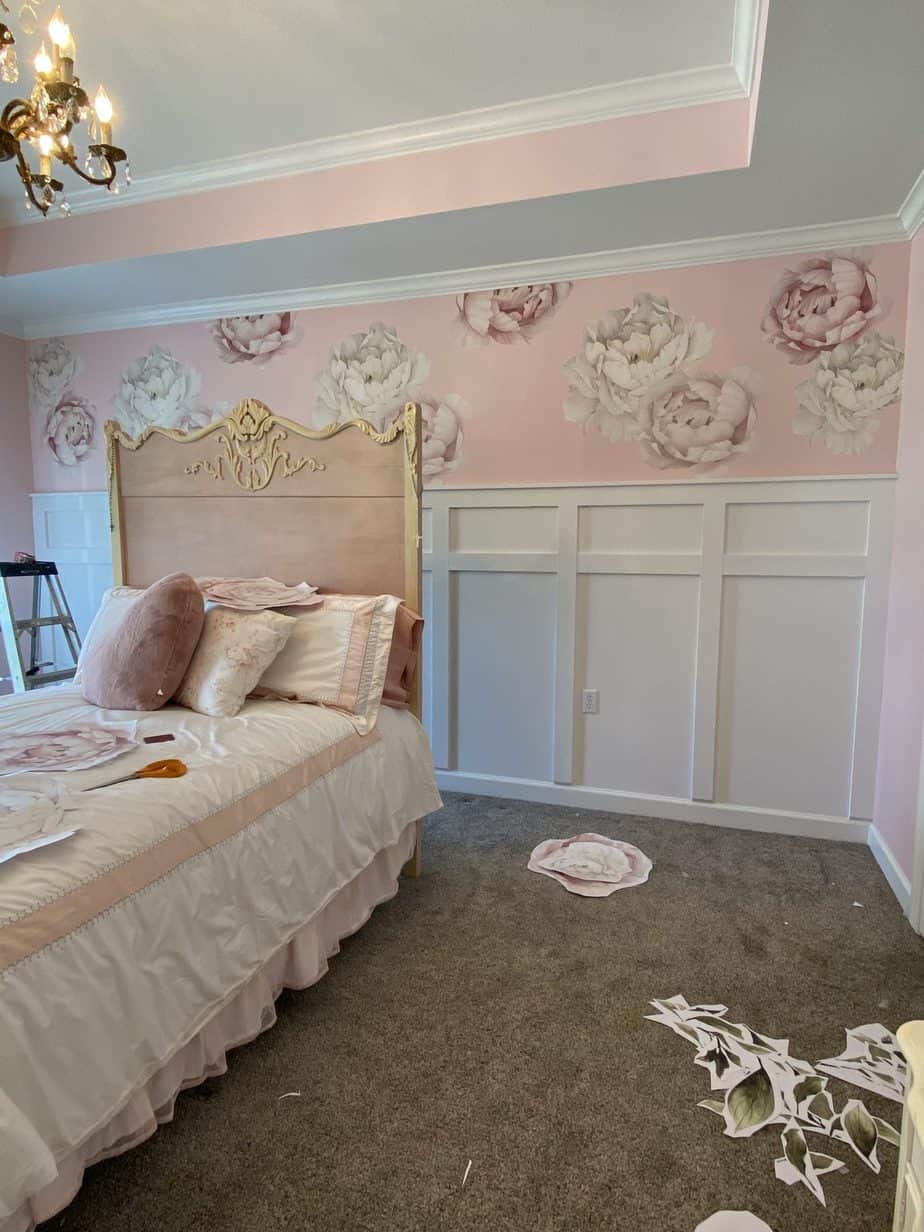
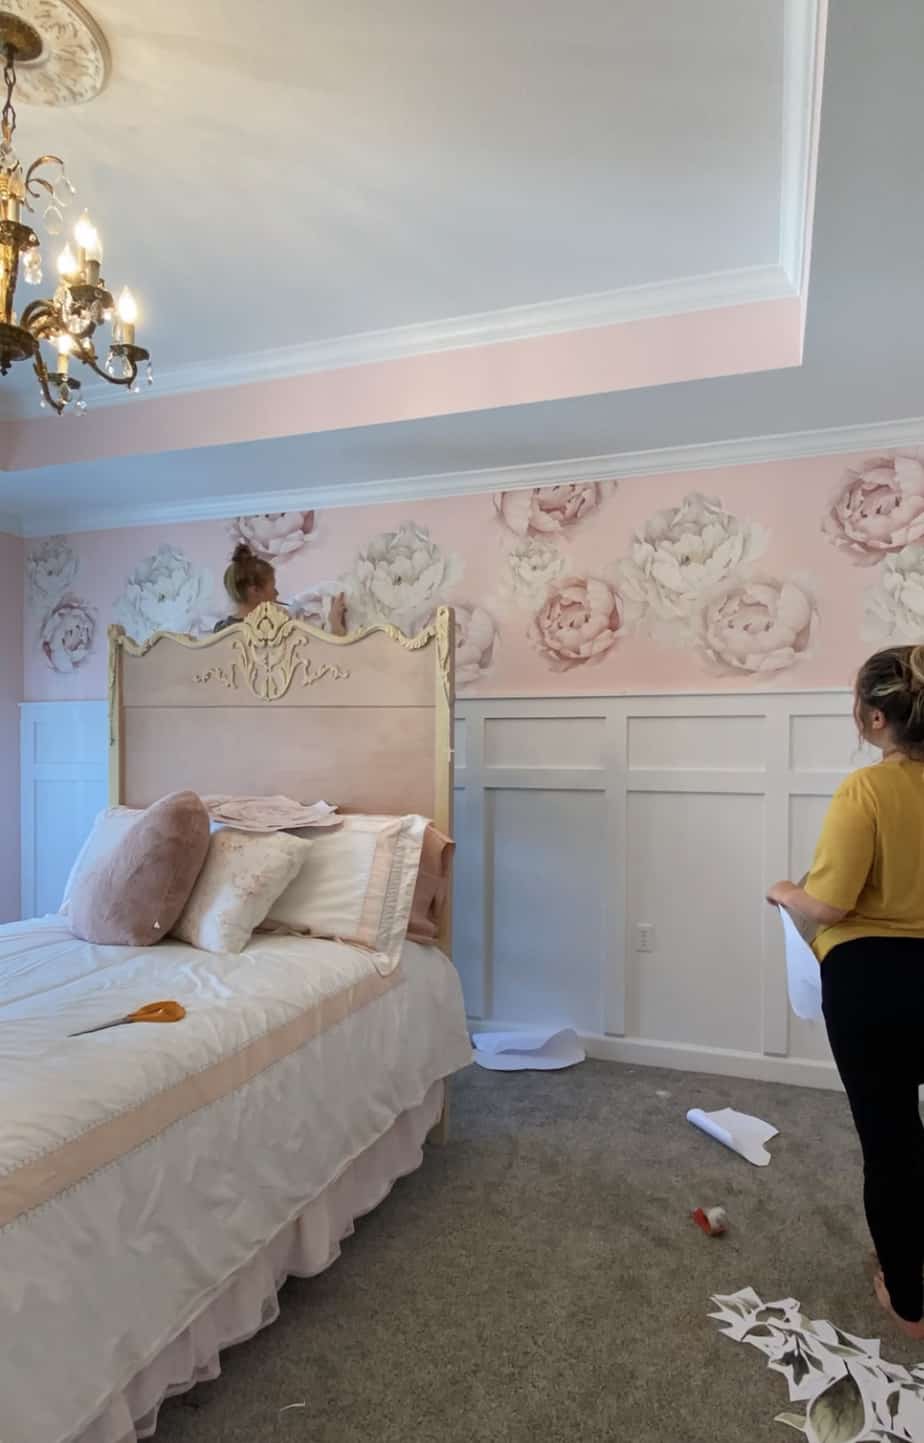
Step Four: Add Decals/Wallpaper
Here’s where things got a little tricky. This was my first time working with decals. In the inspo pic, the decals had the uniformity of wallpaper so I needed to recreate that same look. It’s hard to know where to position the decals when you’re right up against the wall, so I used tape to position the decals so I could step back and see how it looked then reposition as needed.
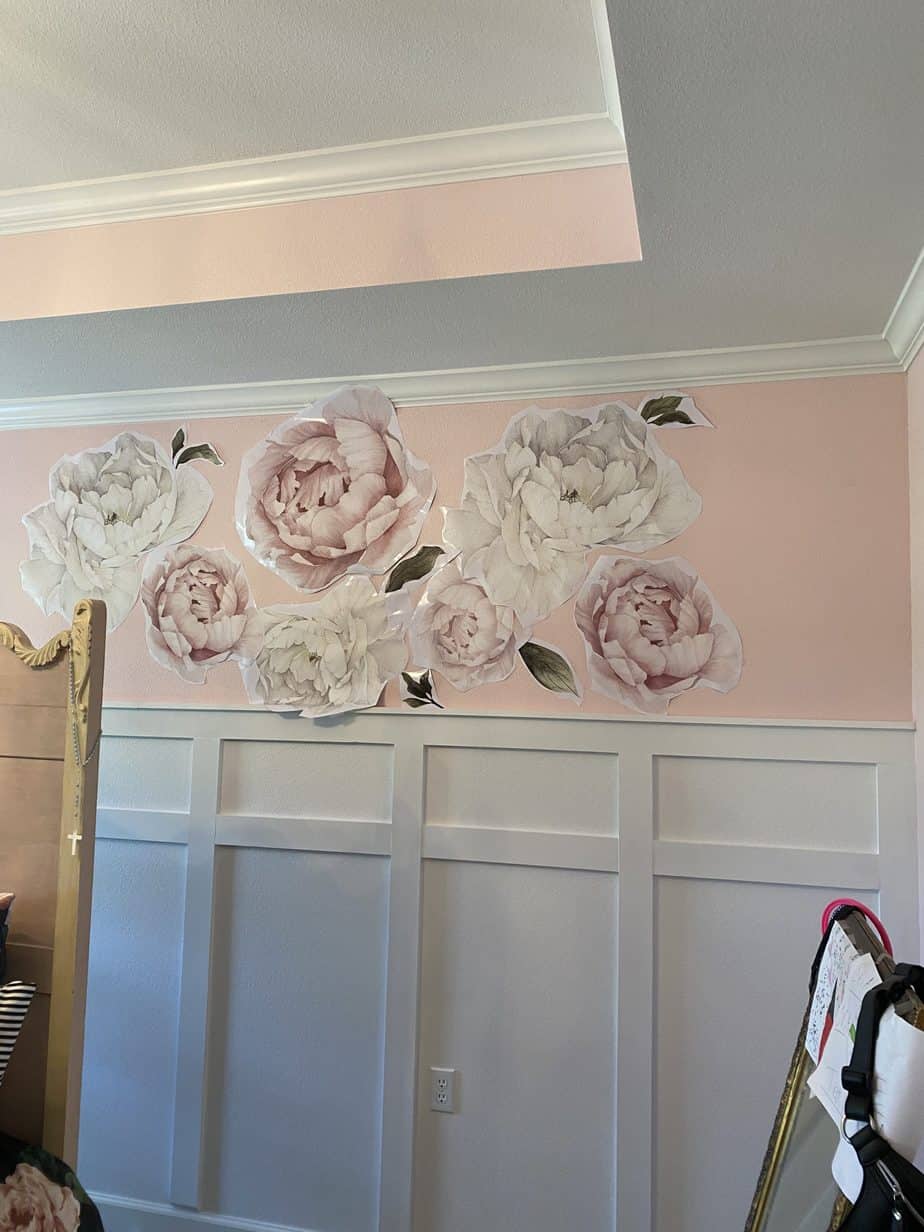
I quickly realized that method was going to be extremely time consuming and having an extra set of eyes was going to be a must. I decided to enlist the help of a creative friend for this job. She could stand back and make sure everything lined up perfectly while I was on the ladder to put the decal on the wall. This made the process go so much faster! We began with the largest flowers first then worked our way down to the smaller flowers and lastly the leaves until the wall was covered.
And here is the finished product! This floral board & batten accent wall turned out so much better than I imagined. Isn’t this a dreamy little girl’s room? Would you try this in your own home?


No Comments