
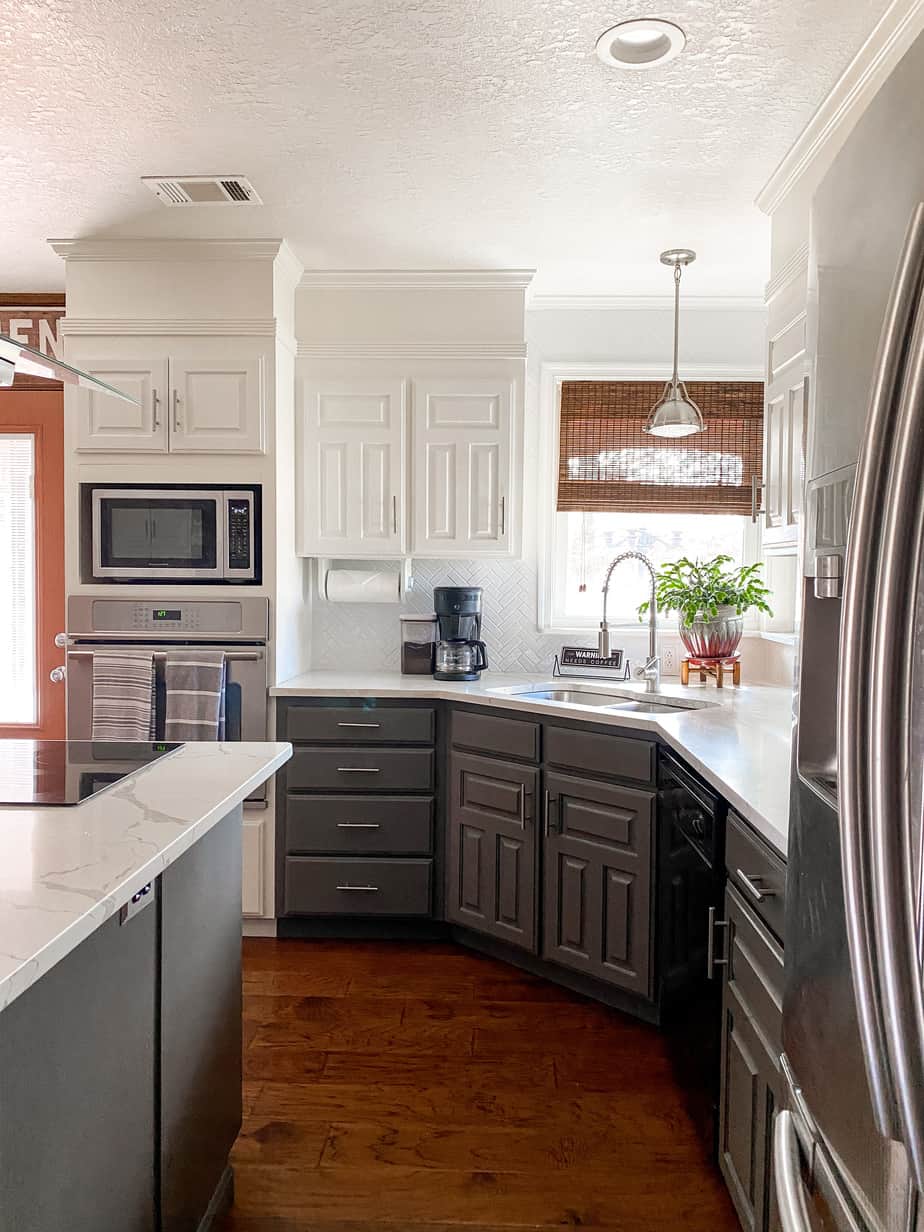
Today, I’m sharing everything I’ve learned about cabinet painting (so far). If you’ve been debating whether or not to paint your own cabinets, then this post is for you! If you read my last post, then you know that my mother-in-law wanted the empty space above her kitchen cabinets enclosed. In addition to that, they needed to be painted. Having only painted a small section of cabinets in my own half bath, I knew I had my work cut out for me with this beast of a project. I did my research and started the project confident but ran into a few hiccups along the way. I decided to share my experience so you don’t make the same mistakes I did!
(This post contains affiliate links)
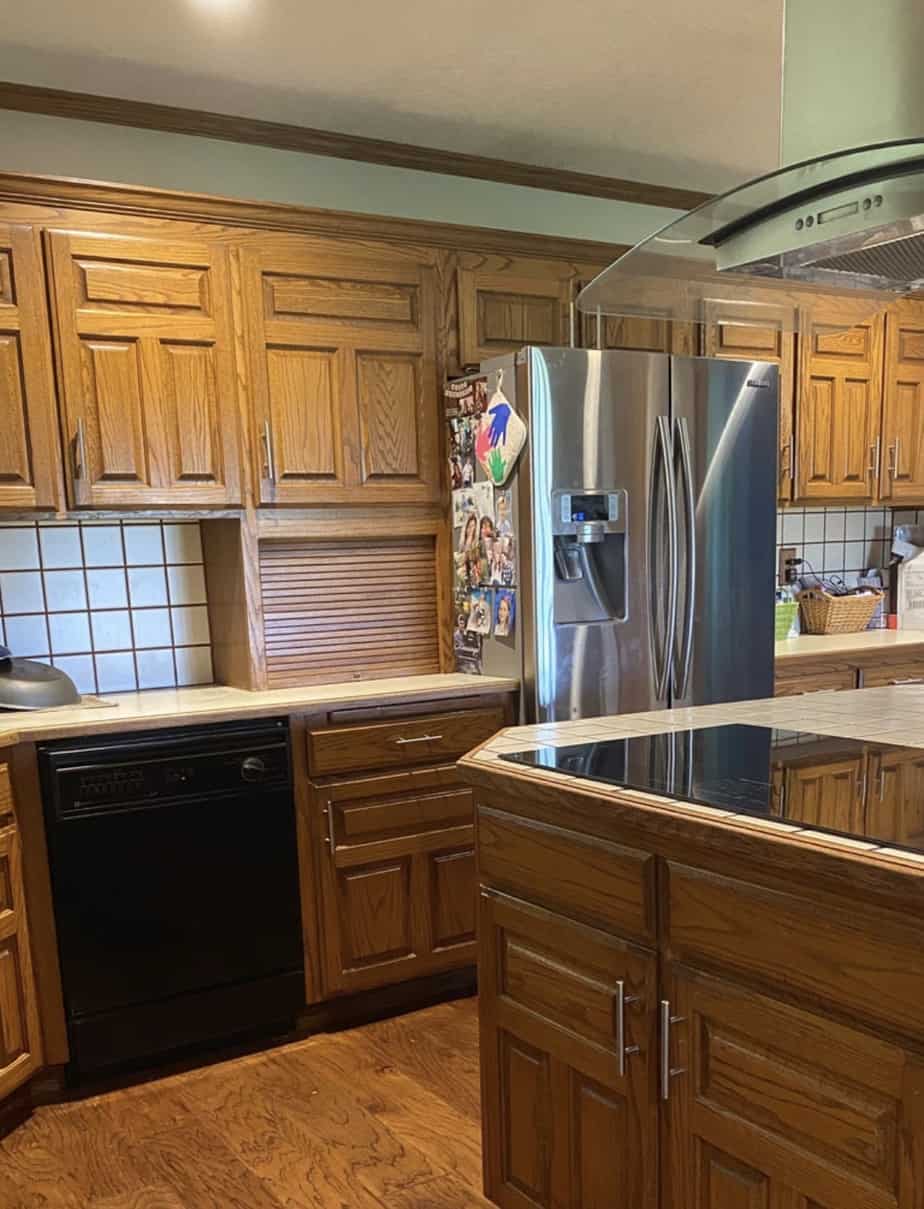
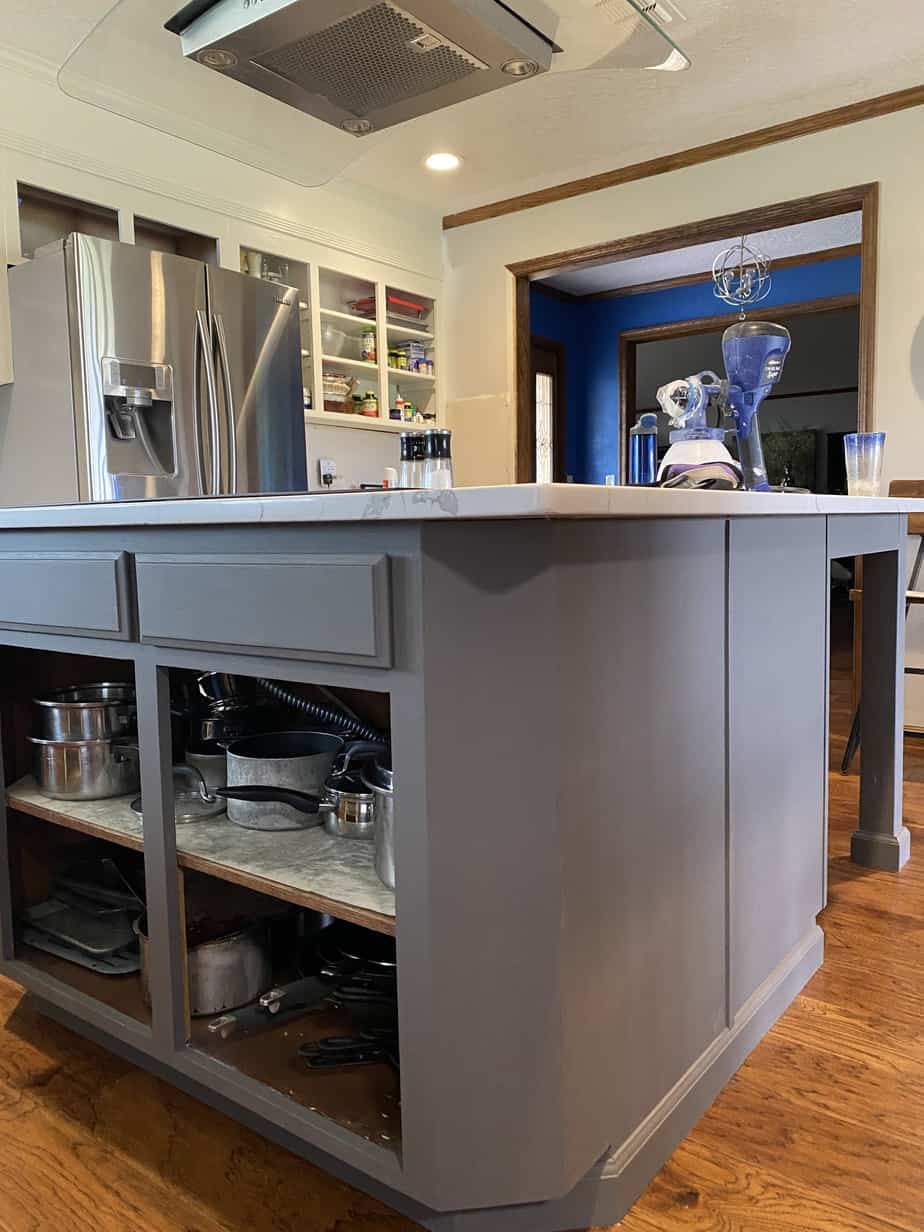
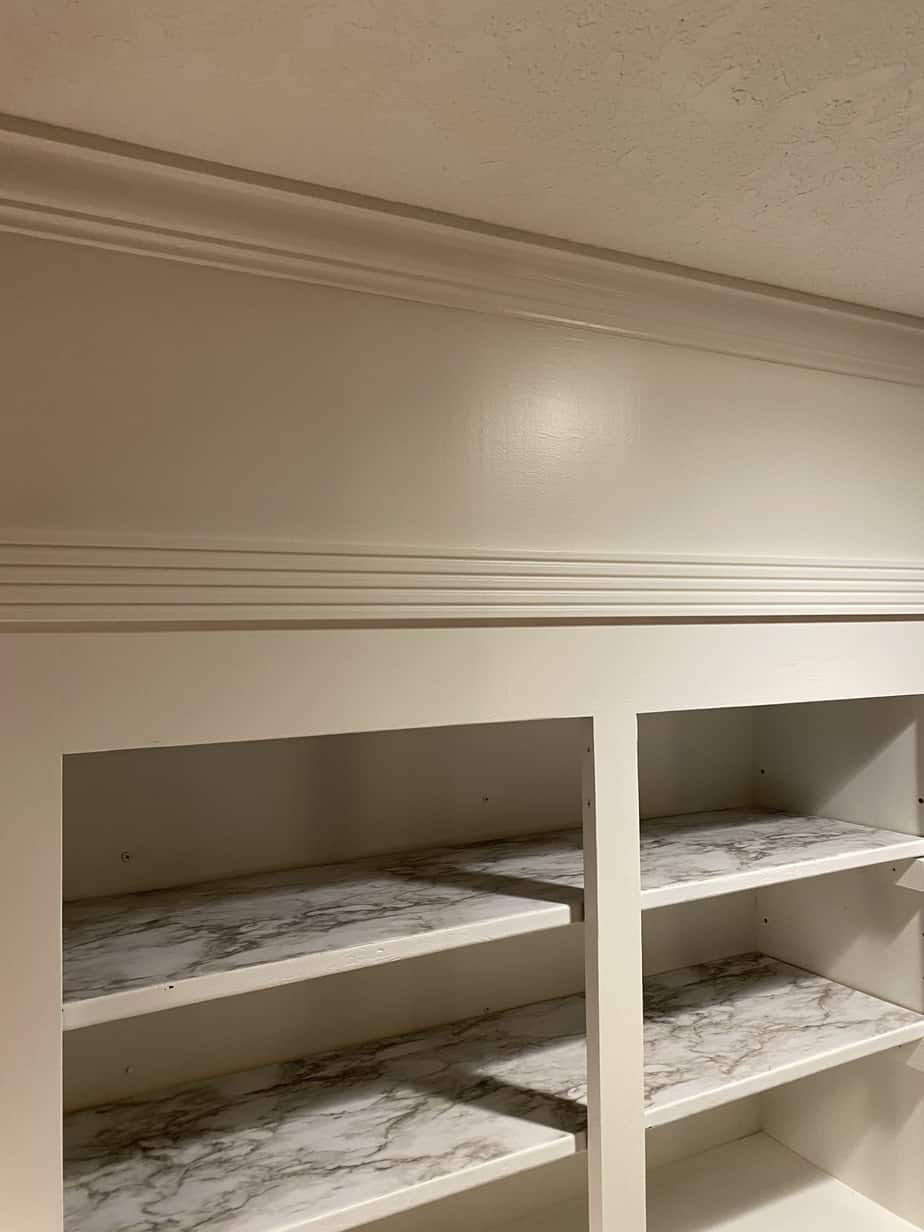
Here is a before shot of the cabinets before I enclosed the space above them. Not terrible, just a little dated and in need of a makeover. My MIL loves the look of two-toned cabinetry, so she decided on white for the upper and a medium gray for the lowers and the island. She also had a local design center scheduled to replace her countertops and backsplash for a full kitchen overhaul.
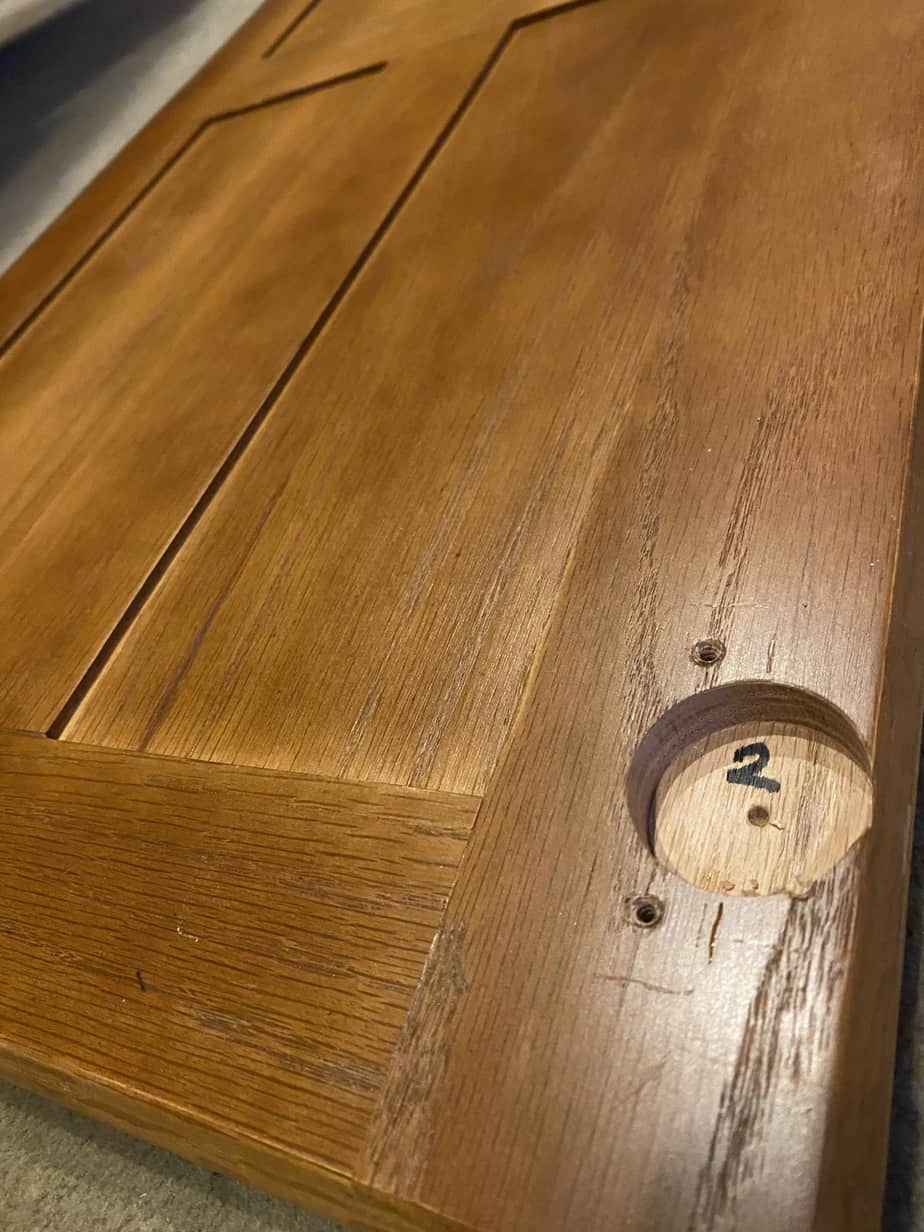
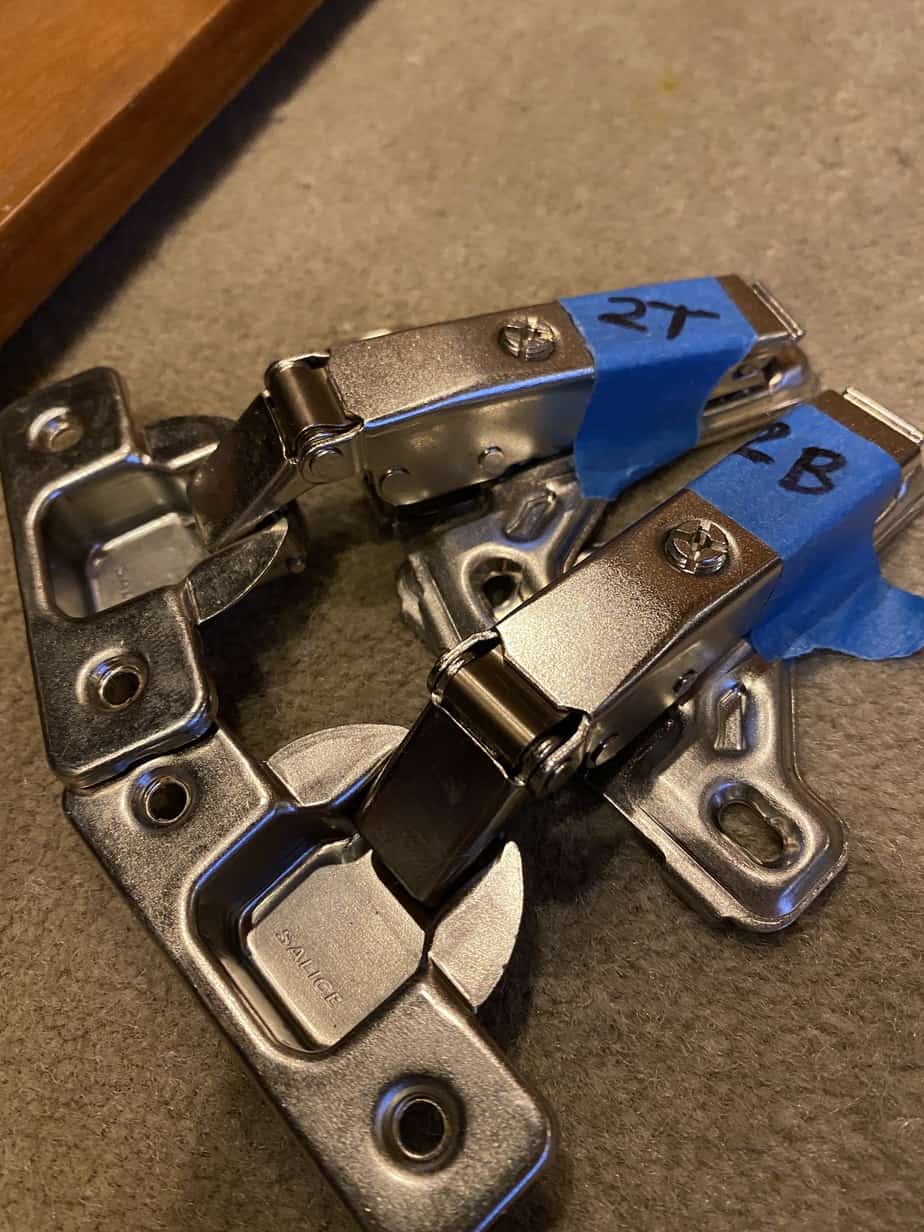
Step 1: Remove Doors and Hinges
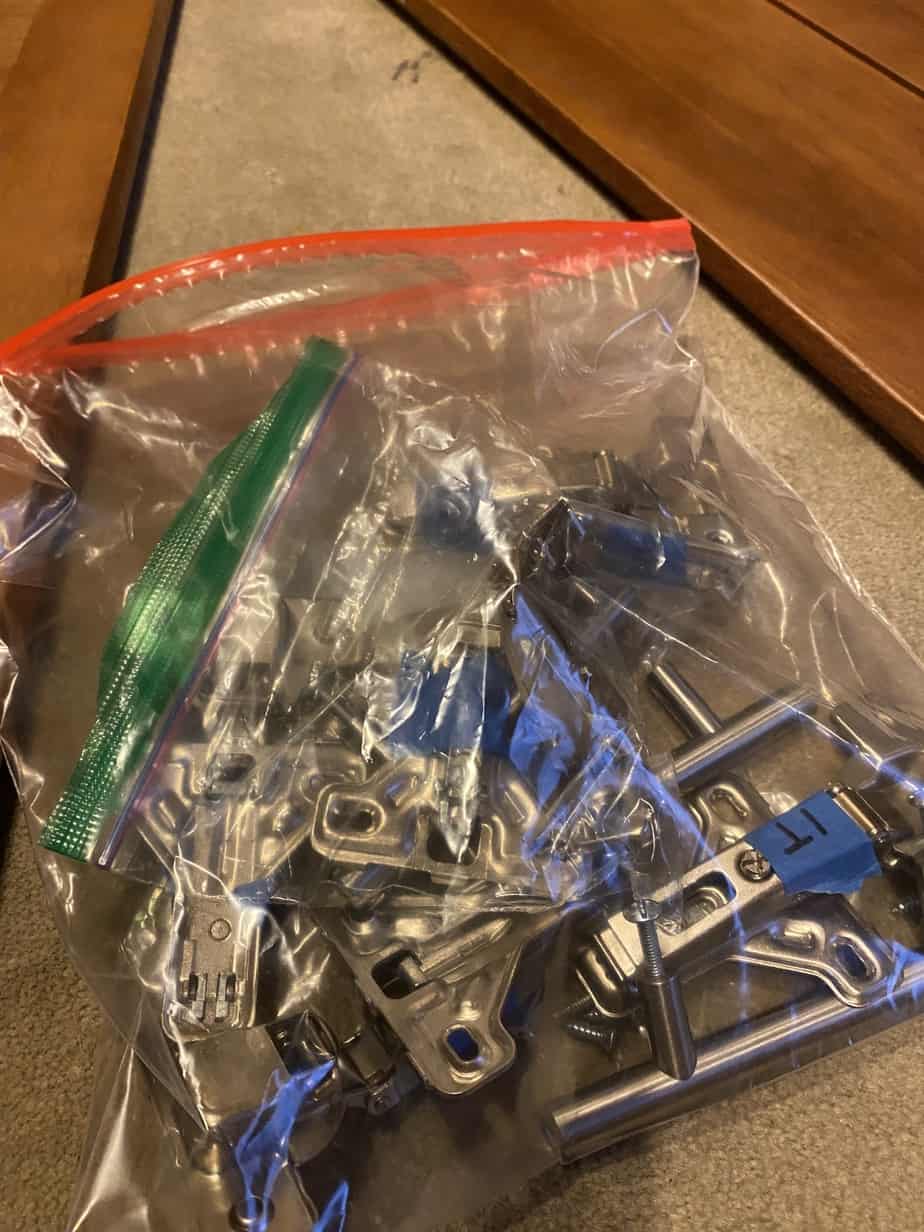
The first thing to do is remove all cabinet doors, drawer fronts, hinges, and hardware. Also, label everything! Label the doors, hinges, hardware…everything. They can be kept in Ziplock bags along with the screws so you can keep up with them. This may seem tedious but it’s definitely worth the time. Every hinge wears differently over time, especially if you are dealing with older cabinets. You want to make sure you get the right hinge back where it came from. I like to number the cabinet doors with a marker where the hinge sits. Right before painting, cover the number with a small piece of painter’s tape, so it doesn’t get painted over.
Step 2: Clean/Sand
Now that everything is labeled, it’s time to prep the cabinet surface for primer and paint. Cabinets collect a lot of grease and grime over time. I wiped down everything first with Krud Kutter. Next, I used Liquid Sandpaper to rough up the surface for the primer to adhere. This worked well for these but may not work well for everyone. If the cabinets you’re painting are super shiny with a lot of varnish, then Liquid Sandpaper may not be enough. You may need to sand a bit to rough up the surface so the primer sticks better.
Also, let’s talk really quick about wood grain. Some cabinets (especially oak) have more prominent wood grain than others and painting will only make it more noticeable. There are different kinds of wood grain fillers on the market. I know a lot of people swear by Aqua Coat but I have never tried it.
The first time I painted cabinets in my half bath, I ended up buying another brand of wood grain filler and it did not go well. I eventually ended up using some joint compound to fill the grain then sanded it smooth to see how it would do. This may not be the “correct” method but honestly, it worked. It has been several years and they have held up totally fine! The cabinets in my mother-in-law’s kitchen didn’t have as much wood grain so I didn’t fill them and she didn’t mind the little bit that did show through. It’s really just a personal preference.
Step 3: Prime
We’re now at maybe the most important step in the cabinet painting process, priming, and not all primer is created equal. There are several different types of primers out there and choosing the correct one for the job seriously makes all the difference. It can make or break your project as it’s the base for everything. Never skip this step. Even if the paint can says “no primer needed”, prime it anyway. My favorite primers are by Zinsser.
Let’s talk tannins. Heard of them? Yeah, I hadn’t. Tannins are naturally-occurring compounds found in wood. Without the proper primer, these tannins can seep right through your paint and ruin all of your hard work. Unfortunately, this is a lesson I had to learn the hard way.
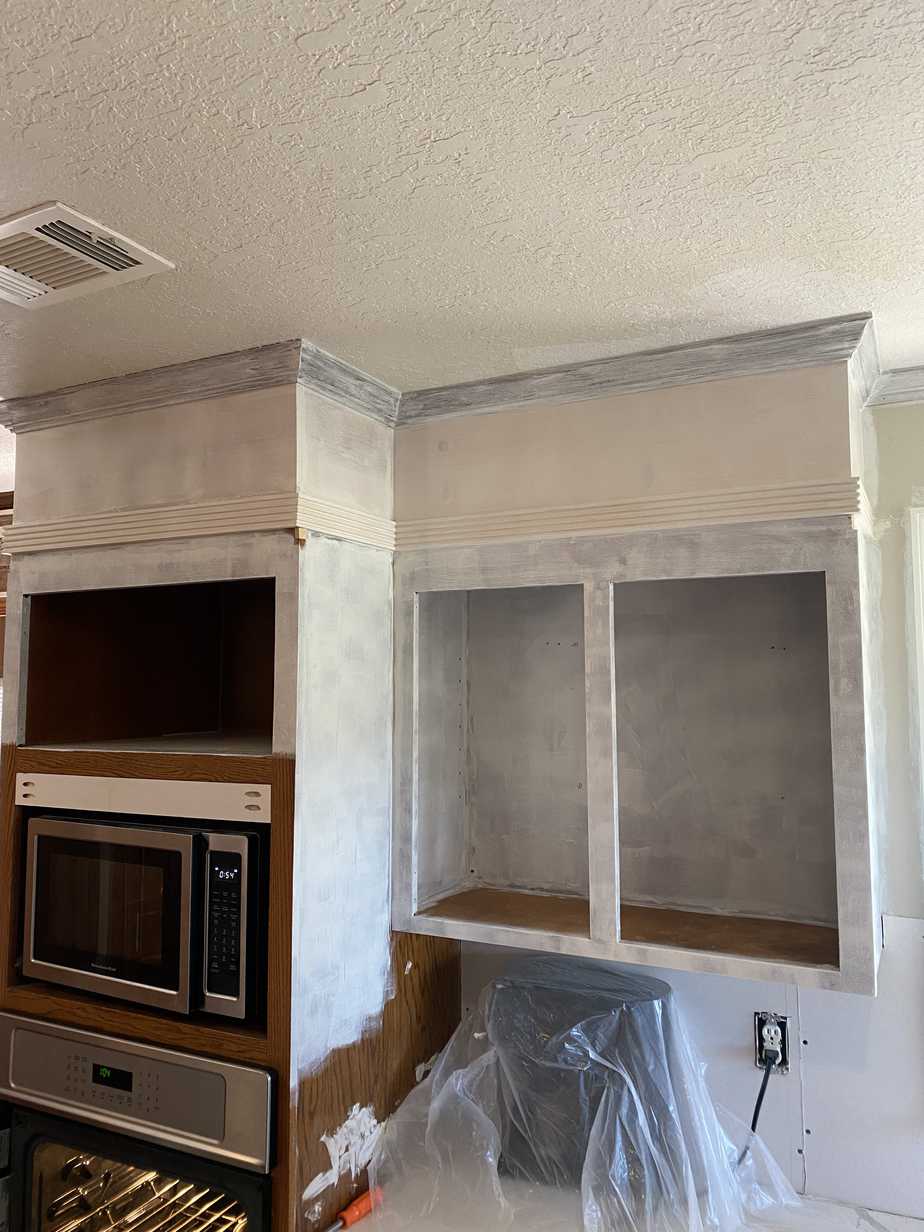
These cabinets are varnished solid wood and the enclosed portion above the cabinets is raw wood. After using the wrong primer, I finally found Zinsser B-I-N shellac-based primer. It’s specifically formulated for sealing in tannins, sealing knot holes, etc. It’s very thin so a gallon will go a long way which is great. It also dries extremely fast which can be a pro and a con. You have to move quickly but also you can move on the painting step faster. Another thing is it stinks to high heaven so you definitely want to wear a mask and the cleanup can be tricky. I have a jug of straight ammonia from Walmart that I keep on hand just for this to soak paint brushes in afterwards. This primer can be sprayed but it can also be hand painted.
My rule of thumb is always at least two coats of primer before paint that way you know everything is nice and sealed in. I also use a 220 to 320-grit sanding block after each coat of primer to remove any bumps in the paint, they sand right off easily.
Step 4: Paint
Priming is complete, now it’s time to paint. Choosing the right cabinet paint is also super important. You want a paint that is going to be durable with a sheen that makes it easy to wipe clean. Enamel paint is really the only way to go. It’s durable enough to withstand the wear and tear. Latex paint just can’t do that. The best part is that it doesn’t require an additional topcoat as it cures to a super-hard finish over time. That’s also good news if you ever do get a scratch or ding over time you can just dab a bit right on.
Paint sheen is sort of a personal preference but as long as you don’t use flat or matte for your cabinets, you’ll be fine. A flat finish is easy to touchup later but it will be harder to keep clean. Both times I’ve painted cabinets, I’ve used a satin finish. Not too shiny and still easy to wipe down.
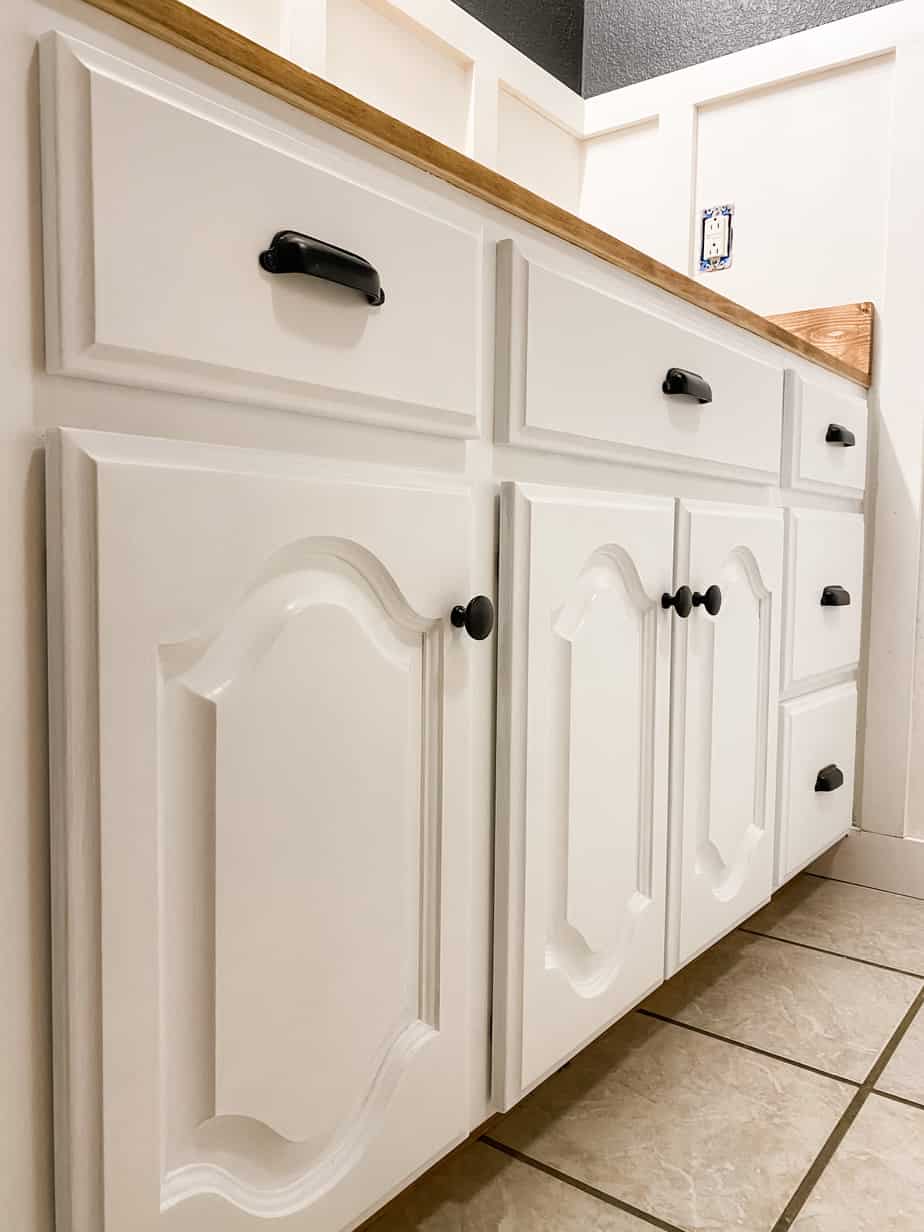
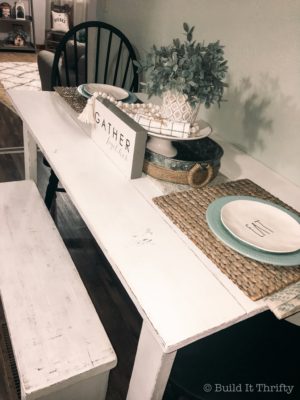
As I said earlier, the first time I painted cabinets was for my half bath remodel (pictured below). You can click here to read that post. They turned out great and the INSL-X Cabinet Coat paint is seriously amazing stuff. Unfortunately, I couldn’t use that paint for the kitchen cabinets because it isn’t tintable, it just comes in a basic white. If you are looking for just a plain white with no undertones, that paint is a great option.
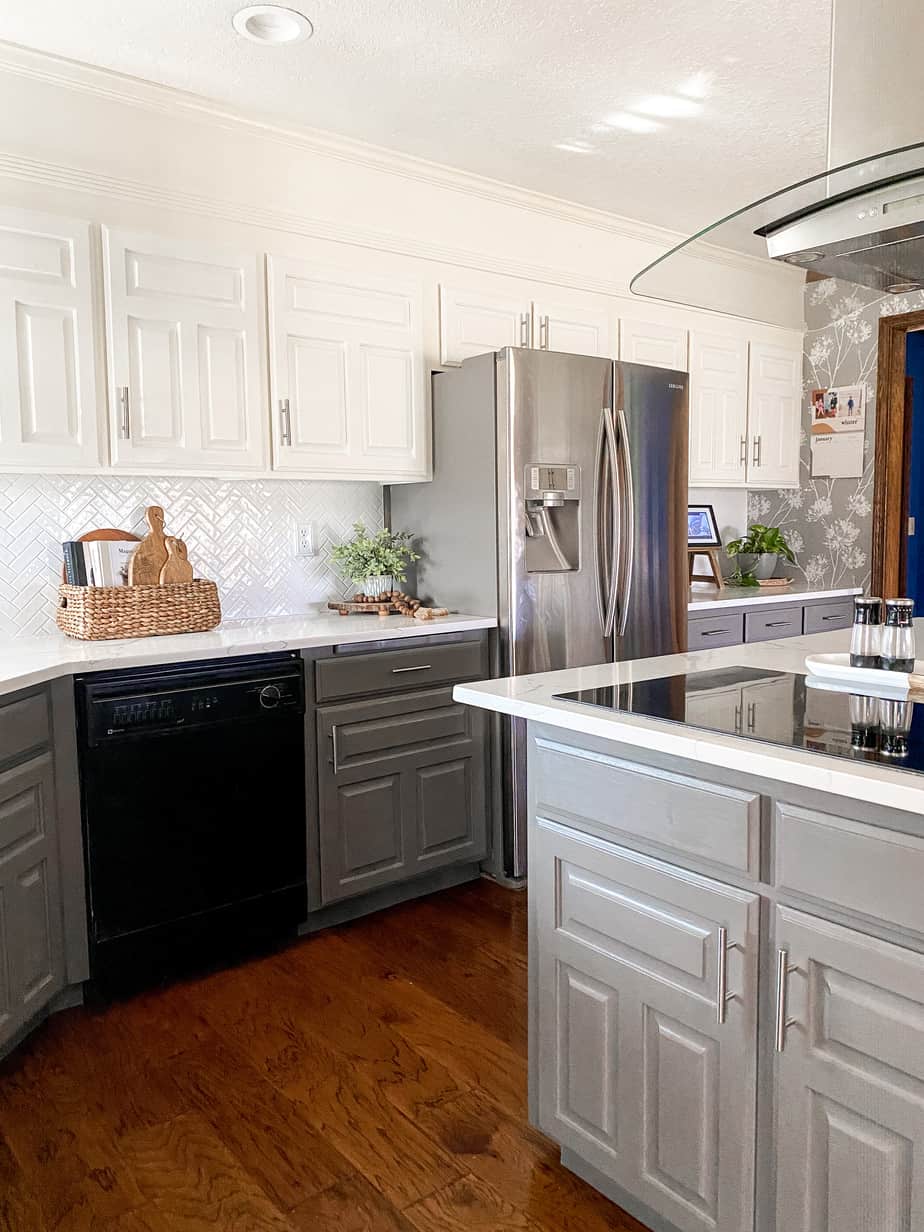
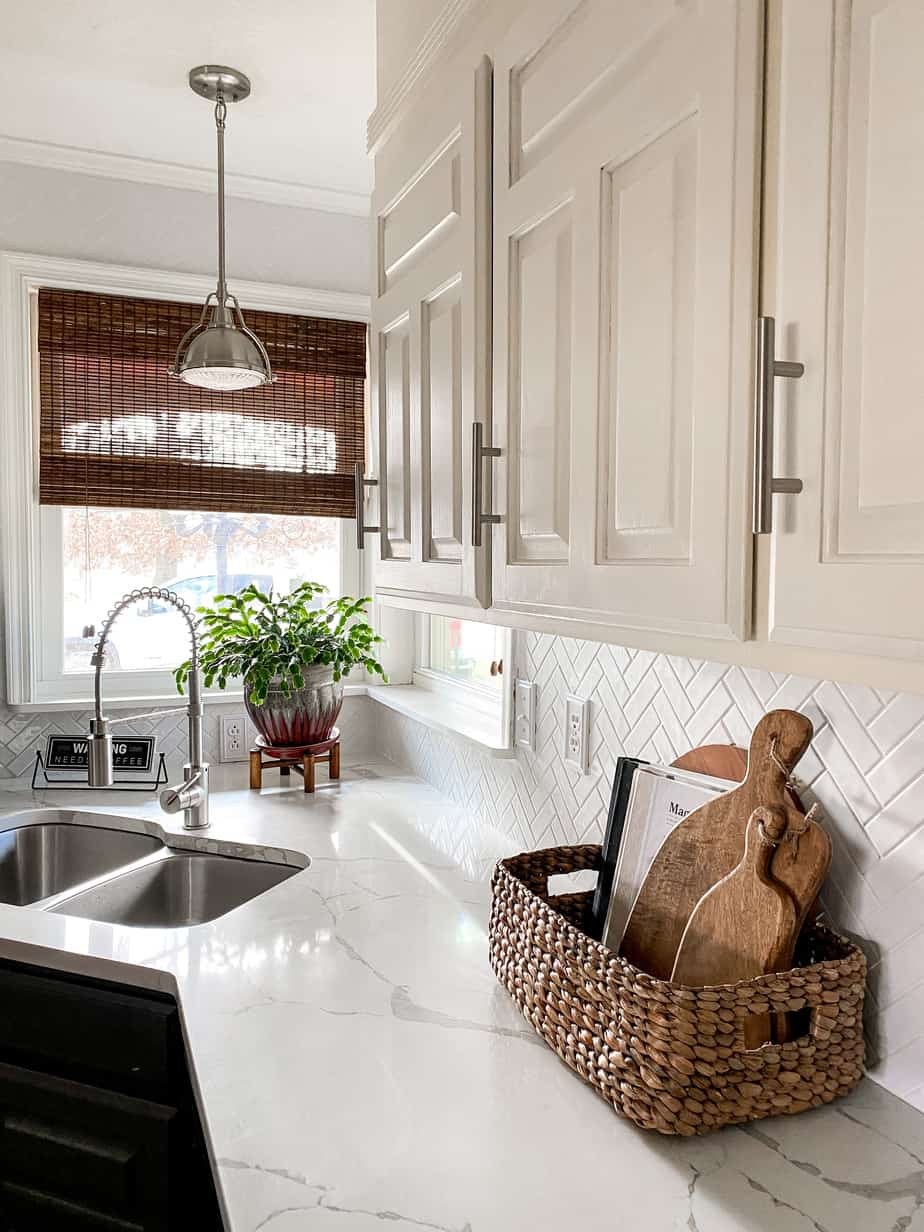
For the kitchen cabinets, I used Valspar Cabinet & Furniture Oil-Enriched Enamel which can be tinted to any color. The uppers are White Dove by Benjamin Moore and the lowers are Rugged Suede by Valspar. It’s thin and self levels. It also cleans up with soap and water which is a bonus.
To tackle these, I decided it was time to buy a paint sprayer so I went with the HomeRight Super Finish Max. You’ll find there are lots of different brands of enamel paint that others swear by. I went with this one because of good reviews and the affordable price point.
Spraying Vs. Hand Painting
Ok, so should you use a paint sprayer or can you hand paint? It’s true, the best way to get that professional looking finish is with a paint sprayer. That being said, if you are using the right paint you can still get a great looking finish from painting by hand. Don’t let not having a paint sprayer be the thing that stops you from cabinet painting. The bathroom cabinets in the pic earlier were all painted by hand before I even owned a paint sprayer. The enamel paint that I used is thin and self-leveling which means that your paint strokes will virtually disappear. I used this 1/4″-nap mini roller on the flat parts and this square brush on the curved recessed areas. I still ended up with a nice smooth finish…it just took a little longer.
Final Thoughts
Have I overwhelmed you with information? I hope not. Painting cabinets is definitely a lesson in patience. It takes a while so don’t be discouraged! Heck, you can always start slow and do one door at a time until you get the feel for it. Set your own pace! You make your own rules. LOL Well, there you go that’s everything I’ve learned about cabinet painting but I’m always learning more and there are lots of different paints I would love to try later on.
Do you have any tried and true methods for painting cabinets? If so, drop them below! I’d love to know or just hear about your own experiences!
Also follow @builditthrifty on Instagram and you can check out my highlight for this entire project! Every product listed above can also be found in my Amazon Storefront HERE.


No Comments