
Do you want to enclose the space above your cabinets but don’t know where to start? I was in the same boat when my mother-in-law asked me to do just that in her kitchen. I immediately went to Pinterest for ideas. After reading about several different techniques, I ultimately chose the method that would work best for me to utilize materials I already had on hand. While I was ultimately happy with the end result, looking back there are a few things I would’ve done differently. Here’s how it went down…
Materials:
- 2x4s
- 1x lumber, plywood, or MDF (this material is really your preference, I used 1x lumber)
- Pocket hole screws
- 18-gauge nails
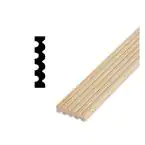
- Decorative trim to hide seam
- Crown molding if needed
- Caulking
Tools:
- Miter saw
- Drill
- Kreg Jig
- Nail gun
- Stud finder
Step 1: Build the Frame
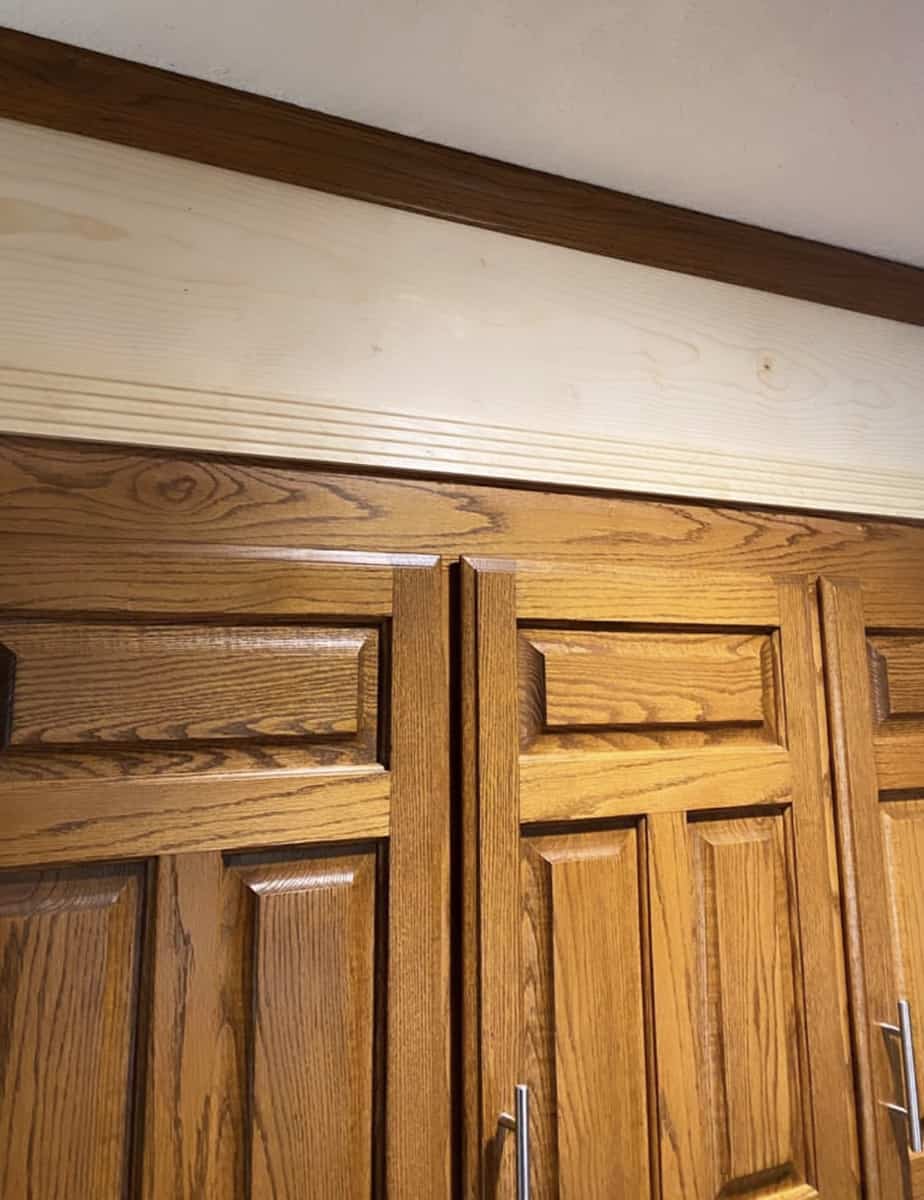
(FYI-you may not want to enclose the space above cabinets if you don’t plan on painting your cabinets afterwards)
If there is existing crown molding on the cabinets, remove it. Do this carefully as it will be reused later.
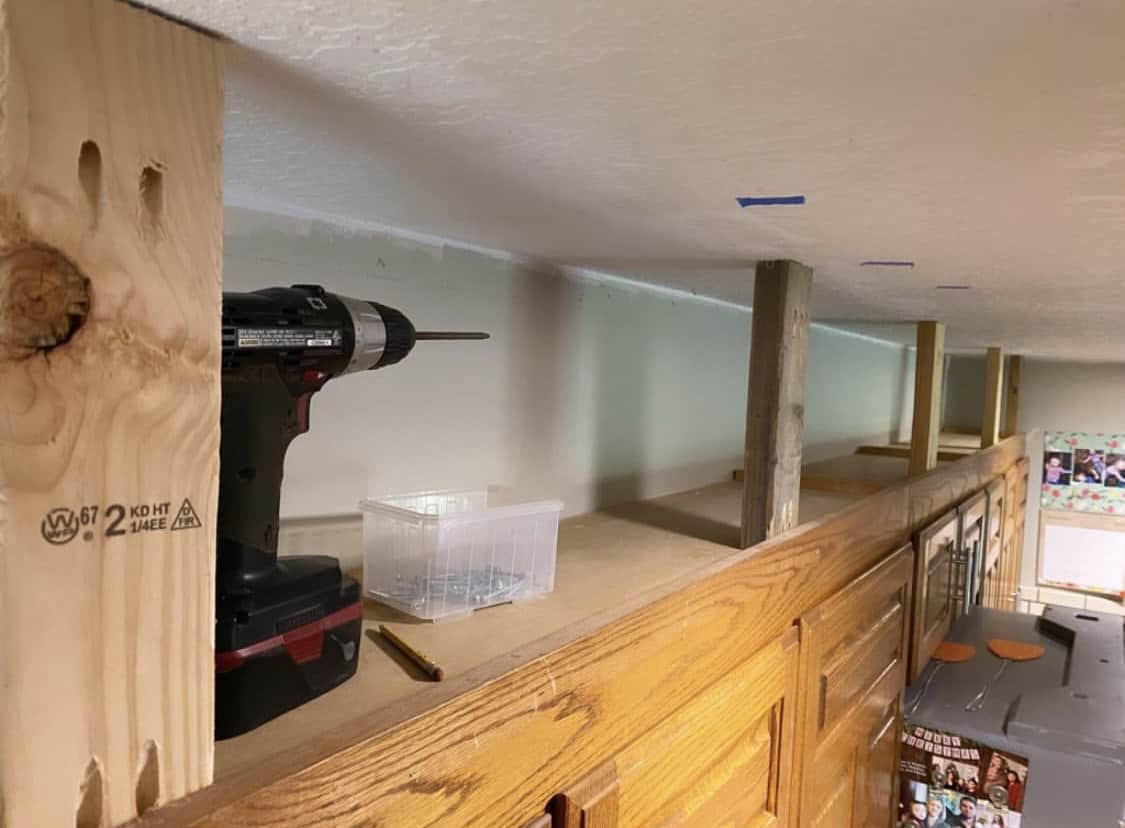
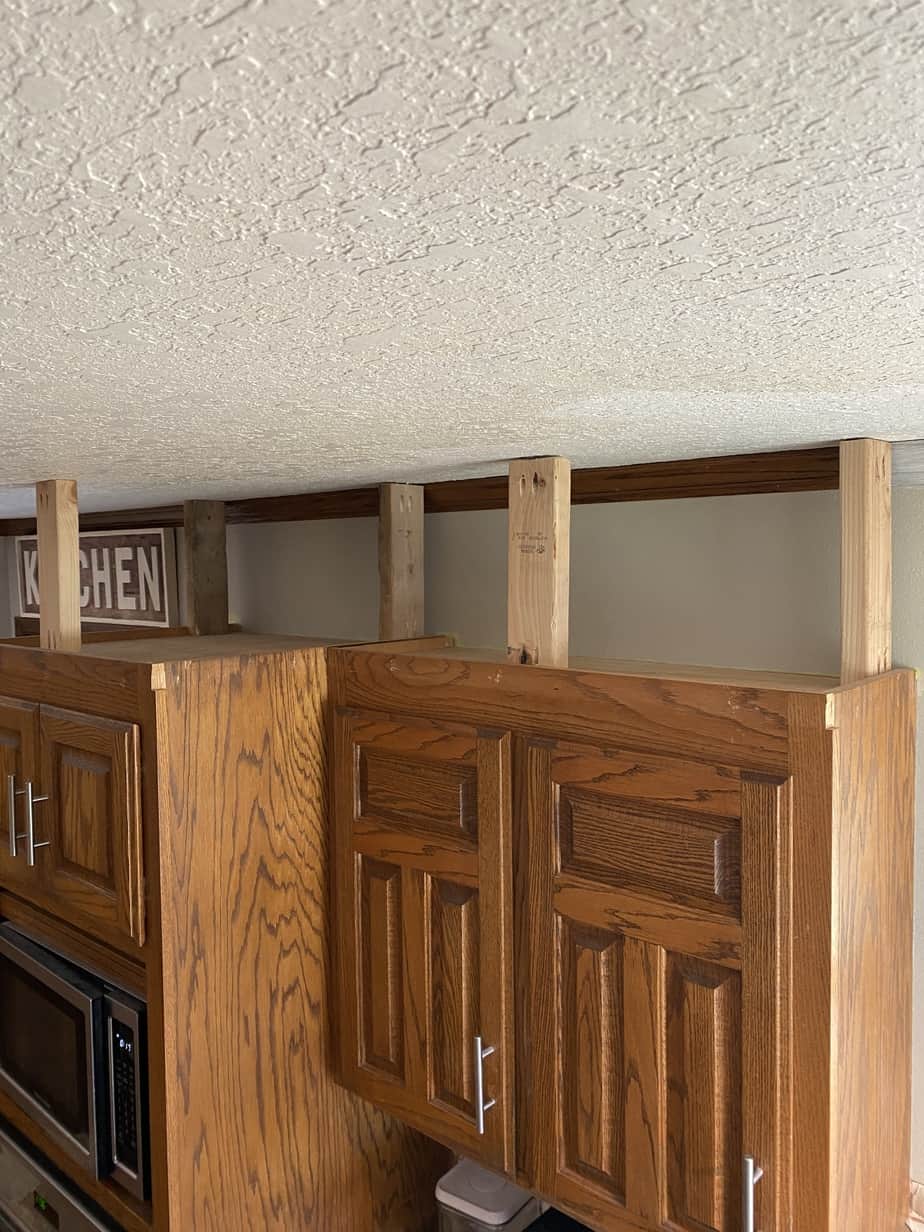
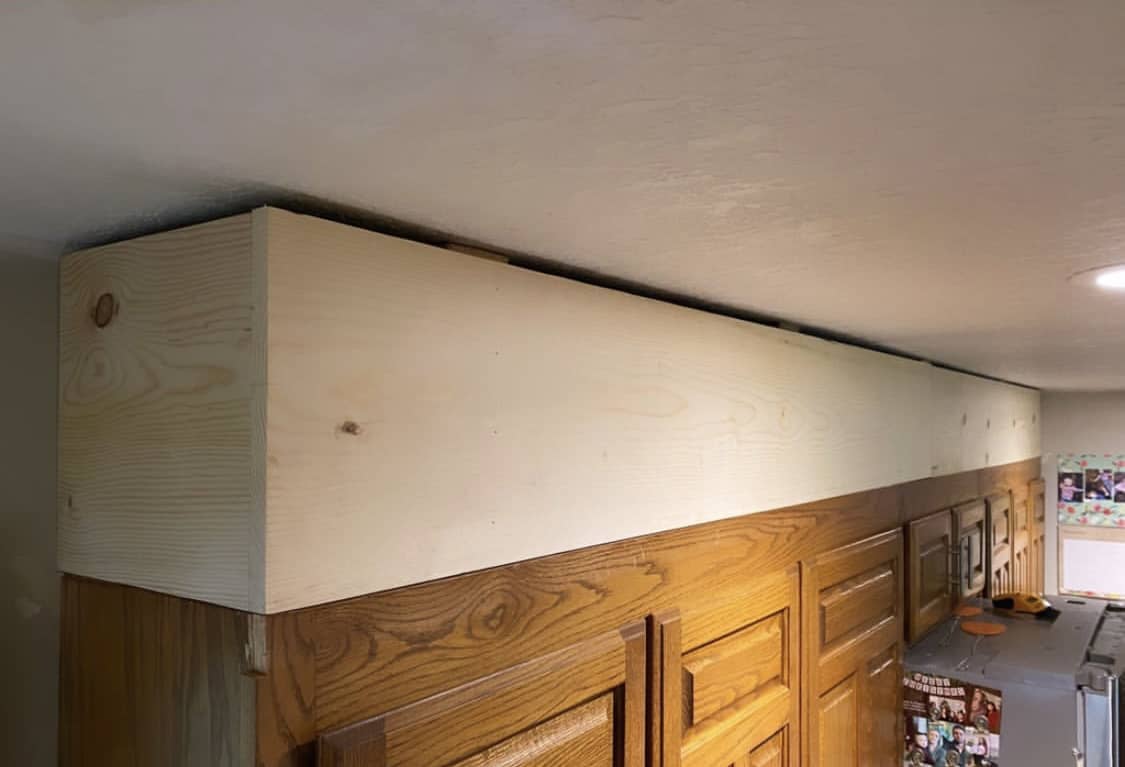
Grab a stud finder to locate the joists in the ceiling. I marked where the studs were with painters’ tape. Next, I measured the space between the cabinets and the ceiling and cut the 2x4s accordingly. I used my Kreg Jig to drill pocket holes in the ends of each 2×4 and used 2-1/2″ pocket hole screws to attach it into the cabinets below as well as the ceiling joists above. I made sure each 2×4 was level before screwing it in.
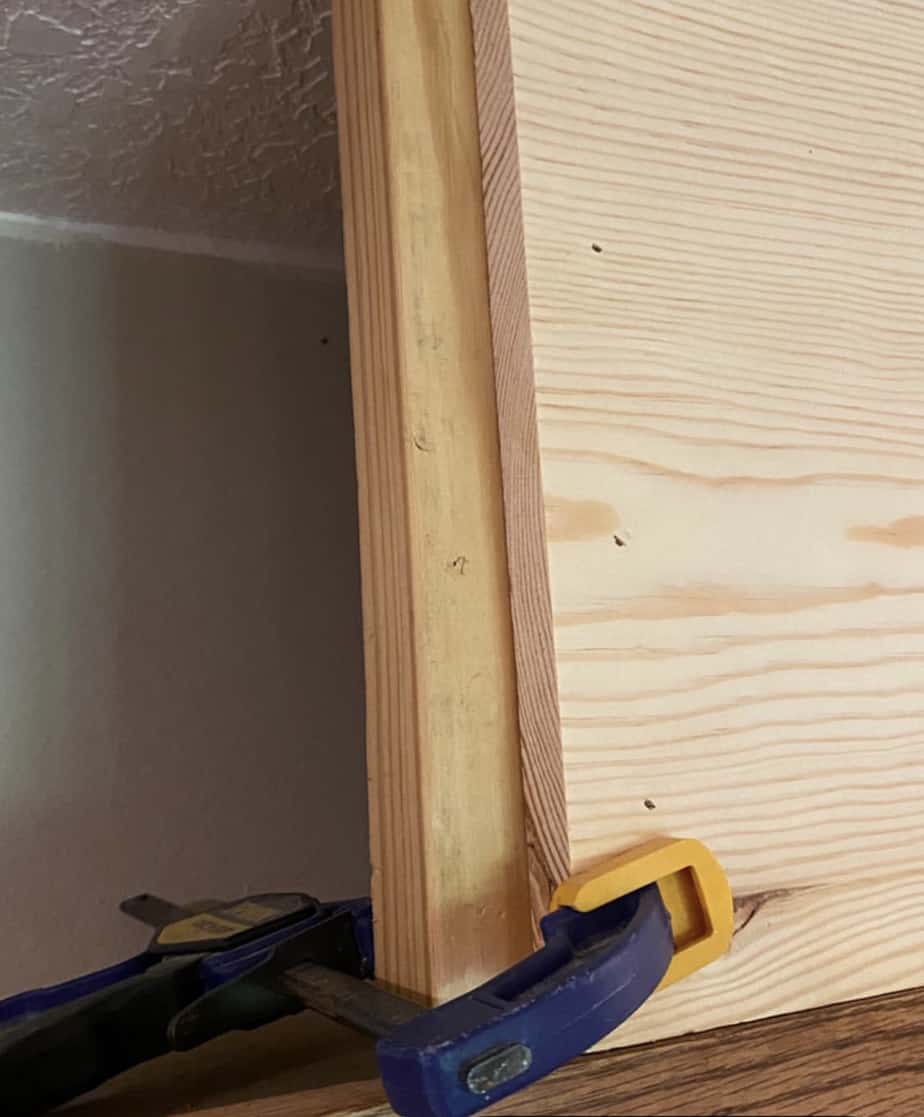
Step 2: Attach Boards to the Frame
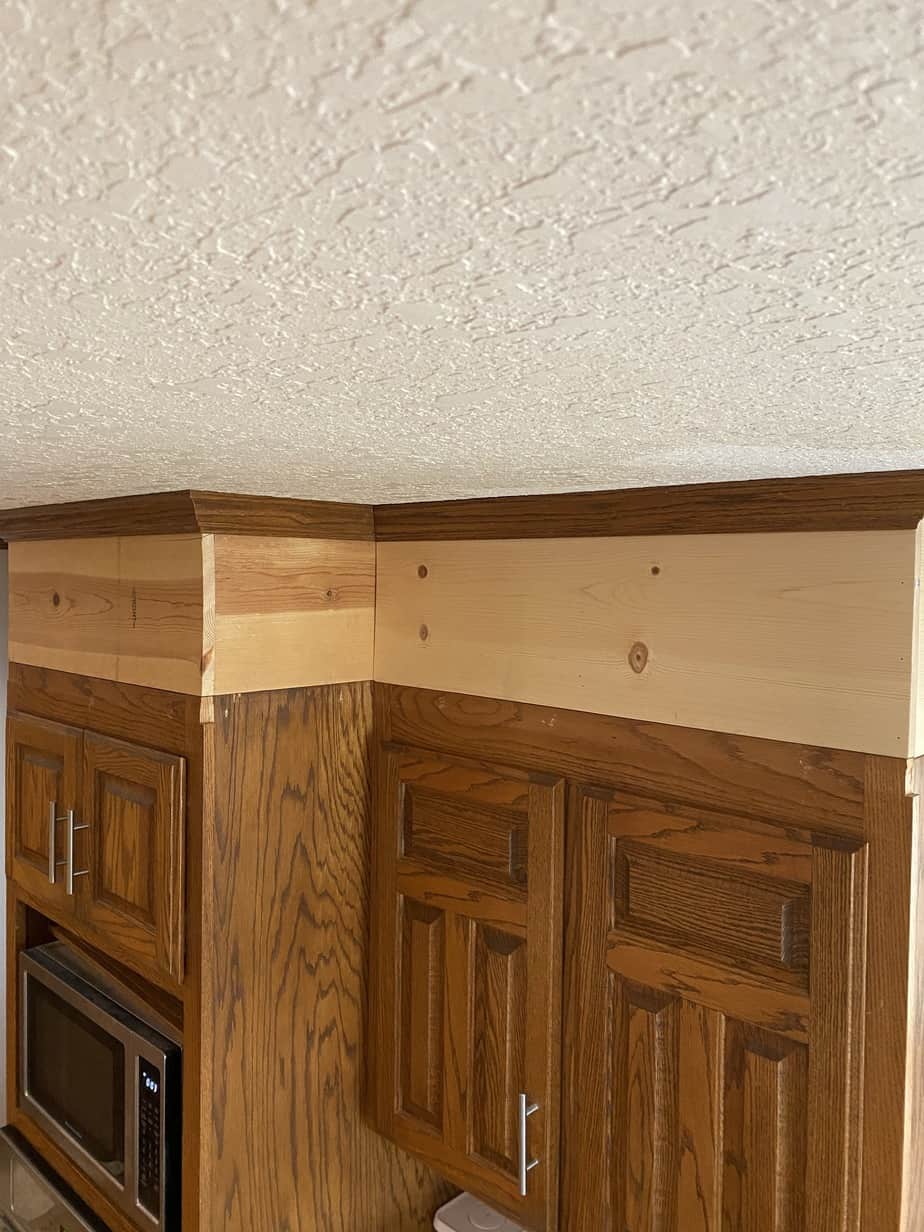
Now that all the 2x4s are secure, we have a frame that we can nail to. Whichever material you are using, rip it to size accordingly. I took a 1×10 and used my nail gun to attach it to the 2x4s. Since the cabinets and the board were the same thickness, it just sat flush right on top of the cabinets. However, you don’t have to use thick 1x lumber. Honestly, if I could go back and do it all over, I would probably just use some 1/4″ to 1/2″ plywood and cut it to size. The 1×10 is what I had on hand at the time and the width actually fit perfectly in the space. I did end up having a seam in the middle where the two 1x10s met but once I patched it with joint compound and it wasn’t noticeable.
Another thing I wish I would’ve done is miter the ends of the boards where they meet to 45 degrees for a more seamless look. I also could’ve used some corner trim to hide that seam which I didn’t think about at the time. Instead, I had to take the time to sand the edges of the boards and fill the cracks. It still looks fine, but it would’ve been easier just to do that from the beginning so learn from my mistakes here!
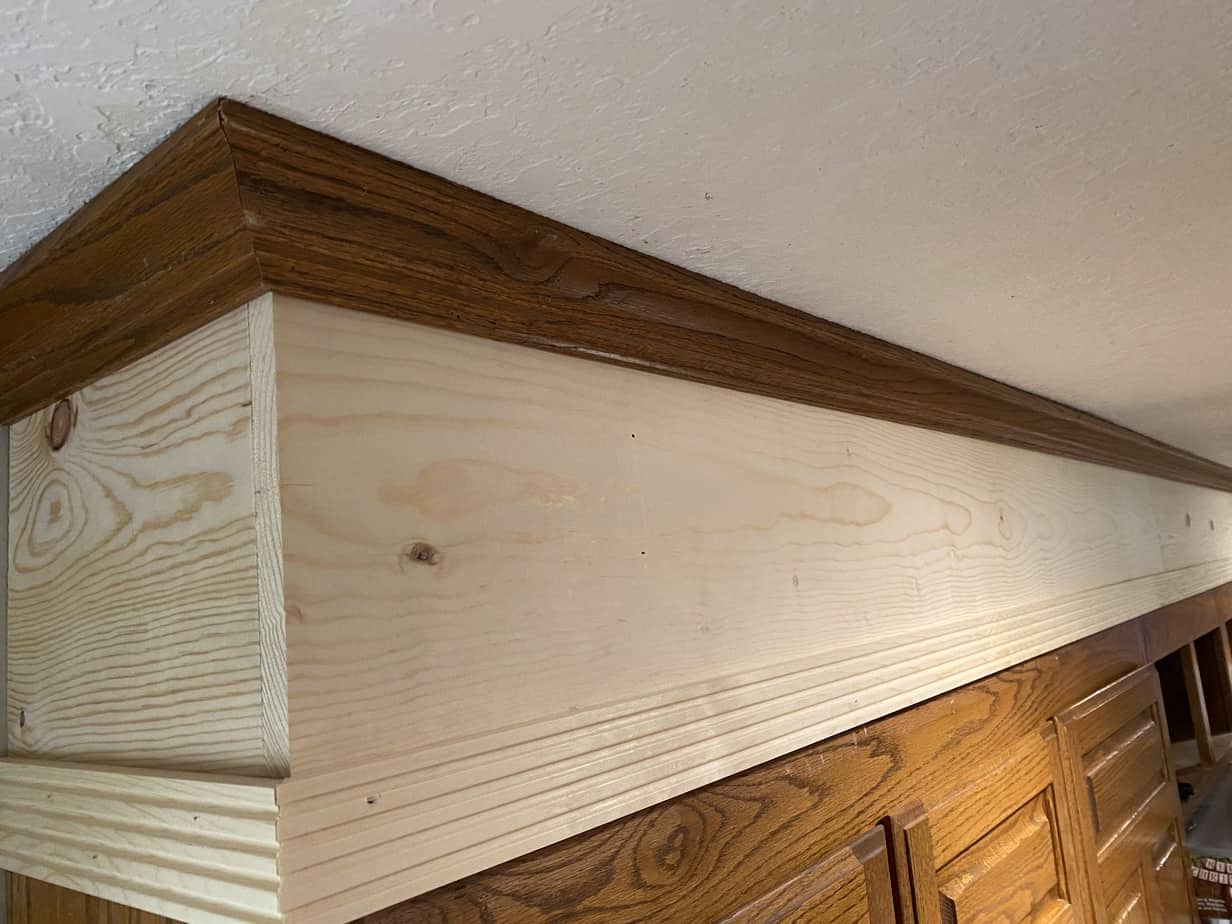
Step 3: Reattach Crown and Add Trim
You’re going to have a seam now where the boards sit at the top of the cabinets. To fix this you can add some decorative trim. The trim you use here is all personal preference. Position the trim and check for level then use a nail gun to attach it. Funny enough, I did end up mitering the corners of the trim to 45 degrees. LOL If you removed any crown molding, all you have to do now is just move it up to the ceiling and use a nail gun to reattach. Fill all nail holes and caulk any gaps.
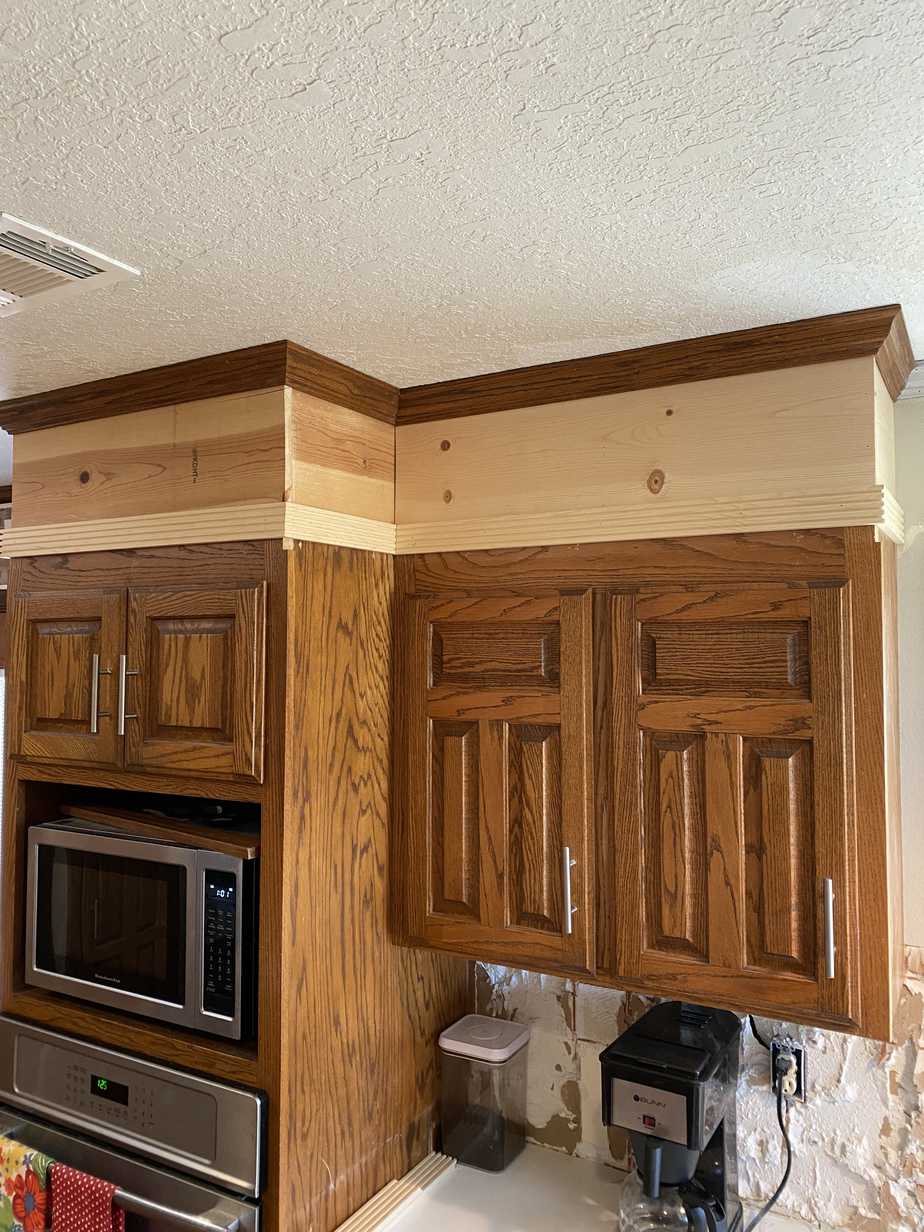
Now you’re ready to start priming and painting, which is a whole other can of worms! If you want all my tips on painting cabinets, then you need to read THIS post.
There you have it! If you have any questions about any of the steps, just let me know!
Link decorative to trim used:


No Comments