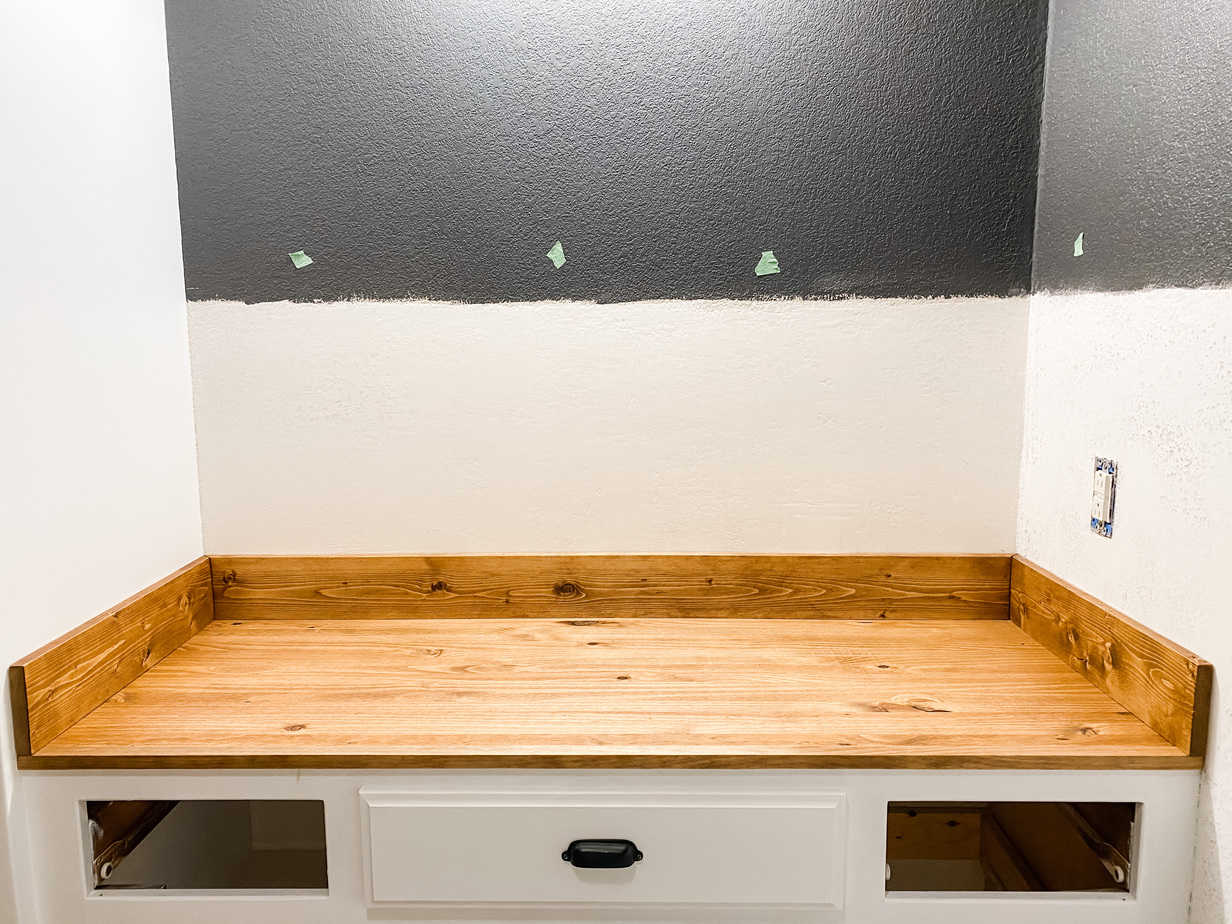
Last week, I shared my vision for this half bath. It’s now week two of the One Room Challenge and I installed this new wood vanity top! With all the black and white going on in this bathroom, this stained wood adds some much-needed warmth.
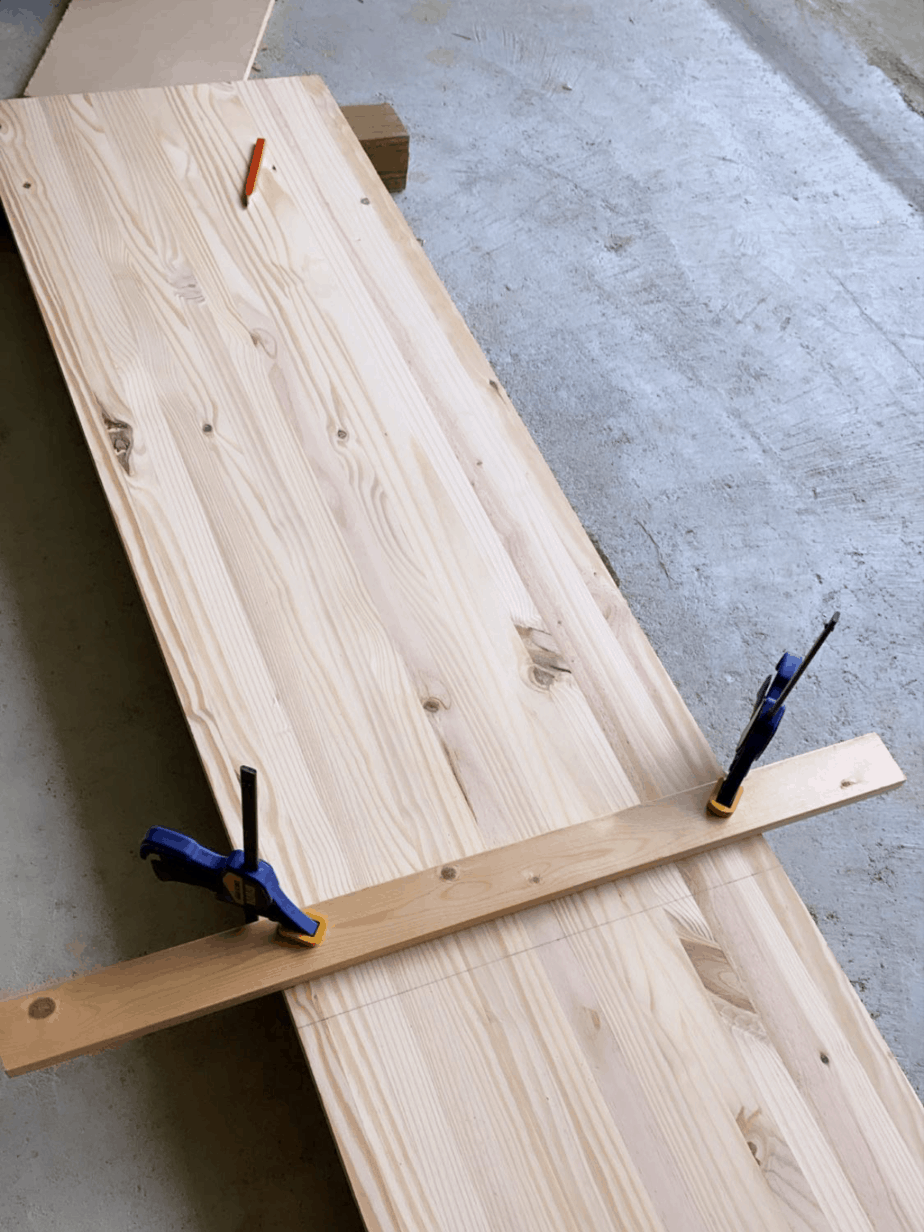
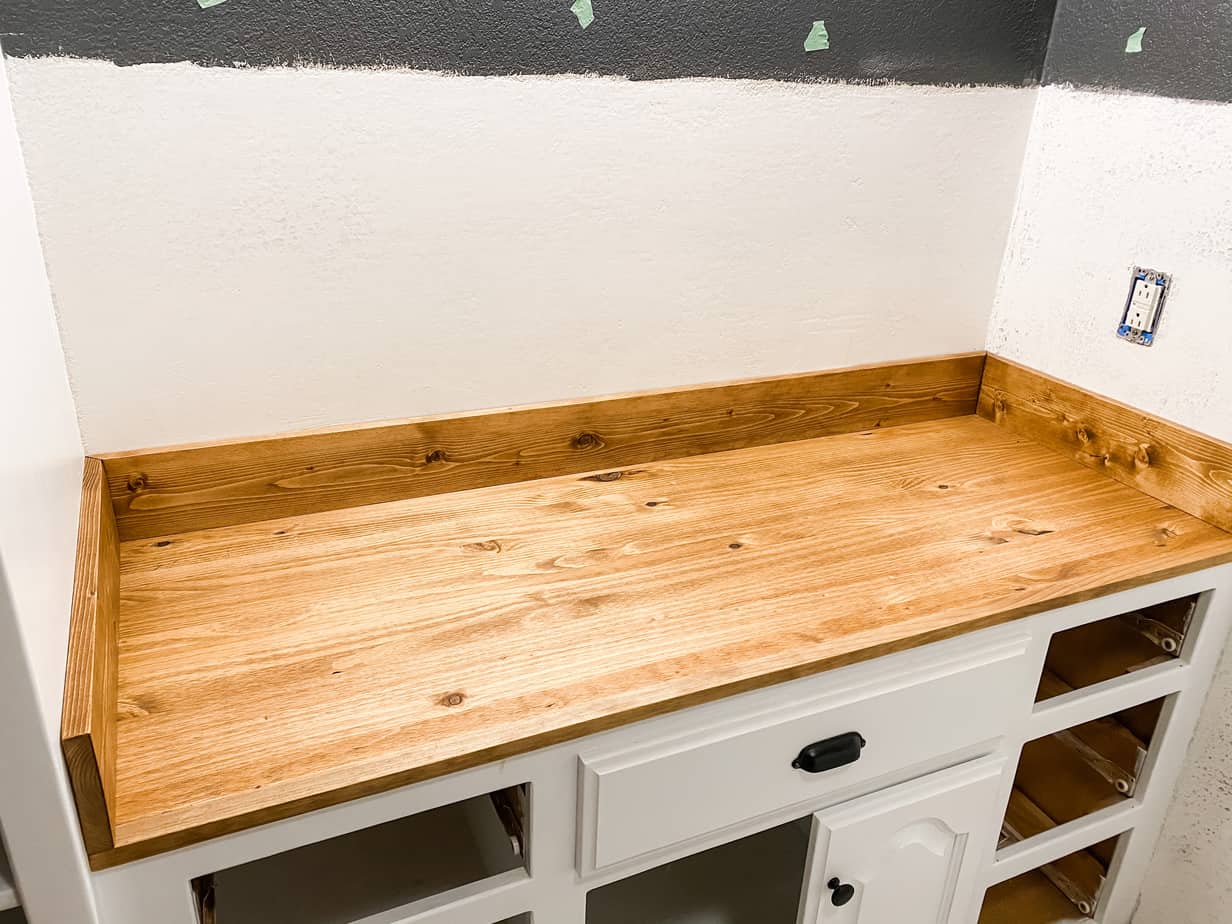
Using wood was the least expensive option to replace the old vanity top. I used a project panel from Lowe’s which was very inexpensive. I added a trim piece at the end and used 1×5 boards as a backsplash.
Before the install, everything got a coat of wood pre-conditioner and two coats of Minwax Early American.

I attached 2x4s to the cabinet frame and then secured the vanity top to those 2x4s. I installed the backsplash boards using Liquid Nails and also my brad nailer.
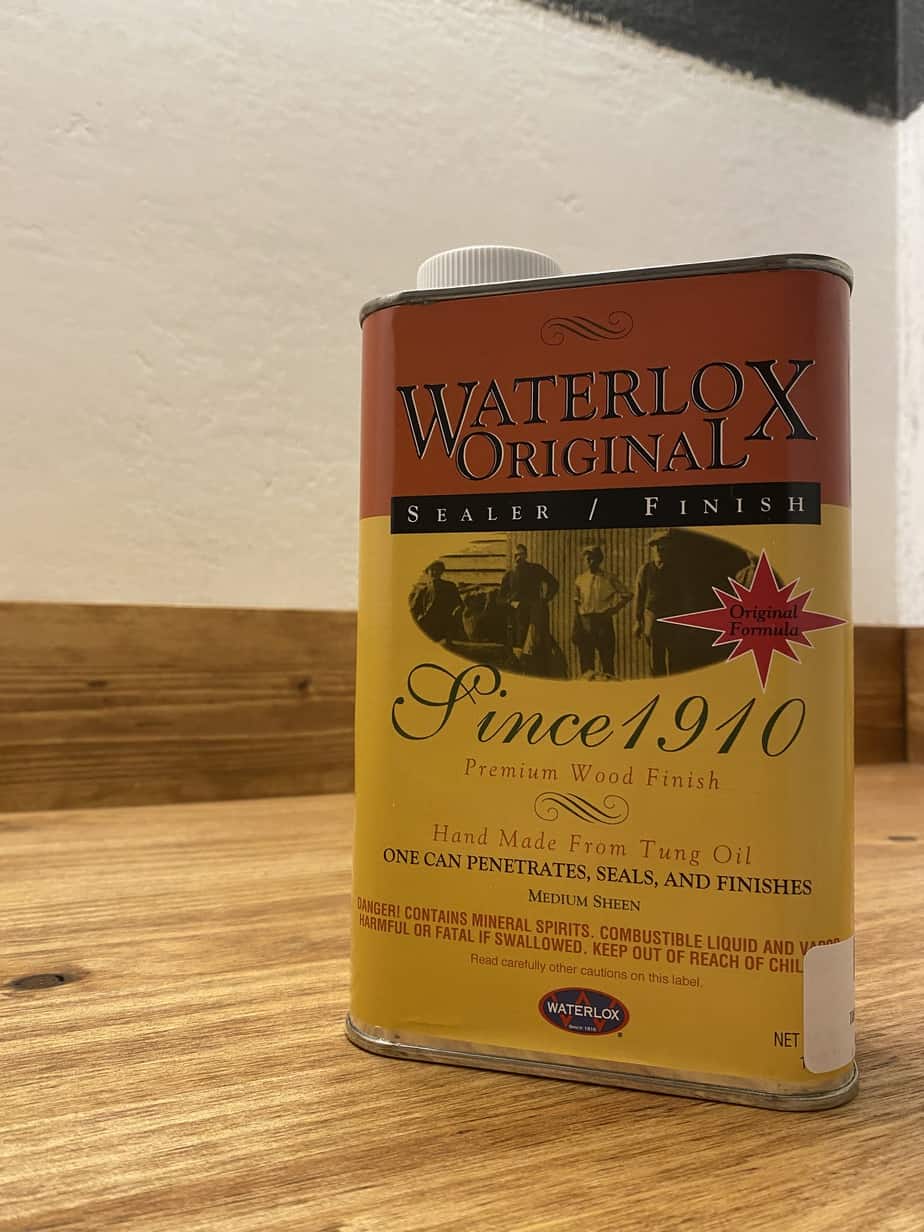
To deal with any moisture, I’m going to seal all the joints and then apply four coats of Waterlox Sealer. I did some research on how to waterproof a wood counter and apparently this stuff is supposed to be awesome. (Update-this product will give the wood a medium sheen so if you are going for a matte finish you may want to use another product.)
Now that the wood vanity is complete, the room is really starting to take shape! The next challenge will be installing the board and batten and I will be posting about that next week.
Don’t forget to follow my stories on Instagram to see more progress!