
Once upon a time, I was staring at the huge blank wall in our living room and thought “This would be awesome with an entire wall of built-ins.” After thinking about it constantly, I decided to do some research and figure out how to make this dream a reality. I knew I didn’t want to build them completely from scratch (who has time for that?) and noticed that a lot of DIYers used pre-built stock cabinets from a big box store. Sounded good to me so I was off to Home Depot to get unfinished wall cabinets.
This project is a doozy, so buckle up! I’ve broken it up into three parts to be less overwhelming. Part one of this Living Room Built-Ins post will focus on building the base cabinets.

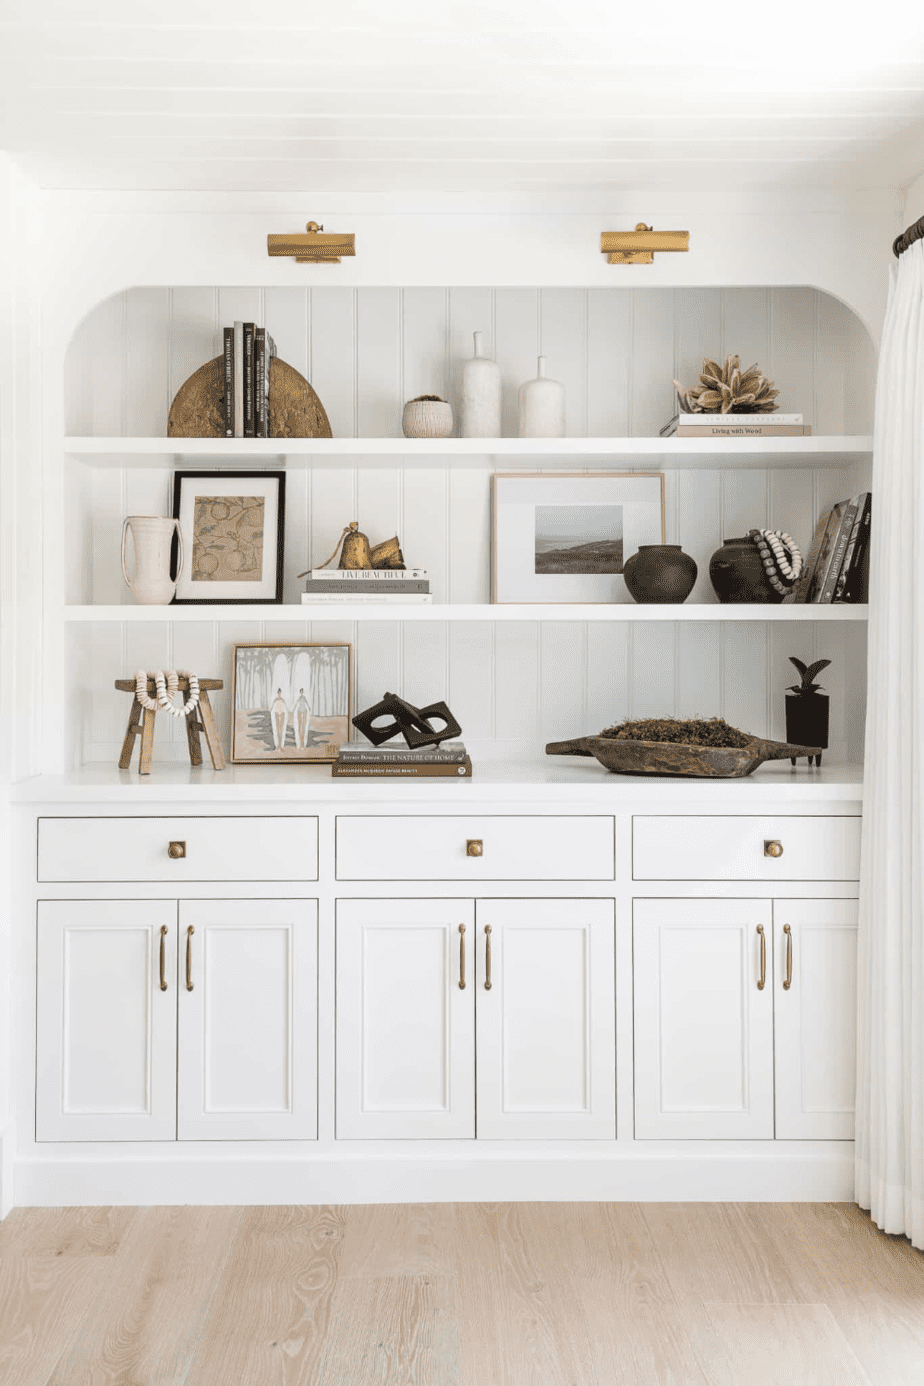
The original plan was to do just some basic built-ins, nothing fancy or extra. Then, I saw this pic on Pinterest and it stopped me dead in my tracks. I didn’t know how I was going to build those curved corners, but I knew I needed them in my life as well as that shiplap. Also, I can’t ever do anything the easy way (what else is new). It immediately became my official inspo pic for the entire project.
(This post contains affiliate links)
Materials:
- 2x4s
- Prefab unfinished wall cabinets
- 3/4″ plywood
- Screws
- Several pieces of scrap 1x material
Tools:
- Miter saw or circular saw
- Drill
- Stud finger
- Laser level or large regular level
- Clamps
Side note-if you don’t already have a laser level you should probably purchase one for this project. I don’t think I could have done it without one! You don’t need one that is super expensive. I use this one and it works great!
Step One (Build the Base Frame):
This will be a heavy wall unit once complete, so you definitely want to have a sturdy base frame. Full disclosure-I originally started with a 2×6 base frame that was flush with the cabinets. I never knew how unlevel the floors in the living room were until I started this project, and the tall base frame made it even more obvious. I decided that a recessed base frame would make the unlevel floors much less noticeable.
Never be afraid to start from scratch if you aren’t loving a project. Yes, it’s extra time and work but in the long run it’s worth it!
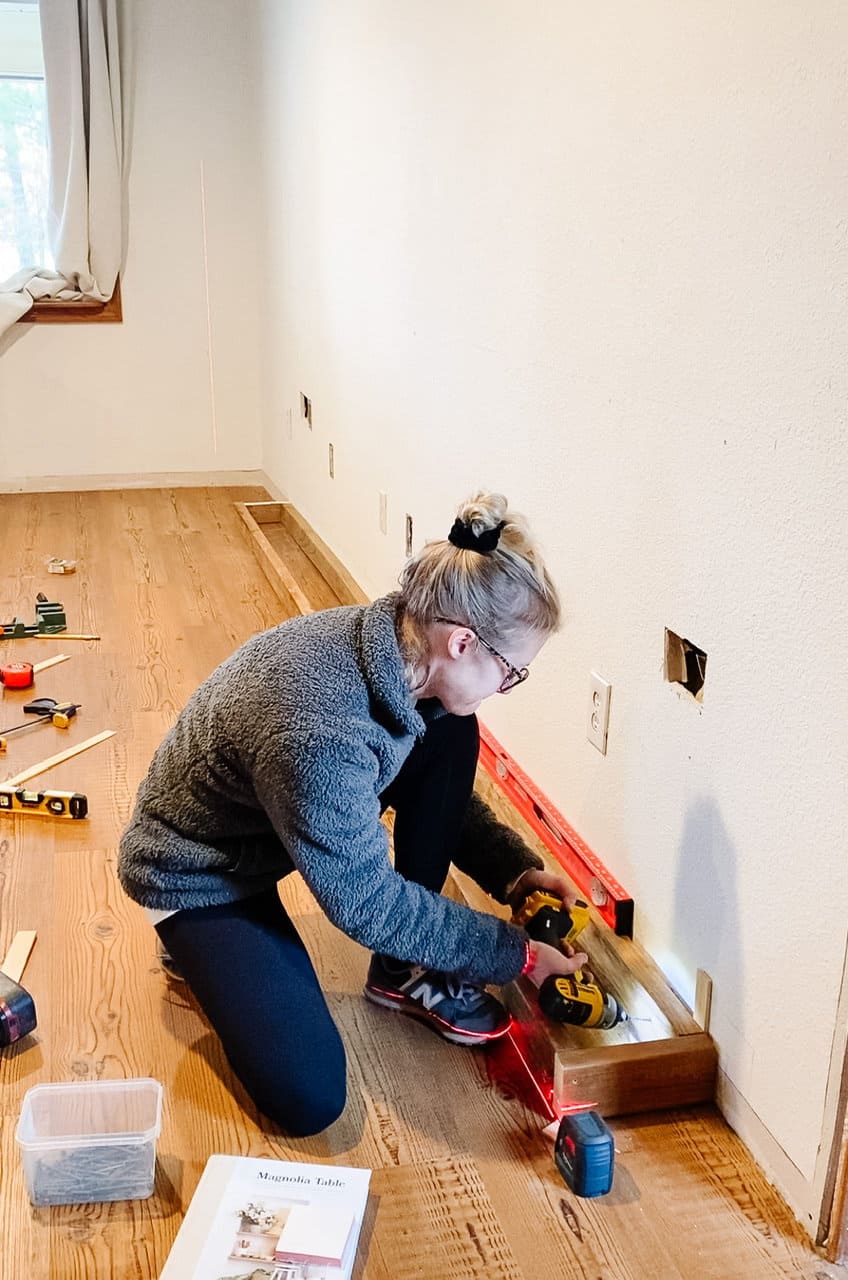
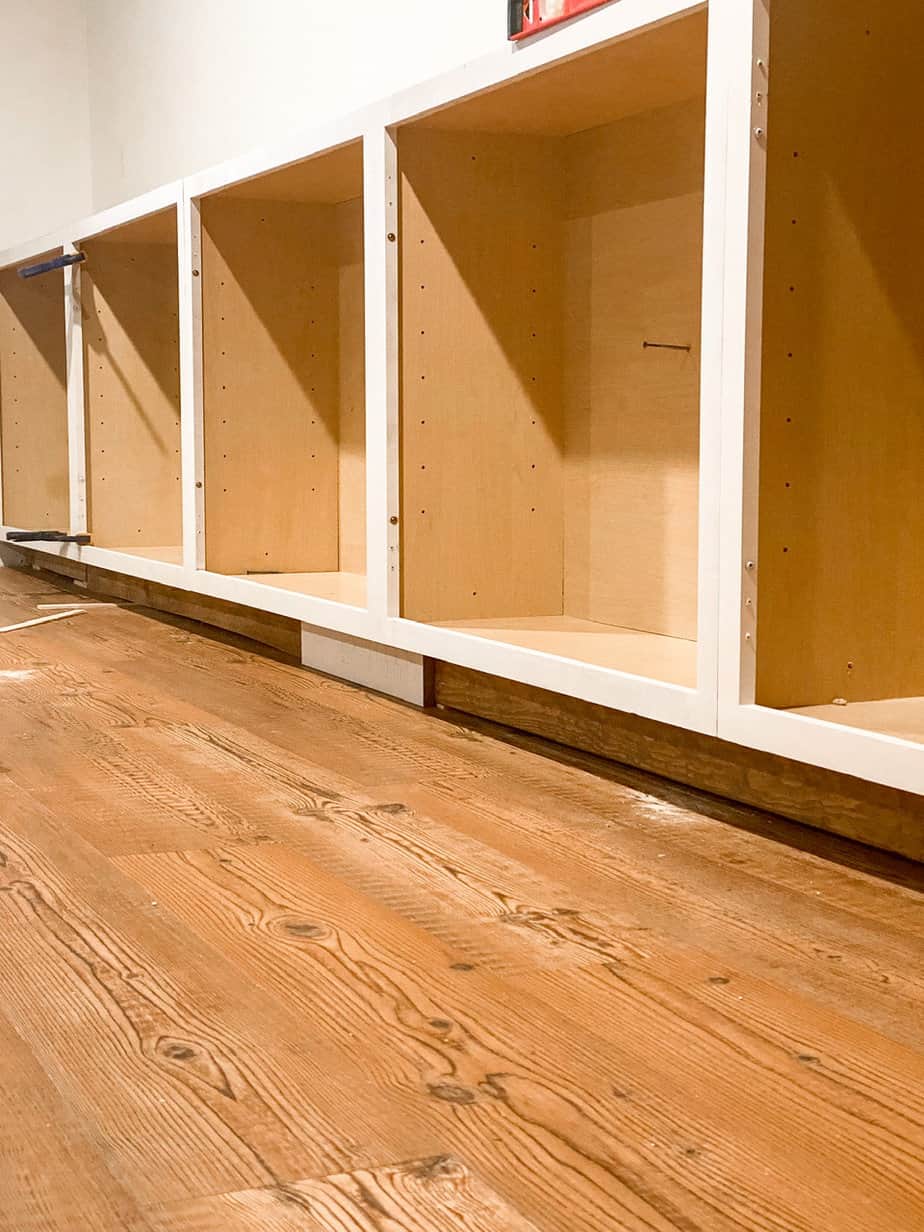
So, the new frame is built with 2x4s and has a toe kick. I used a stud finder to mark out all my studs then screwed the base frame into the studs. I had to shim it up in certain spots to make everything level. The depth of your toe kick is totally up to you. Also, keep in mind the thickness of your baseboard when determining the depth of your toe kick. I wanted a 2-1/2″ toe kick and the baseboard is 1/2″ thick so my base frame is 9″ deep.
Step Two (Install the Cabinets):
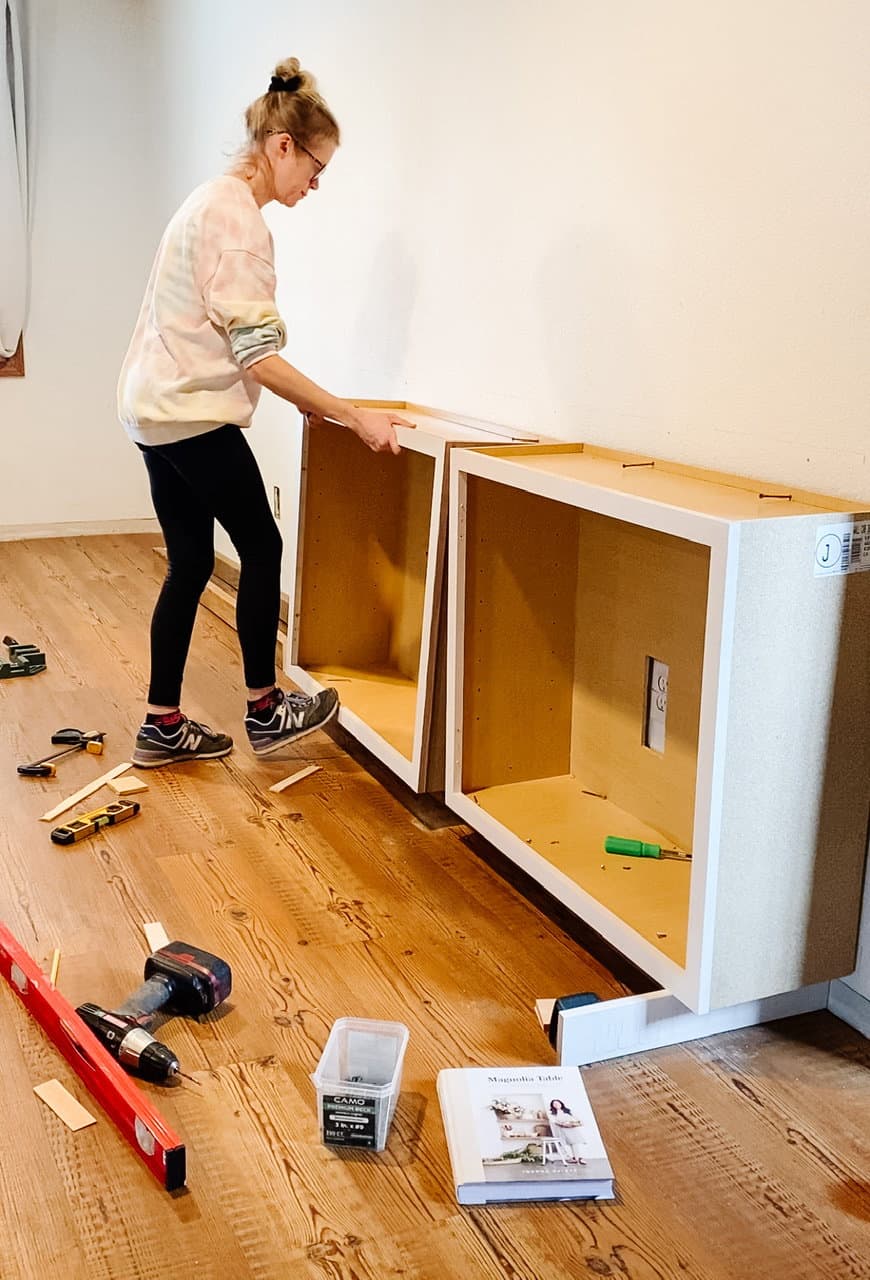
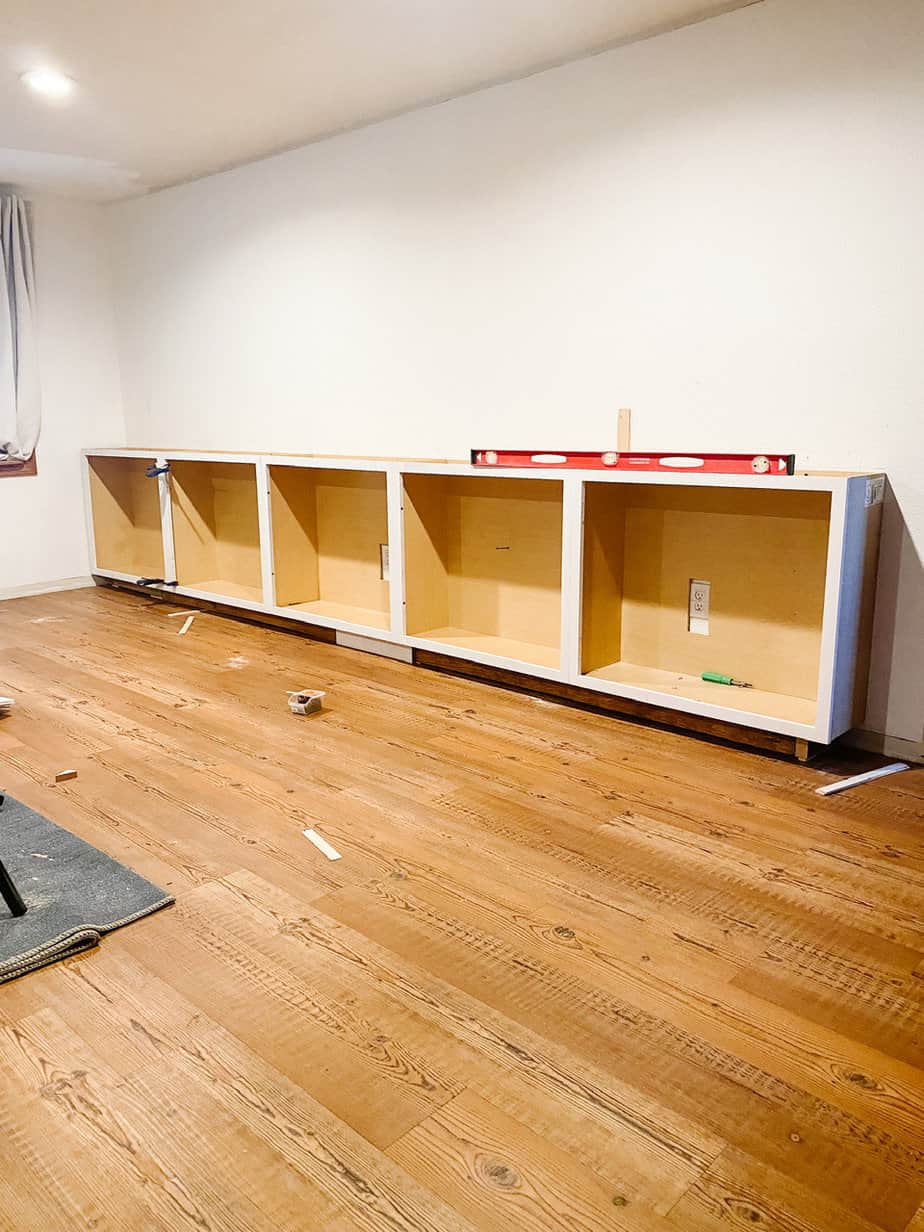
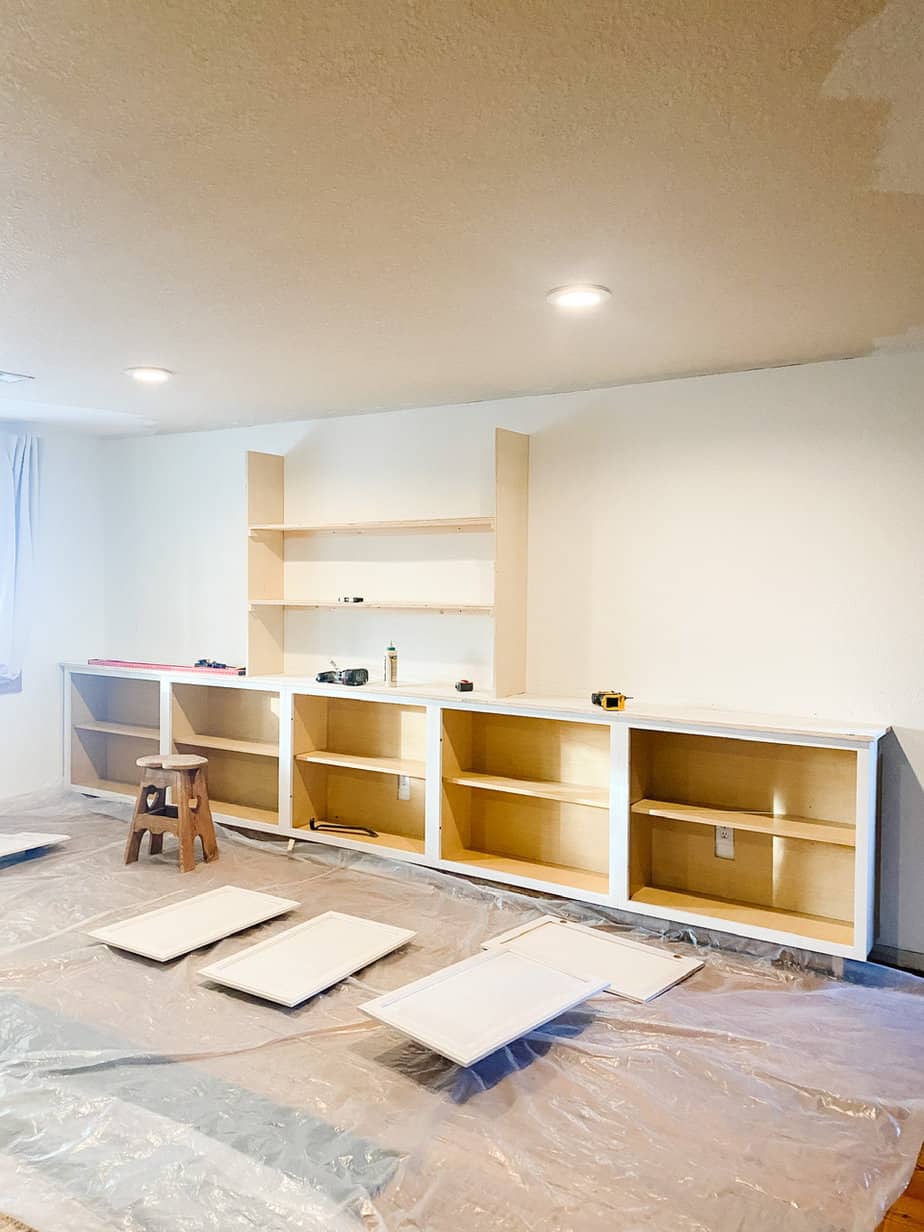
Now that we have a sturdy base, it’s time to start adding the cabinets. I’m using these prefab unfinished wall cabinets from Home Depot in size 30×36.
Measure your wall ahead of time to determine how many you will need. This wall is huge, and I needed five. I went ahead and removed all the cabinet doors because I will have to paint them plus it makes moving the cabinets way easier.
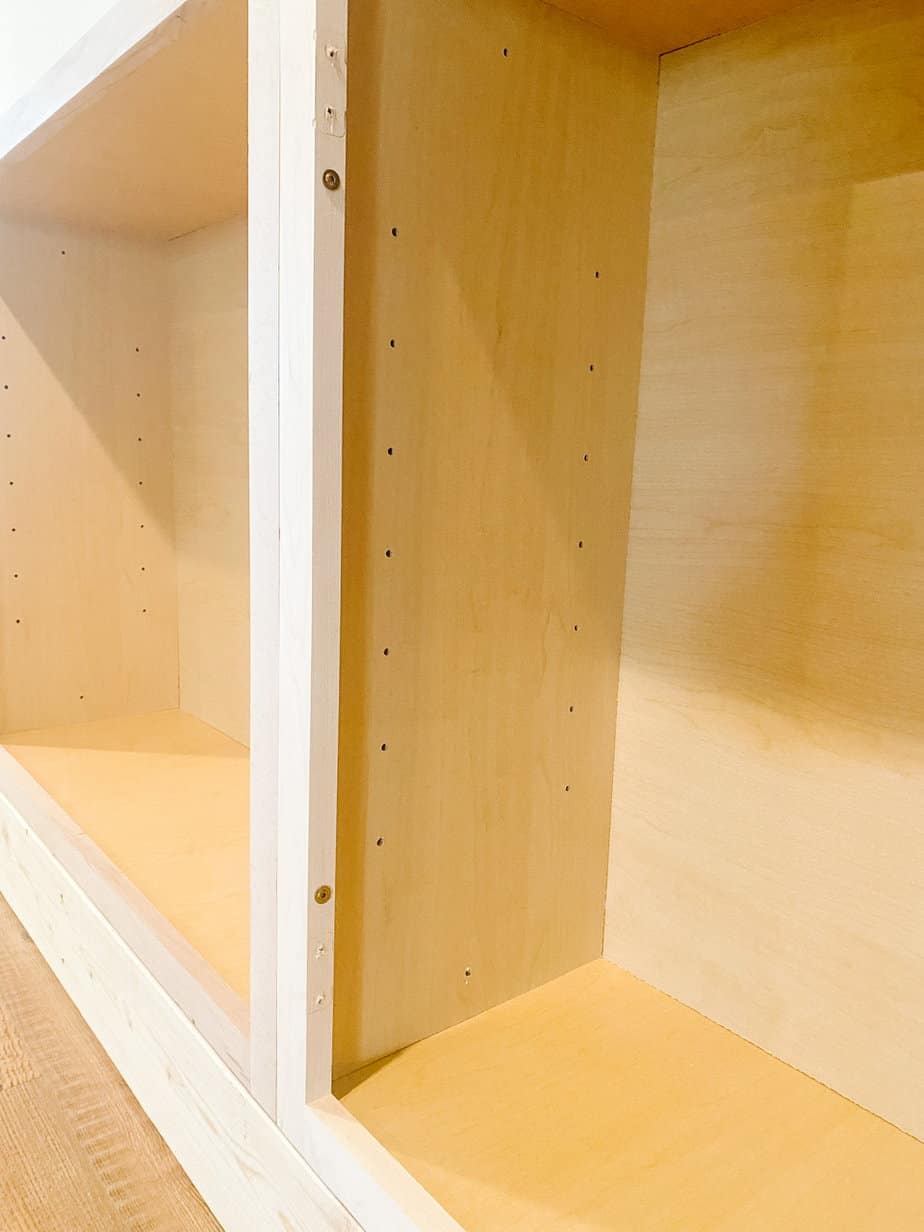
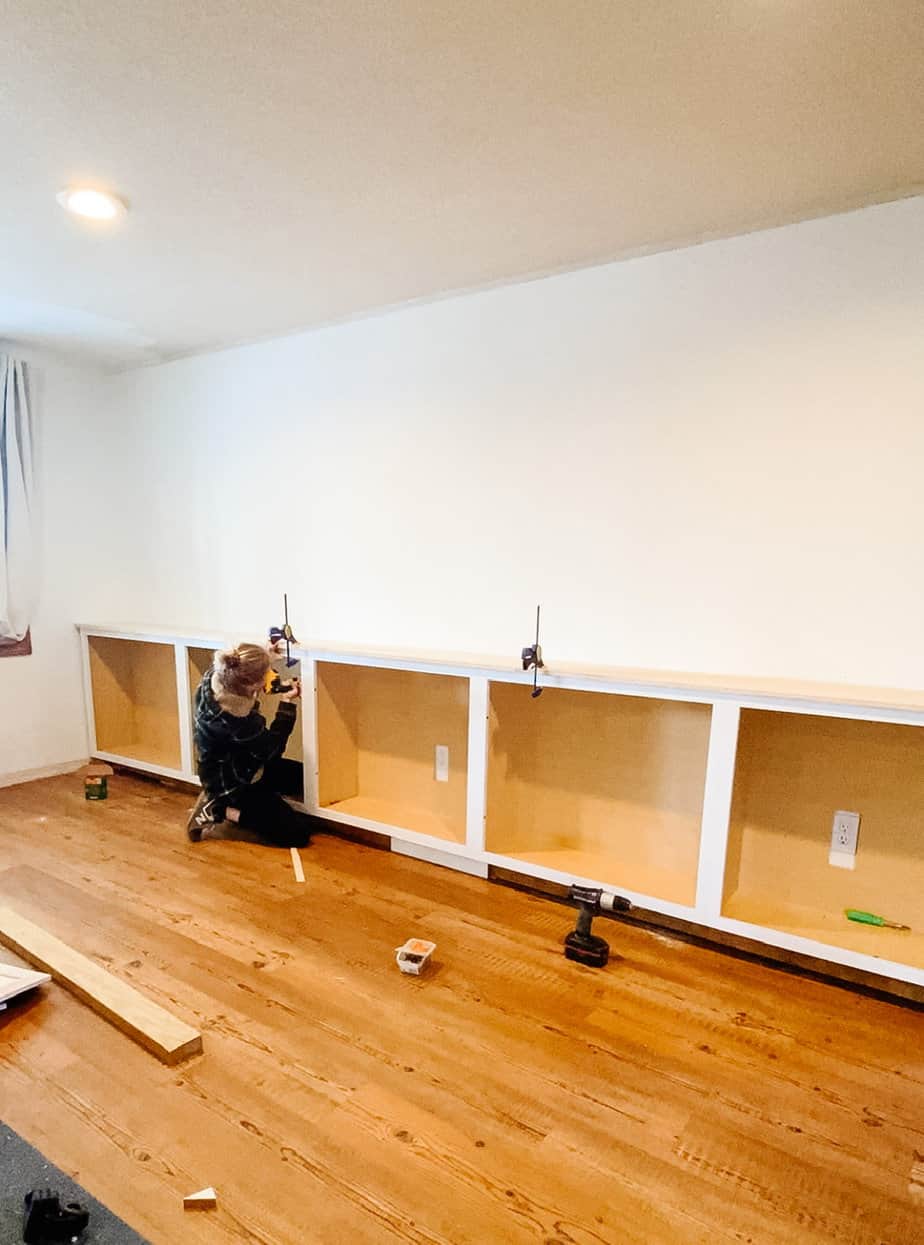
Connect each set of cabinets together by drilling a pilot hole into the frame then using cabinetry screws to connect. I also clamped them together while I screwed to make sure they stayed flush. This ensures that all the cabinets are flush with one another.
FYI-The base frame needs to be as level as possible or else your cabinets will not attach to each other well and you will be left with gaps. I did end up having a few because obviously the base frame was a nightmare. They were very tiny gaps though so I can live with it.
Once all the cabinets are connected, it’s time to screw the cabinets into the wall studs. You can tell from the picture on the left that I had to cut holes in the back of the cabinets for the wall outlets so they would sit flush against the wall. Also, I plan on using those outlets but more on that later. I also went ahead and primed the base cabinets. These are raw wood so they have to be primed first. This is my go-to primer for raw wood.
Step Three (Build the Countertops):
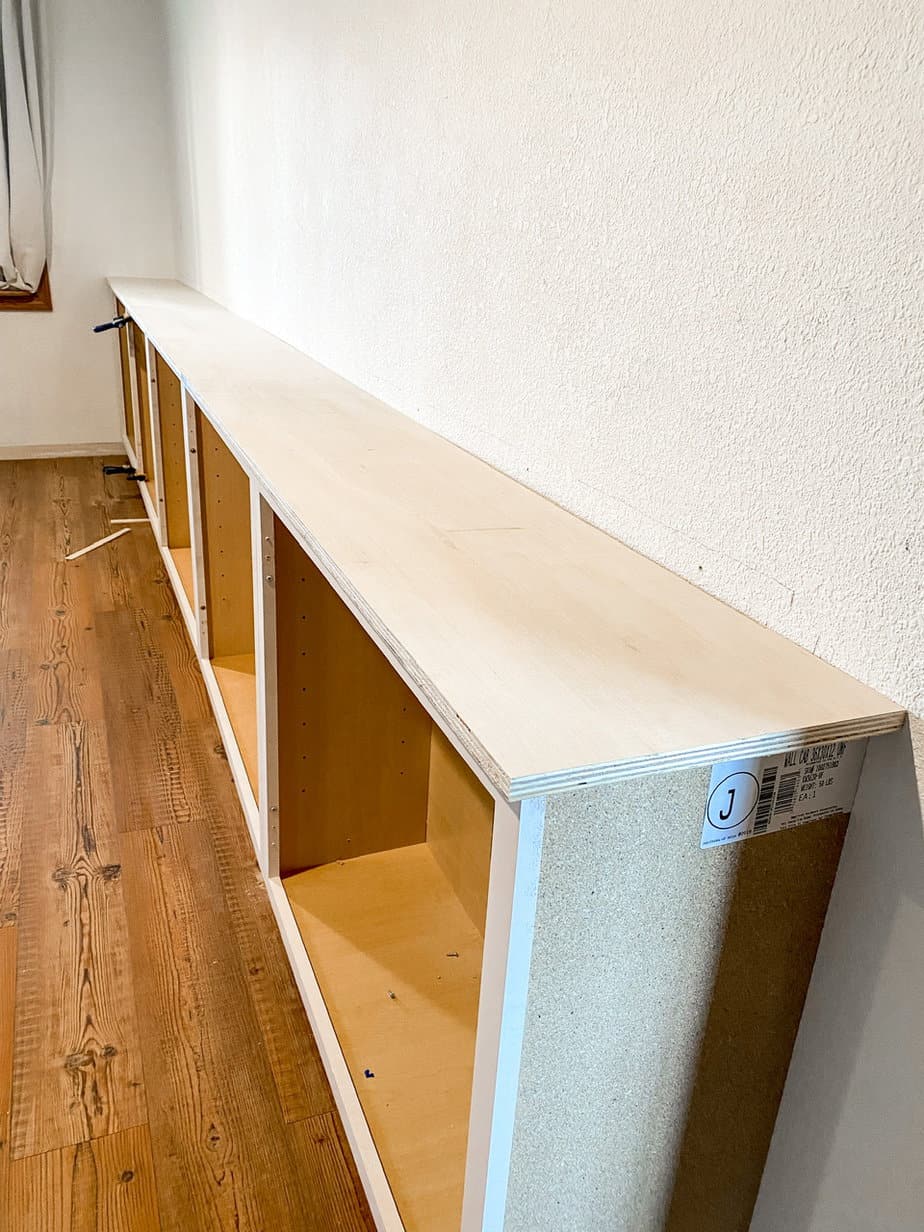
Now that all the cabinets are attached to one another, it’s time to build the countertop. I’m using 3/4″ plywood for this. This wall of cabinets is extremely long, and one sheet of plywood would not cover the entire span of the wall. Instead, I cut three small sections and met them up so they would hit directly underneath the boards of the upper shelving.

Because of the way the tops of these cabinets are, there is a hollow space between them and the countertops. I added pieces of 1×3 scraps to fill the void then screwed up from the inside of the cabinet, through the 1×3, and into the countertop to attach.
The countertops have about a 3/4″ overhang. The trim that will be attached later to the unfinished plywood ends will add another 1/4″ to that.
And now we have a countertop! You really can’t even see the seams from this pic at all. The tiny portion of the seams that are visible and not covered by the shelves will be filled with joint compound then painted so you’ll never know they were there. Also, trim will be added to the unfinished ends of the plywood.
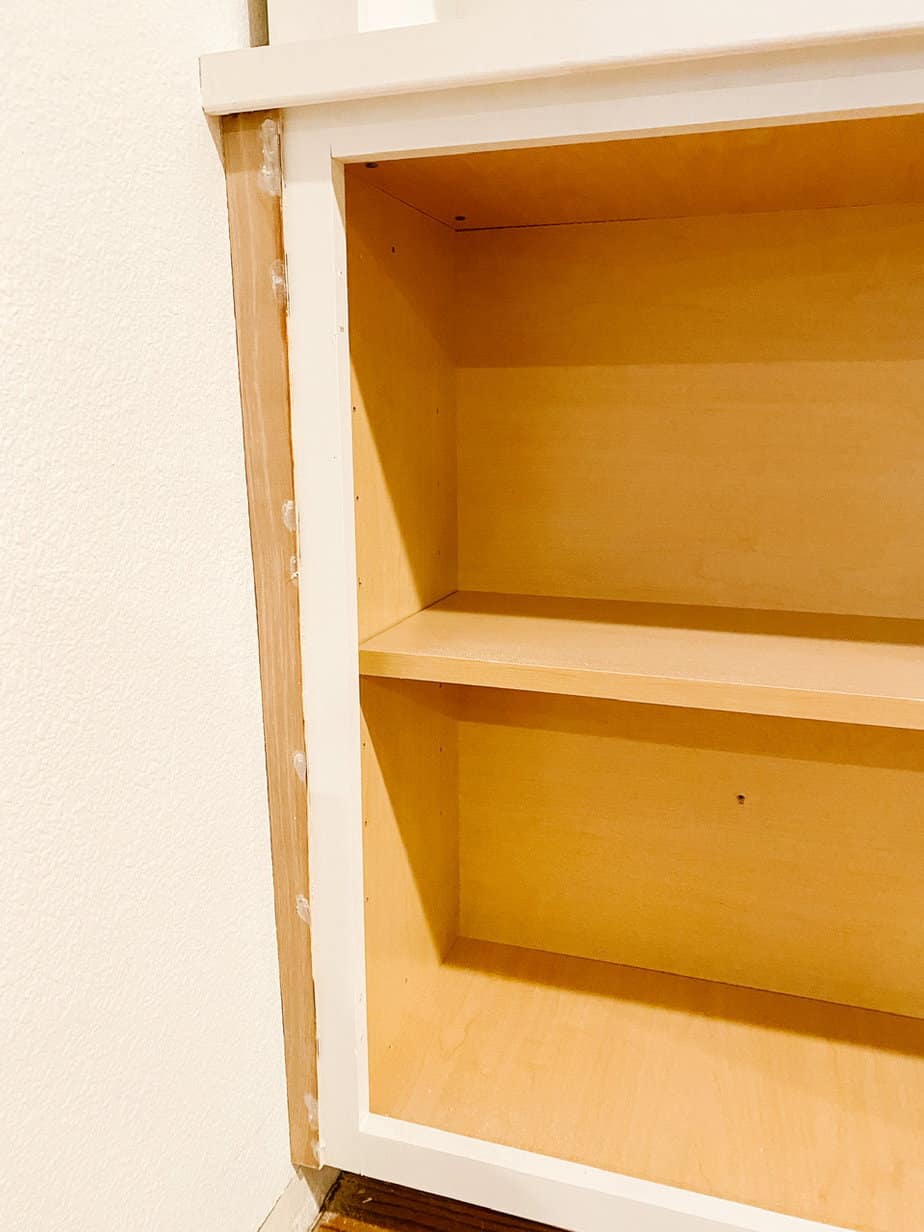
Because our walls are also not square (walls rarely are), there is a gap between the wall and the cabinets. To fix this, I added a strip of 1/4″ plywood to hide the gap. You can see from the pic that it is wider at the top than the bottom. I had to scribe it because of the angle of the wall. Once everything is painted white, it won’t be noticeable.
I decided to wait to attach all the doors because I didn’t want to ding the fresh paint job with my ladder. I attached them at the very end once everything was complete.
Here’s the finished base! Part one of these living room built-ins is complete. Click here for part two-building all the shelves!
For even more details on this project, head over to Instagram then click on the highlight labeled “Built-Ins”.


No Comments