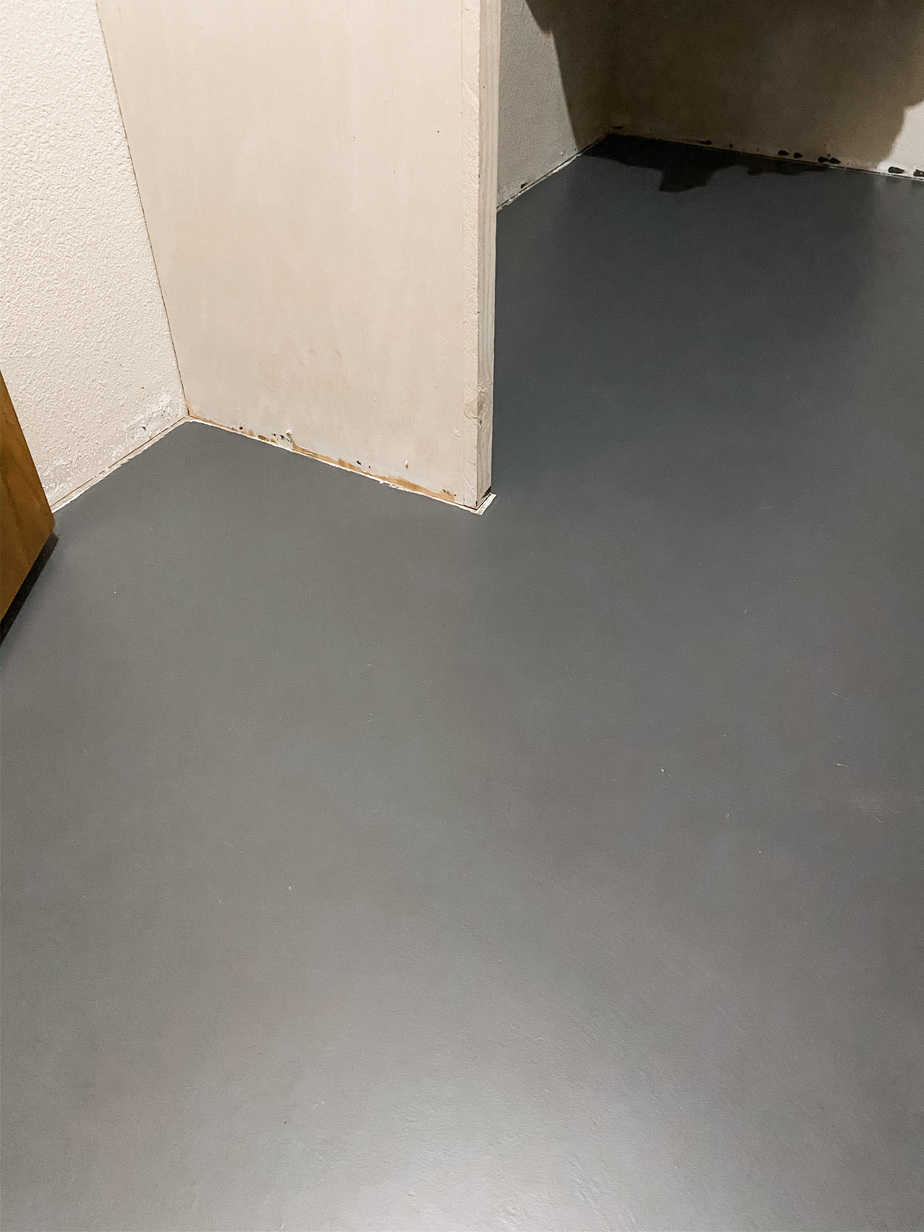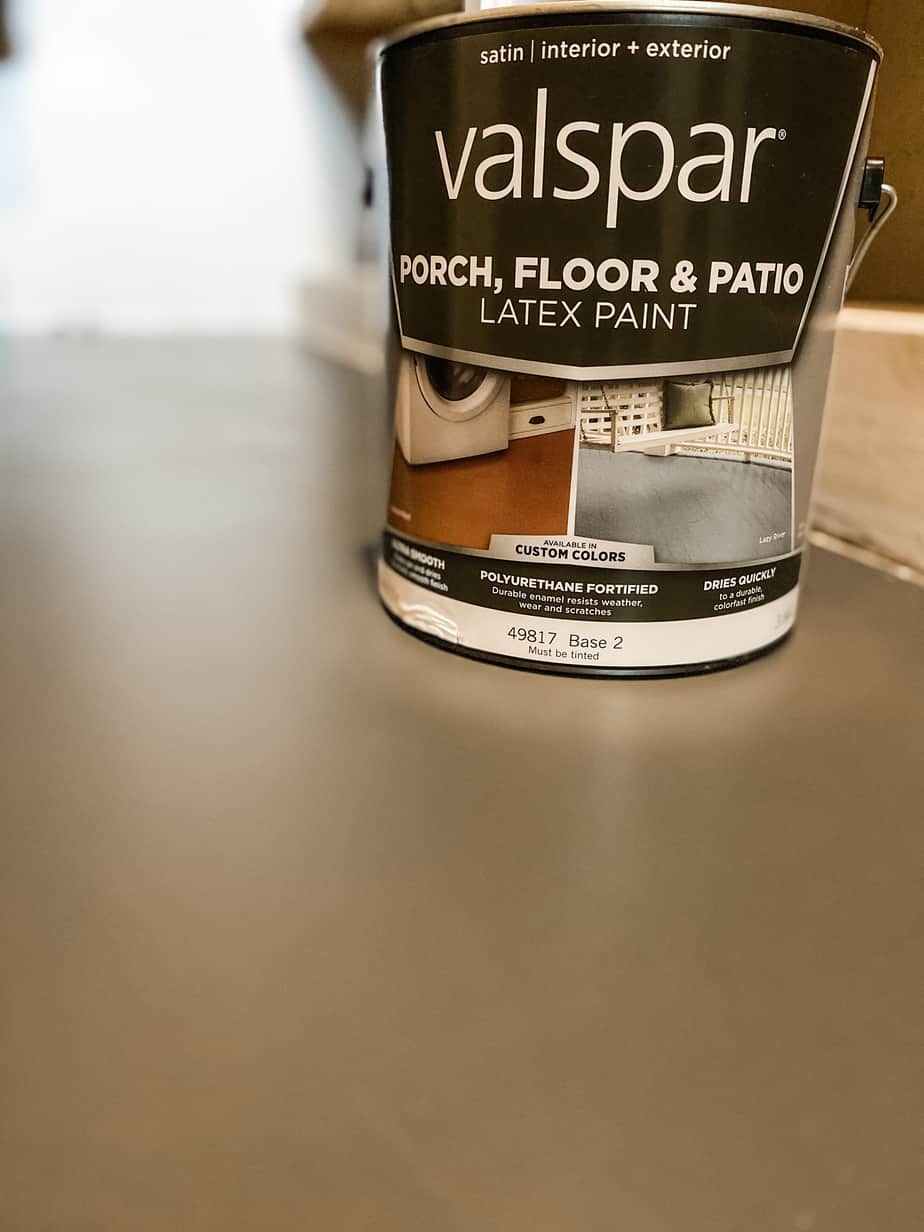
Knowing how to paint a concrete floor is not a skill I ever thought I would need. However, after our cat tinkled in a carpeted closet and shampooing solved nothing, it became clear that the carpet had to go. Replacing the flooring wasn’t an option, so I had to come up with an affordable solution. Enter Valspar Porch, Floor & Patio latex paint. It is extremely durable, can be custom tinted, and only costs $30 for an entire gallon. It also comes pre-tinted in several ready-to-go shades. Today, I’m going to share my experience with you in case you ever find yourself in the same predicament. Here’s how it went down.
Materials:
- Valspar Porch, Floor & Patio latex paint (purchased at Lowe’s/tinted to SW Peppercorn)
- Zinsser Bulls Eye 1-2-3 Water-Based Primer
- Purdy 6-1/2″ X 1/4″ White Dove Mini Roller
- DAP Concrete and Mortar Watertight Filler and Sealant
Tools:
- Pry bar
- Utility scraper
- Putty knife
- Orbital sander
- 80-grit sandpaper
- Vacuum
Step One: Demo
Pull up all the existing carpet.
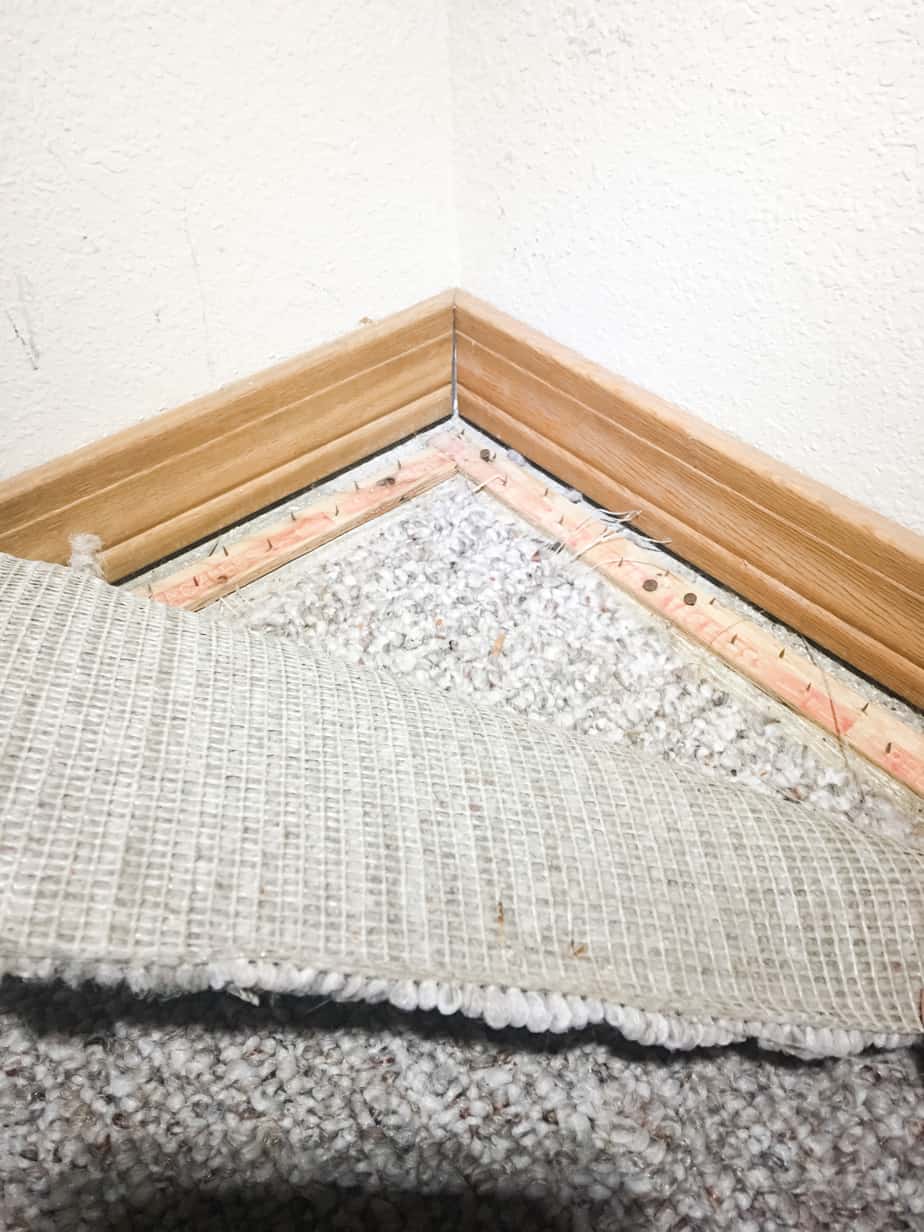
Use a pry bar to remove all of the tacking strips. As you pry up the nails, chunks of concrete are going to come up with them. This is unavoidable so don’t worry, it will be patched it later.
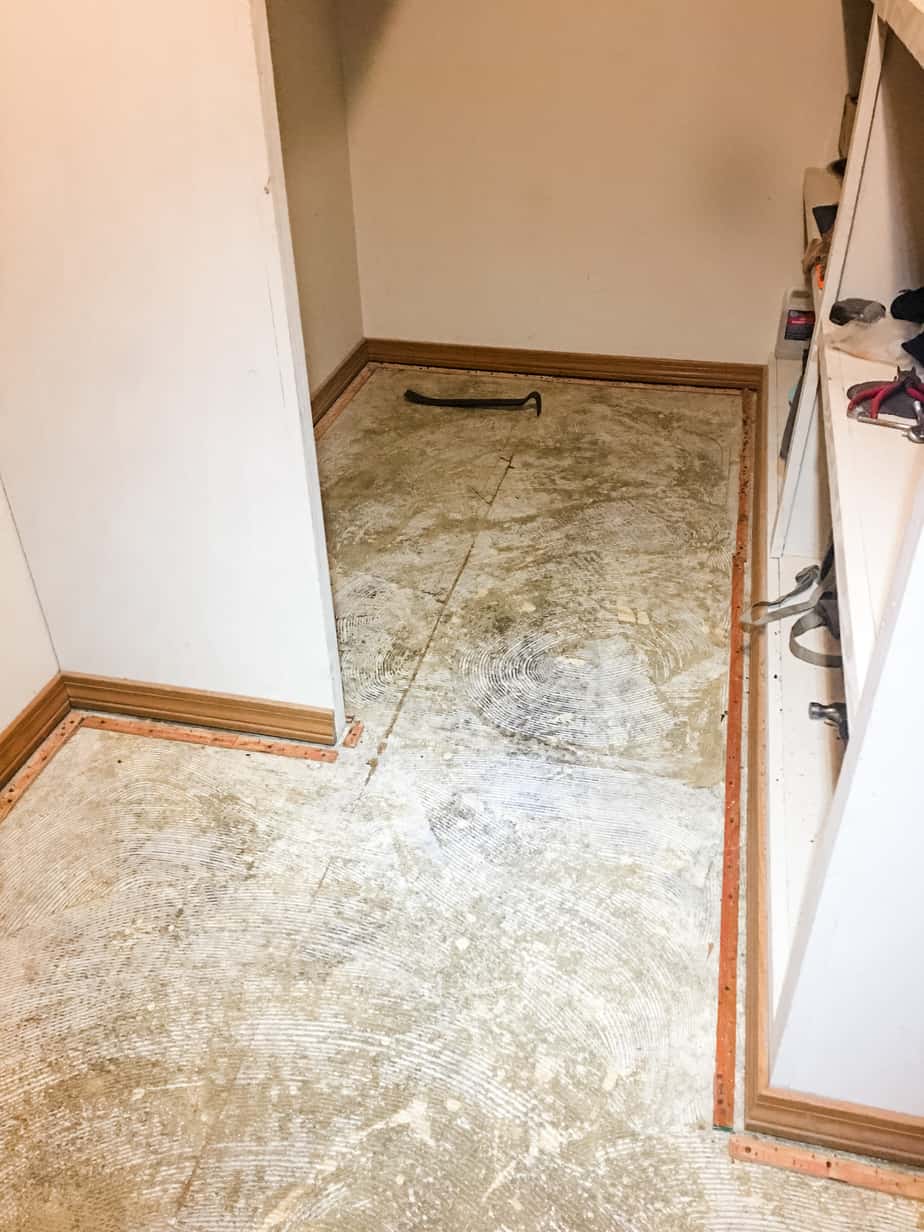
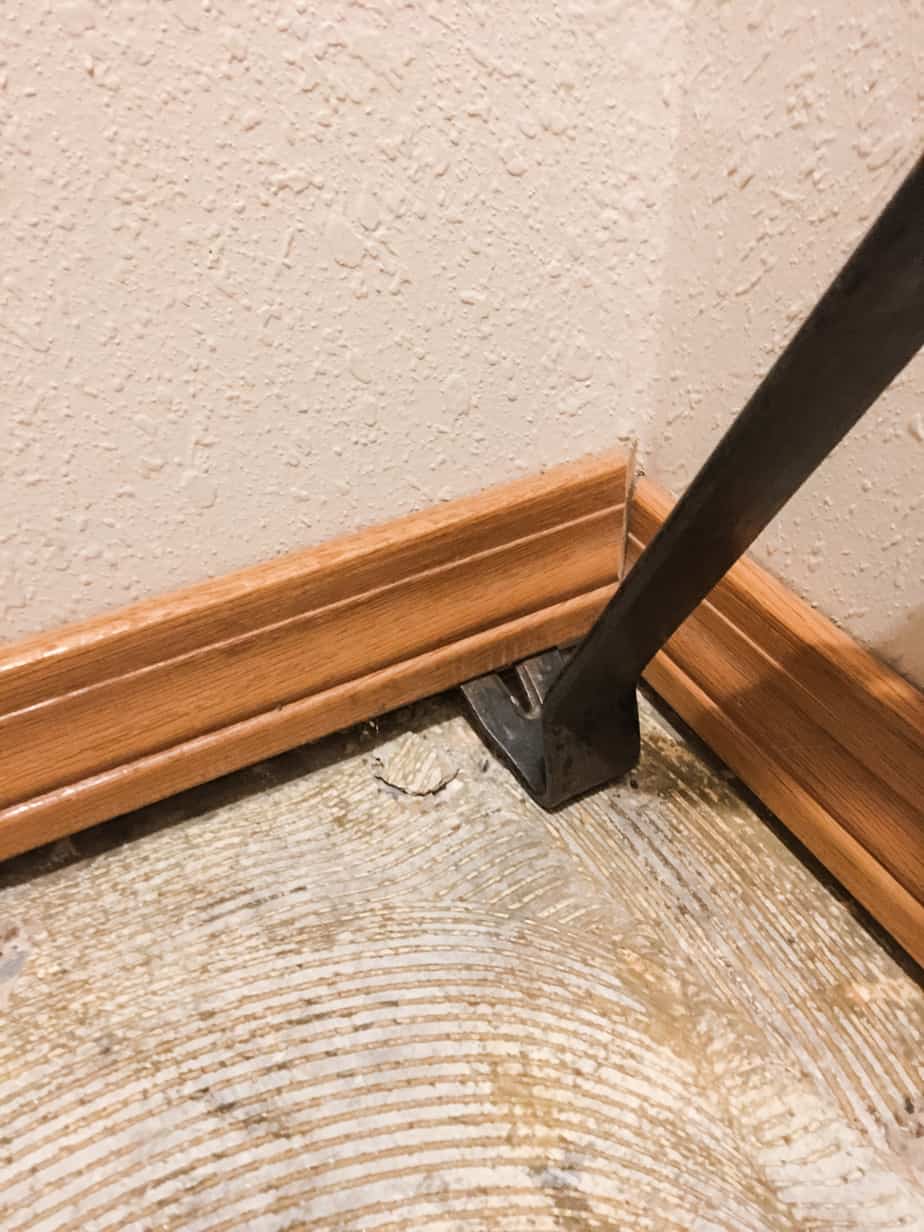
Now that the thick carpet is gone, there is going to be a considerable gap between the floor and the baseboards. Use the pry bar and remove the baseboards carefully so they aren’t damaged in the process.
Step Two: Floor Prep
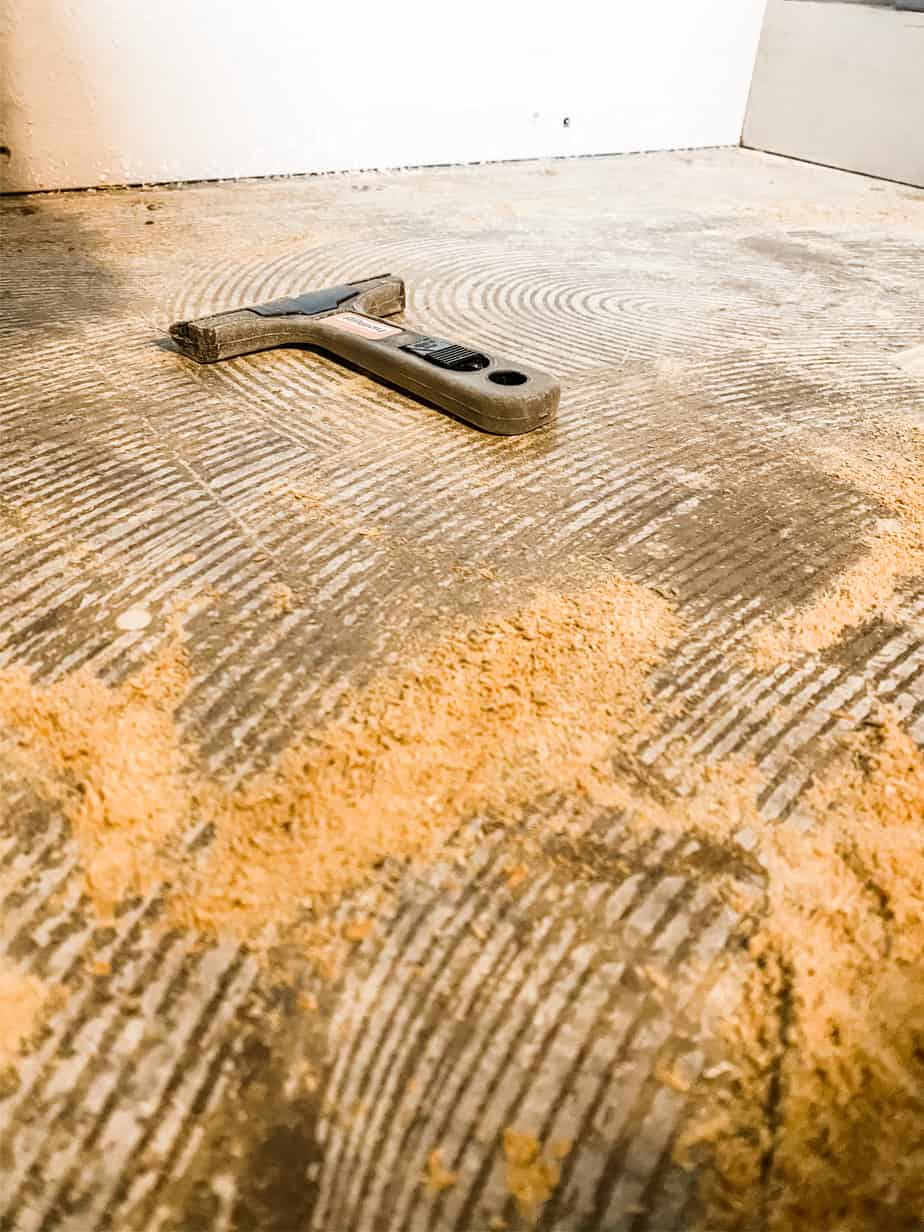
Take a utility scraper and scrape up any dried glue left behind. Whoever put our carpet down meant business. I’ve ripped up my fair share of carpet and I don’t think I’ve ever seen so much dried glue in my life! I definitely had my work cut out for me.
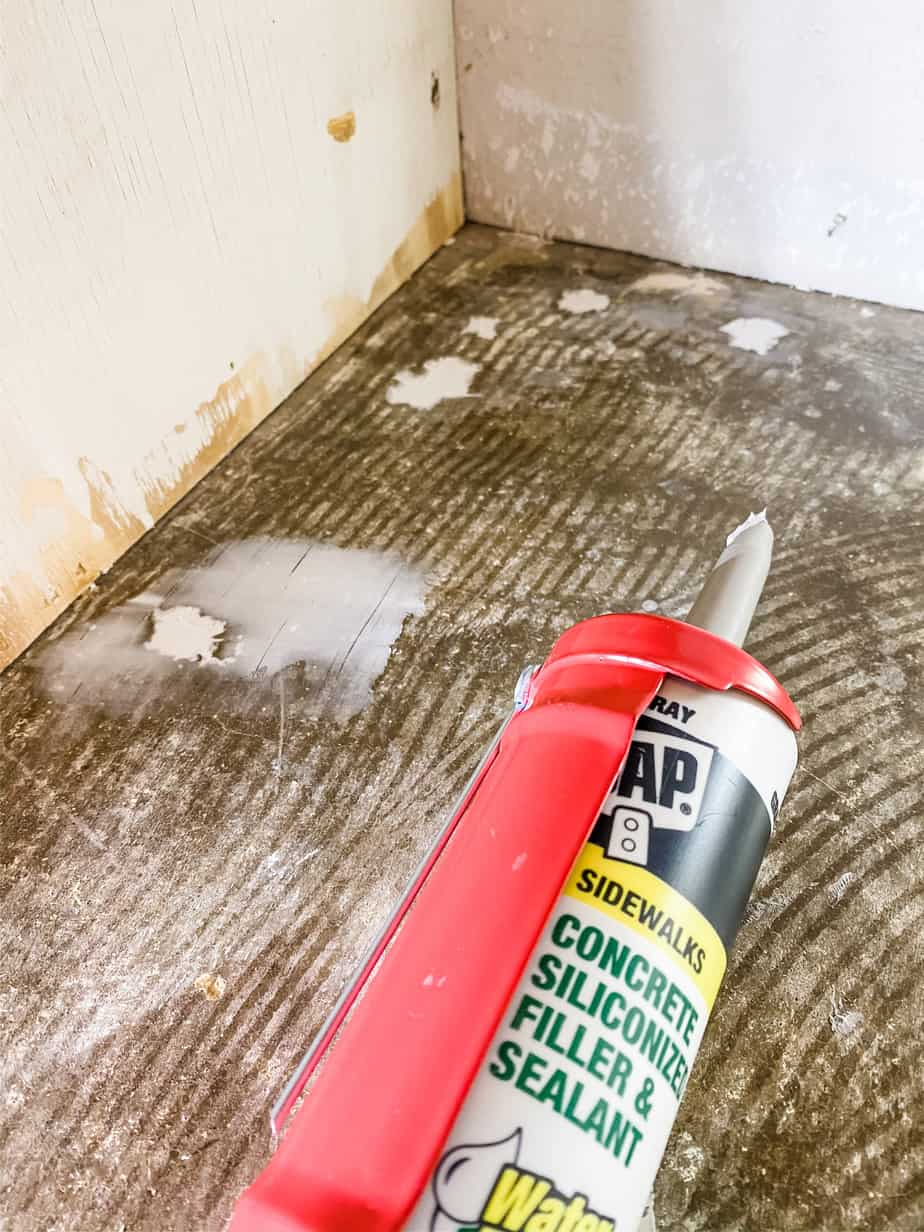
Vacuum all the glue and any debris left behind in the holes. Use concrete filler and a putty knife to patch all the holes.
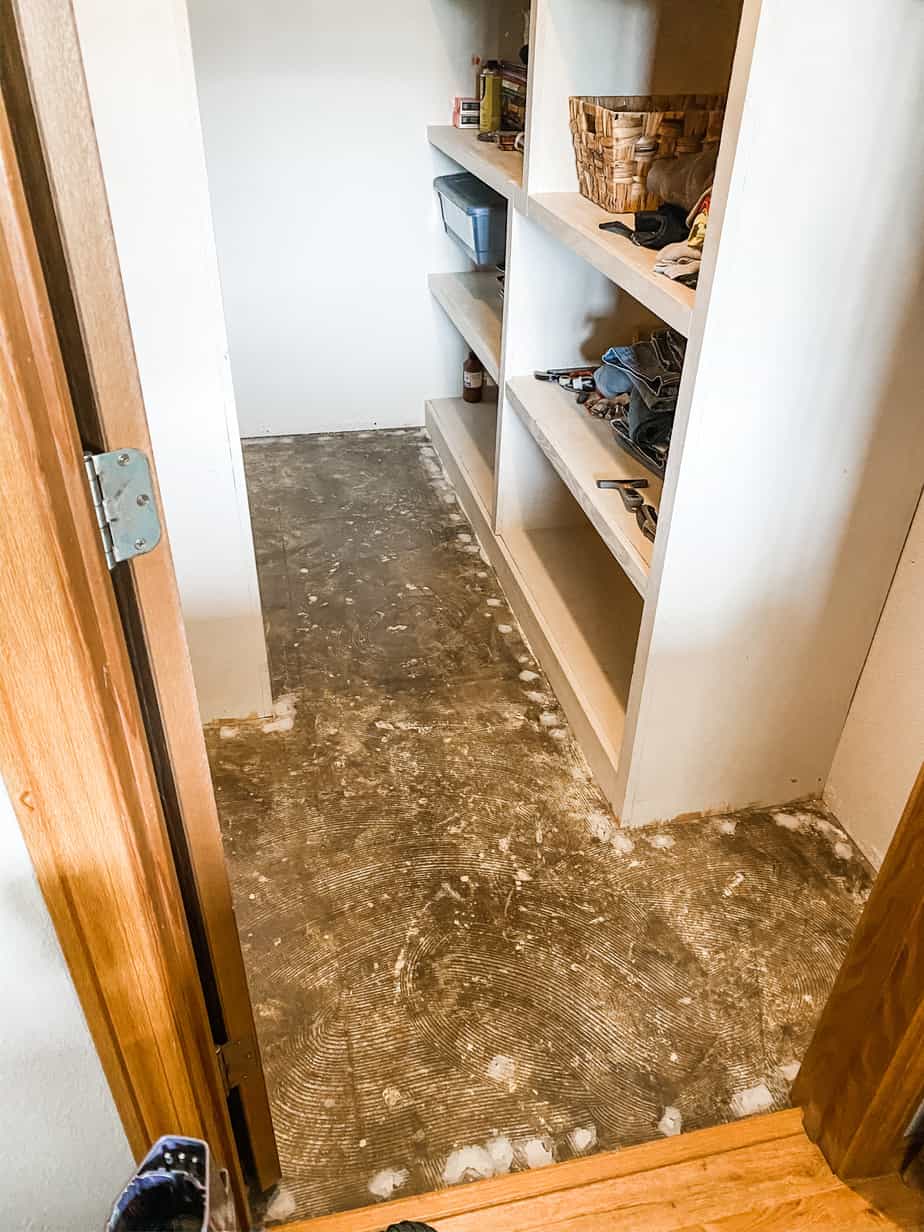
After all the holes are patched and have had time to dry, use an orbital sander and 80-grit sandpaper to remove any glue that was missed and to smooth out the concrete filler. Vacuum again and just when you think you’ve vacuumed enough, vacuum one more time. Trust me on this.
Step Three: Prime & Paint the Concrete Floor
The floor needs to be primed first. I used Zinsser Bulls Eye 1-2-3 Water-Based Primer. This primer is great and I pretty much use it for everything.
I used a Purdy 6-1/2″ X 1/4″ White Dove Mini Roller to apply the primer and paint. I love the mini roller as it is more lightweight and your arm won’t give out in the process! Start in the back and paint yourself out of the room. Apply at least two coats of primer allowing adequate dry time between each coat.
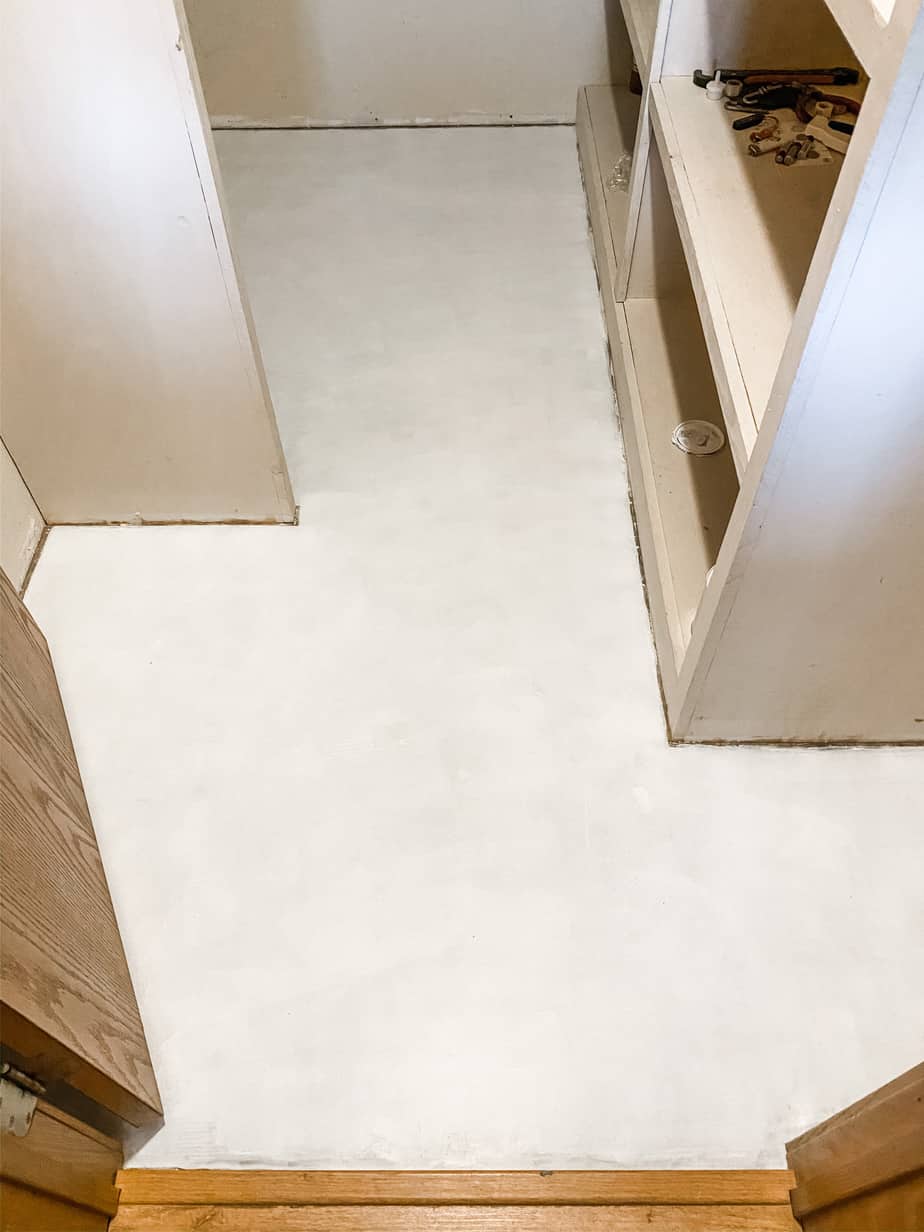
Paint your first coat of Porch, Floor & Patio paint. This paint has to dry overnight before a second coat can be applied.
TIP: If you still have paint left in the tray and you aren’t finished painting, wrap the roller in tin foil and cover the entire paint tray in tin foil. This will keep the paint and the roller from drying out until you are ready to paint the next day.
Repeat this process until desired coverage is reached. Light foot traffic after 24 hours of dry time and after 72 hours it should be fully dry.
Replace all the baseboards that were taken off. I didn’t put mine back on because they will probably be replaced with new ones down the road.
The only thing left to do now is enjoy your new painted concrete floor! I think it turned out great. It’s an affordable temporary solution and it’s a lot better than staring at a bare concrete floor with glue swirls don’t you think? 😉
