
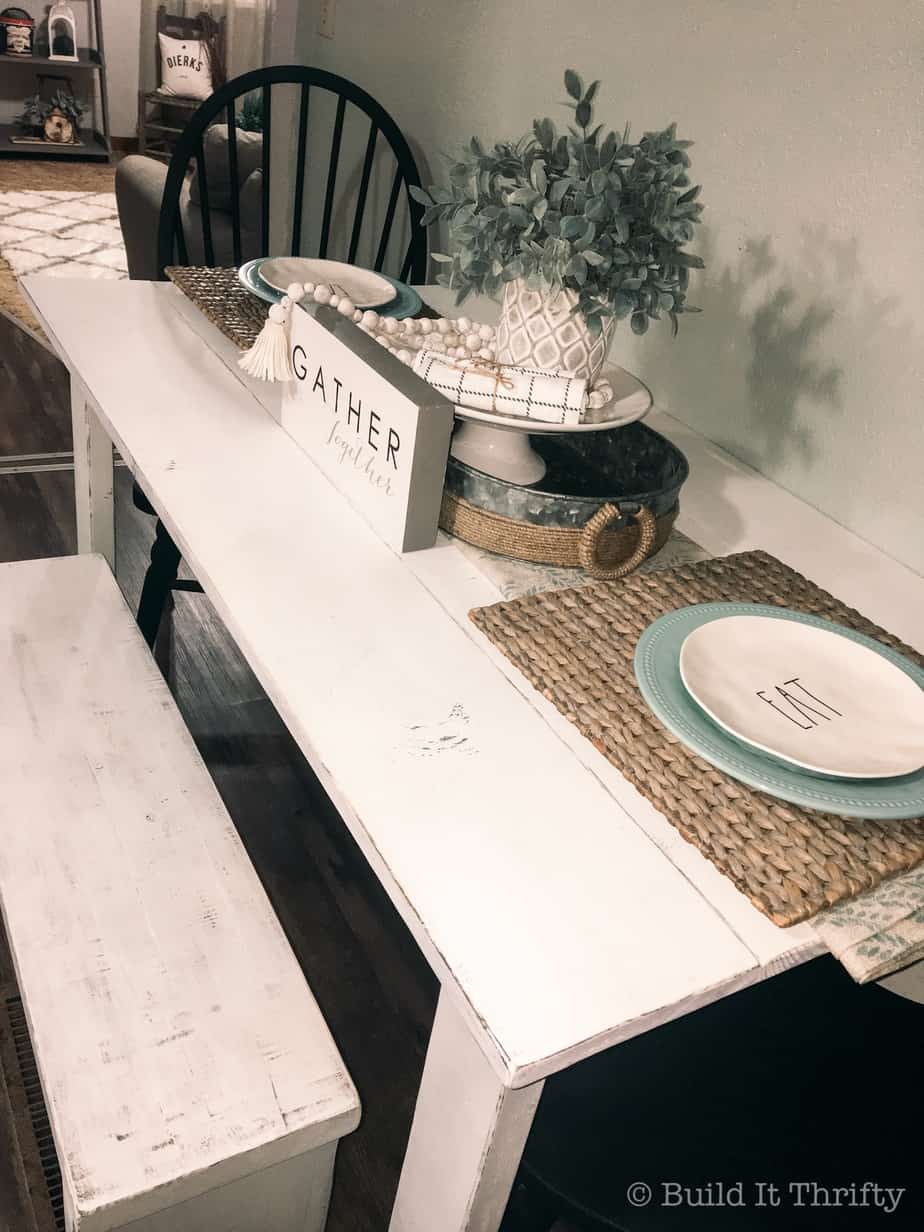
This small farmhouse table was built for a friend with limited kitchen space. Instead of wasting time searching for a table small enough to fit, why not just fit the table to your space! This project can easily be finished in a day and the best part is that it was built for less than $40 in lumber!
Before any building could begin, the custom dimensions needed to be determined. We used painter’s tape to mark on the floor the length and width of the tabletop to get an idea of how much room it would take up. Once we were happy with the size, we just measured the painter’s tape.
Materials:
This post contains affiliate links. For more information see the policies page.
- 4-2×4@8′ (pine)
- 4-1×8@6′ (pine)
- 2 1/2″ pocket hole screws
- 1 1/4″ pocket hole screws
- Spray paint
- Chalk paint or stain
- Wood glue
Tools:
- Kreg Jig
- Drill
- Miter saw or circular saw
- Sander
- Clamps
Cut List:
- 2-2×4@22″
- 2-2×4@41 3/4″
- 4-2×4@28″
- 1-2×4@22 1/4″
- 4-1×8@53″
Step One: Build the Table Top
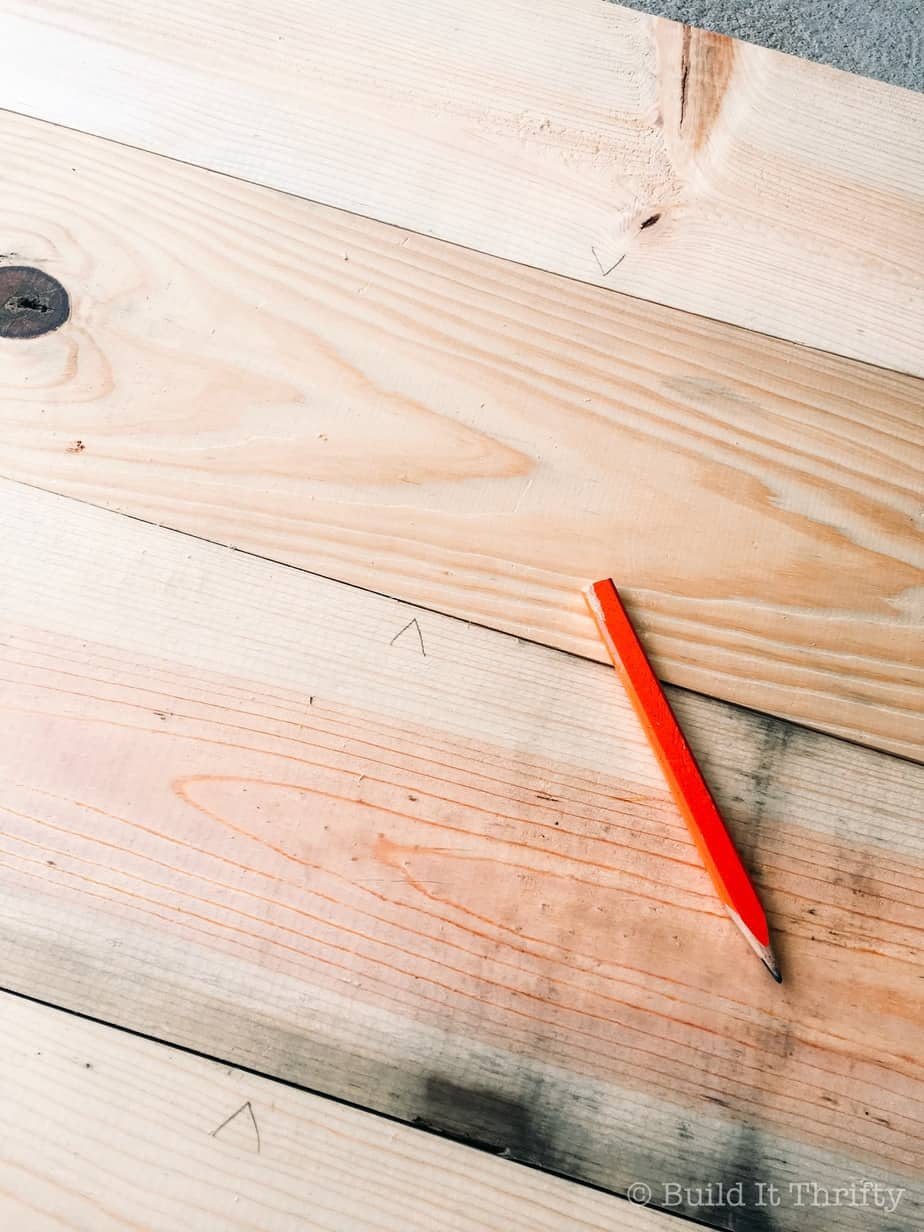
I usually build the table top first but you can build it last if you prefer. First, cut all of the 1×8 boards to 53″. I usually lay all the boards out on the ground then rearrange them several times looking for the tightest fit with the least amount of gaps. After that, mark each board where the pocket holes need to be and which direction they need to go. I really just eyeball this and try to space them out as evenly as possible down the length of the boards.
After all the boards are marked, take them to the Kreg Jig and start drilling all the pocket holes. The Kreg Jig and the drill bit need to set to the 3/4″ setting.
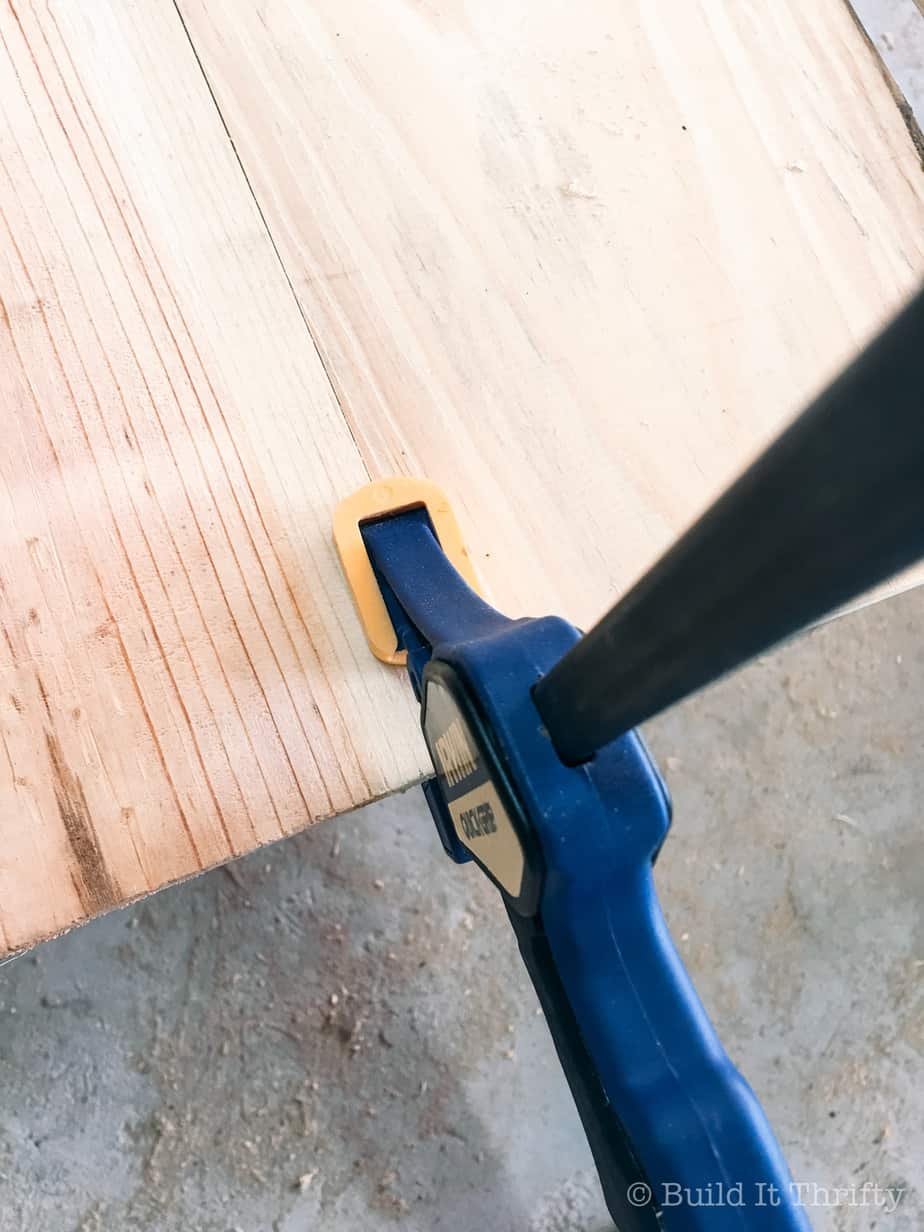
Now that all the pocket holes are drilled, it’s time to start assembling the top. I didn’t use any wood glue for this particular project but you can if you choose. Clamps come in handy here to keep the boards from shifting around while being screwed together. Keep attaching all the boards together until you have an assembled top.
Step Two: Build the Base
Cut all the 2x4s for the base (see cut list above). Determine where you want your pocket holes. Go ahead and drill your 3/4″ pocket holes for attaching the table top to the base before adjusting your jig for the deeper pocket holes.
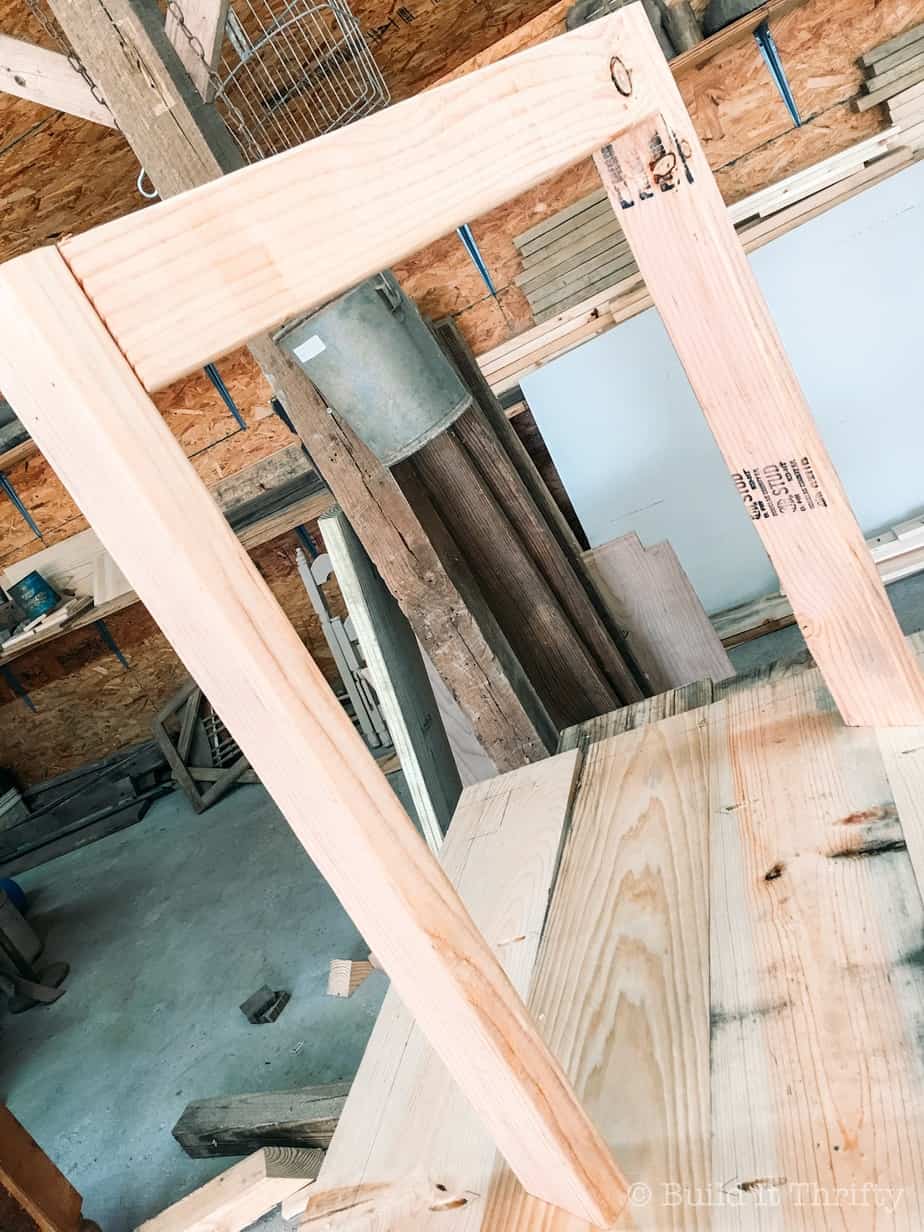
Adjust your Kreg Jig and drill bit to 1 1/2″. Drill two pocket holes on the ends of each 22″ 2×4 and 41 3/4″ 2×4 where they will attach to the legs. Also drill pocket holes in each end of your 21 1/4″ support.
Start by assembling the two short ends of the table base. Bring the 22″ 2×4 flush with the outside of the legs and attach with 2 1/2″ pocket hole screws and repeat for the other short end.
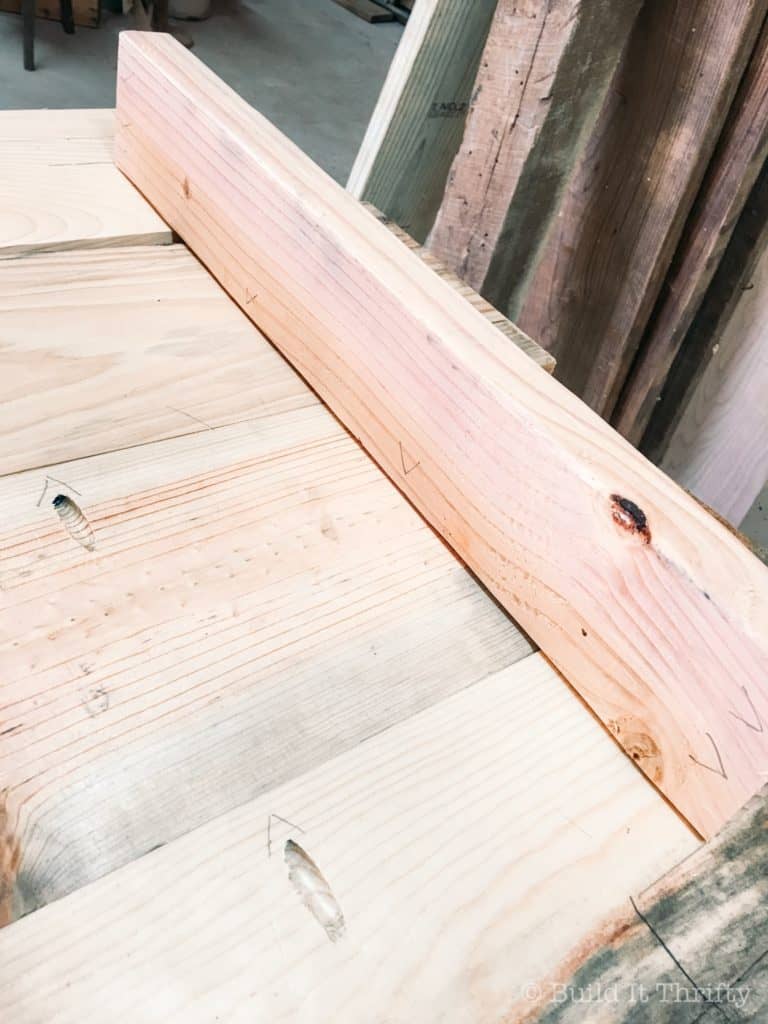
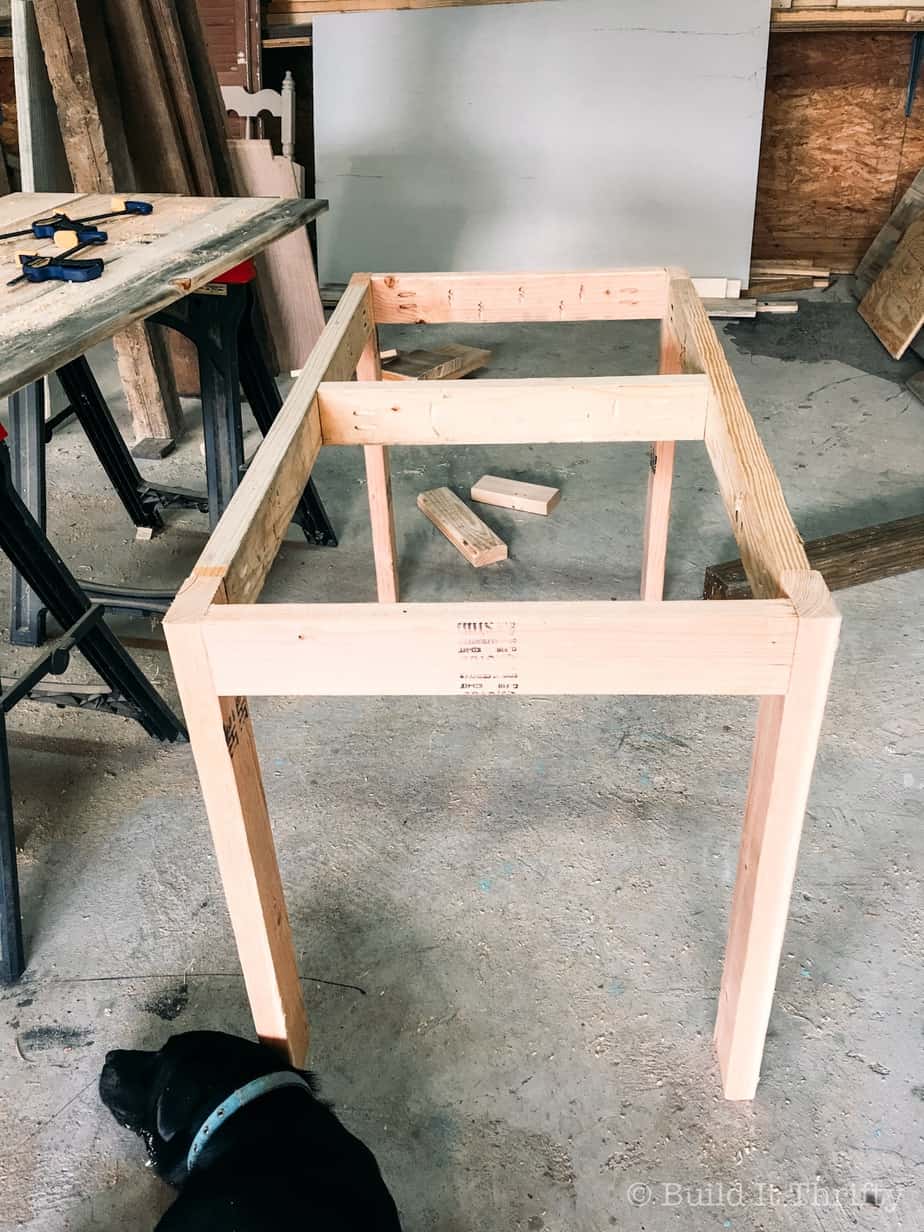
Attach the two 41 3/4″ 2x4s to the assembled short ends. Also attach your support board in the center of the frame base as pictured below.
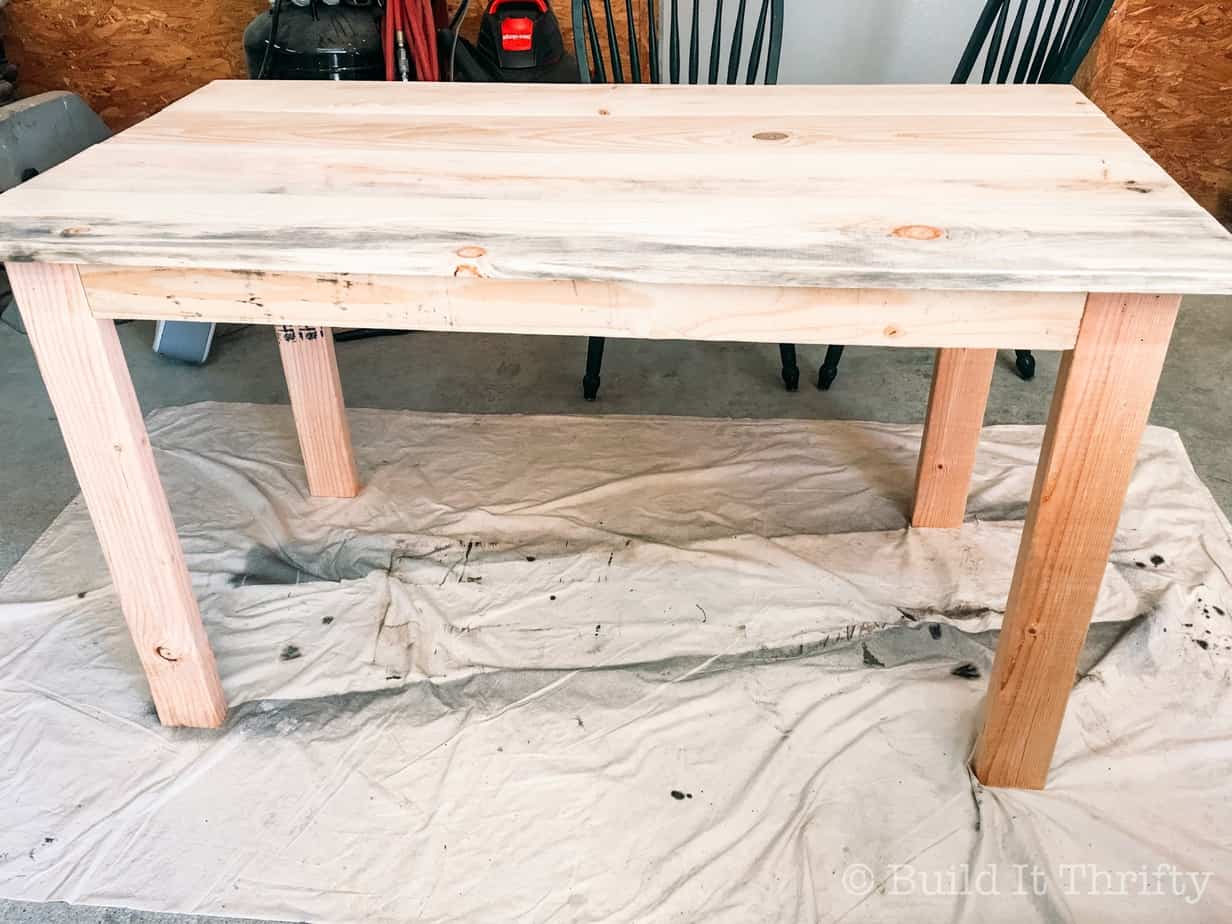
Now, it’s time to attach the table top. Lay the top face down and flip the base over and set on the table top. Measure and make sure the overhang is the same all around the table then attach the base to the top with 1 1/4″ pocket hole screws.
And here she is, simple and sturdy. Some of the boards are discolored. If we were staining that could be a problem but no worries because we are going to slap some paint on this sucker and call it a day!
Step Three: Paint or Stain
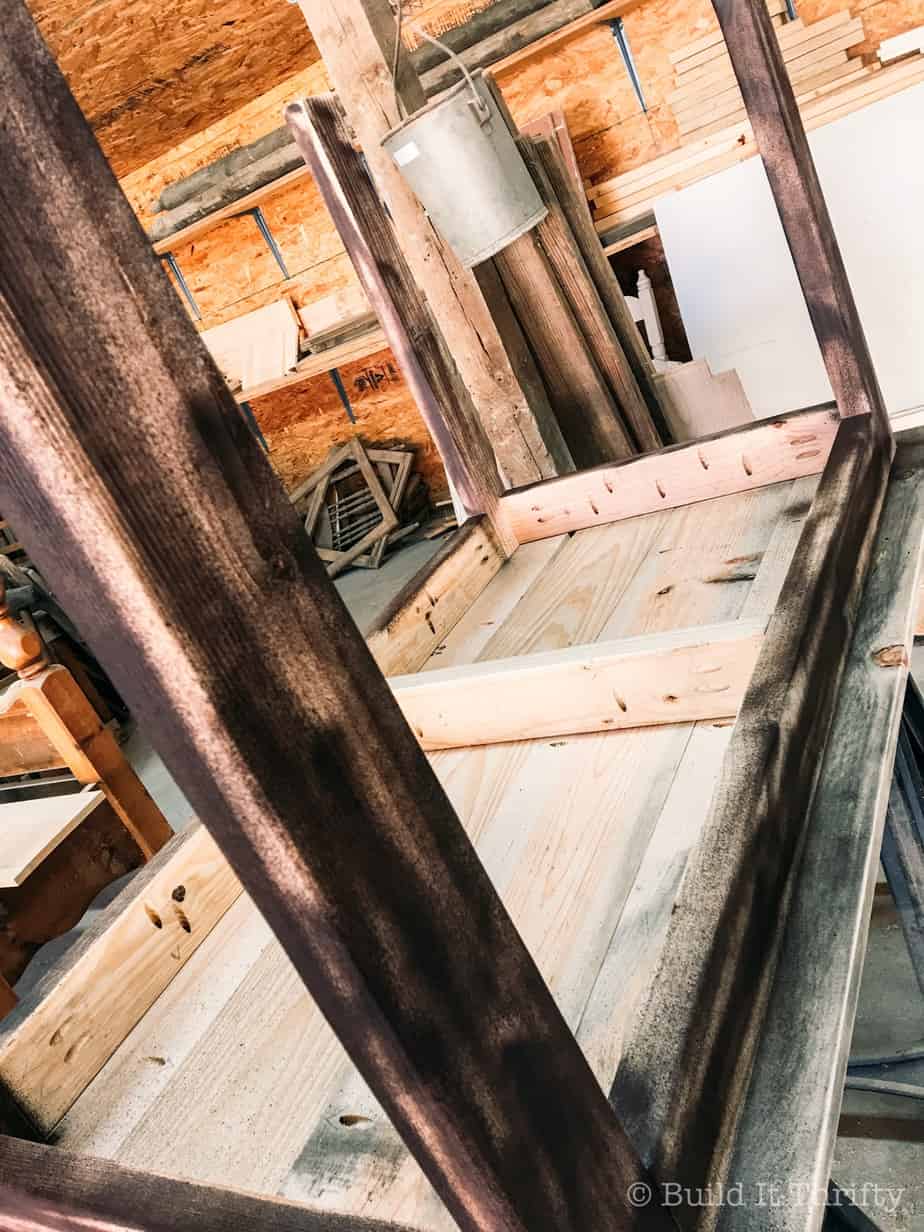
I sanded the entire table with 120-grit sandpaper and rounded all the sharp edges before painting. The plan for this table was a distressed white finish so first the table edges are sprayed with dark brown spray paint. Make sure your spray paint has a matte or satin finish. I used Rust-Oleum brand in Espresso. I usually to do this with any light-colored finish because it creates more of a contrast when distressed.
This is the chalk paint that was used. You can pick it up at Lowe’s. It is a little pricey but trust me when I say that a little goes a long way! It will last you a while! This brush is amazing and can be found at Hobby Lobby for around $10. It took about five coats of paint to get the coverage I was looking for.

After your paint is dry, take a sheet of sand paper and lightly distress by hand around all the edges and where the table top boards meet until you get the amount of distress that you like.
That’s it! Your small farmhouse table is finished. If you choose to, you can seal with wax or poly. I like to use Minwax polycrylic because it will keep your table a bright white over time and won’t yellow!


No Comments