
I love the look of this modern Christmas tree collar! I hate to admit it but our previous tree skirt was a cheap one that has been used repeatedly for a solid 10 years. Last year, however, I splurged a bit on this flocked tree so I knew it was time to retire the old tree skirt and go with something new. I built this modern Christmas tree collar in a couple of days and I couldn’t be happier with how it turned out. This was my first time working with cane webbing and I’ll definitely be using it again. Bonus-It folds up for easy storage until next year! Here’s what you need for this project…
(FYI-This is a 6-foot Christmas tree with a 44″ diameter. If your tree is smaller or larger you may need to adjust the measurements a bit)
Materials:
- 1×2 boards
- Cane webbing (I purchased this one from Etsy)
- Staple gun/staples
- Four small hinges
- Pocket hole screws
- Wood glue
- Stain
Cut List:
- 2-1×2@23″
- 4-1×2@21″
- 6-1×2@12″

Make all the cuts listed above or to your personal specifications.
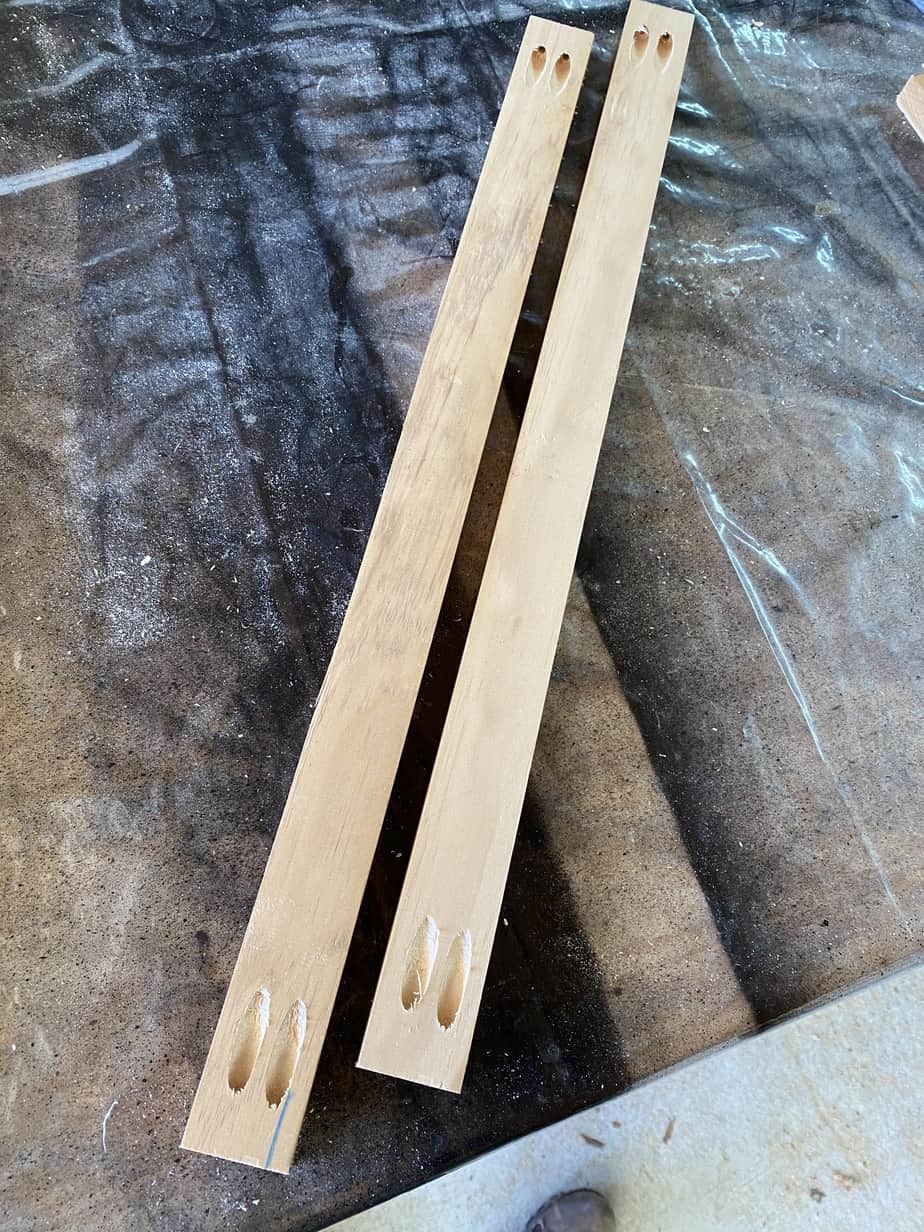
Drill 3/4″ pocket holes on each end of the longer 1×2 boards.
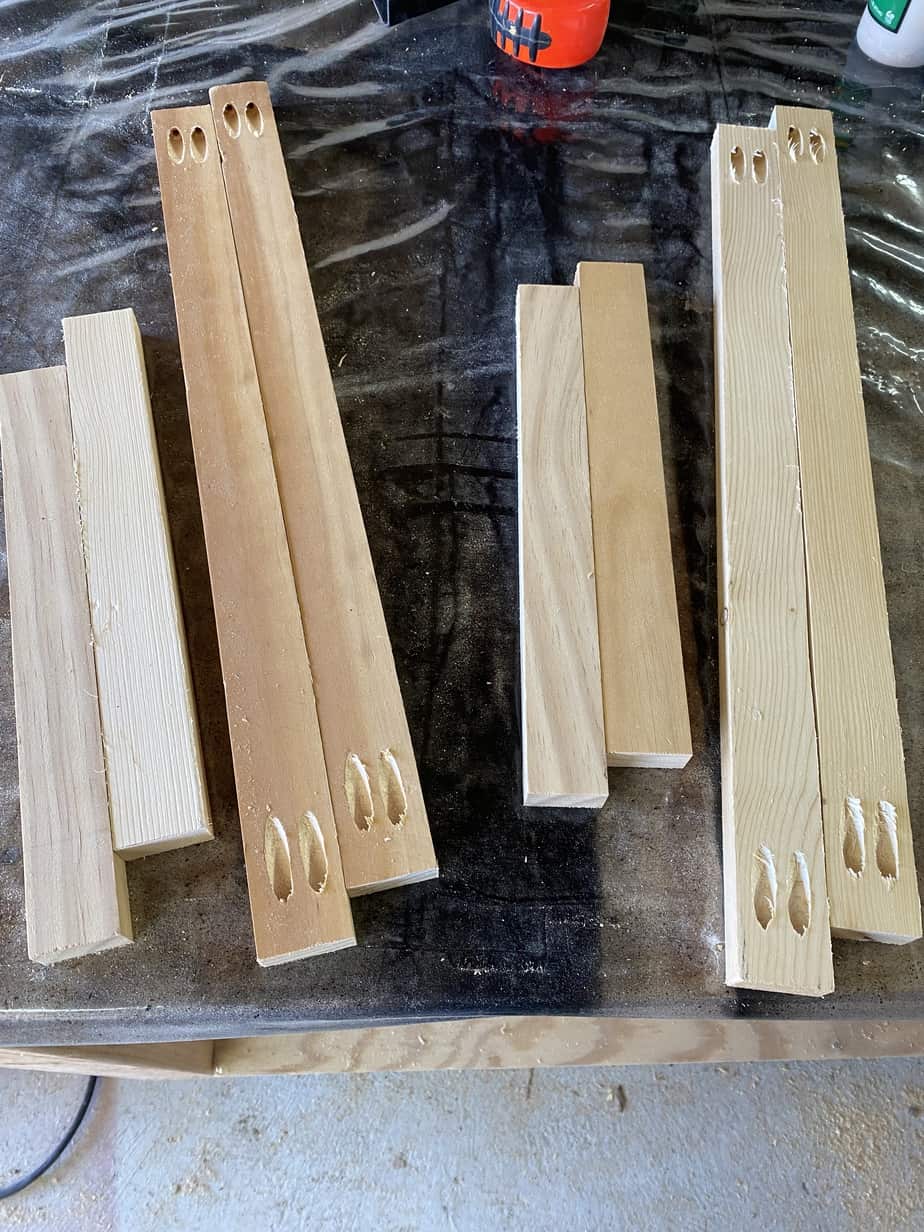
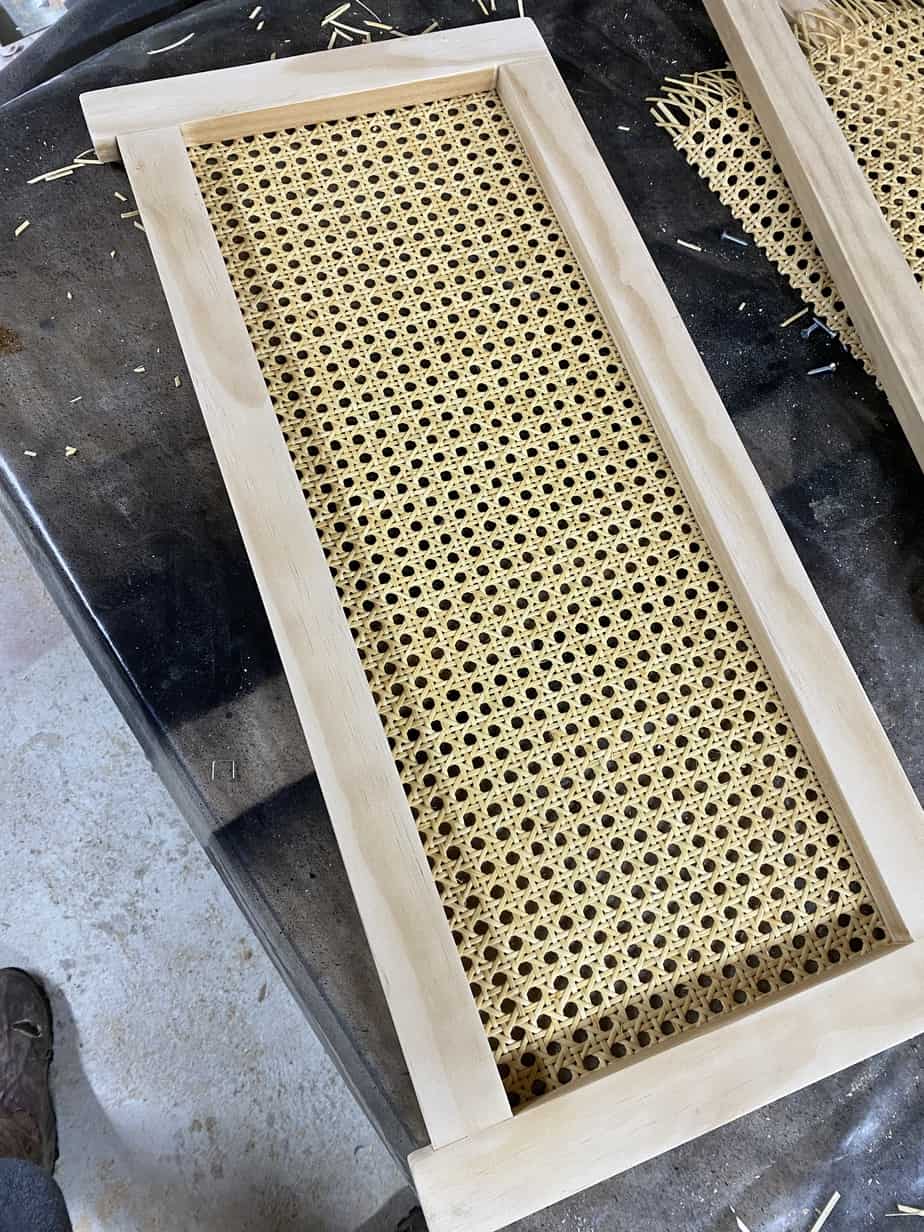
Use wood glue and 1 1/4″ pocket hole screws to connect all the 1x2s. I attached the bottom boards 0.5″ up giving it little feet.
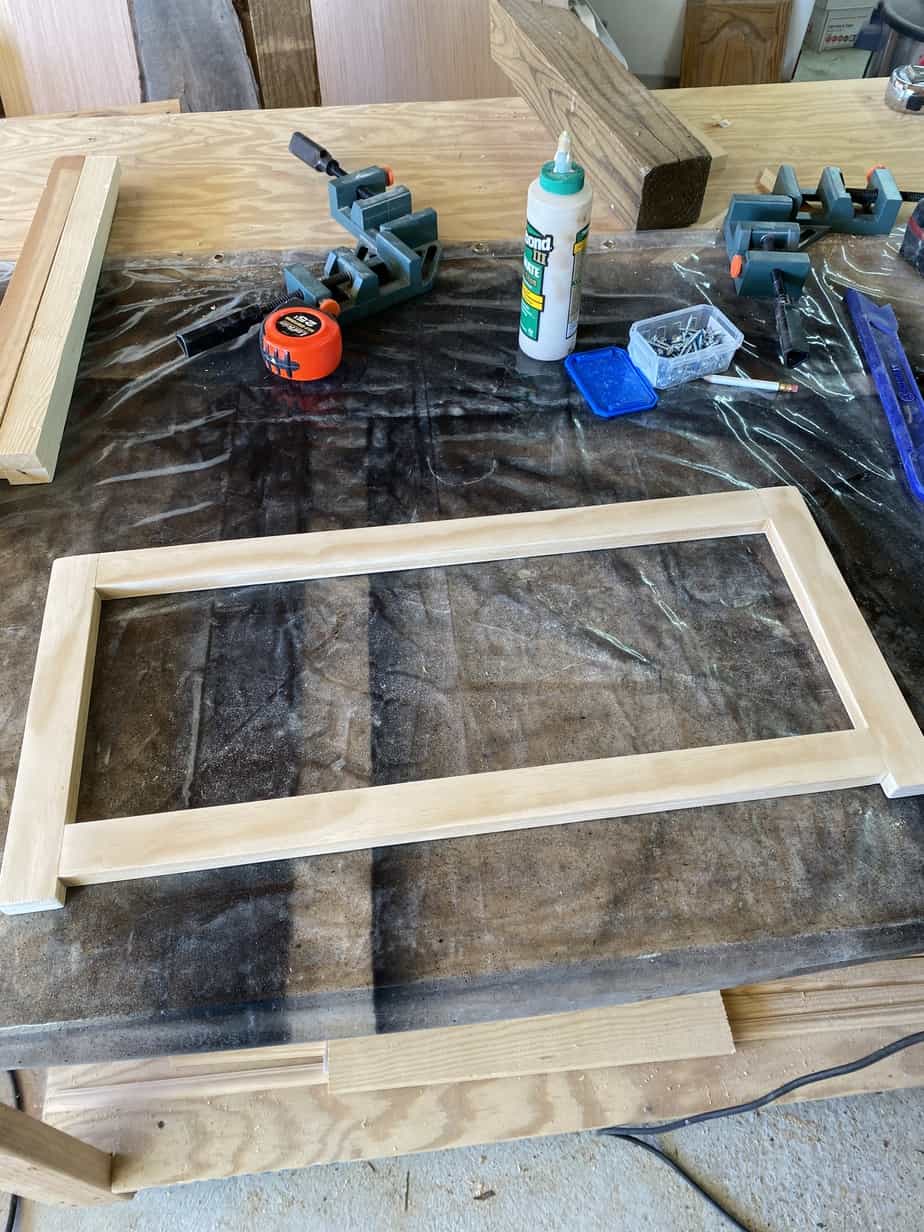
Repeat this step for the other two panels. Also, sand everything before you attach the caning material.
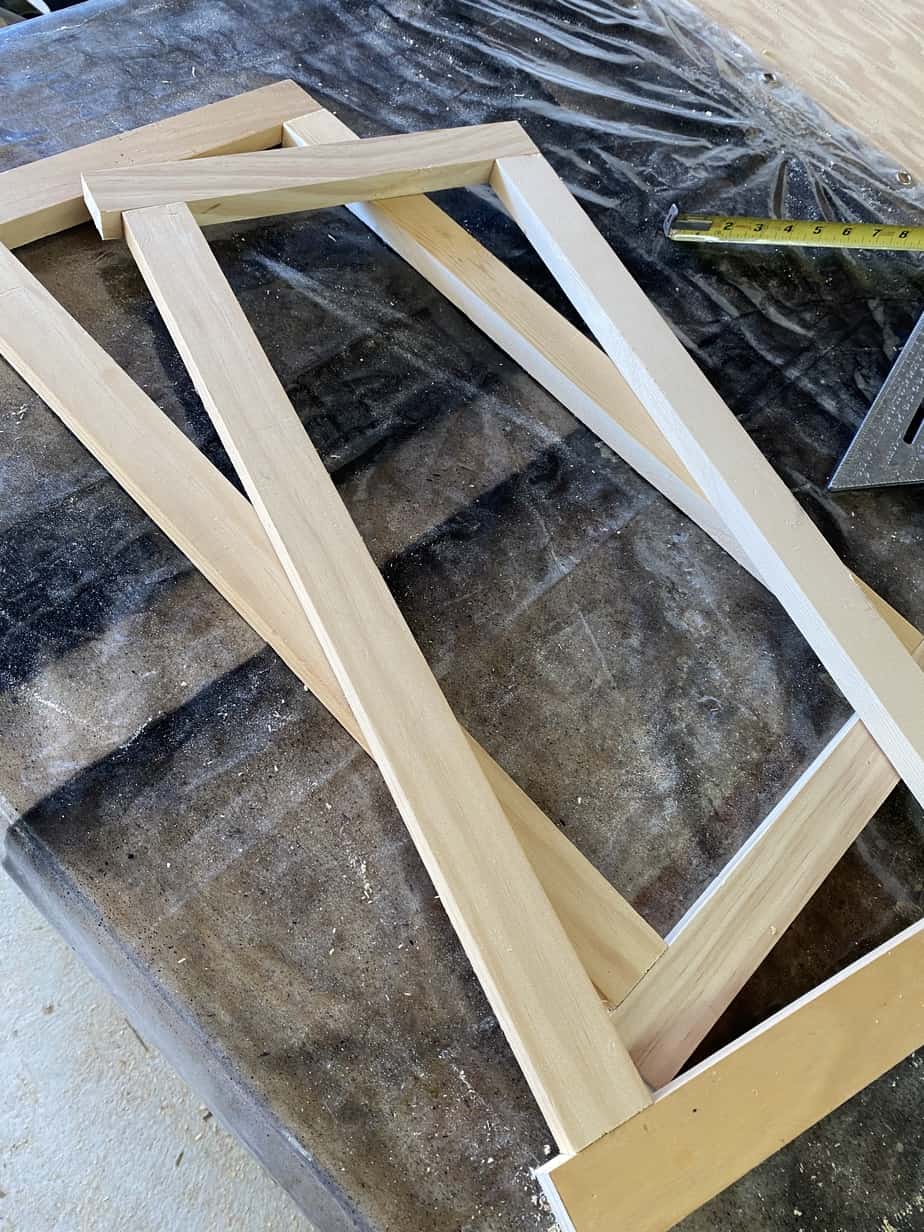
Cane webbing is pretty stiff when it’s dry so to make it more workable, soak it in warm water for about 30 minutes.

Cut the cane to the correct length with some overhang. Begin stapling it to the frame pulling it taught as you go. Trim off any excess when finished.
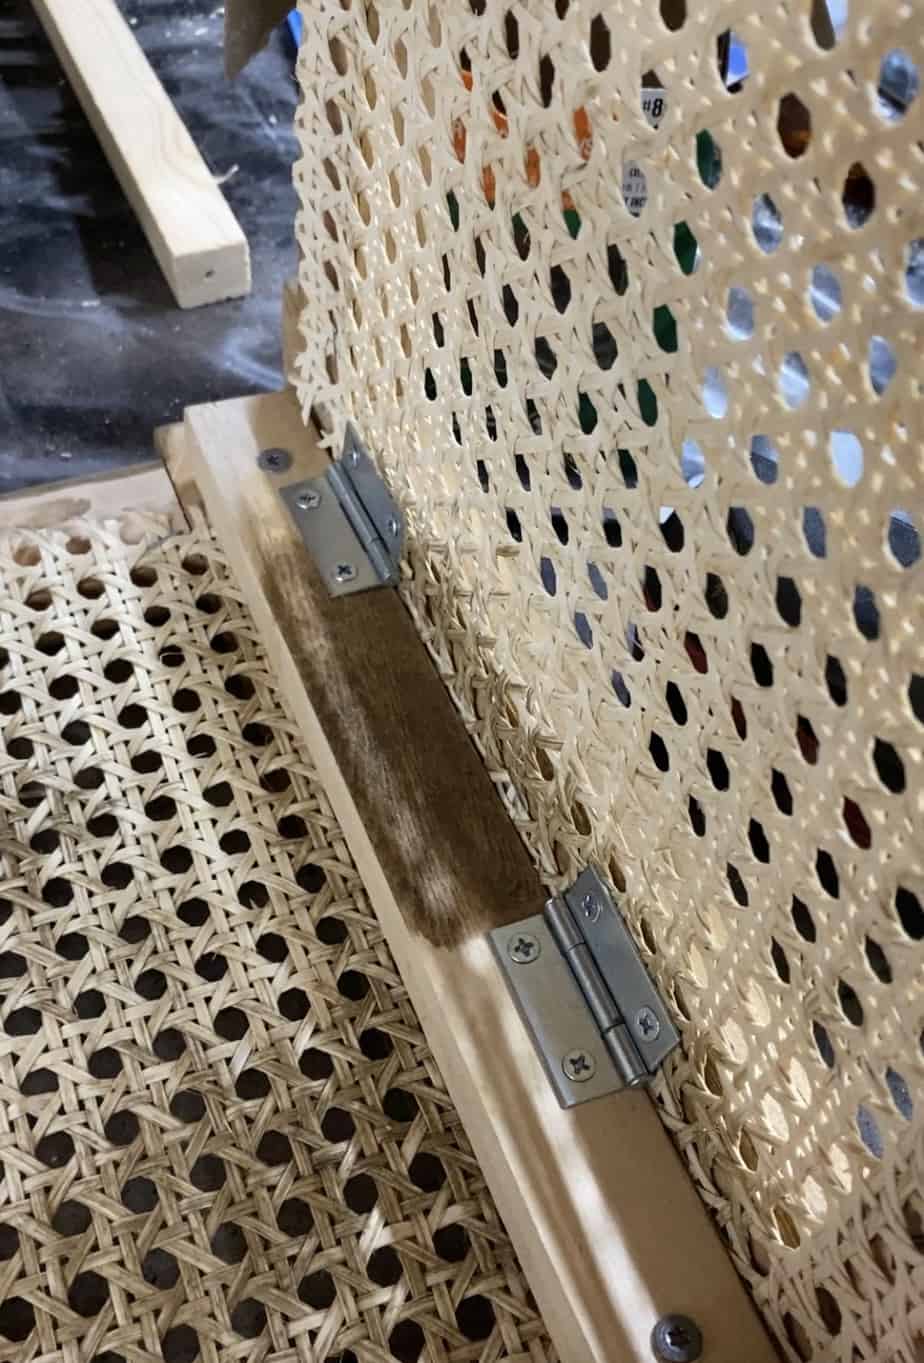
I decided to attach hinges so the tree collar can be collapsed for storage. I purchased mine from Walmart, Bulldog brand. They came in a set of two. First I drilled pilot holes then just used a screwdriver to attach them by hand.
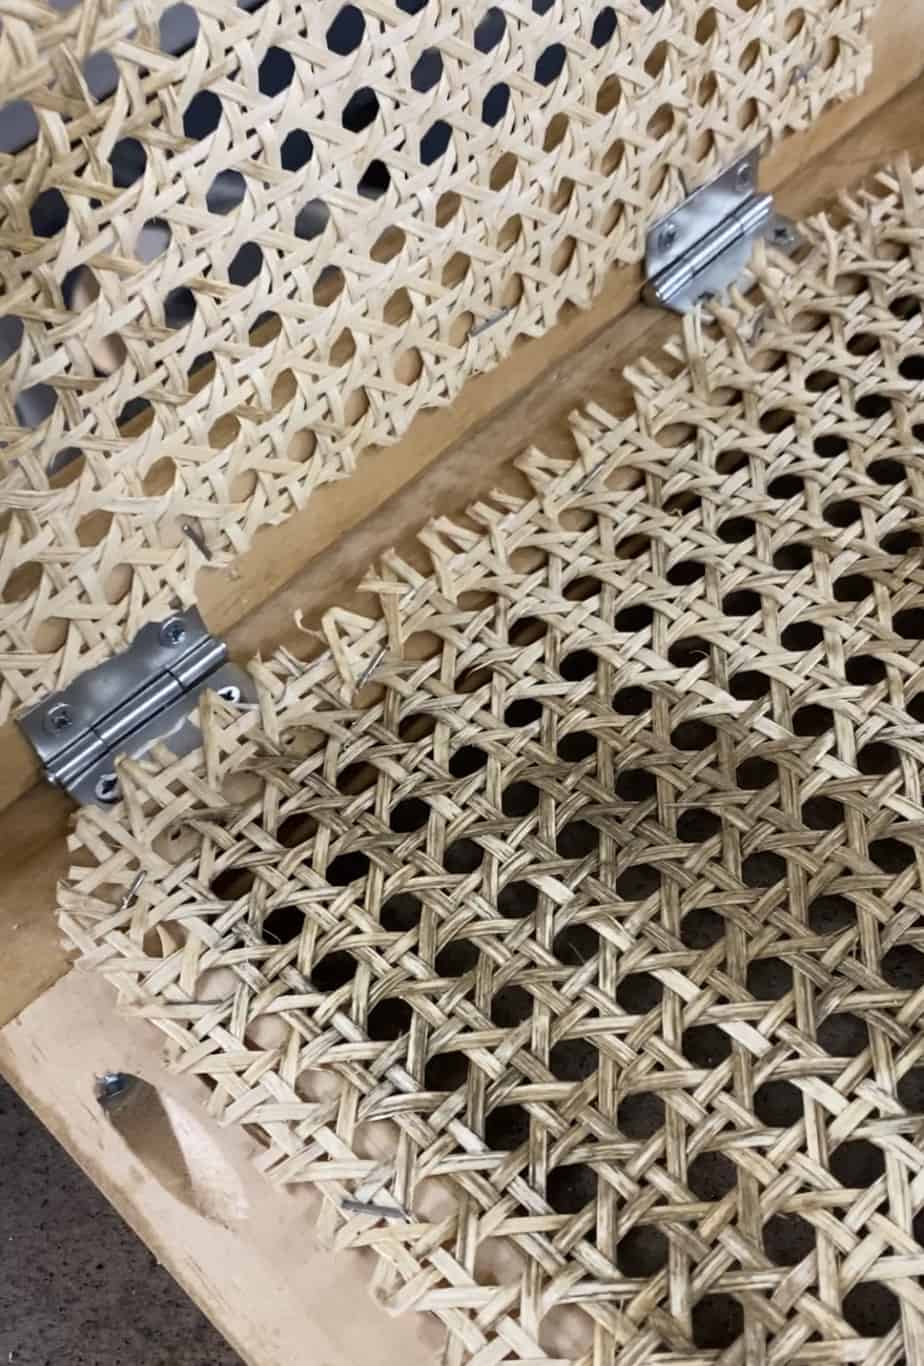
To have enough space for the other side to fold down, I had to connect my panels so they look like this from the outside (pictured below).
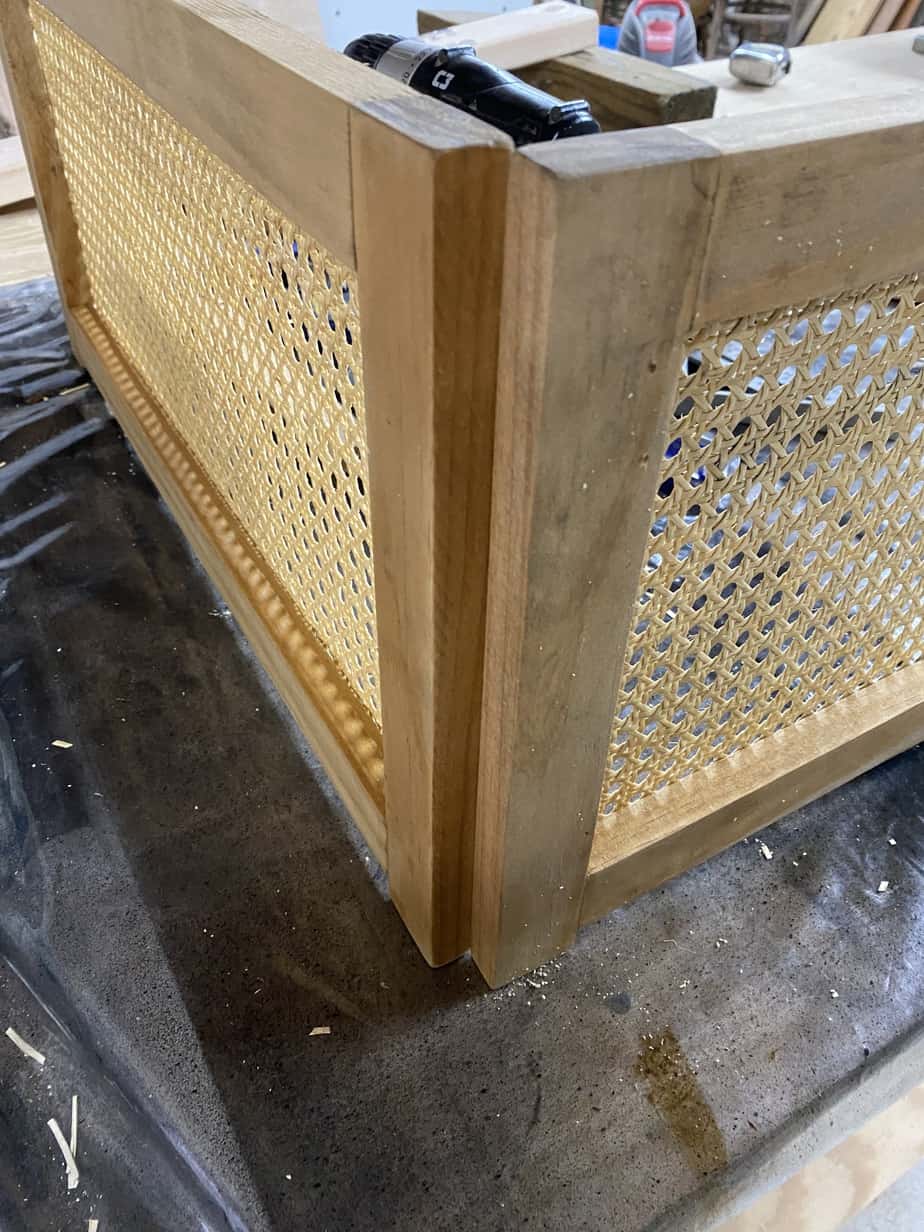
For the second side to fold over the first, it needs a 3/4″ spacer to raise it to the same level as the first panel after it is folded down. I used a piece of scrap wood, drilled pilot holes, then attached with small screws.
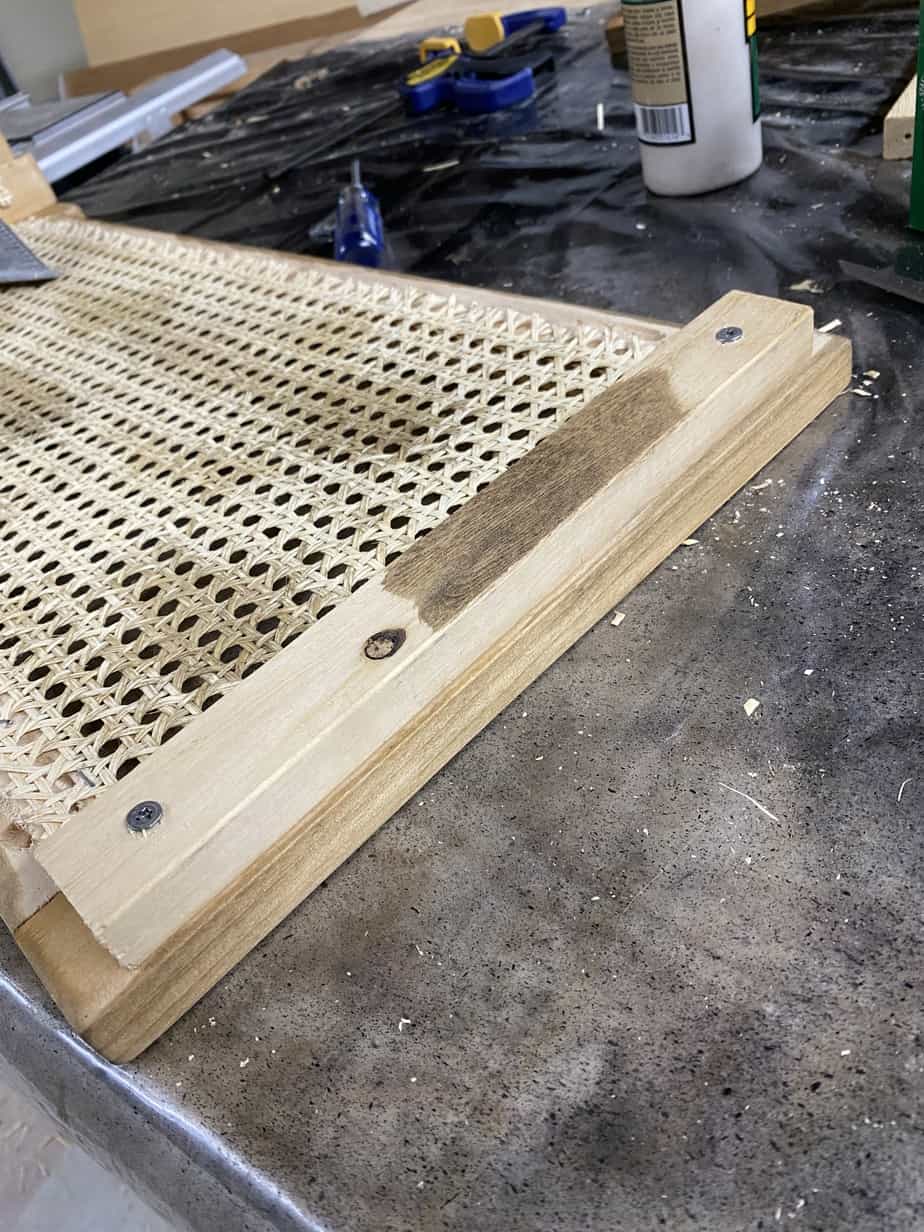
The second set of hinges goes on that scrap piece of wood.
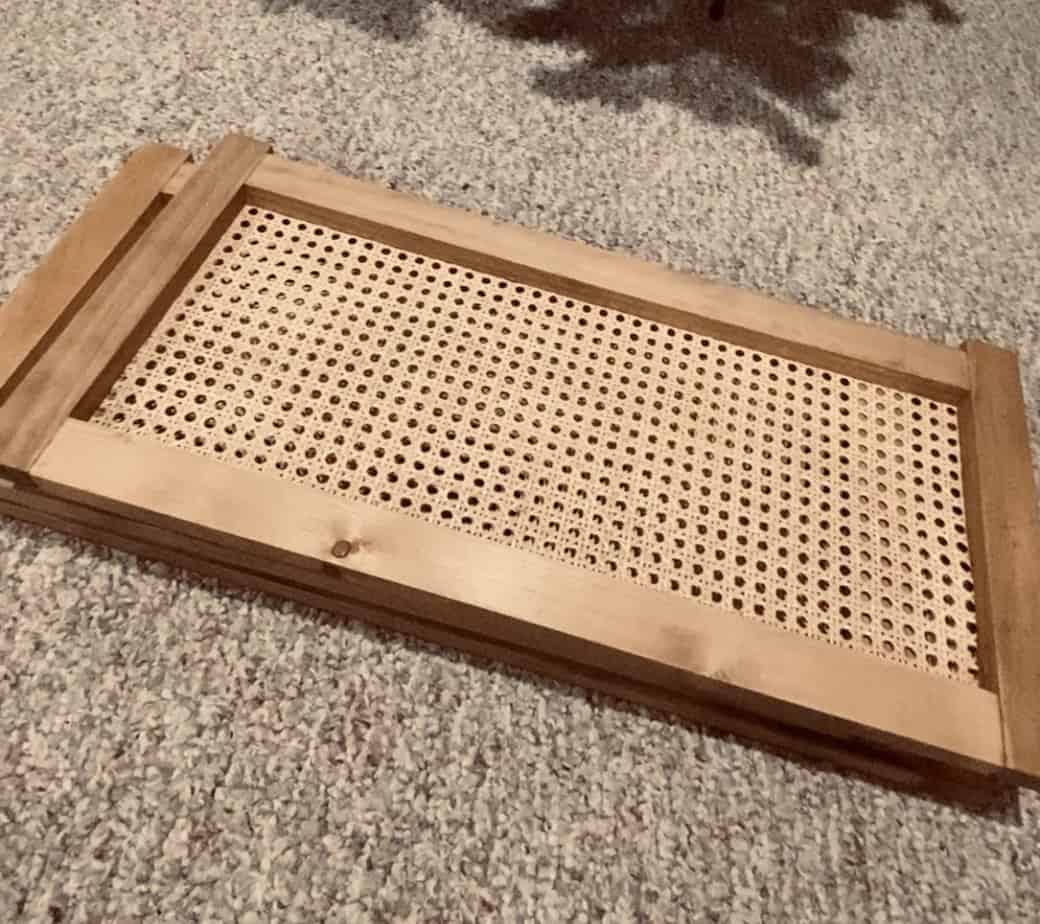
For the last step, I stained everything with Minwax Driftwood. It is becoming my new favorite stain these day. Here is the collar when it is folded.
And here it is around the tree!
Wishing you all a blessed holiday season! I appreciate all of you who have taken the time to follow along and support all my projects this year. It really means so much!







2 Comments
Just a quick question, is this collar 3 sided like a triangle when it is standing up?
Yes, the back is open. You can position it however you would like.