
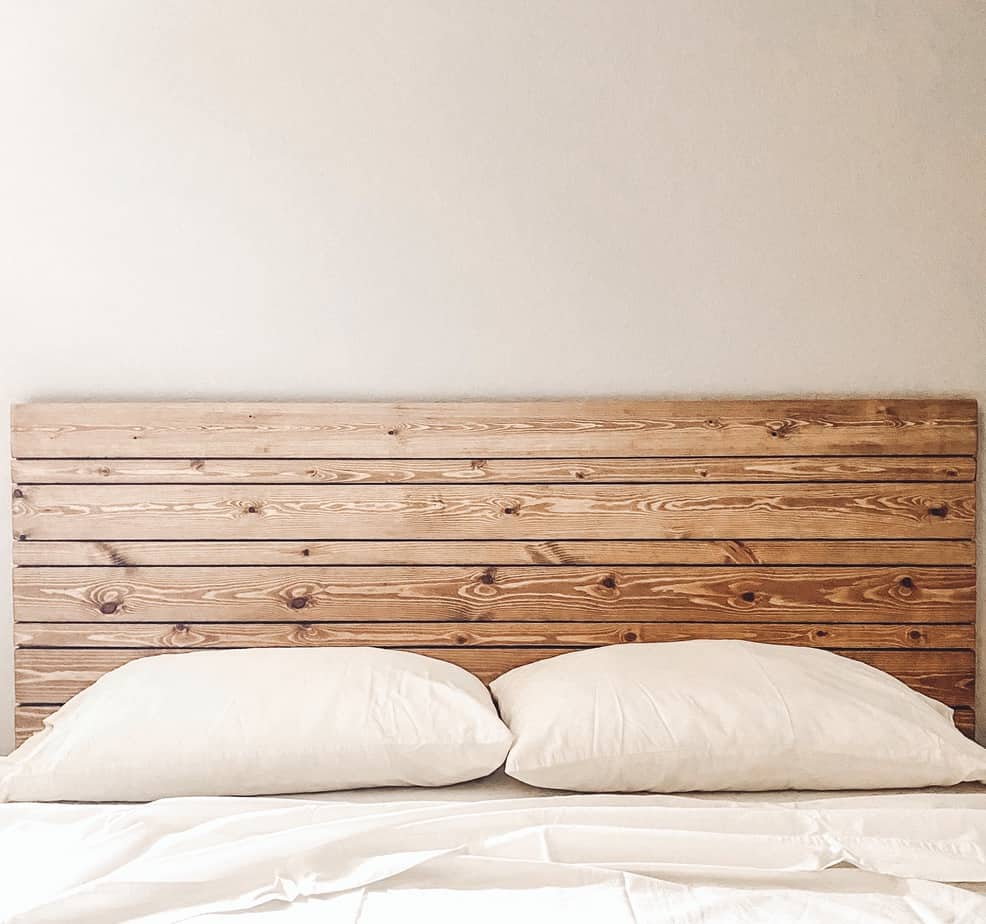
It’s week 2 of the One Room Challenge and this week my goal was to create a headboard dupe of a more expensive one I saw online a few weeks ago. Theirs retails for $300 while mine only costs $45 in lumber to build! I have a lot more projects to complete for this room remodel so I need to save money wherever I can. Keeping projects affordable is always my #1 goal. If you want to build your own I have all the details below!
Materials:
- 3-1×2@6′
- 7-1x4s@6′
- 1 1/4″ wood screws
- Paint or stain
Cut List:
- 3-1×2@61″
- 5-1×4@61″
- 3-1×4@22 7/8″
- (These measurements are for a full size mattress)
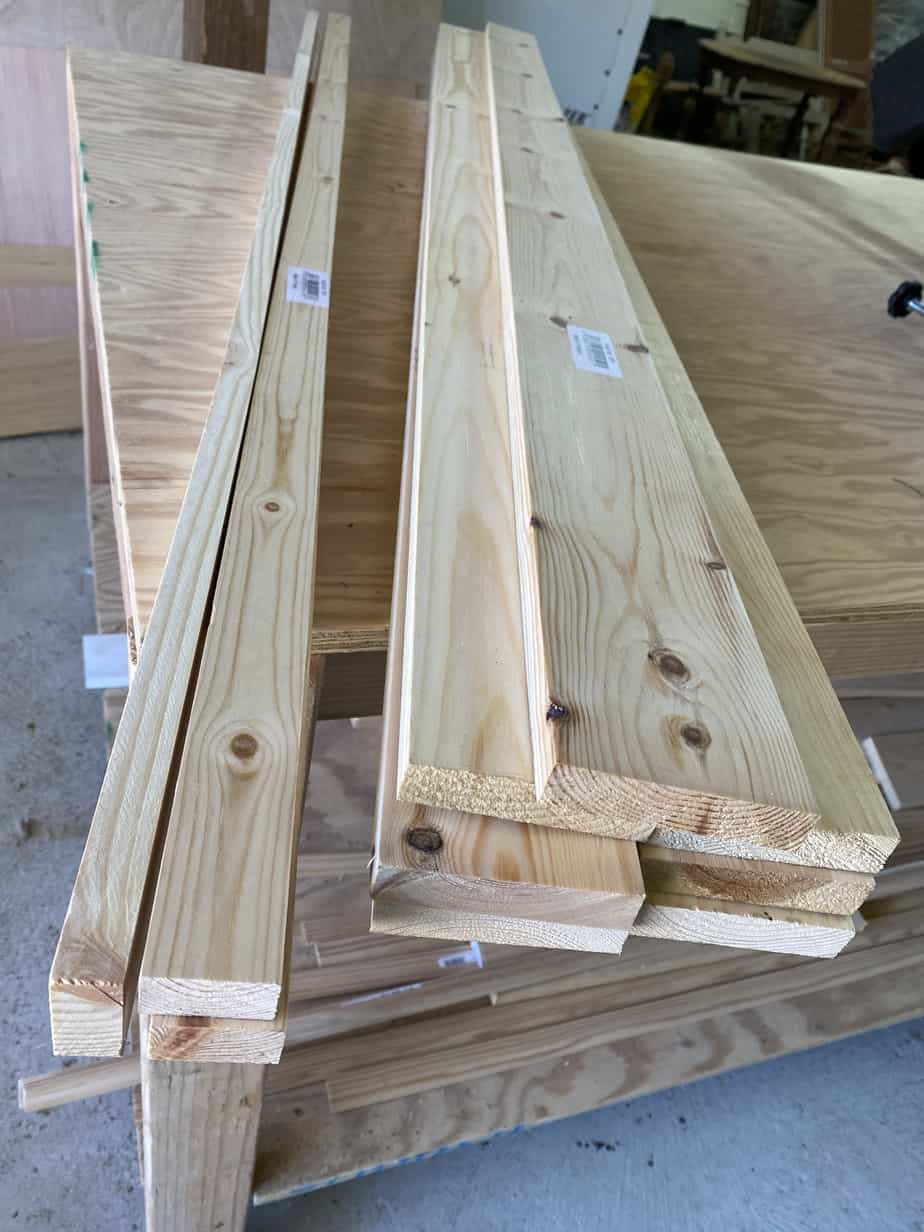
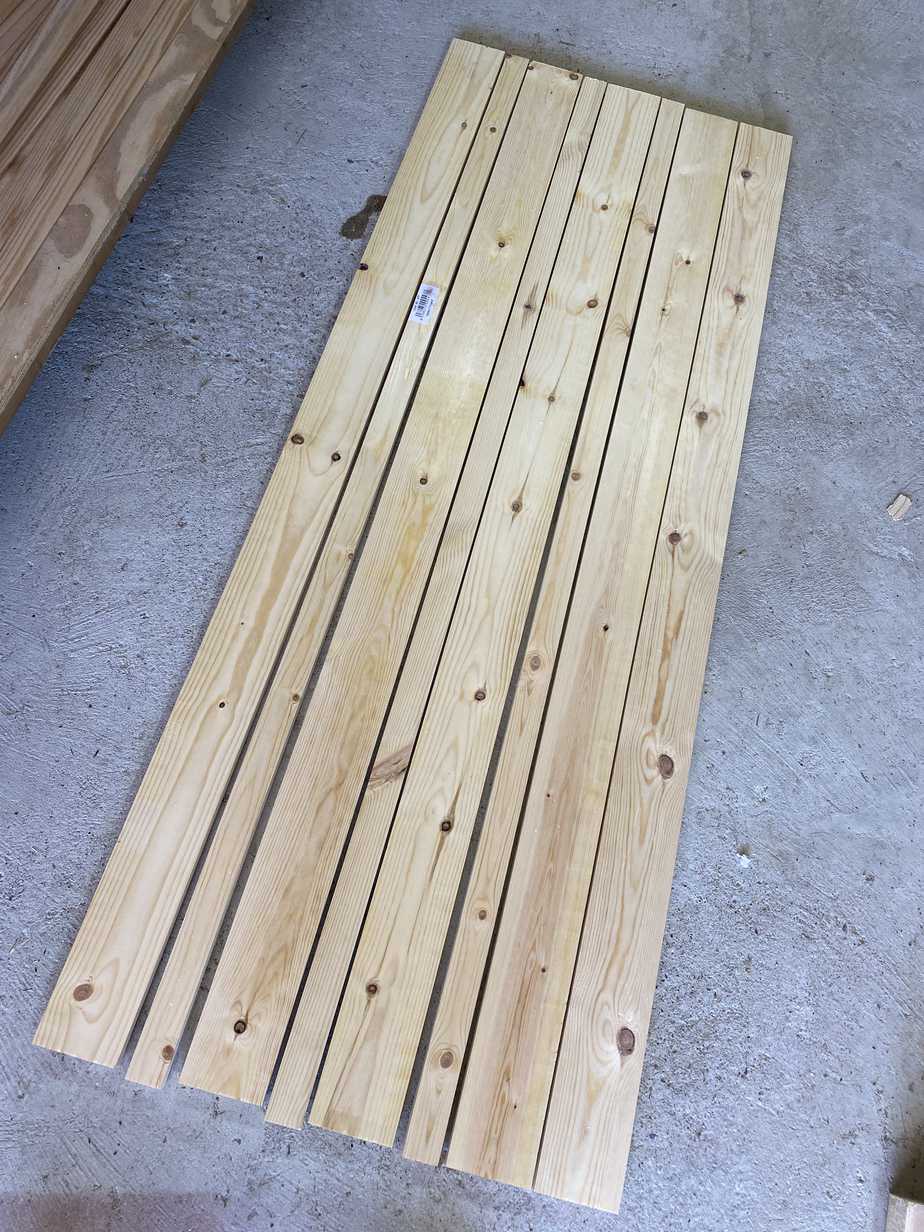
Once I made all my cuts, I laid out all the boards and arranged them in a similar pattern as the original headboard.
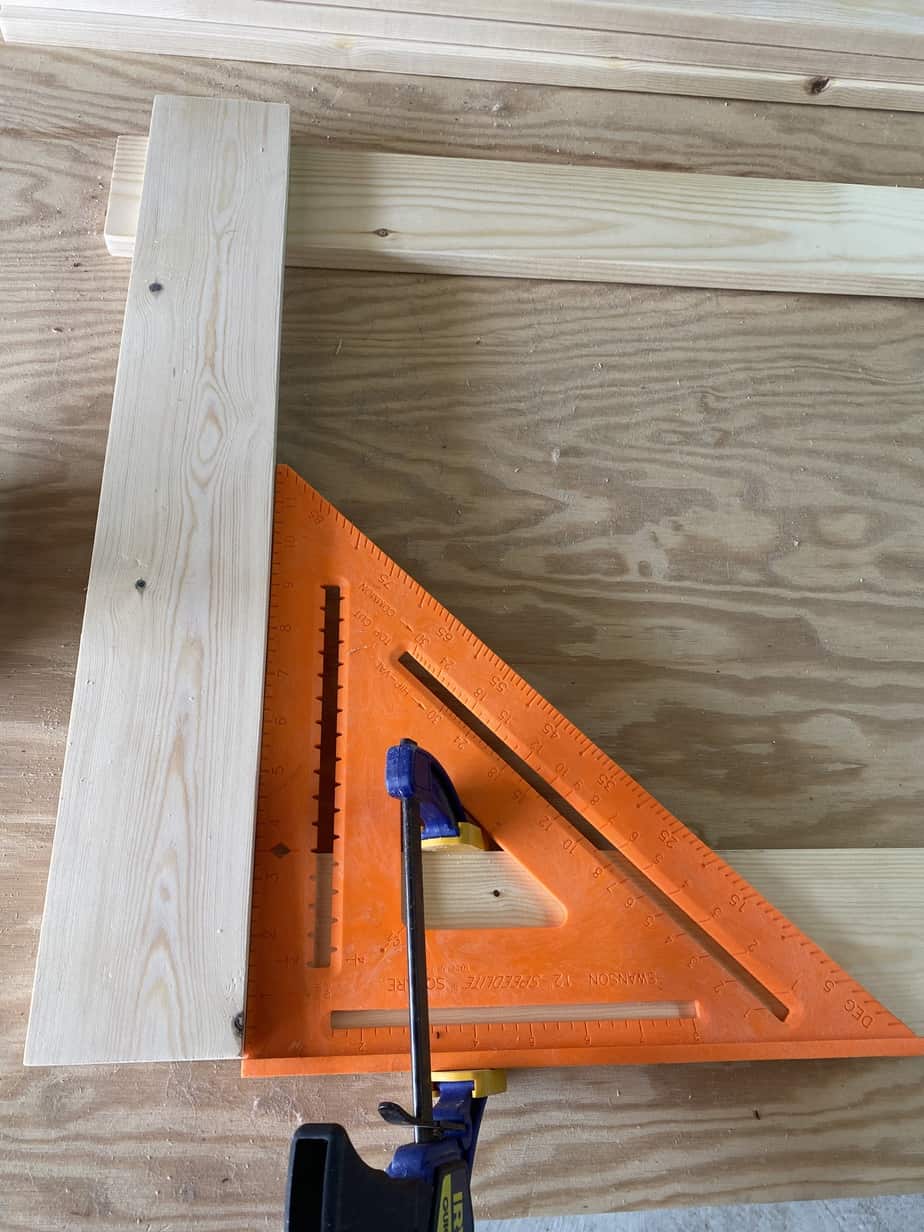
I attached the two end pieces first to connect the top and bottom horizontal boards. I brought it out flush with the end of the horizontal board then checked for square before attaching with a 1 1/4″ screw. I drilled slowly so I wouldn’t crack the board and stopped when the screw was almost flush with the board. Repeat for all four corners of the headboard.
Next, I just drilled in the rest of the boards in the pattern I arranged earlier. I used an 1/8″ spacer in between the boards as I was attaching them. I also added another 22 7/8″ board in the center for extra support.
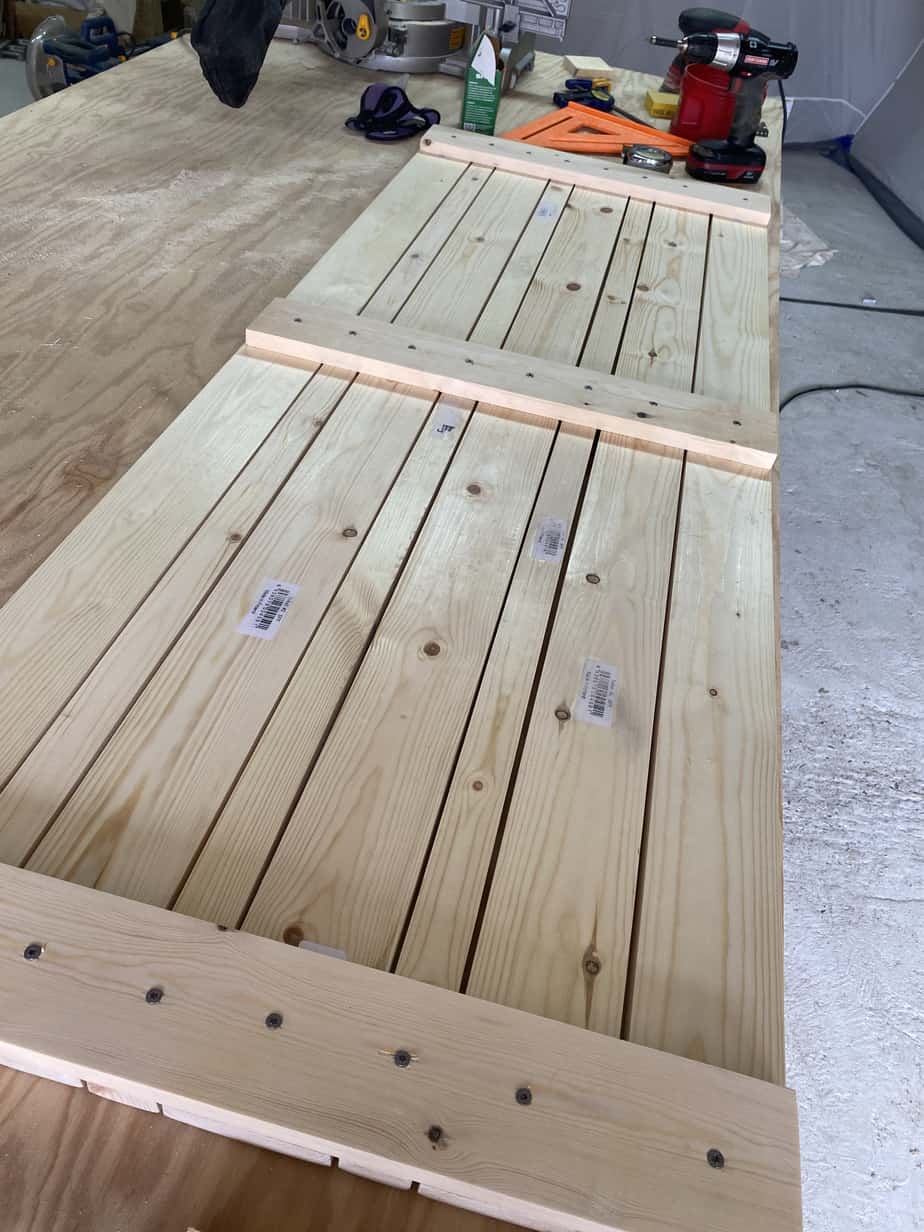
Here it is completely assembled. Now it’s time to stain! I used Minwax Pre-Stain Wood Conditioner first then I used my go-to stain Minwax Early American.
FYI-This is a floating headboard so to hang you will need to buy or make a French cleat.
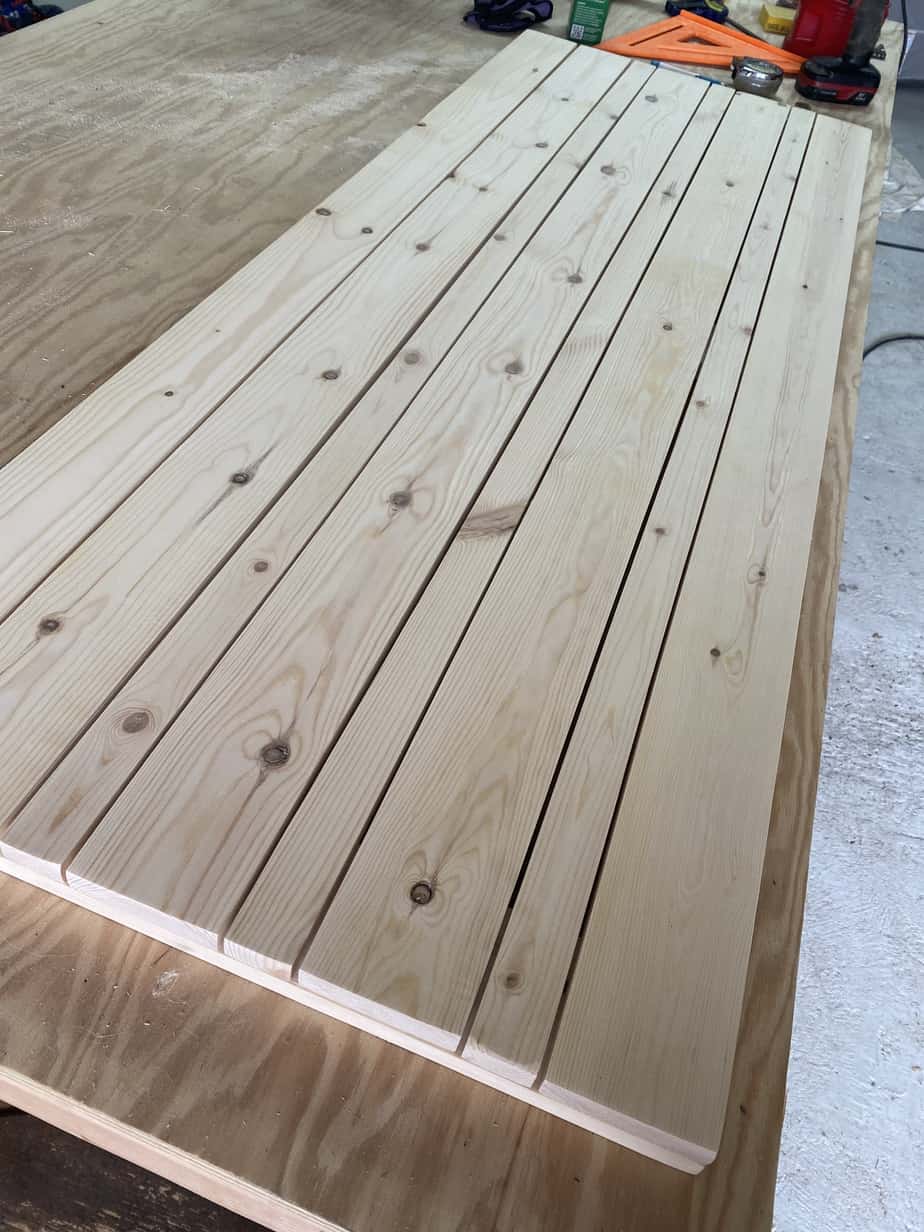
Here they are side-by-side. I think it’s a pretty close headboard dupe! Mine may have a few more knots but they add character, right? 😉
If you missed my post last week, click here.





No Comments