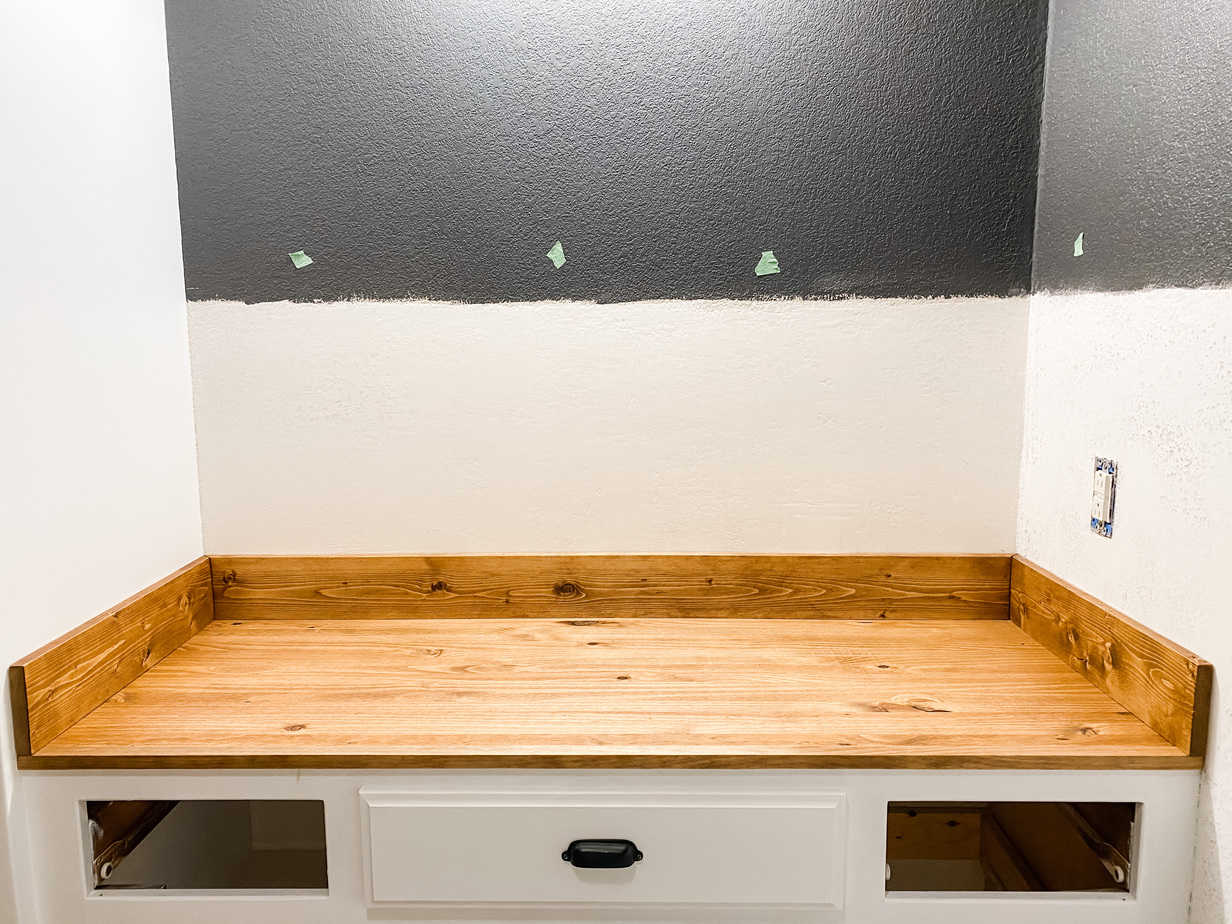
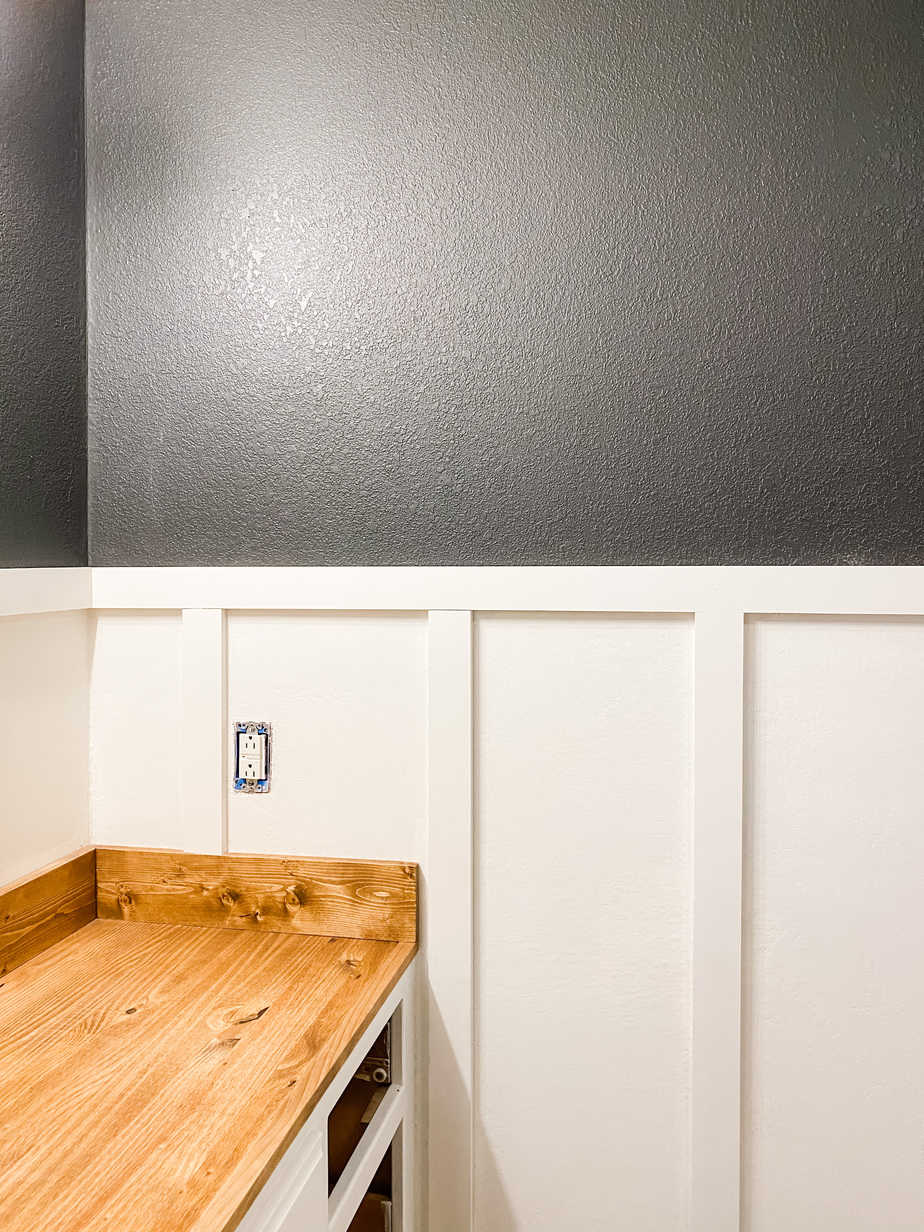
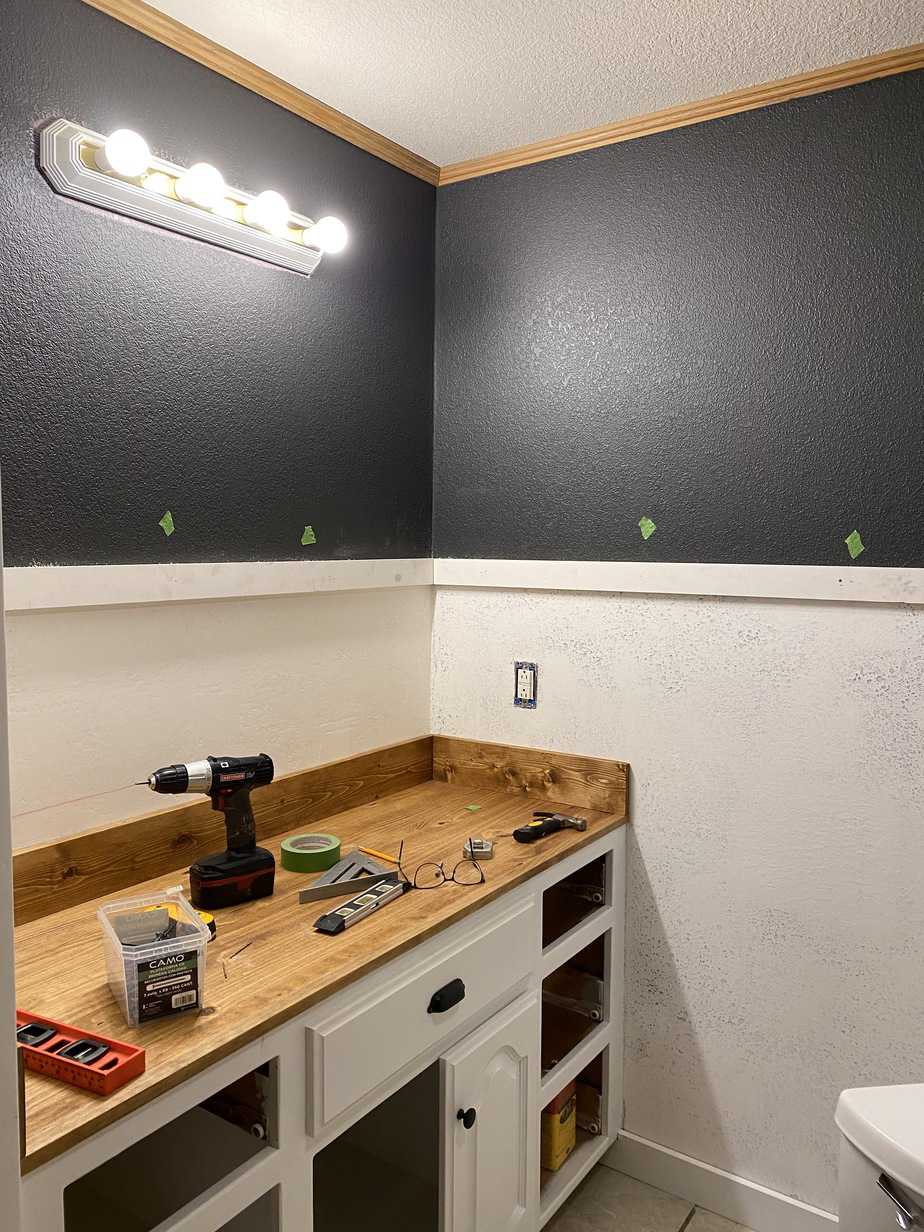
Week three of the One Room Challenge is over and my main focus was installing board & batten on the lower portion of the walls in the half bath. If you remember last week, I built and installed that wood vanity pictured above.
My original plan was to install shiplap throughout the majority of the room. After some thought, I decided board and batten would be the cheaper option since I’m trying to keep the budget as low as possible for this remodel.
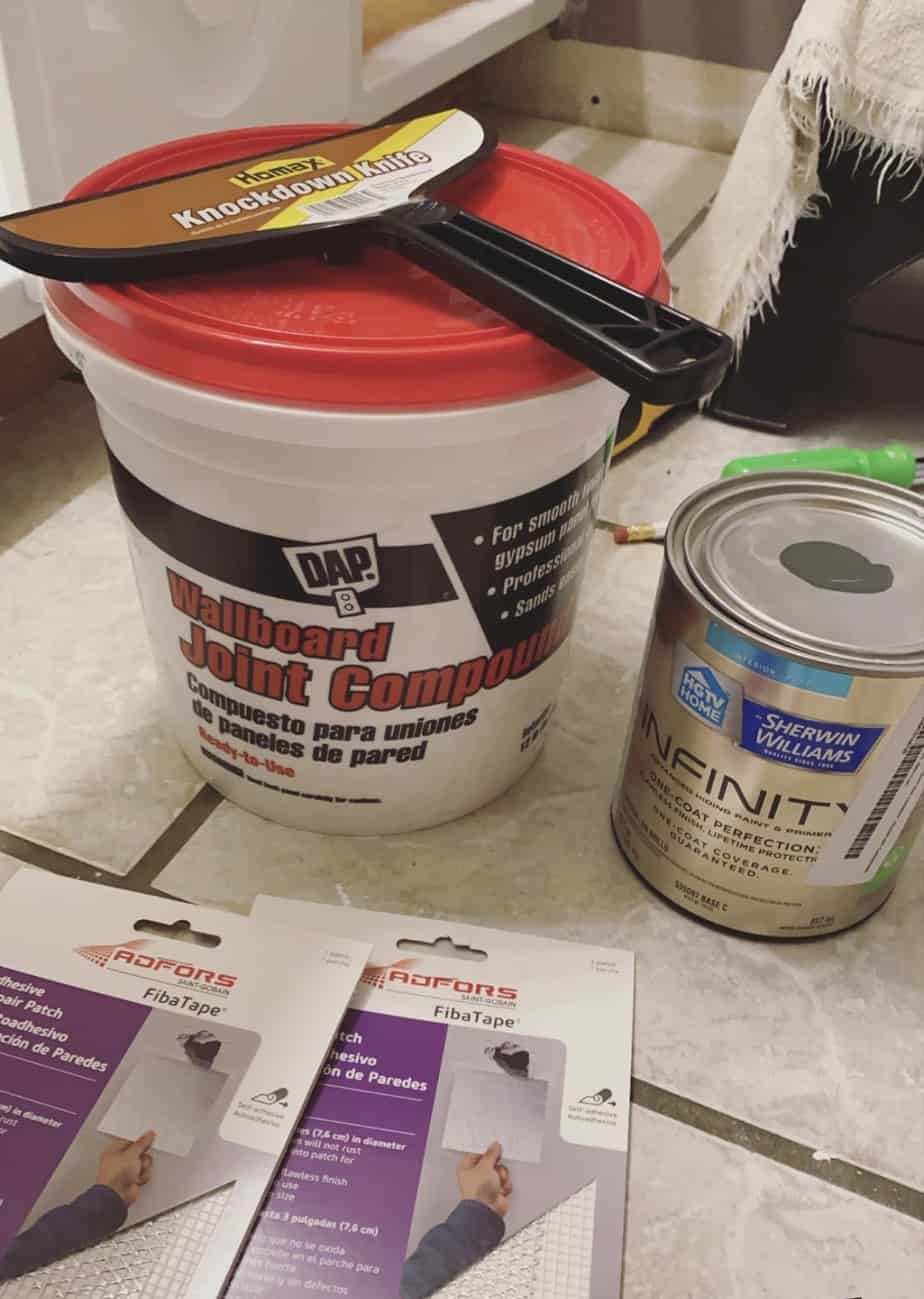
First, I determined how far up I wanted the board and batten to go and then marked where my paint needed to stop. I painted the top portion of the walls with Sherwin Williams Infinity paint and the color is Carbonized. The coverage on this paint is awesome.
I guess you would really call this “faux” board and batten because technically there are no boards only battens. To make the walls appear smooth to get the same look, I used joint compound to skim coat the lower portion of the walls. My walls are really textured so it took several coats. I sanded everything down once it was dry to smooth everything out before painting.
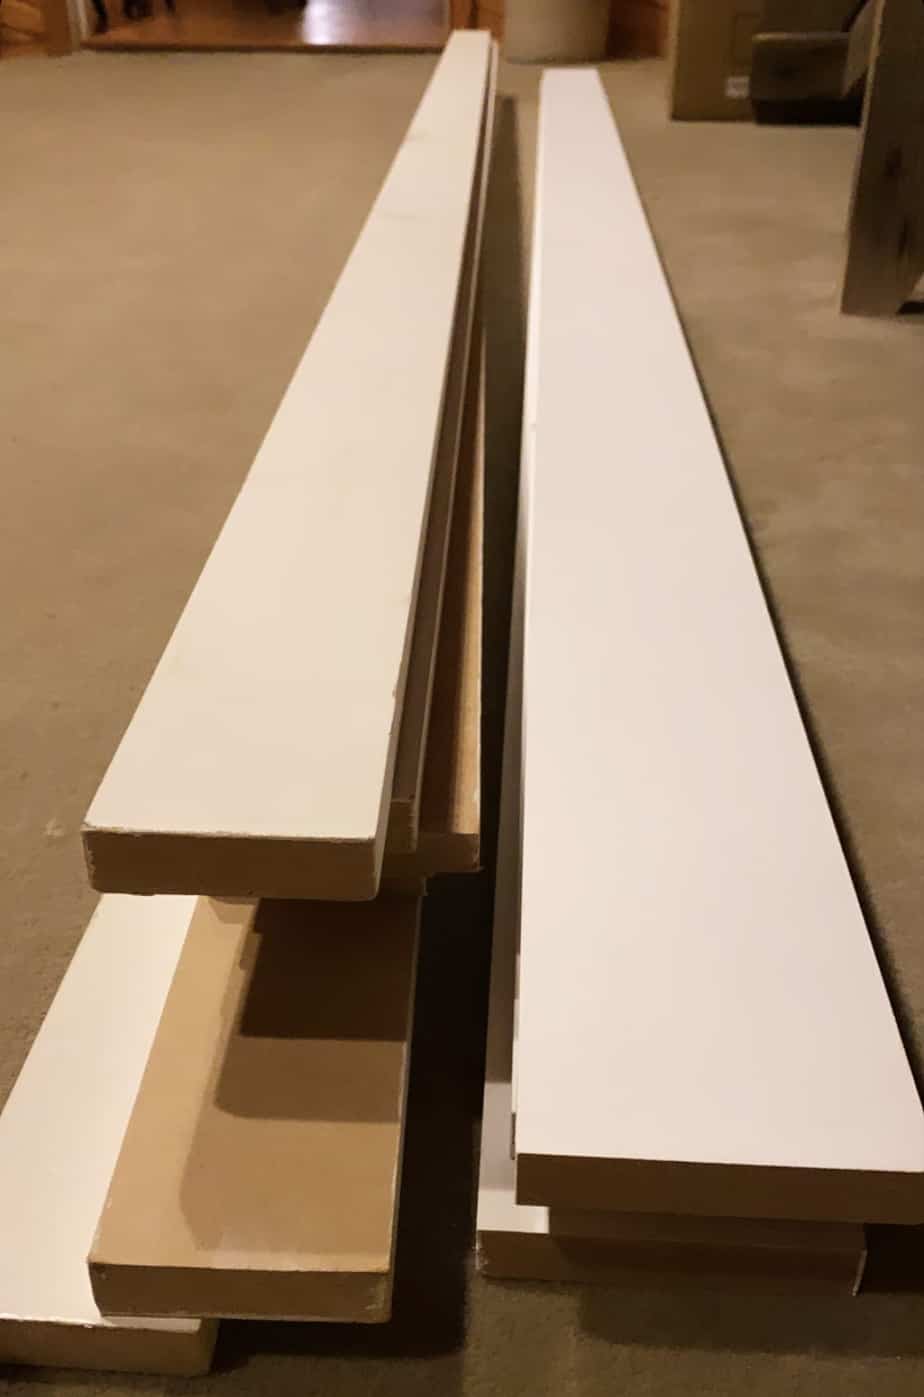
For the battens, I used primed MDF boards because they are super straight and very inexpensive. The total cost for all the battens was only around $35!
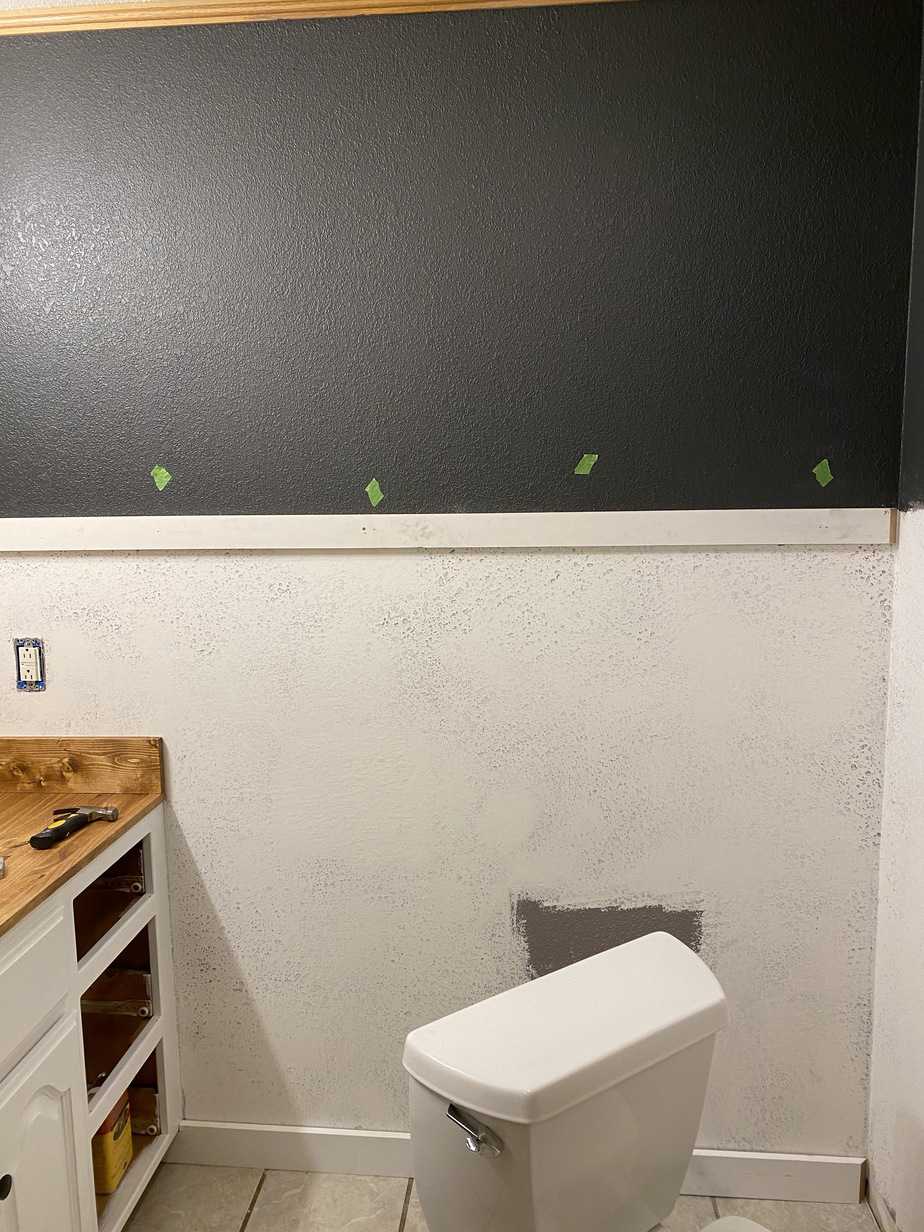
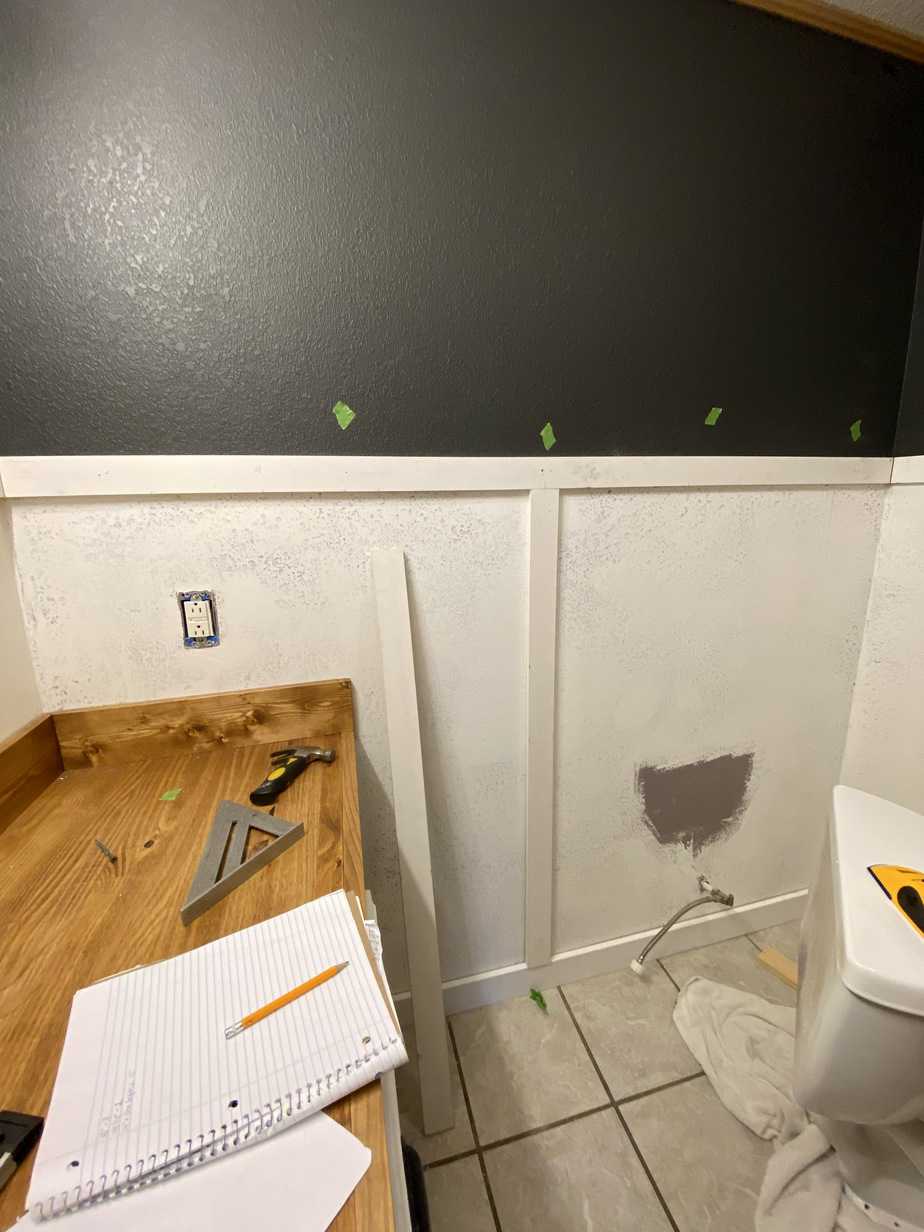
I used a stud finder to mark the studs then installed all my horizontal boards.
The hardest part about installing the vertical battens was figuring out the spacing! There are formulas you can use to determine your board placement. After almost an entire day and many failed attempts, I finally found an option that worked for me. Measurement math is definitely not my jam.
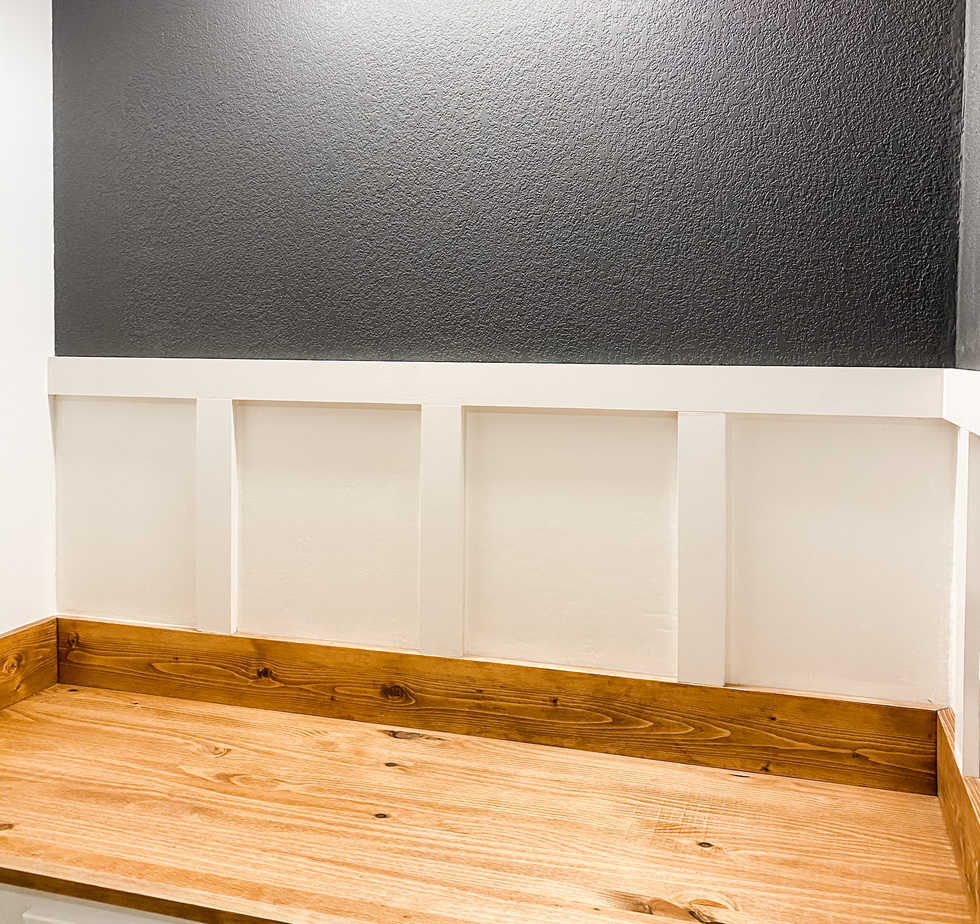
I painted the walls and battens Simply White by Benjamin Moore.
This week definitely challenged me and my brain got quite the workout. I still have a little tweaking to do, caulking, smoothing touch ups, and more painting, but I’m so happy with the progress on this “board” and batten!
I also created an ORC highlight on Instagram where you can find more details about this project. See you next week! 🙂

